Original Xbox 80mm fan upgrade
Last week I wrote about upgrading the fan inside of my SCPH-39001 PS2 to a quieter Noctua fan. This post covers a similar mod, an original Xbox 80mm fan upgrade. I’ll be using a pretty standard Noctua 80mm 12V computer fan to silence my original Xbox.
Things you’ll need
Here’s a short list of things you’ll need to upgrade your original Xbox’s fan.
- Original Xbox console
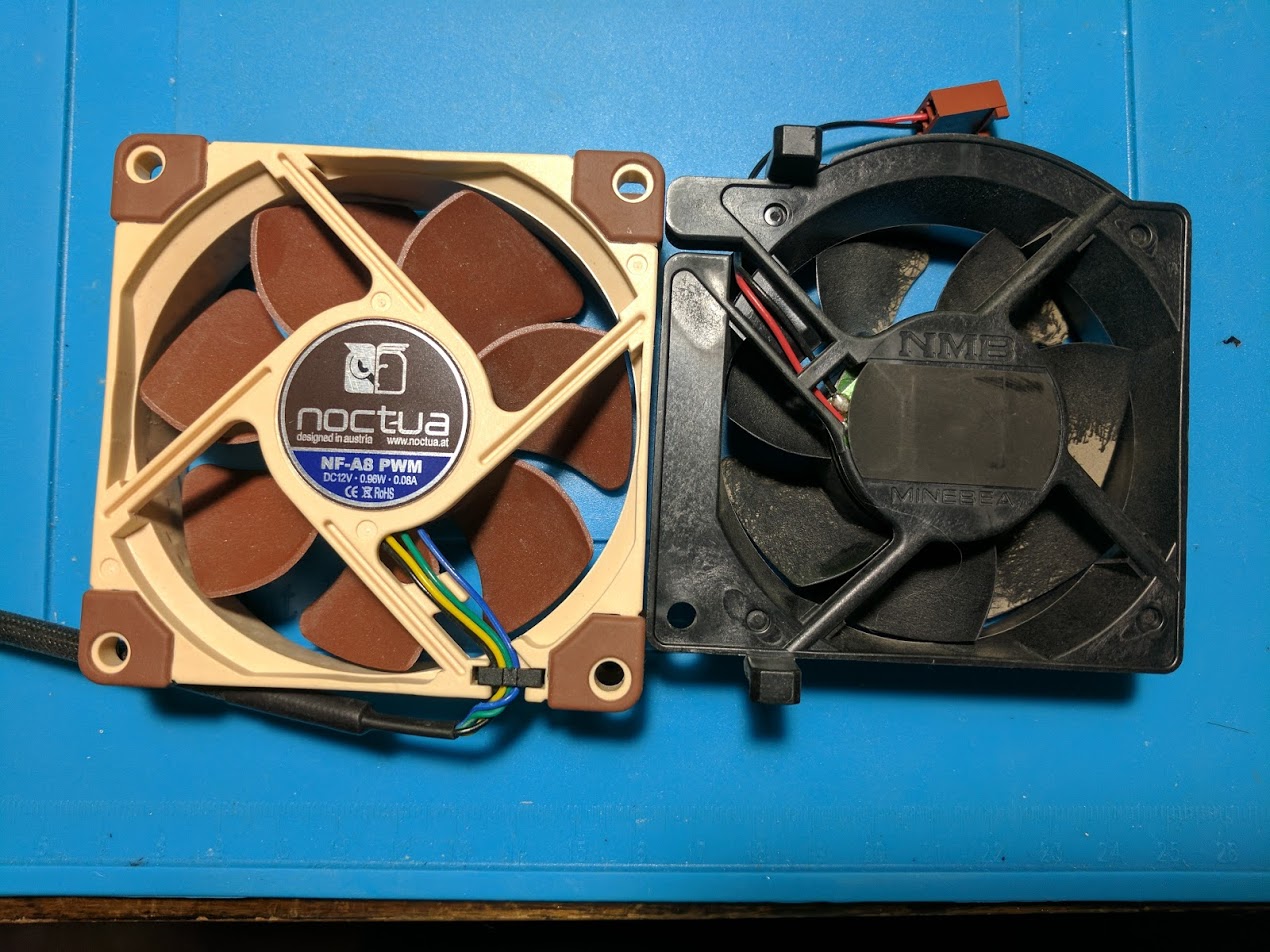
- 80mm fan, I used a Noctua NF-A8
- Tools to cut plastic, like a Dremel
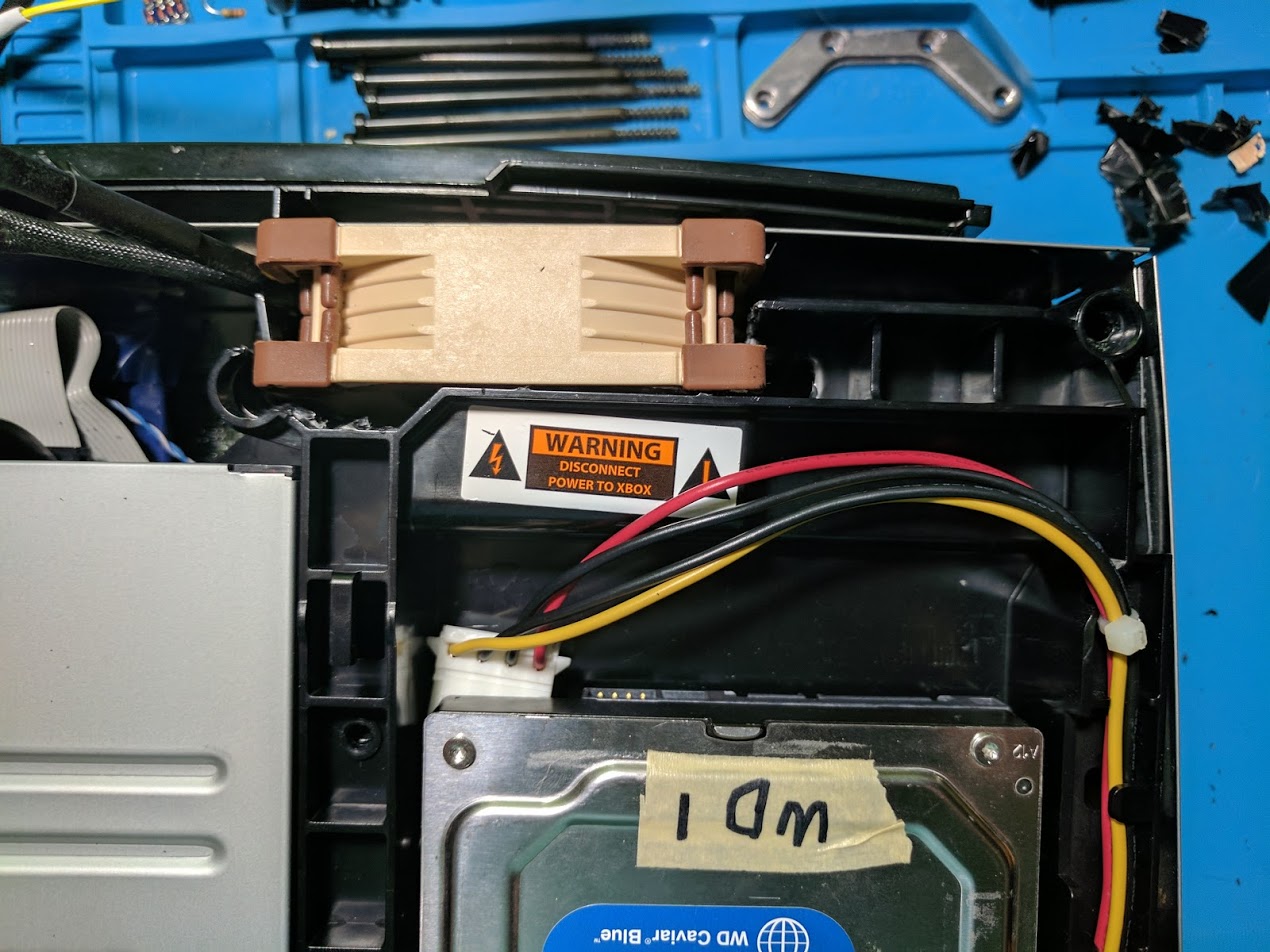
Original Xbox stock cooling system overview
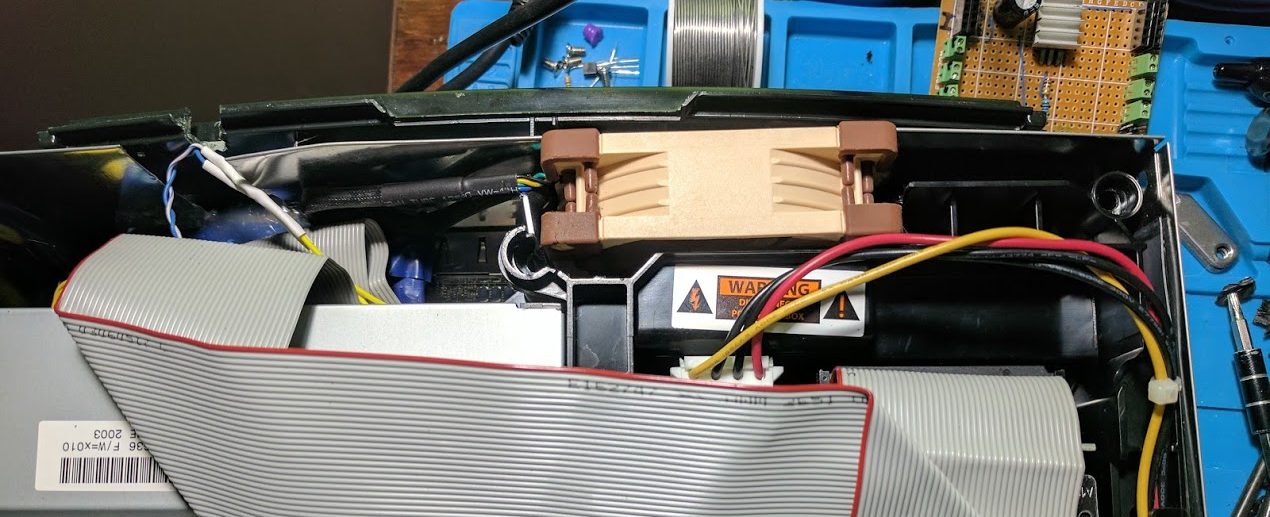
The original Xbox has a pretty simple cooling system design. There is a single 72mm fan in the back that sucks air in from the vents on the sides. The air goes through components like the power supply, processor, and graphics processor, and then out the back of the system. Both the disc drive tray, and hard drive tray, are used to route air where it needs to go. The fan does a pretty good job of keeping the console cool. I’ve never had my original Xbox overheat, but it can get warm.
To silence my Xbox I needed to find and install a fan that can pull at least an equivalent amount of air through the system quietly. I chose the Noctua NF-A8 because I already had a couple extra from a previous computer build. If you want to minimize the amount of cutting you’ll need to do then look for something closer in shape and size to the stock 72mm fan.
Modifying the fan
There are two tabs at the bottom of the Xbox’s case that the stock fan clicks into. I wanted to keep those tabs so that I could revert back to the stock fan, and so that the new fan would have something to secure it in place. To get the new fan to fit I needed to modify the fan.
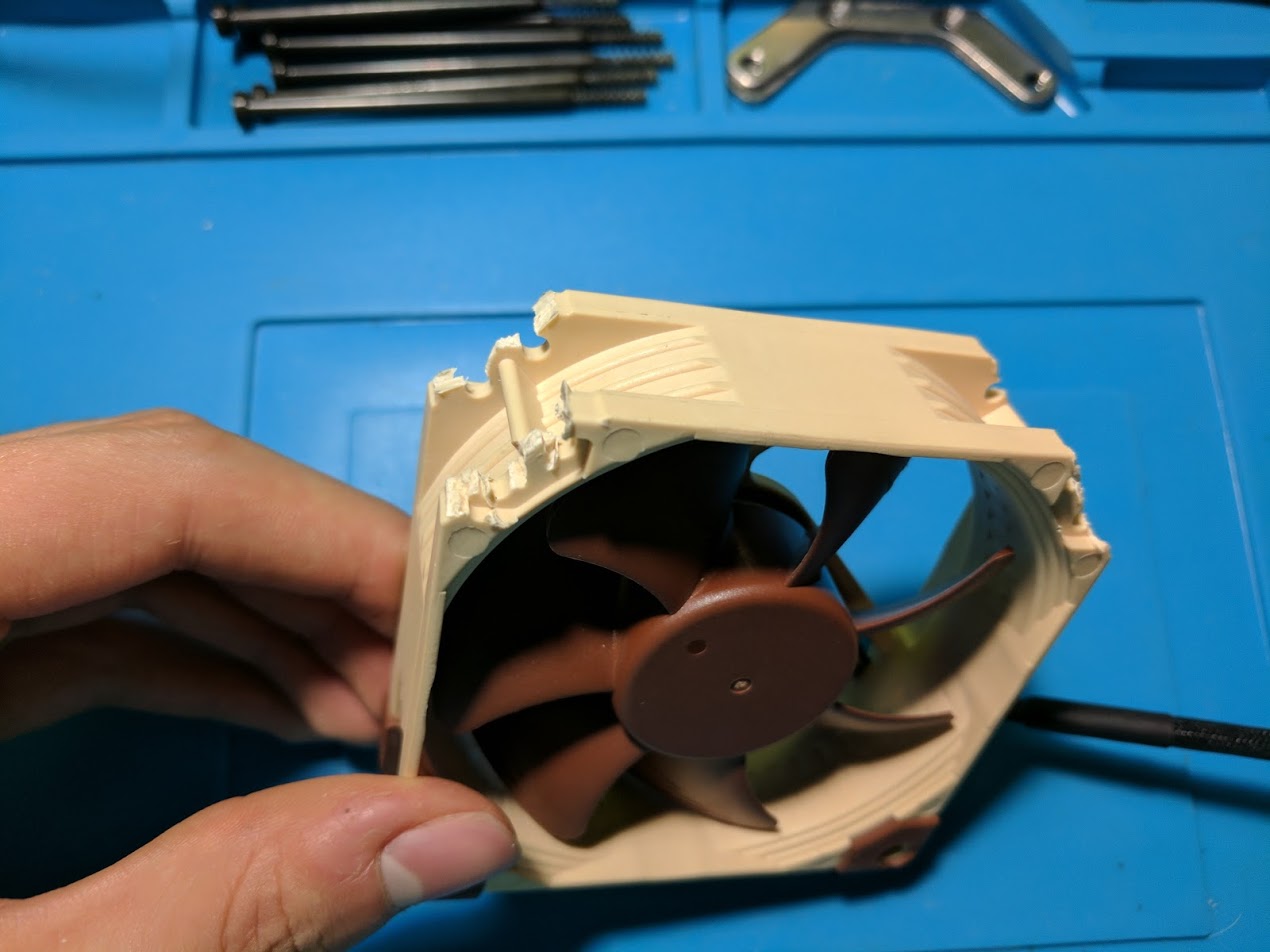
I ended up cutting the corners where the screw holes are on the bottom of the fan. It’s not the most pretty, but it does work. The modified fan fits into the case, and the tabs latch onto the side of the fan.
Modifying the disc drive tray
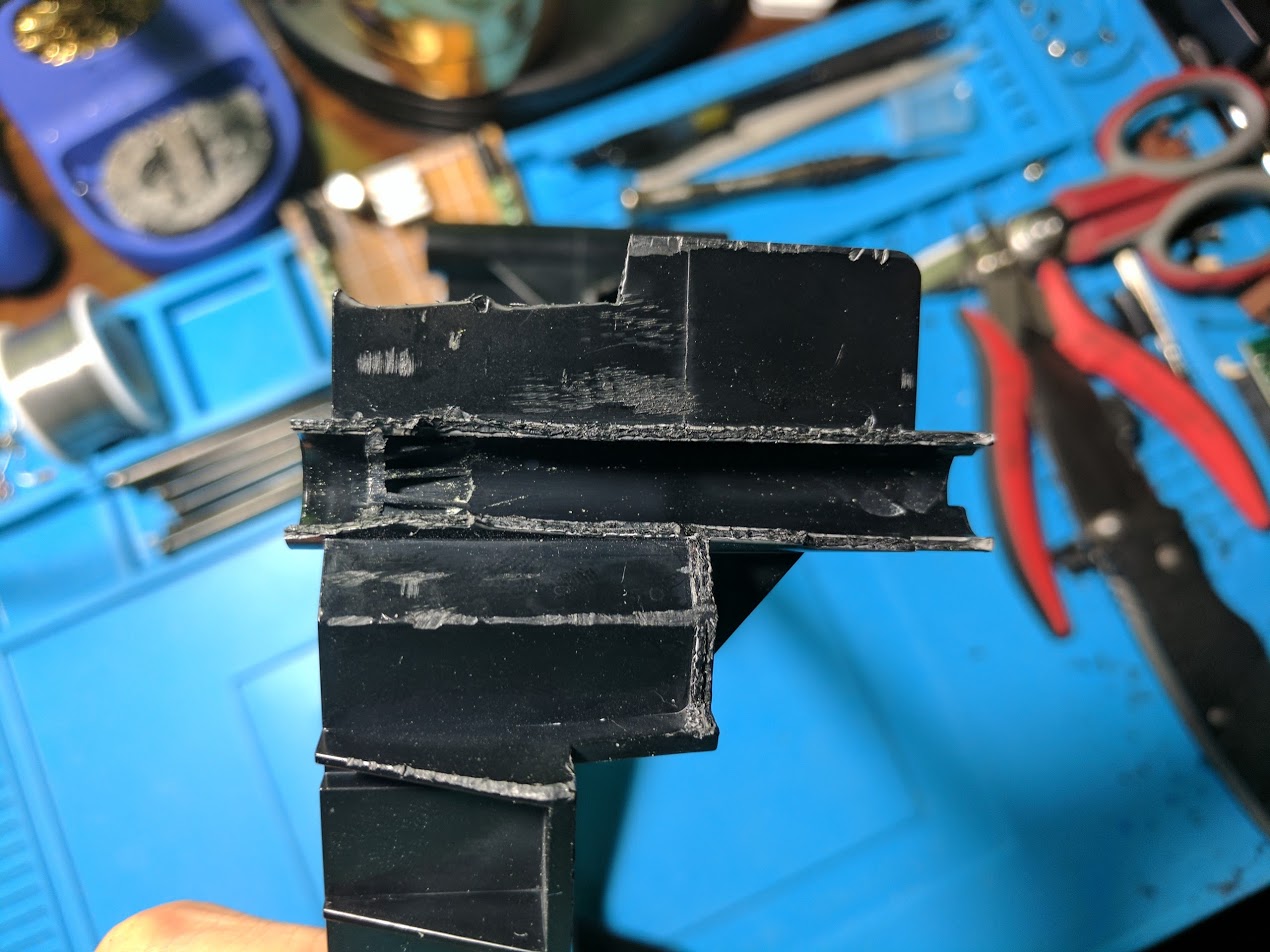
With the fan installed I tried to put everything back together, but didn’t have much luck. One of the problems I experienced was that the disc drive tray that the DVD drive sits on top of interfered with the left side of the fan.
Instead of modifying the fan, I decided to modify the disc drive tray. This will allow me to switch fans more easily. I don’t remember all of the exact cuts I made to the tray, I don’t have any pictures of before I made the cuts, but I do know what the results look like.
Most of the work was done on the screw hole, which I had to cut in half. When cutting try to cut as little as possible. Cutting too much plastic will prevent air from being routed where it needs to go, since the plastic trays act as air shrouds.
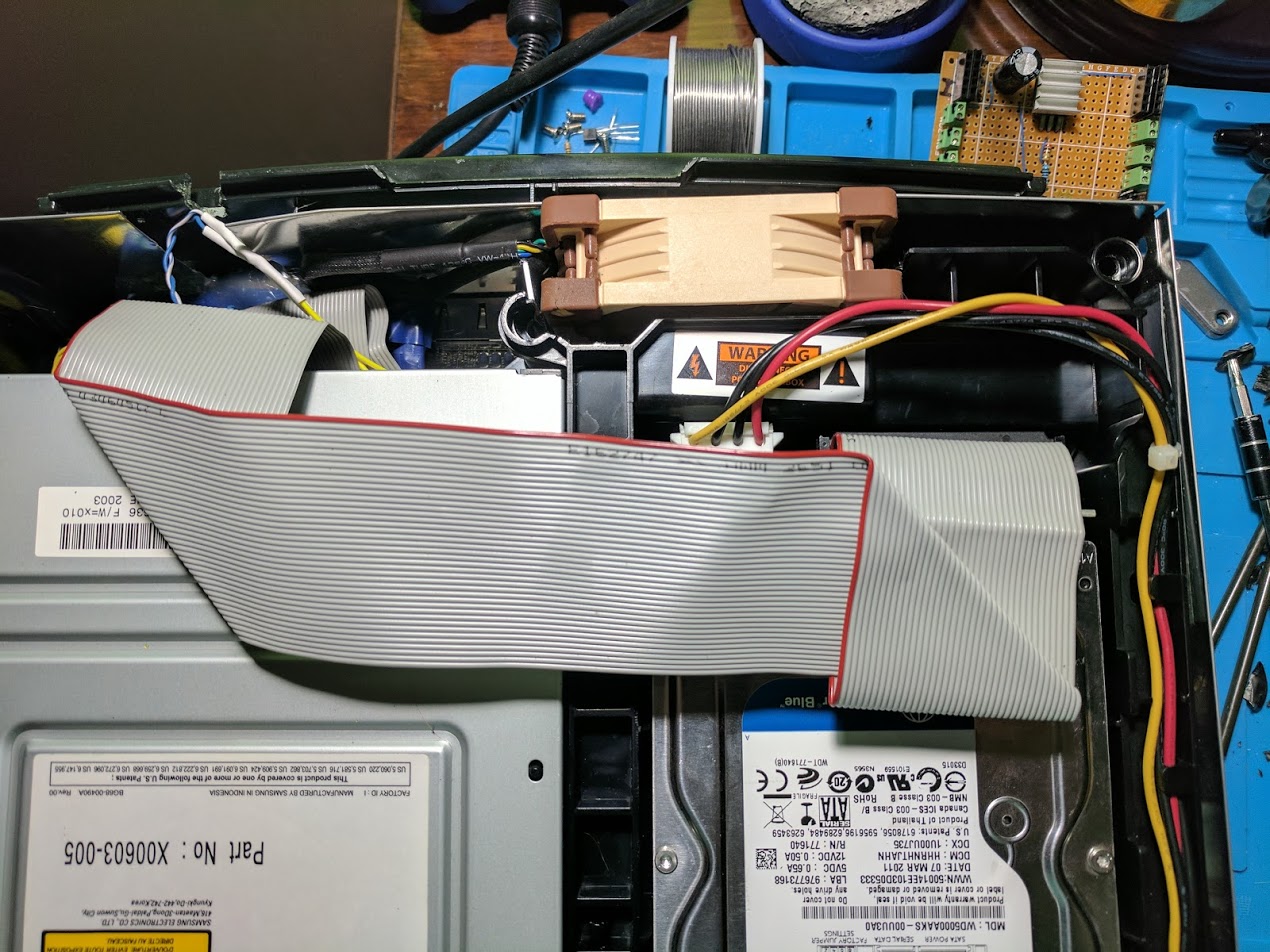
Modifying the hard drive tray
The right side of the fan blocks the hard drive tray from fitting back into the case, so it will need to be modified as well. The bad news is that hard drive tray has a lot more plastic that needs to be cut.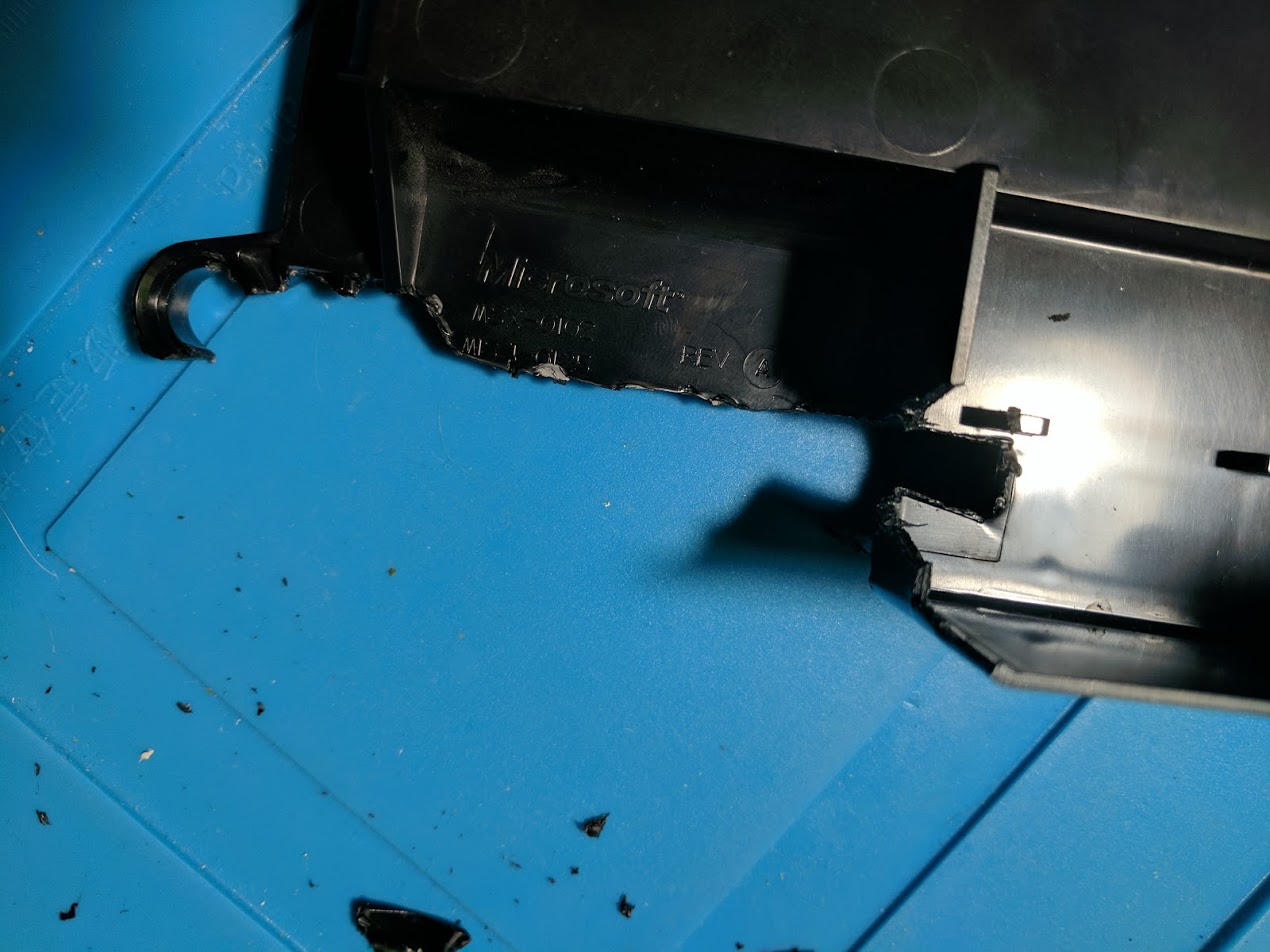
Again, I don’t have pictures of before I made the cuts, but you can use these pictures, and compare them with your stock tray. Just like before I had to cut the screw hole in half for the edge of the fan to fit.
I also had to cut away a lot of the plastic underneath the tray in front of the fan so that it would fit. Just like before, don’t cut away more plastic than you need to, the plastic is important because it helps guide the air to where it needs to go in the case.
Conclusion
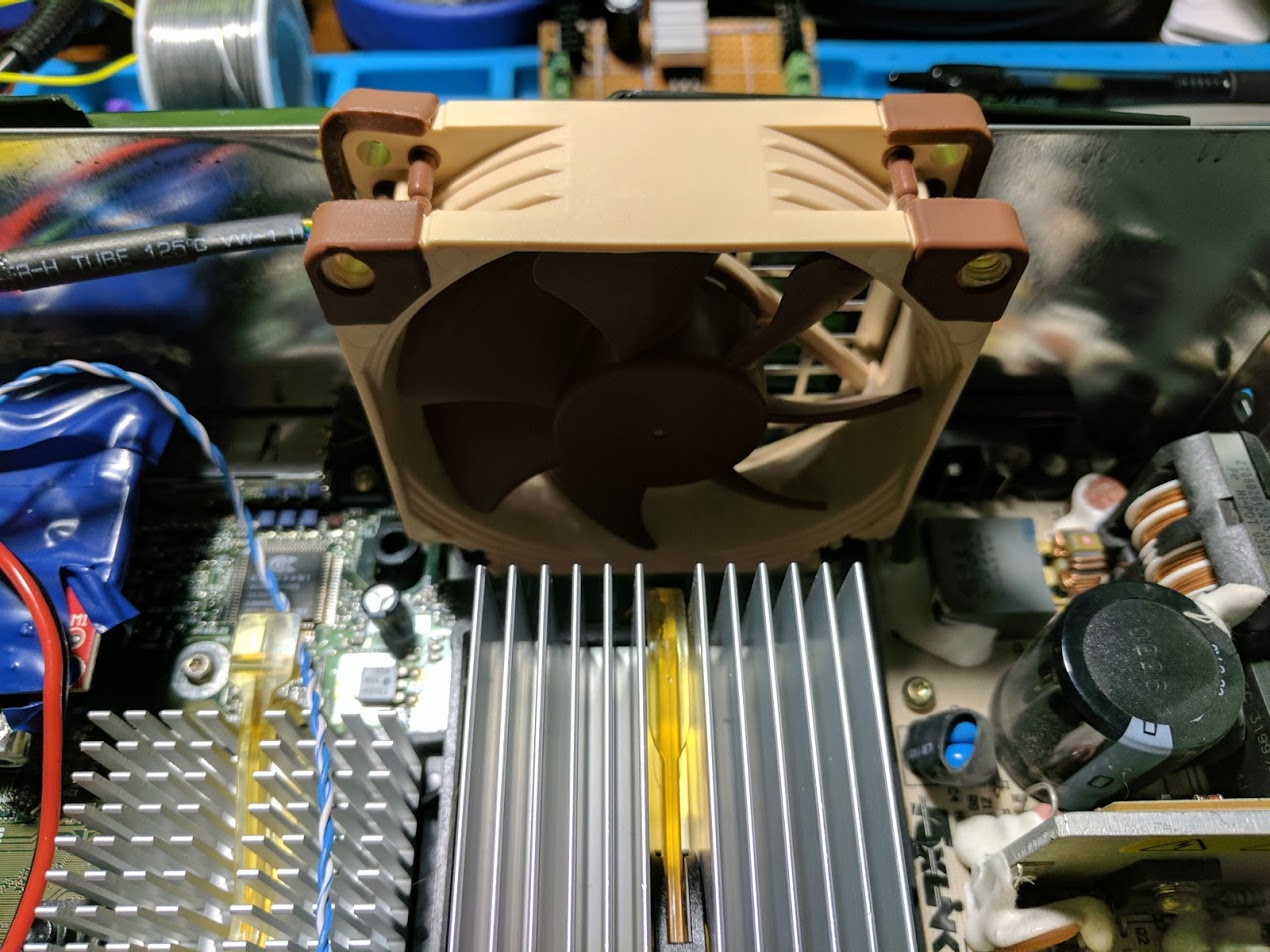
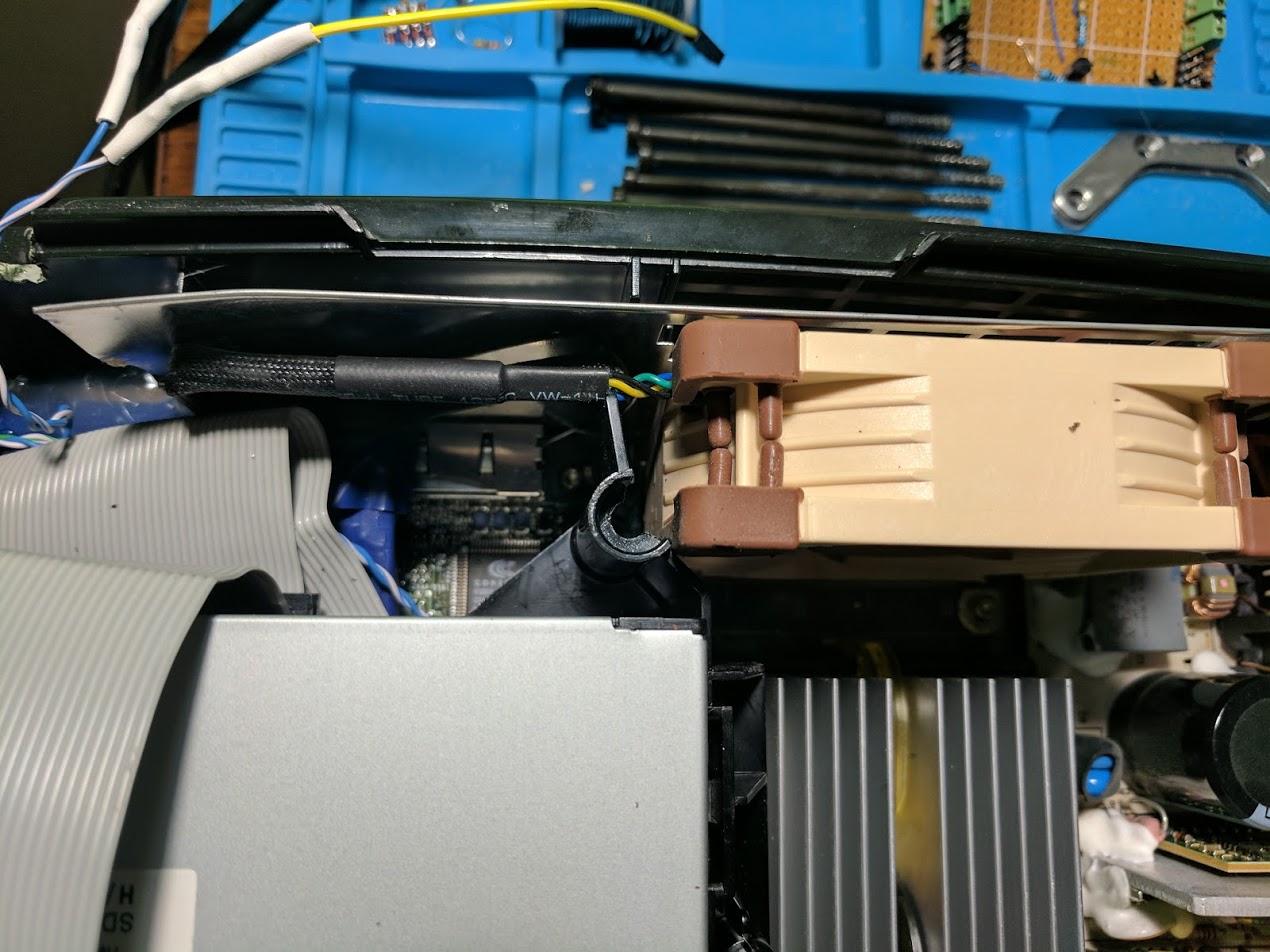
You should now be able to put everything back together, and test out your console. The fan slots into the three pin connector just like the old fan, since Microsoft used a standard computer fan connector.
This mod was a success. I was able to upgrade the fan in my original Xbox to something more silent. Internally it is a pretty ugly mod, with a decent amount of plastic cutting, but from the outside it doesn’t look any different than a stock console. I haven’t had any issues with my original Xbox overheating since upgrading the fan.
you can use a molex to 4 pin fan adapter to get the full 12v. I accidently bought a molex to 3 pin and cut the plastic off the end of the adapter so the power and ground would line up.
[…] ← Previous Next → […]
I do not recommend this mod guys, just regrease the original fan, plus these high rpm Nidec/Delta Blower fans are built for performance in mind to prevent your console from overheating or dying. This Noctua fan doesn’t perform aswell. I maxed out the fan speed and it still runs around 5 to 10 Degrees hotter. Disappointed with this mod. Same can be said about the A6 Noctua Fan mod and the Noctua fan mod for the PS2. Airflow is lacking. https://www.reddit.com/r/originalxbox/comments/njjwrp/do_these_noctua_fans_perform_worse_than_the/?utm_source=share&utm_medium=ios_app&utm_name=iossmf
I just checked the fan speed of the A8 80mm fan which has a max RPM of 1400, the 60mm has a max RPM of 3000, the A4 40mm has a max RPM of 4000. No wonder the A8 80mm, isn’t performing as well.
Now i figured out why the Noctua spins so slow and the speed isn’t adjustable. The main reason why is you’re using the 12v fan. It is supposed to be the 5v version. The fan header-only supplies 6v. What’s worse is that i lost 20 bucks thanks to this mistake, i won’t be able to sell this cut-up fan.
Looks like it’s not a voltage problem guess 12v is the right one, but why is it so slow?