PSIO review and switch board installation – PS1 flashcart
I’ve been following the PSIO for some time now, but didn’t have quite enough interest to purchase one myself. At the moment they cost $149 Australian dollars. After you make the order it may take several months or more to be shipped.
Earlier this month I was contacted by a customer asking if I could install a PSIO switch board into their system. Because of that, I had the opportunity to install a PSIO switch board, and test out the flashcart itself. This post is a brief review of my experiences with the PSIO after a few hours of use.
PSIO Overview
A lot of older cartridge based video game consoles have well known flashcarts for them. These flashcarts allow you to put many games onto an SD card, which gets plugged into a cartridge, which the video game console can load games off of. This is a really great way to play old games that are hard to find, and run homebrew games.
More recently there have been similar devices for optical media based consoles. Examples include the GDEMU for the Dreamcast, and the X360Key for the Xbox 360. The PSIO is one of these optical disc emulator (ODE) devices that was designed specifically for the PlayStation 1.
Due to the age of the PlayStation 1 optical disc emulators are very useful. Lasers wear out over time, and eventually it might be hard to find good working laser replacements. Using a PSIO you can rip all of your PS1 games to an SD card. With the SD card you can play them without ever needing to use the optical drive in the console.
The PSIO takes advantage of the parallel port on the back of earlier, pre SCPH-900x, PlayStation 1 consoles. It also requires that a PSIO switch board be installed. The PSIO switch board allows data lines to be sent though the PSIO cartridge when it is attached.
PSIO Unboxing
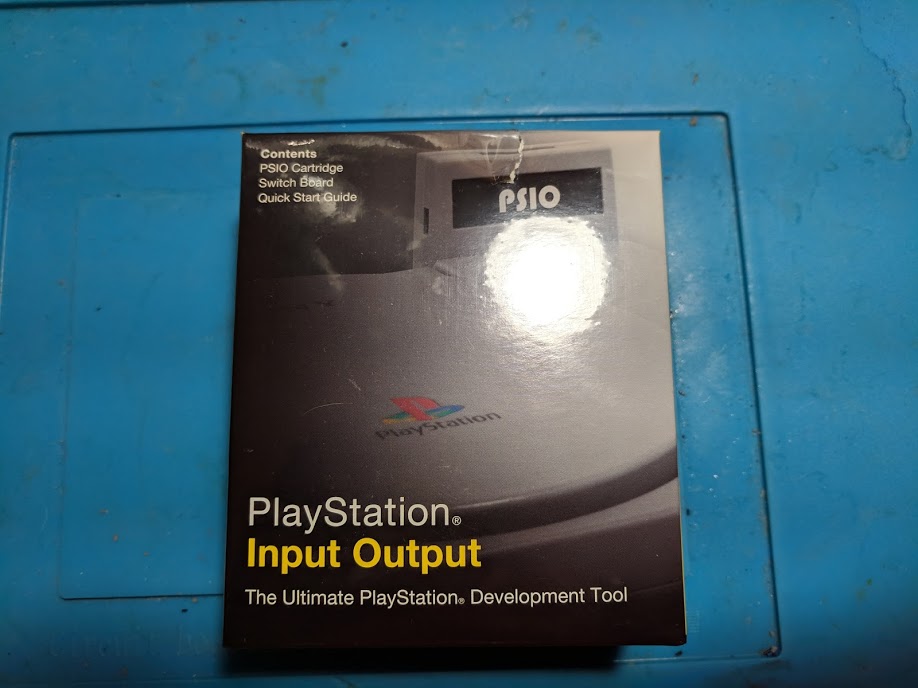
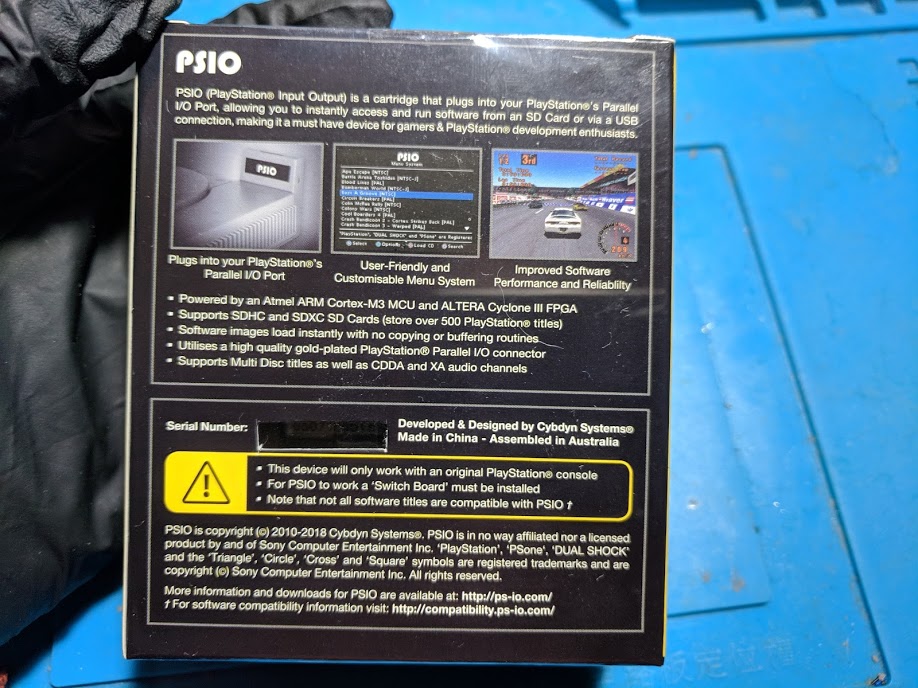
The PSIO comes in a professional looking sealed box that matches the PlayStation 1 styling. It looks like something you could find on a shelf at a game store.
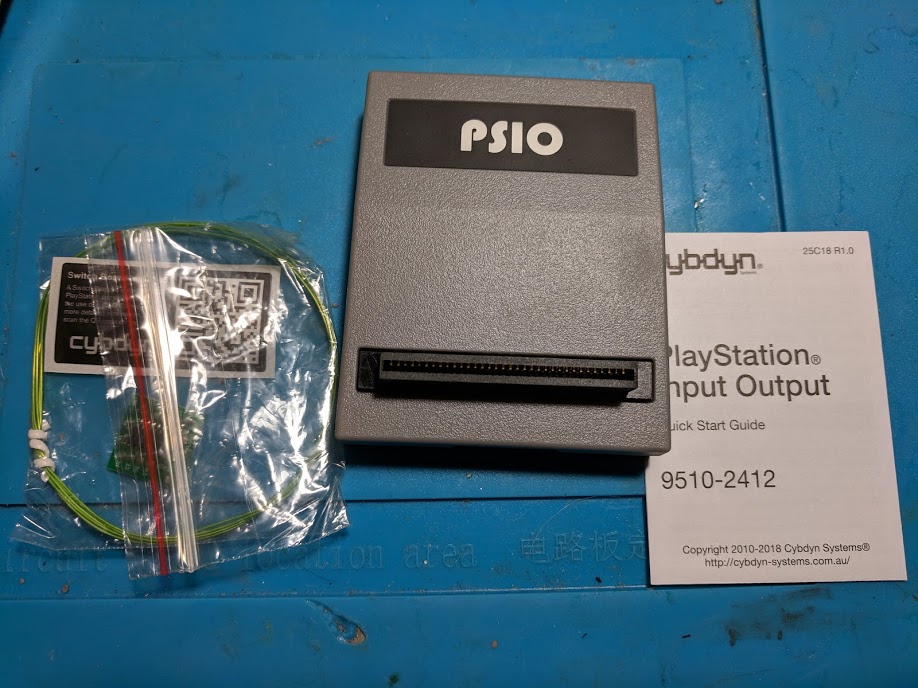
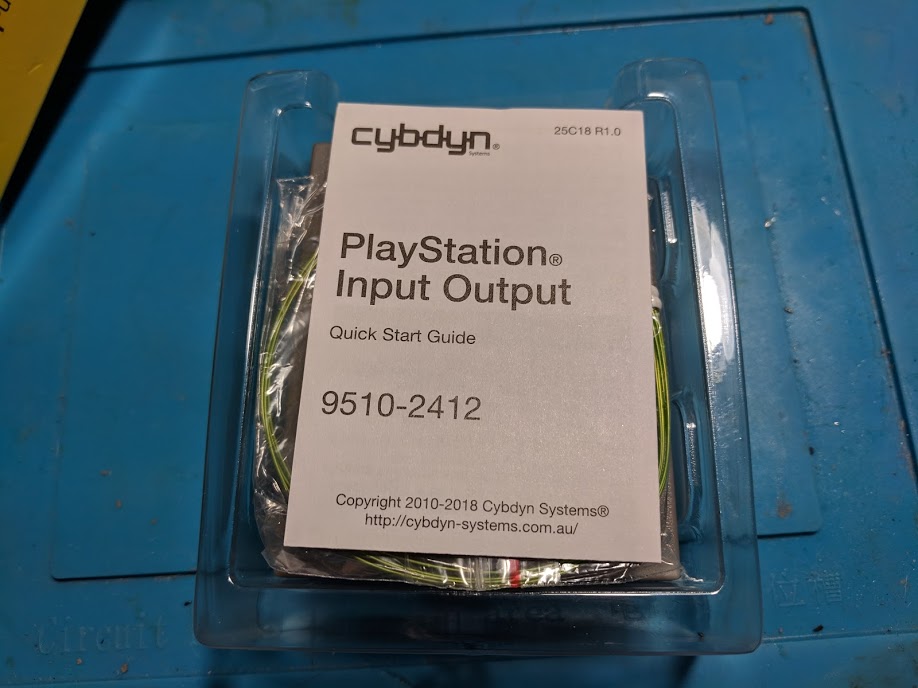
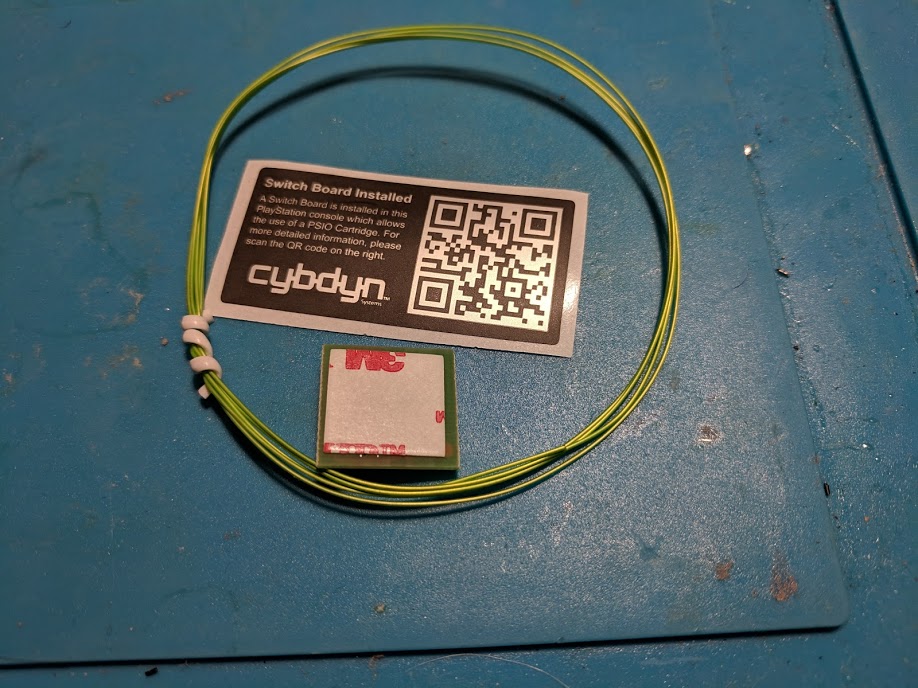
Inside the box is a quick start guide, switch board PCB, kynar wire, switch board sticker, and the PSIO cartridge itself.
Everything feels well built, and worth the $149 Australian dollars. I didn’t end up opening the PSIO cartridge because there is a warranty sticker on the bottom that I didn’t want to break because it’s not mine. When I get my own PSIO I’ll take a look inside and update this post with what I find.

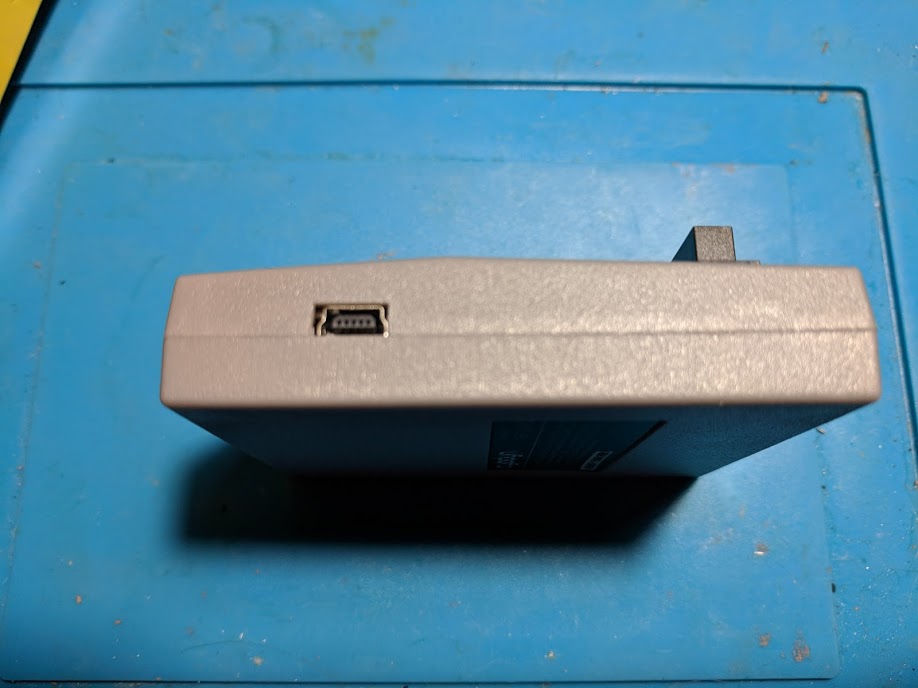
One side of the PSIO cartridge has a mini USB port, and the other has a LED indicator.

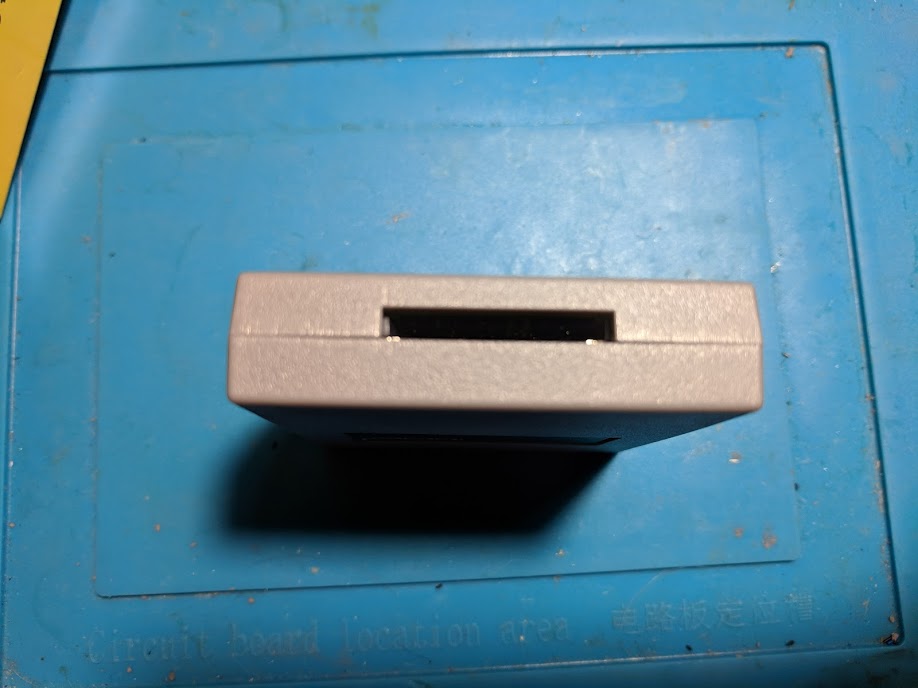
The top has a full sized SD card slot, and the bottom has the warranty sticker.
A closer look at the switch board reveals that it has pre-applied 3M double sided tape at the back. I may end up making batches of these boards to sell in the United States for those who want to have multiple systems compatible with the PSIO.
PSIO switch board installation
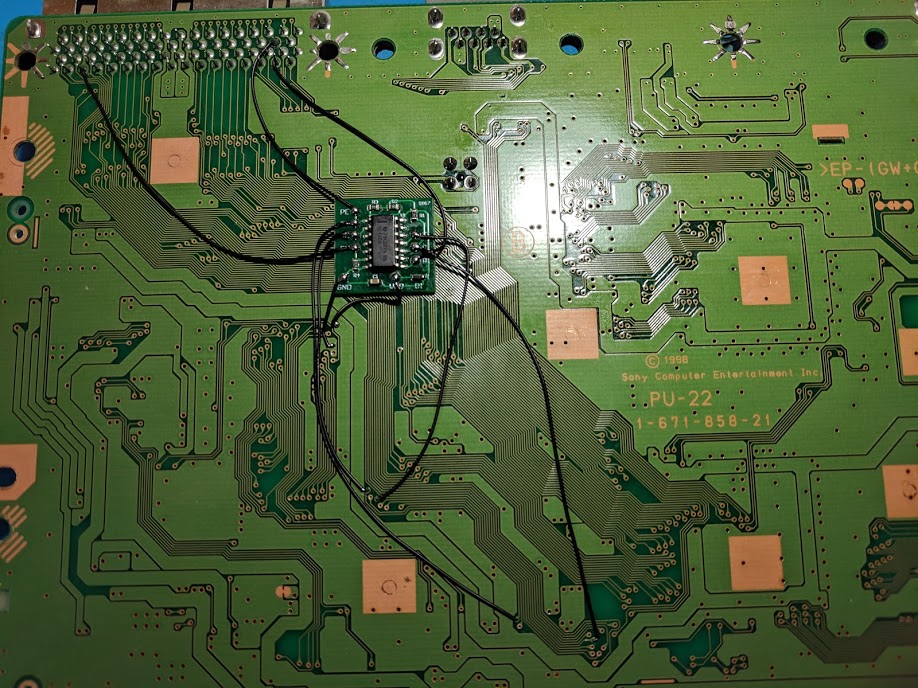
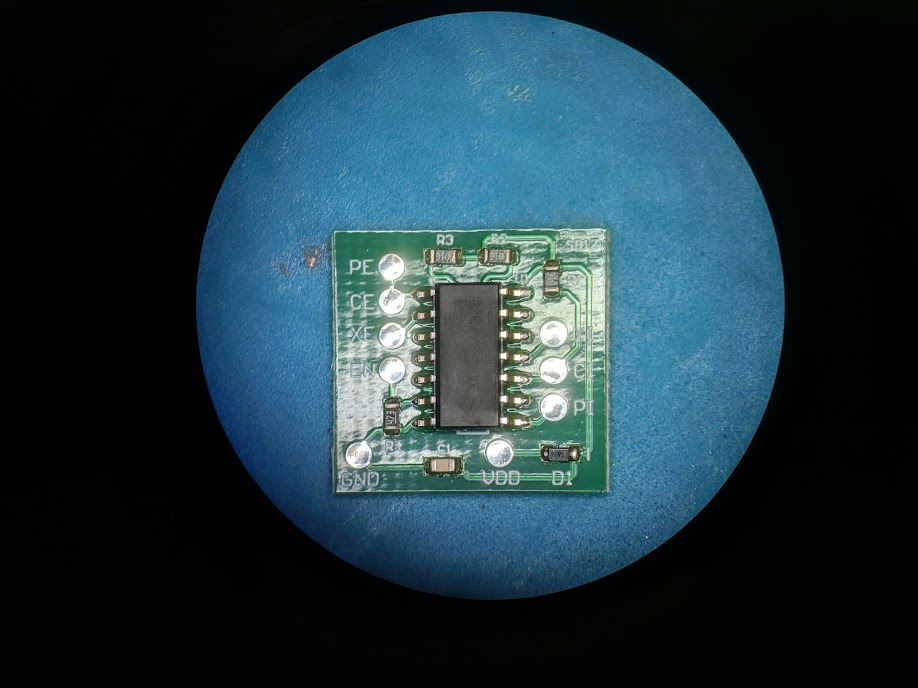
The installed PSIO switch board is pictured above. I put a piece of kapton tape over the switch board when I was finished to prevent anything from shorting if the 3M tape ever comes loose.
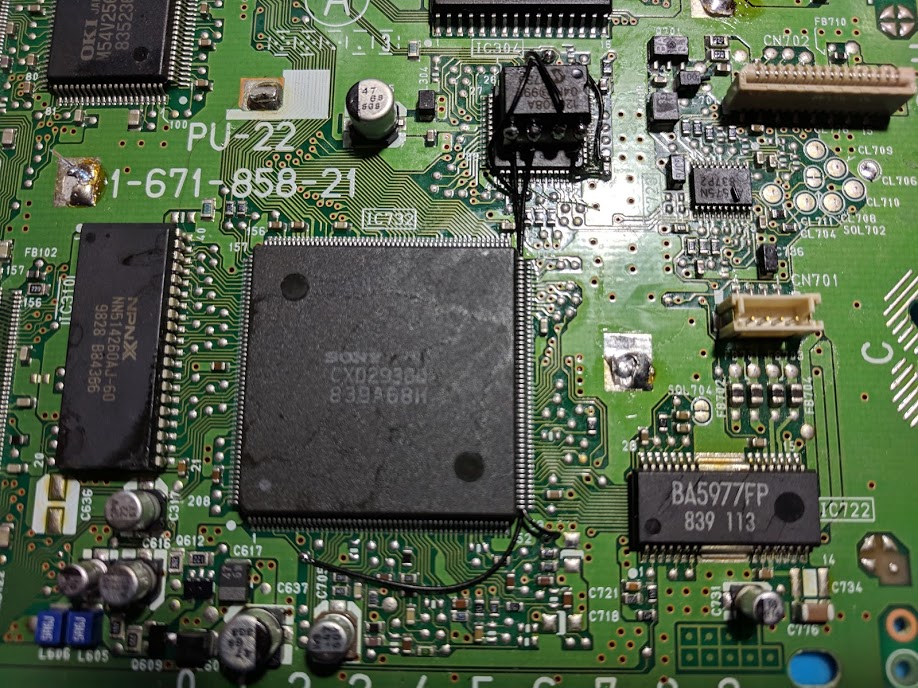
Installation of the PSIO switch board is fairly straightforward. I’m not going to go into very much detail since the developers of the PSIO already have great instructions. The installation process isn’t difficult, but I’d say it’s more difficult than installing a modchip. This is primarily because installing the switch board requires you to cut several traces on the PS1 main board which can be hard to see without magnification, and could destroy your system if you aren’t careful.
Below is a picture of the modchip that was installed in the system when I got it from the customer. Whoever installed it used a lot of hot glue, and unnecessarily long wires. I went ahead and reinstalled the modchip (as seen in the second picture below) as I was worried that it may not hold up to being shipped back to the customer. They also didn’t reinstall the metal shielding found in the console, but there isn’t anything I can do about that.

PSIO first boot
To use the PSIO you’ll need to insert a FAT32 or exFAT SD card into the PSIO, along with the menu system firmware. This firmware is only available to people who have purchased the PSIO.
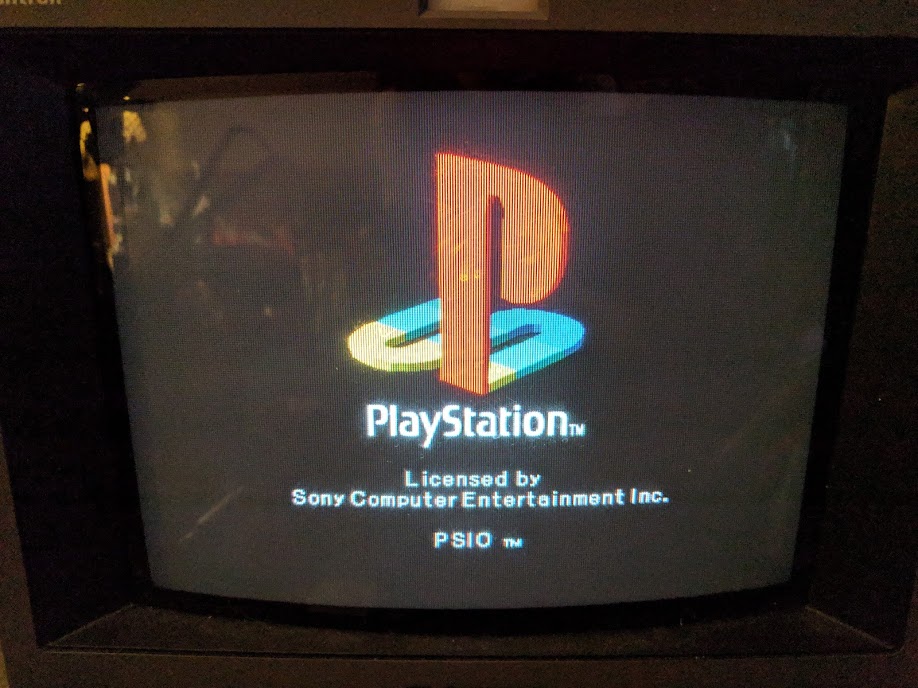
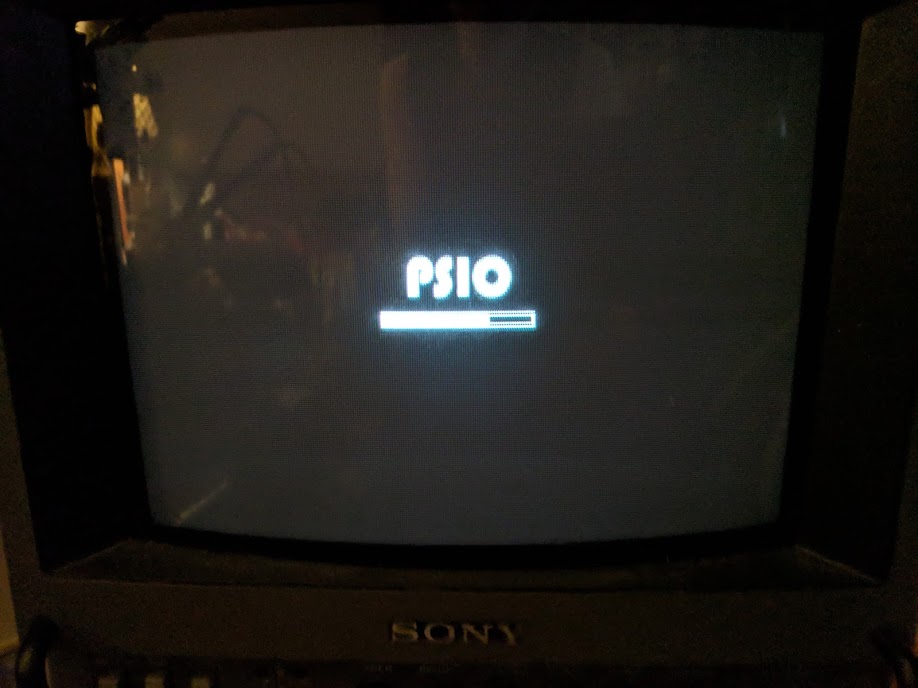
When you boot the PSIO cartridge you’ll see that the PlayStation logo screen now says PSIO at the bottom instead of SCEA, SCEI, or SCEE. After the PlayStation logo screen you’ll see a fairly short PSIO loading screen.
I was then prompted to enter some information into the system, like name, and what menu music I wanted. All of these settings can be changed later. I forgot to take the pictures of these configuration options.
PSIO firmware update
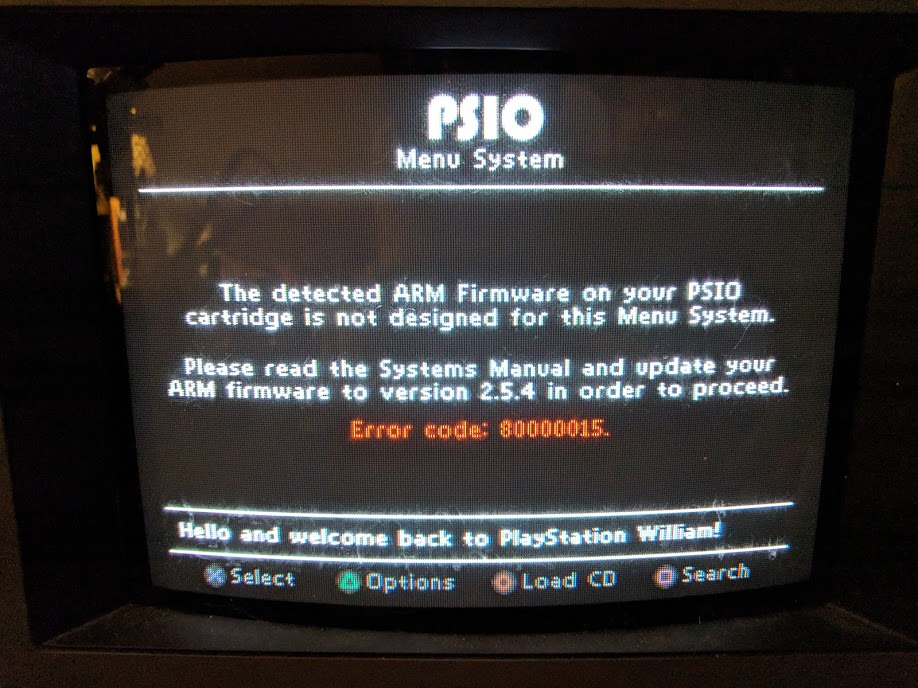
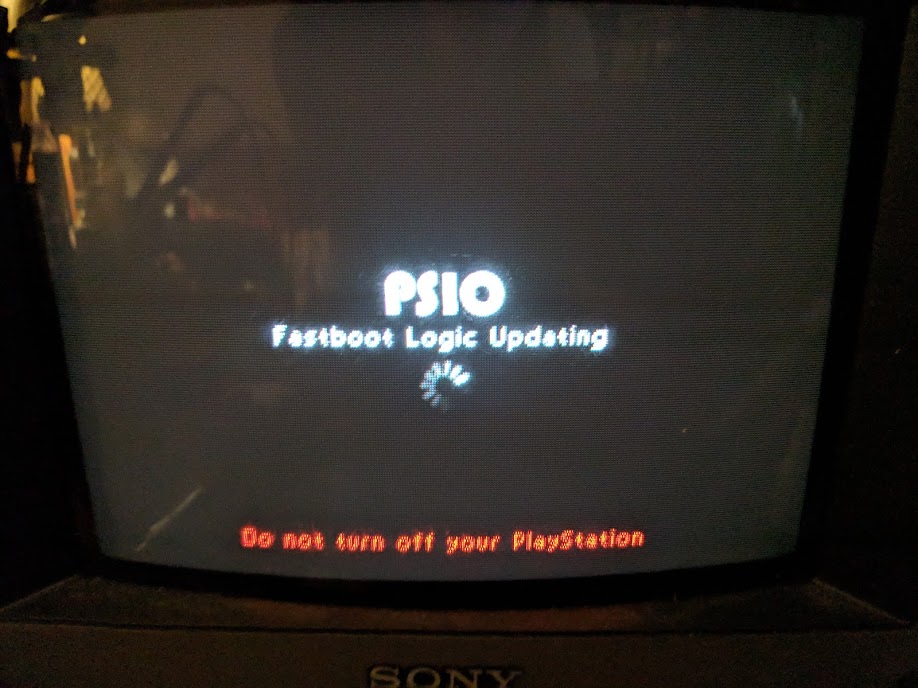
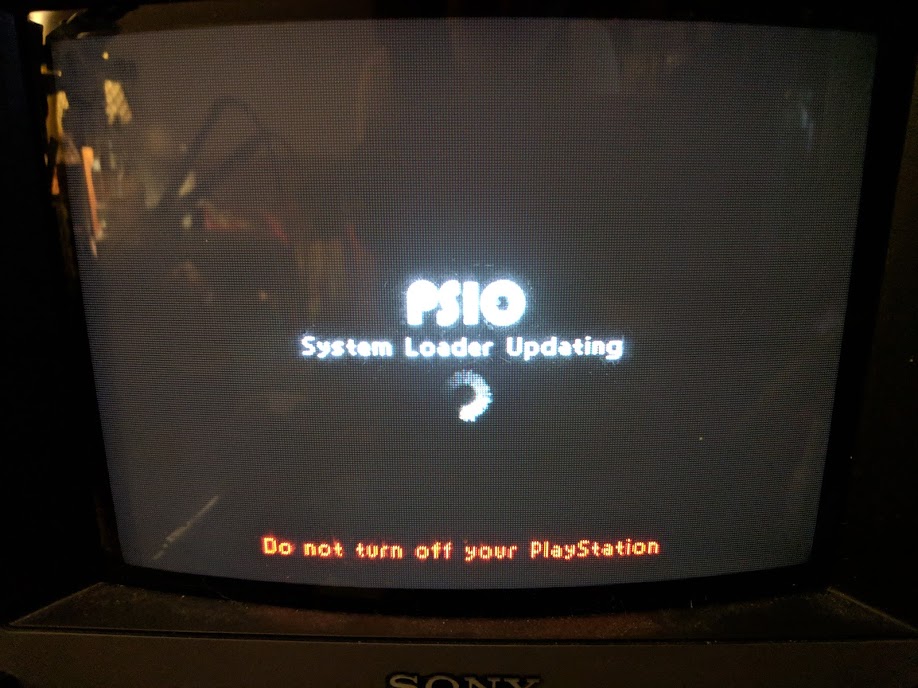
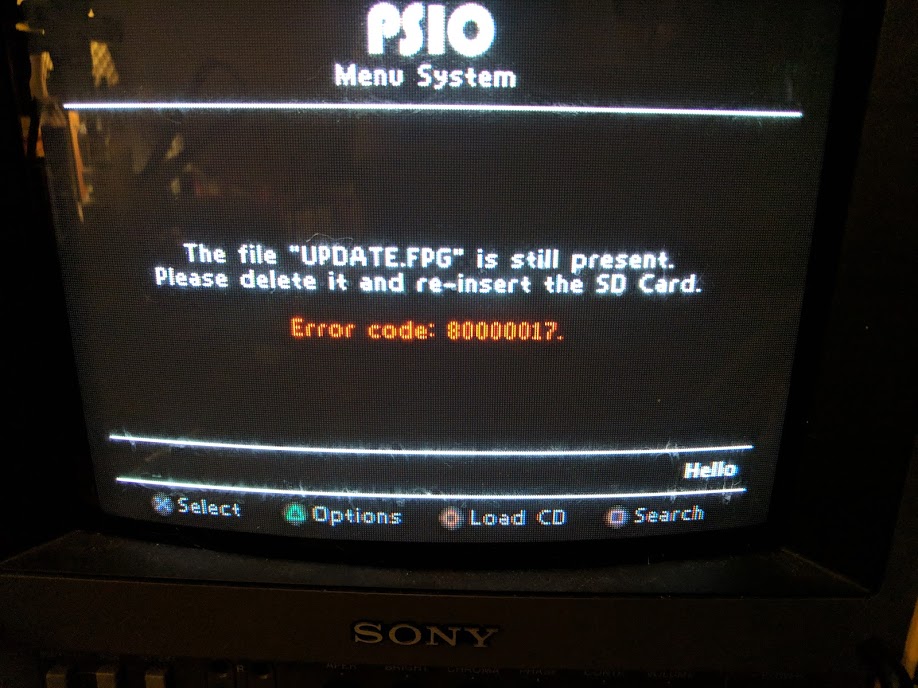
After configuring the flashcart the main menu detected that the PSIO firmware didn’t match the menu system firmware. I was told I needed to update the firmware. To update the firmware, copy the ARM firmware, and FPGA firmware, to the SD card. Then proceed to boot the PS1, and let it update the firmware, don’t shut off the system.
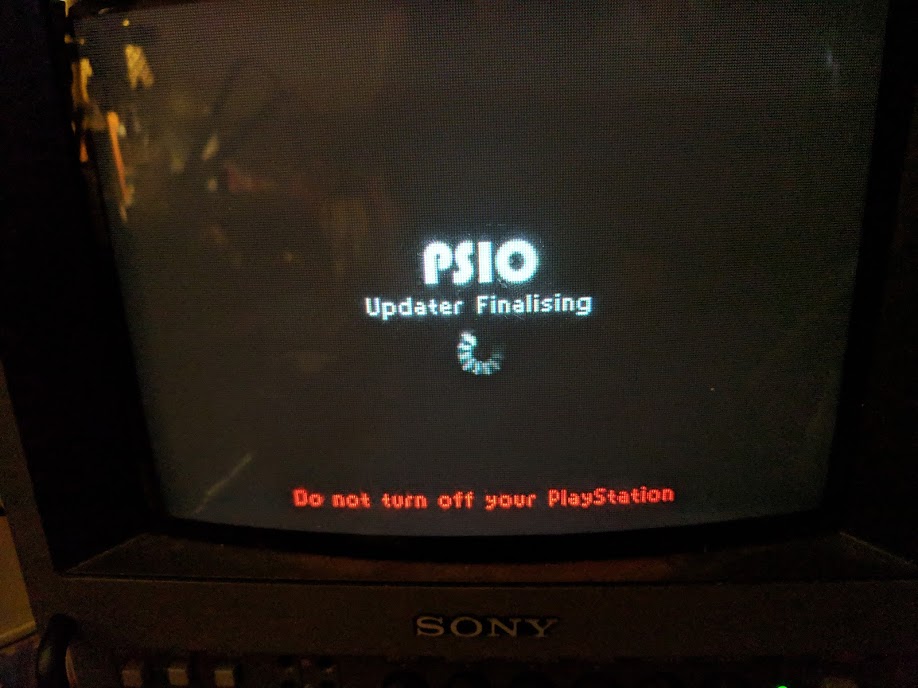
When the firmware has finished updating and the system has rebooted you’ll be prompted to delete the update files.
PSIO menu system
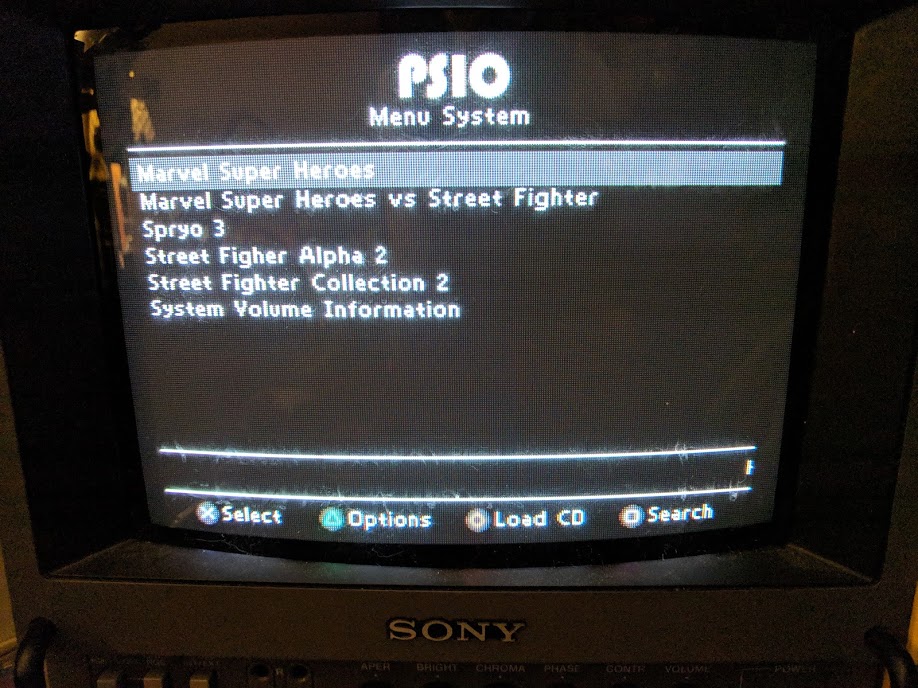
The menu system of the PSIO is fast and easy to use. Games are installed by copying the .bin/.cue files to folders, and are then visible on the main menu. Selecting a game will bring up some cover art, along with game details. After selecting a game you can click play and it will begin loading.
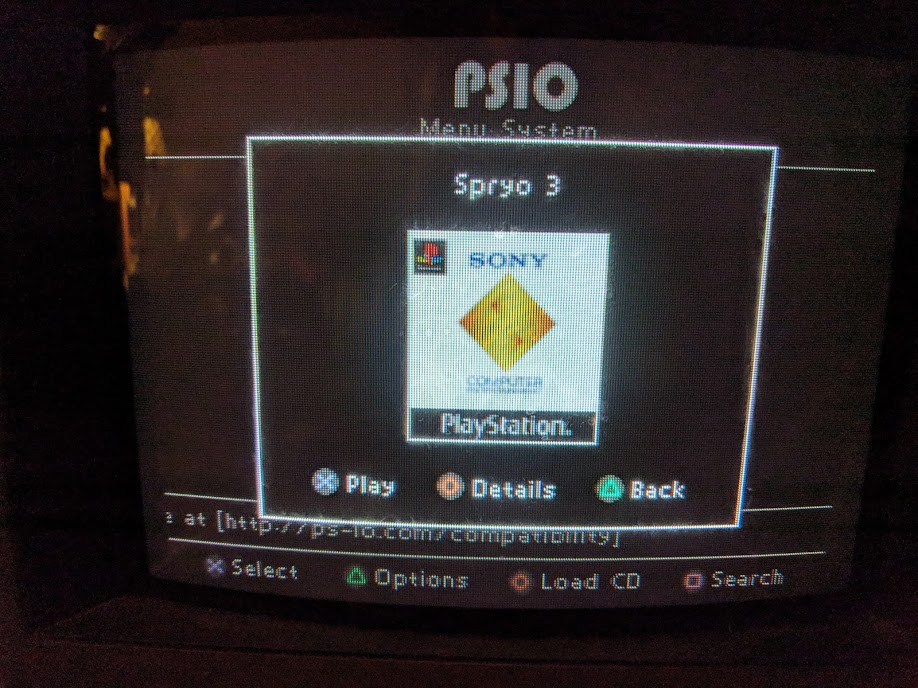
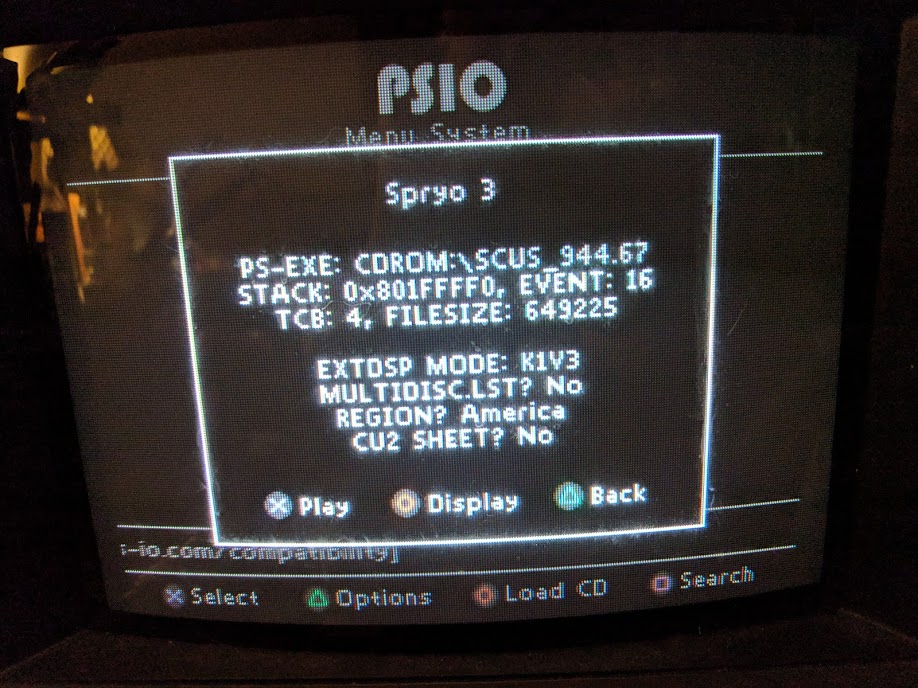
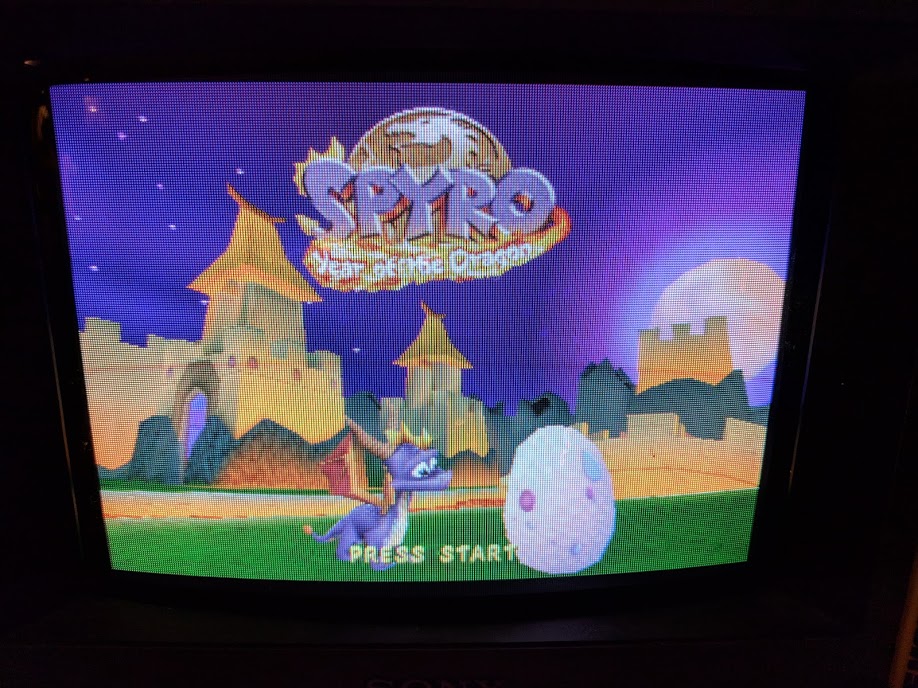
Games seemed to load at a fairly normal speed. Similar to how fast a system with a good laser would load a game, much quicker than if the system has a worn out laser. A lot of this may come down to the limitations in how fast the system itself can load the games. I tested out Spryo 3 which is an anti-modchip game, and it worked perfectly.
PSIO configuration options
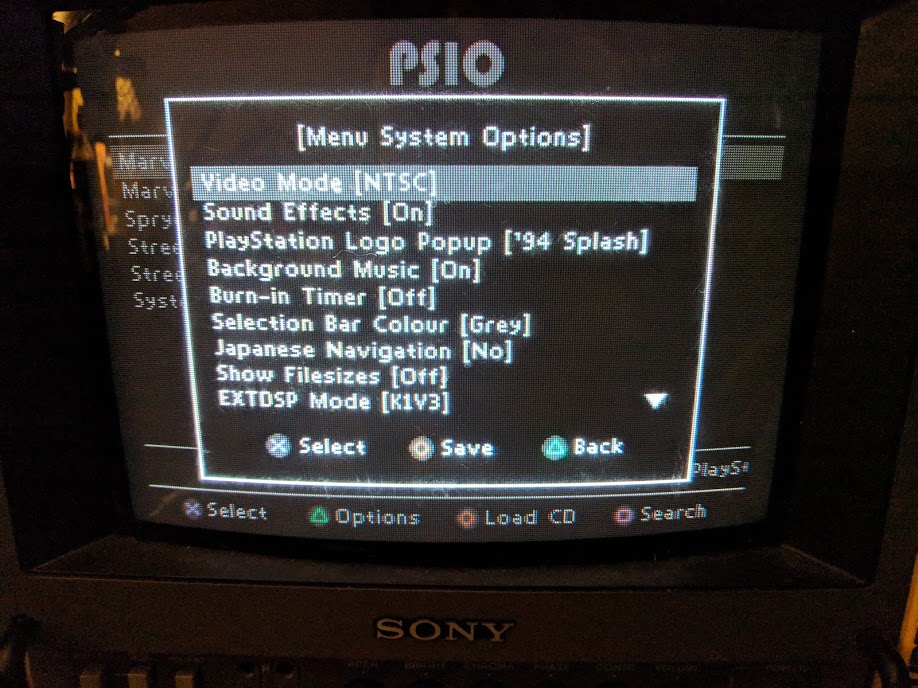
There are a bunch of configuration options for the PSIO. This section covers those options.
- Video mode – Switch the menu system to display PAL or NTSC.
- Sound effects – Turn on or off menu sound effects.
- PlayStation logo popup – Change what displays after you launch a game (can also be turned off).
- Background music – Turn on or off menu music.
- Burn in timer – Turn on or off the screensaver.
- Selection bar color – Change the menu color.
- Japanese navigation – Swap the X/O buttons to match Japanese systems, or not.
- Show file sizes – To show or not show the size of games in the game detail screen.
- XA/CDDA mode – More advanced audio configuration modes. You can try adjusting this if you run into game incompatibility. K1V3 is the default.
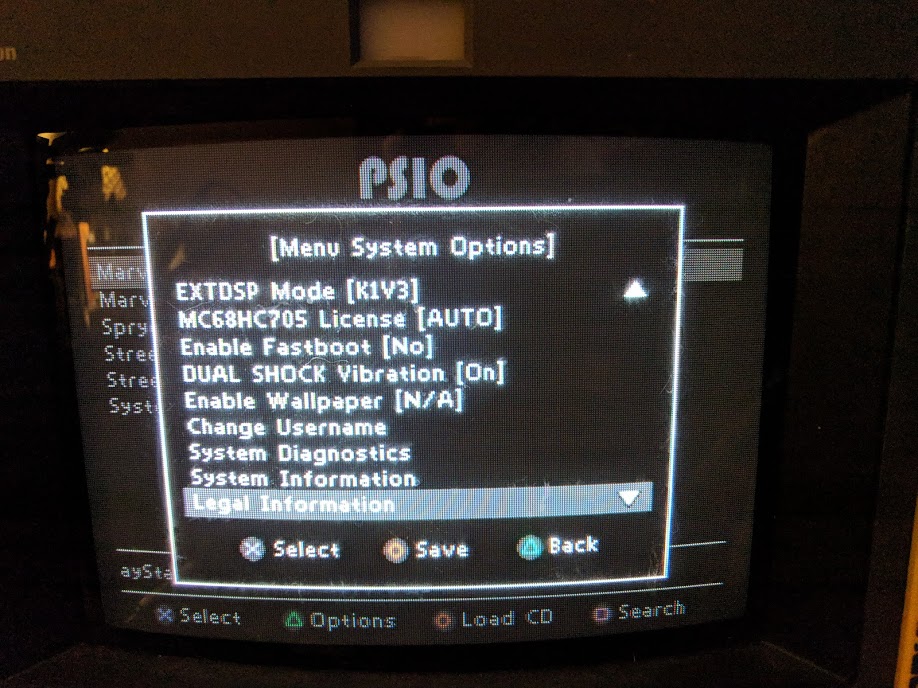
- MC68HC705 license – Set the system region string for loaded games.
- Enable fastboot – Skip the PlayStation stock BIOS boot to get to the PSIO menu faster, or not.
- DUAL SHOCK vibration – Vibrate or not for menu options.
- Enable wallpaper – To display a wallpaper from the SD card.
- Change username – Change the username.
- System diagnostics – Not yet available.
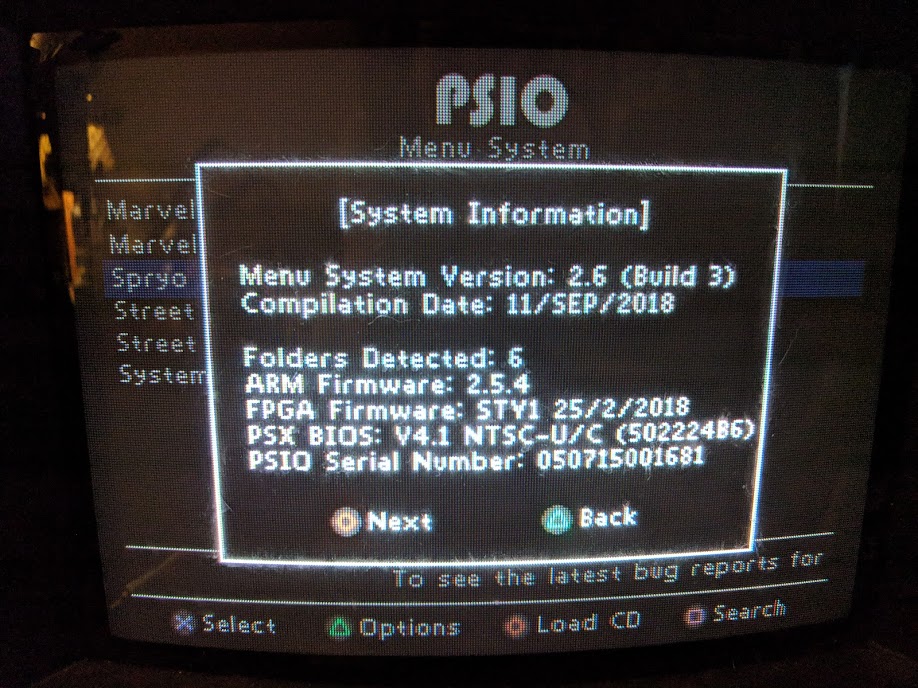
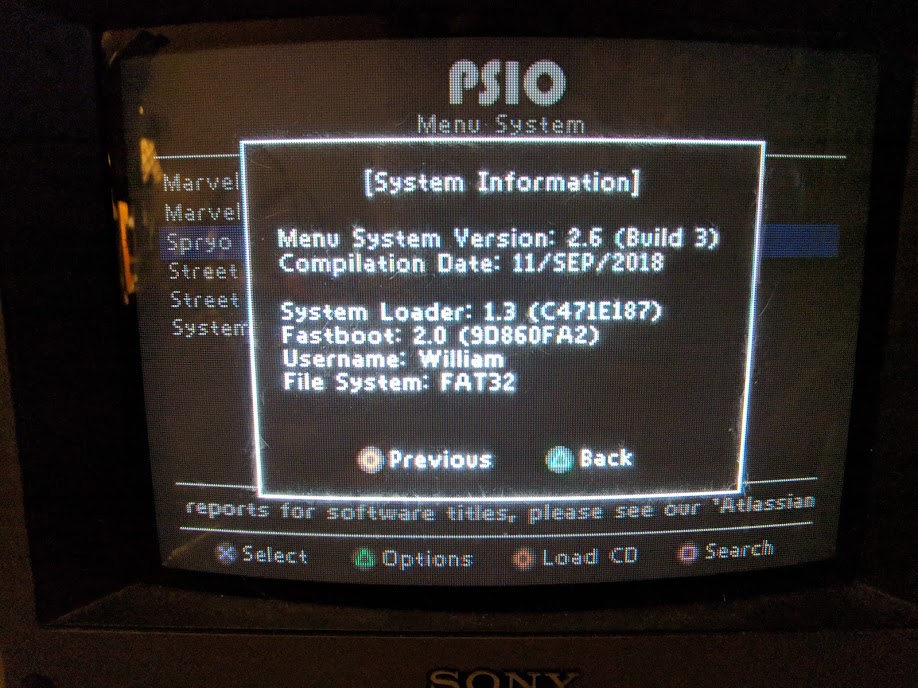
- System information – Display information about the system.
- Legal information – Display a copyright notice.
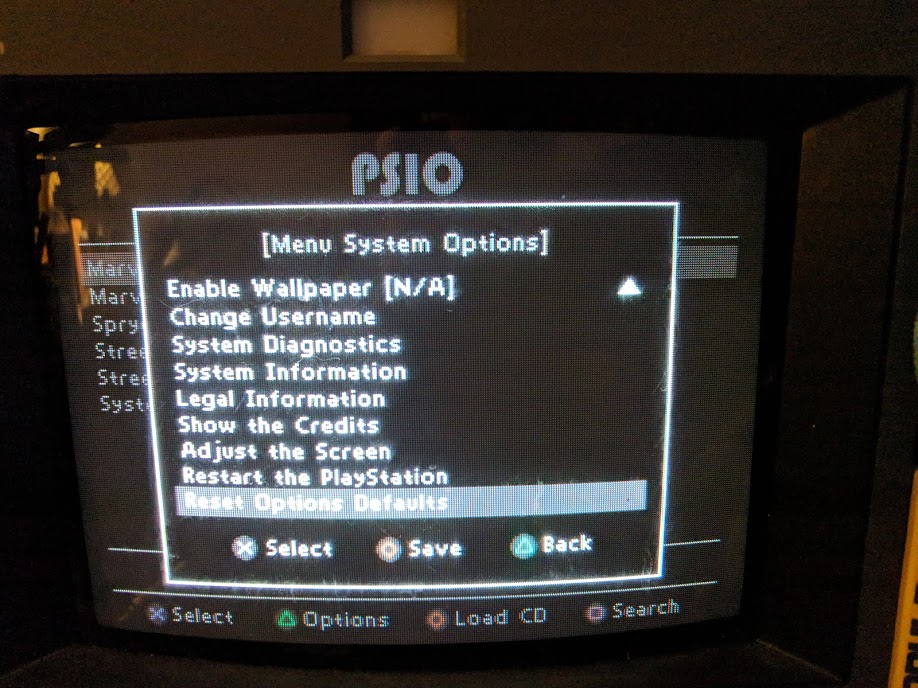
- Show the credits – Show credits.
- Adjust the screen – Change the position of the menu on the screen.
- Restart the PlayStation – Reboot the system.
- Reset options defaults – Reset to factory defaults.
Final thoughts
So now you know that the PSIO is a great device for playing PlayStation game backups using an SD card. The real question is whether or not the $149 Australian dollar price makes the PSIO worth it or not, you can buy a whole lot of CD-R discs for $149.
I personally think that the PSIO is definitely worth it. $149 Australian dollars seems like a lot, but in reality is is under $110 (US dollars) at the time of writing this post. That’s right in line with some of the cheaper flash carts available for consoles (a good NES flash cart is about $100, while a good one for the SNES is around $200). It’s also not much more than the PlayStation Classic which will be released in a few weeks.
The more I think about it the better value the PSIO seems. It’s a very well engineered project, at a very reasonable price. I went ahead and ordered one, which is expected to arrive in March. The wait time for the PSIO is one of the bigger downsides to it at the moment, but in the future they’ll be sold without any wait.
Fore more information about the PSIO, you can check out the PSIO website.
I just installed one of these myself, yesterday. I am very pleased with it. I pre-ordered mine during development, in Dec 2017, and it finally arrived two days ago, December 2018. The wait was WELL worth it. So far, it has been flawless. I find it to be MARGINALLY faster than using the CD drive. When streaming from USB (i.e. sending a .bin/.cue over USB from your PC to the PSIO using the PSIO Manager software) load times are slower than directly loading from the SD.