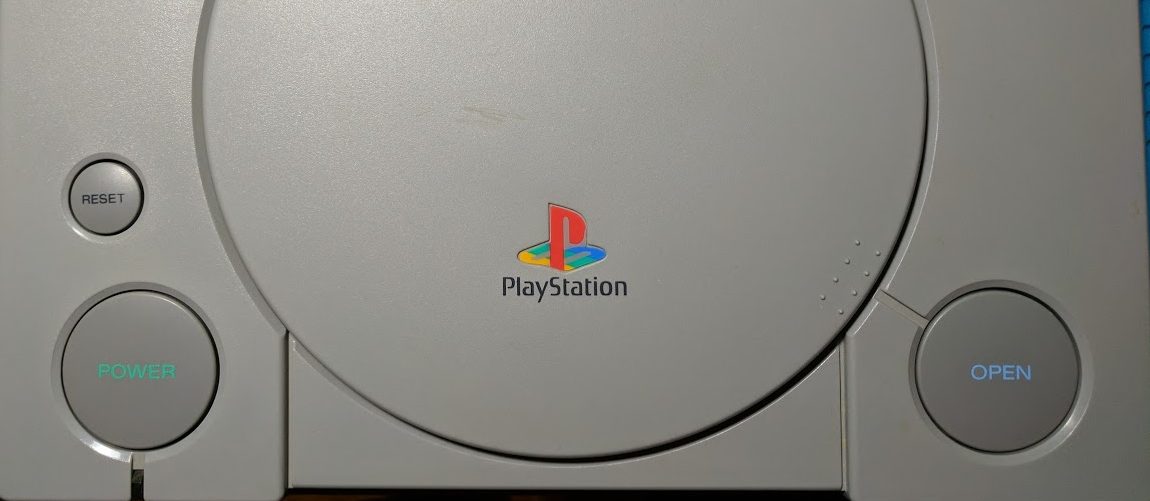
SCPH-7501 PlayStation 1 MM3 modchip installation (PU-22 NTSC board)
In April I wrote a post on how to install a MM3 modchip into a PM-41 NTSC PSone console. This is a similar post, but covering anSCPH-7501 PlayStation 1 MM3 modchip installation. An MM3 modchip allows the PlayStation to boot directly to game backups burned to CDs.
MM3 modchips also allow you to run games from other regions. You can buy an MM3 chip for not a whole lot of money, they’re around $4-10. Cost primarily depending on how long you want to wait for your chip. Buying a chip from China is cheaper, but takes longer to arrive. I purchased my chip from a US seller on eBay preprogrammed and prewired for $8 shipped.
This post covers the SCPH-7501 PlayStation 1 console with the PU-22 NTSC board inside. Sony released many different versions of the PlayStation, if your model is different you’ll need to find another guide, or at least a different wiring diagram.
Things you’ll need
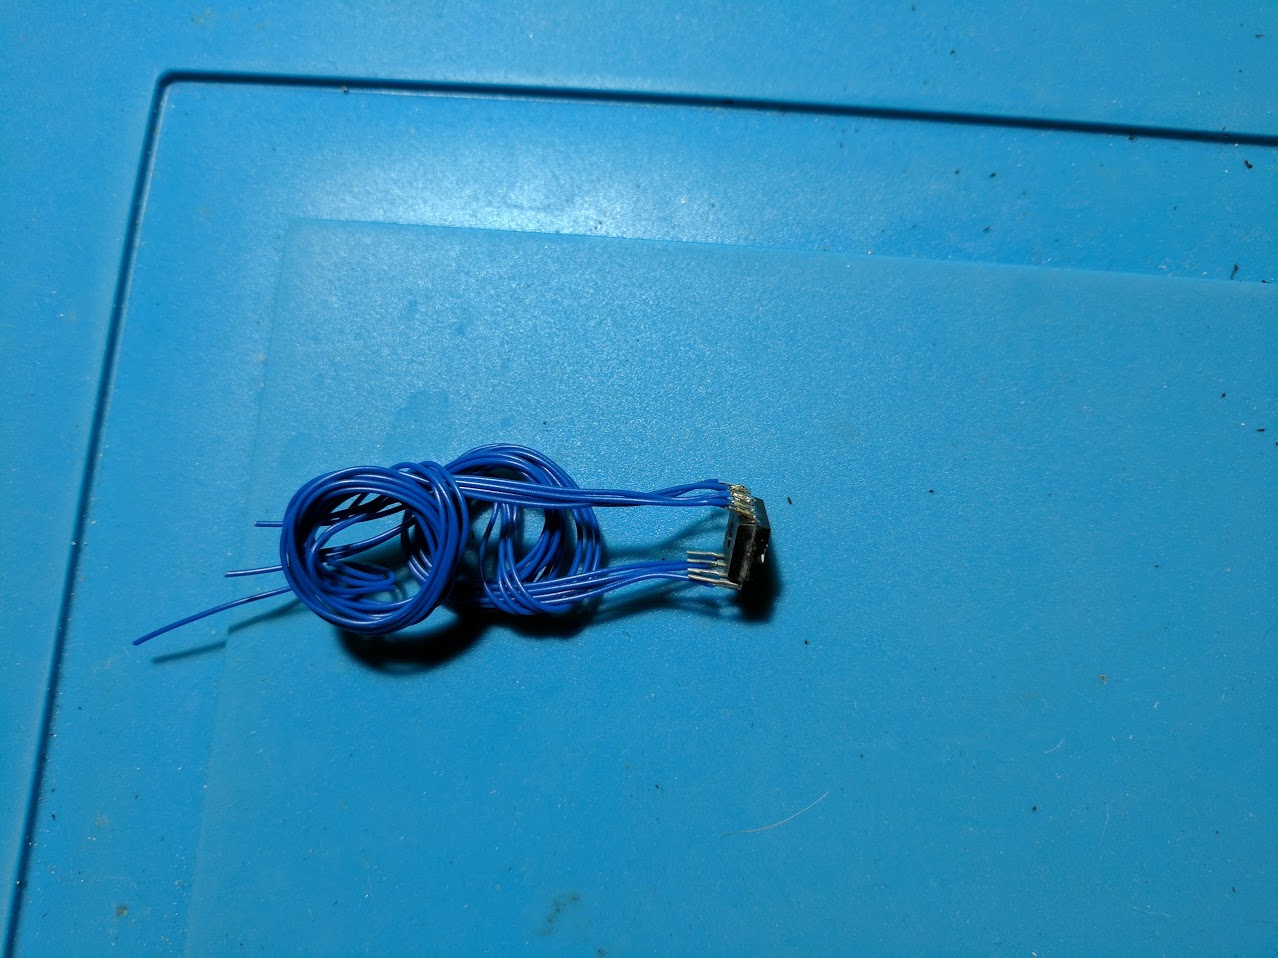
Here’s a list of items you’ll need for your MM3 modchip installation. In my case the MM3 chip I bought from eBay already had wire preinstalled, so I didn’t need to add the wire.
- PU-22 PlayStation
- A programmed MM3 modchip for American consoles
- 30 AWG Kynar wire
- Soldering iron
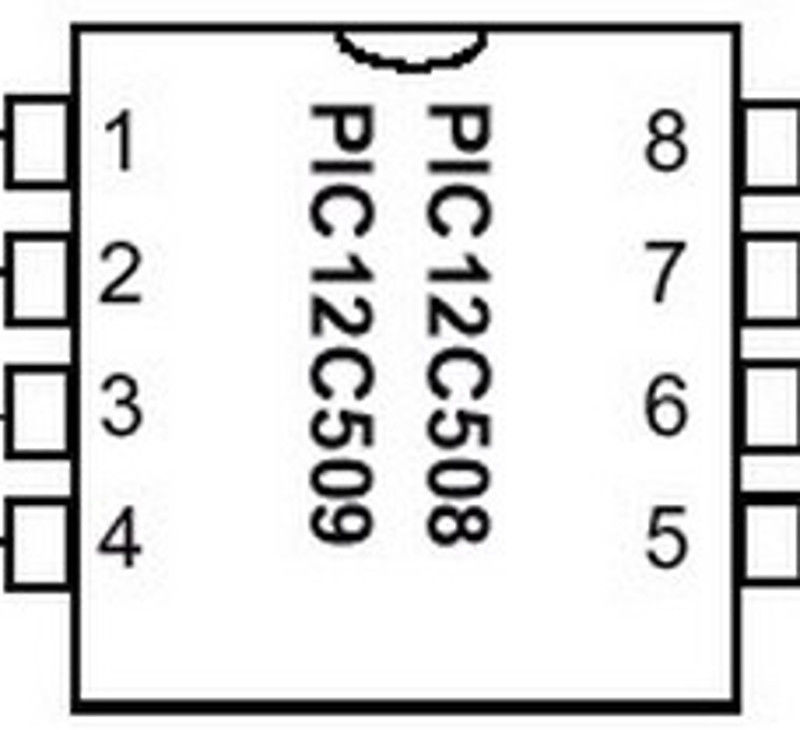
If you want to save some money you can actually buy a PIC12C508A chip, and program it yourself. The chip costs a little over a dollar, and a programmer costs about $50. So if you already have a PIC programmer, or you’re going to be installing a lot of chips, it might be worth looking into.
I’m looking into making MM3 chips which I can sell on eBay since it seems like a decent way to make some extra money. There are also AVR/Arduino sketches which can be used for a modchip, which I may look into in the future. An ATtiny chip for around a dollar, along with an Arduino (to act as an ISP programmer) which you probably already have, might be a cheaper alternative to a PIC based modchip.
Installing the modchip
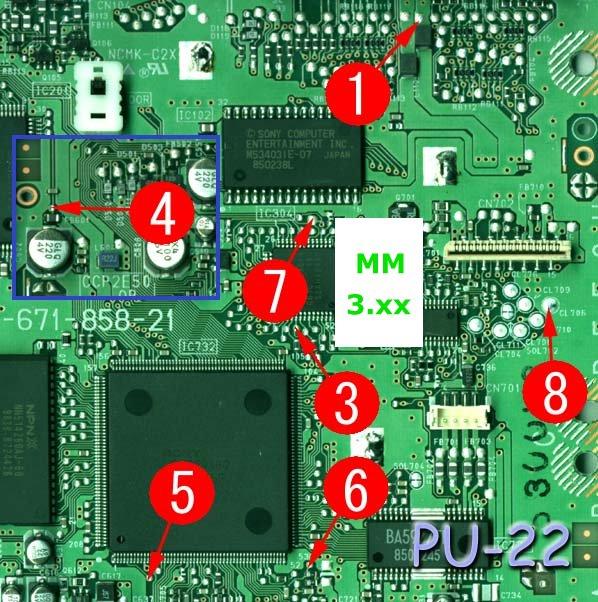
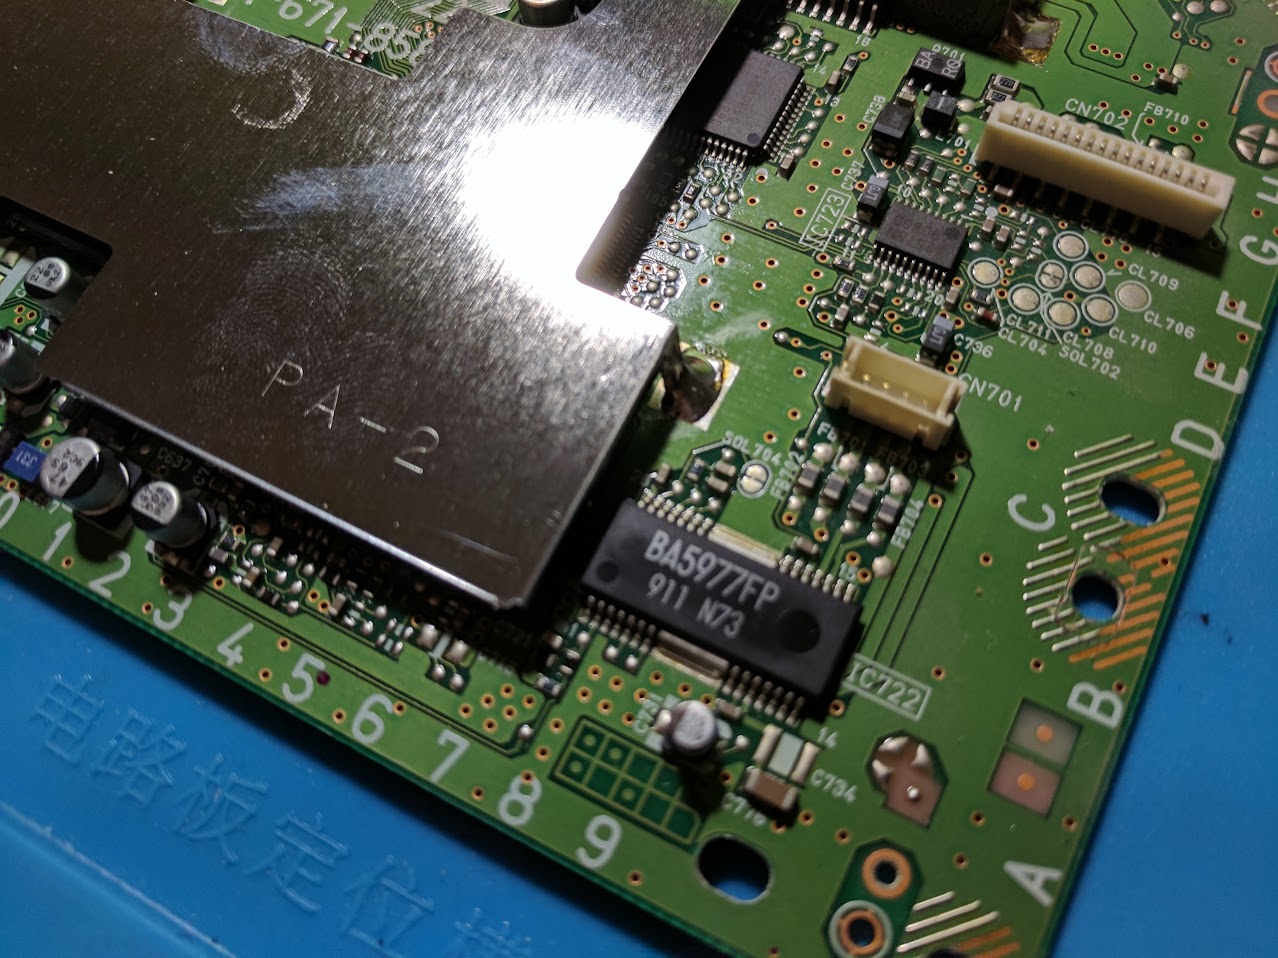
The actual PlayStation MM3 modchip installation is pretty straightforward. You’ll need to solder wires to seven points on the top of the console’s motherboard based on the diagram of the motherboard above, and the diagram of the MM3 chip below. Pin one corresponds to the pin with the circle near it, or the pin to the left of the notch.
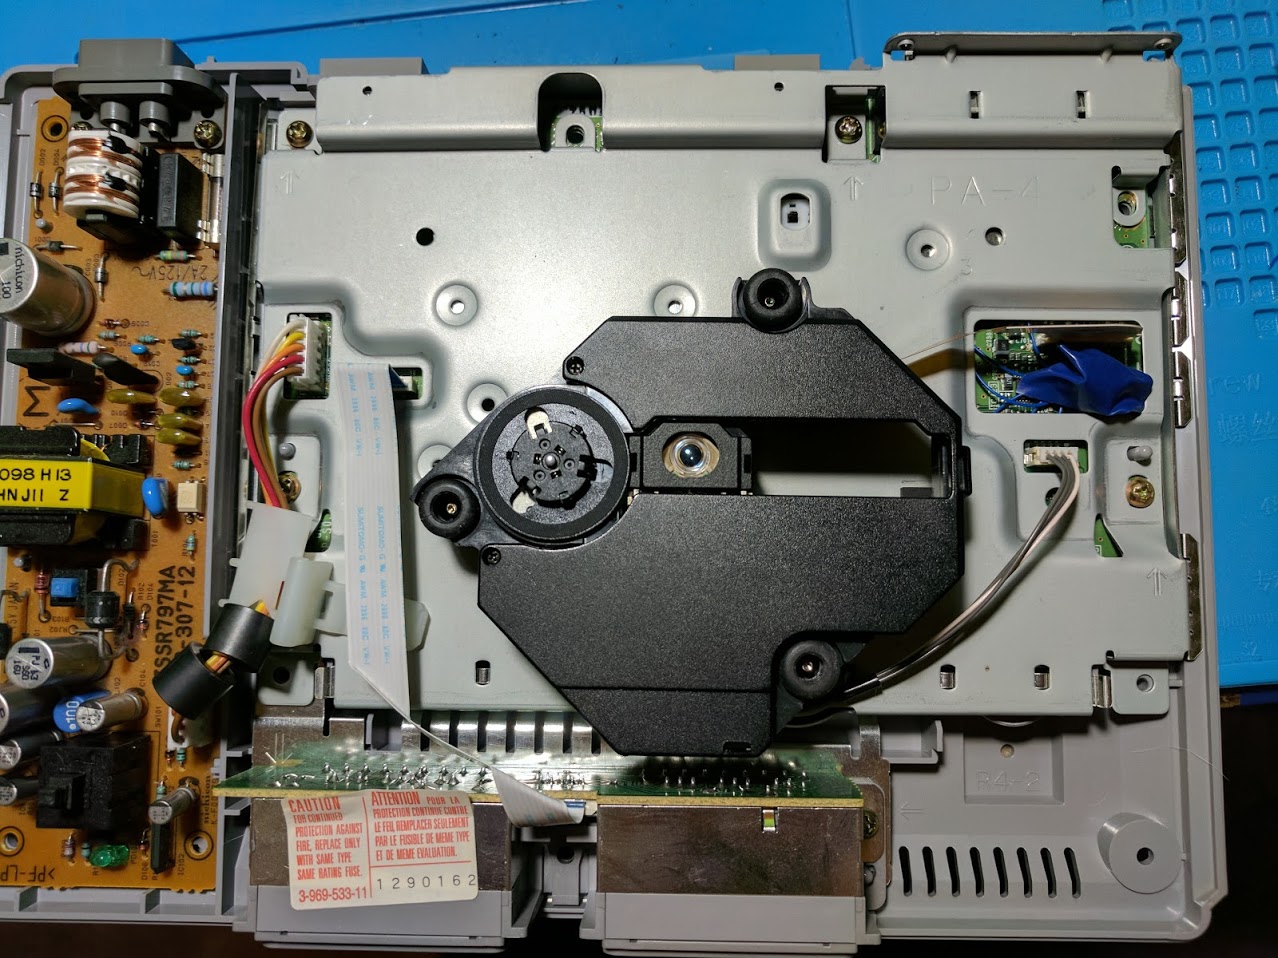
My board had a large metal shield covering most of the board. To access the points you’ll need to solder to the shield needs to be removed. Heat up each of the points individually while lifting the parts of the shield off of the board. You can leave the solder on the board for reattaching the shield.
I heated up and applied a little bit of extra solder to each of the eight points to make soldering a little bit easier. Make sure you strip only a very small amount of insulation off of the wires so that you don’t have to worry about shorting any nearby points. Also shorten the wires as much as possible to prevent extra interference. If you are having trouble with your modchip, and your soldering is good, there’s a decent chance your wires are too long.
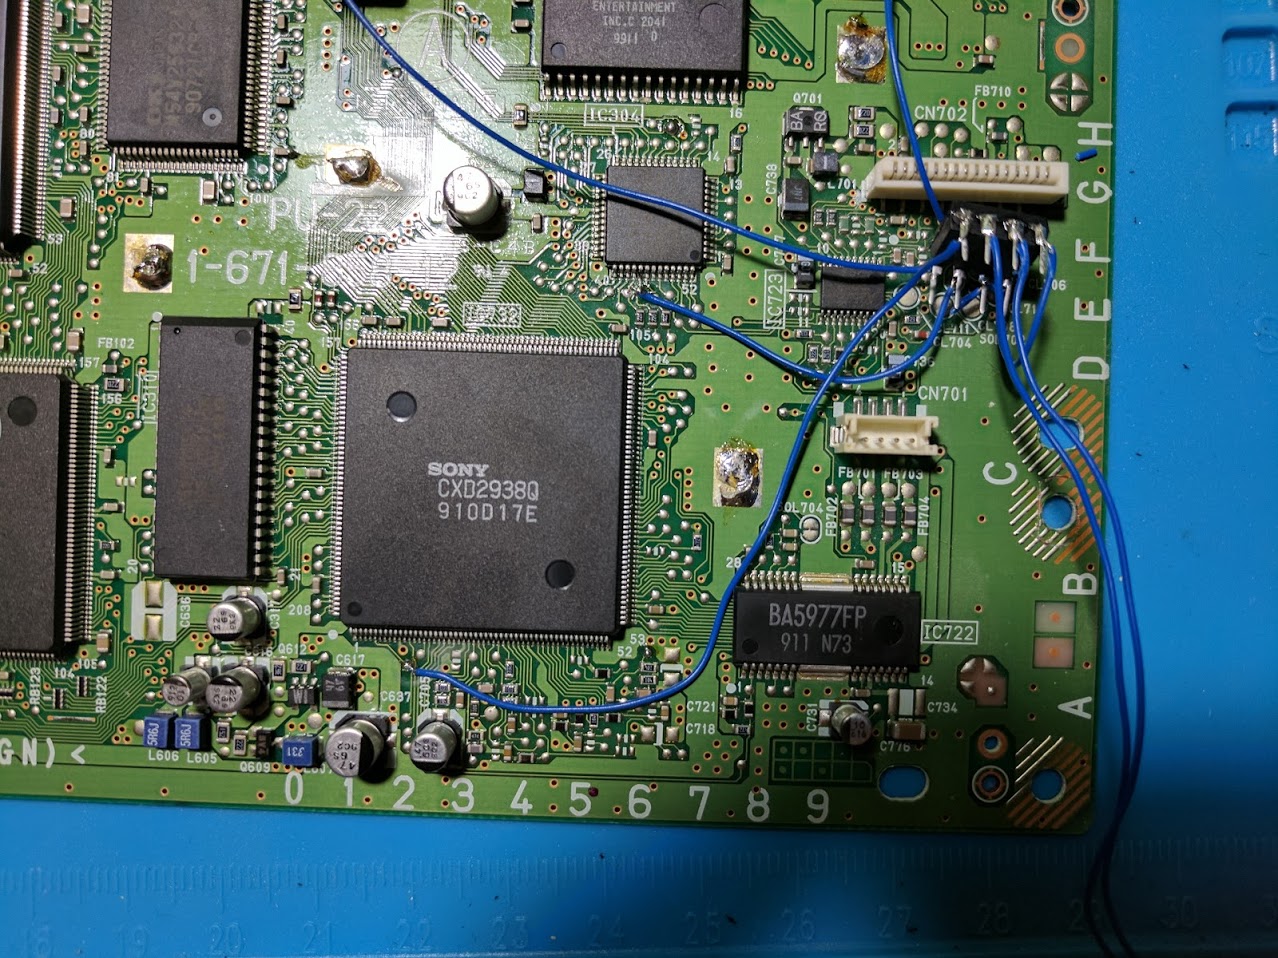
I found the modchip installation to be very easy. All of the points you need to solder to are just small pads. There aren’t any surface mount components, or legs of chips to solder to, like what is required to install a modchip in some other consoles.
Pin four on the board can be slightly confusing. The diagram doesn’t give any context as to where it is. The image above gives a better idea of where this point is, it’s the one in the top left.
Putting everything back together
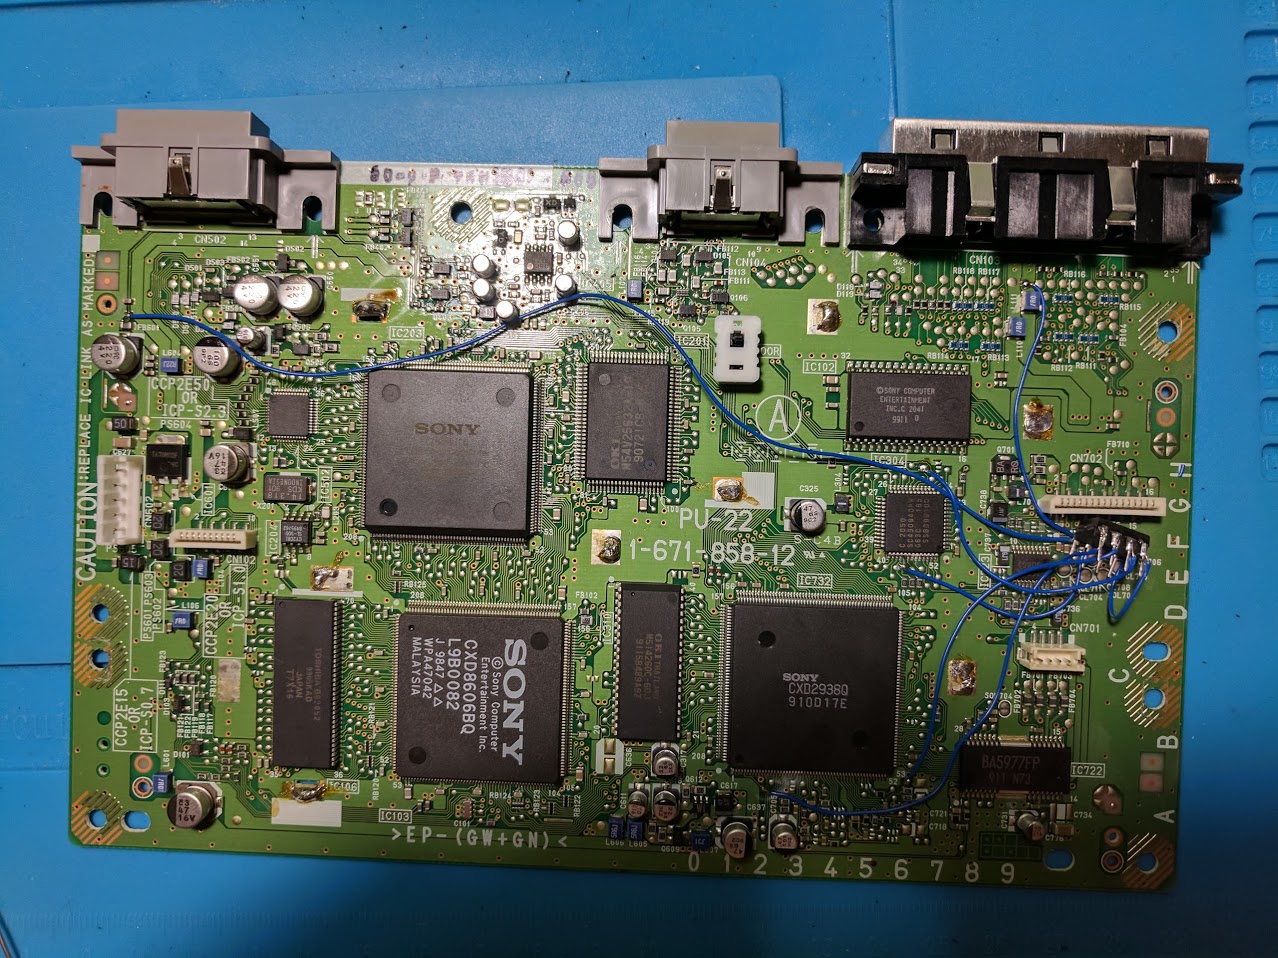
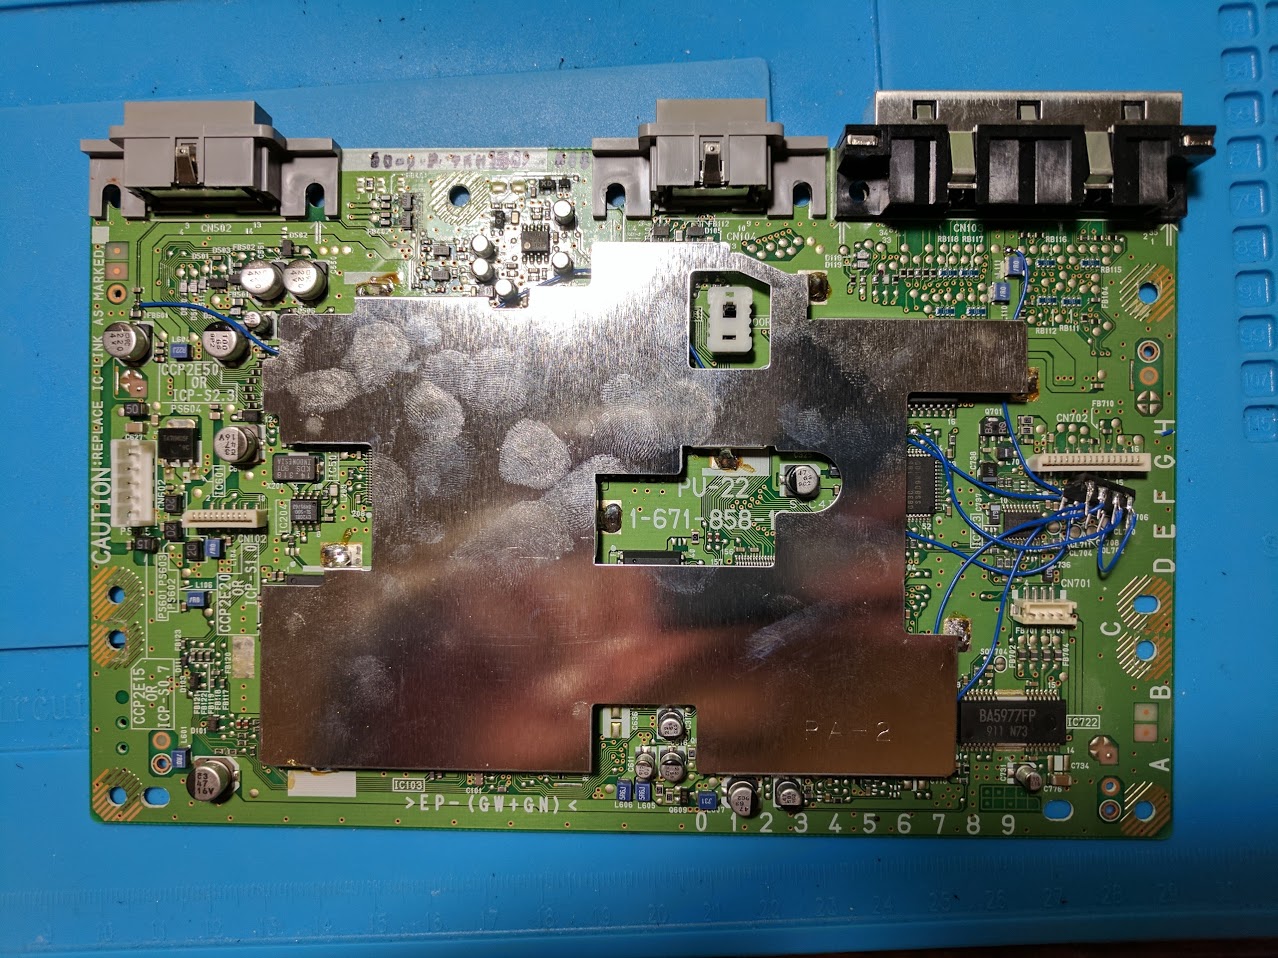
With the modchip installed you can put your console back together. Start by soldering the metal shield back into place. Below is an image of what the console should look like once the shield has been reinstalled.
With the metal shield in place you’ll want to wrap your modchip in electrical tape to prevent it from touching anything on the board. It is important that you decide where you want your modchip to be when the system back together. In my case I used the hole that the disc drive ribbon cable goes through seen in the picture below.
Conclusion
The whole process didn’t take a whole lot of time. It only took me around fifteen minutes to install the modchip.
The modchip works perfectly. I haven’t had any issues booting any of the games I have tried with it. I recommend burning your games at 8x speed (or as slow as your drive can go) using the .cue files in ImgBurn.
If you are having problems check your soldering, and try shortening your wires if they are much longer than the ones in the images above.
Really interesting series of post. I think here there’s a small typo, “buring” instead of “burning”.
Thanks for pointing that typo out, I fixed it.
I installed an MM3 modchip not long ago, and I followed some of your advice. The odd thing is that the first time it wouldn’t spin a disc, and after I reassemble the motor lens (a couple times) it started to work. Do you think I messed something up?
My solder points seem to be fine (with the exception of bridging and having to redo some work). I didn’t scorched the board, and I believe I was pretty ESD safe. What do you think?
Maybe one of the cables connecting the drive to the board wasn’t in quite right.
It is also possible that part of the disc drive, or maybe the console’s case, was touching the disc drive spindle preventing it from spinning. I’ve ran into this with a few consoles.
Since it’s working fine now, chances are your installation is fine.
I got black screen no startup with green light on sometimes.
any ideas?
It’s possible that a fuse blew, or the power supply wasn’t reconnected to the board.
really interesting seires of post. can i keep the the metal shield removed or does it need to stay on?
The system should work fine without the metal shield. I always put it back on though.
Is it normal to have to restart the PS1 sometimes? My wires are actually shorter than in the pics so I don’t think it’s that.
I didn’t connect pins 2 and 4 since the guide said they’re not necessary. Could that be it?
Pins 2 and 4 aren’t needed, so that’s not a problem. Sometimes if it takes several tries to start up it could mean the laser is a little off.
Like out of alignment or something? I have a spare PS1 that I could swap laser assemblies with. Do you think that might help?
It’s worth a try.
does it have to be 30 AWG Kynar wire?
Any wire will work. 30 AWG solid core wire is just going to be easiest to work with.
Just tried this guide. But no success. Console still thinks back ups are back ups. I shortened my wires. Probably not to the same extent as you. What’s the purpose of making them so short?
Shorter wires have less rick of picking up or transmitting interference to and from the console. If the install is fine there are still plenty of things that can go wrong. Like a worn out laser, or bad backups (try different CD media, write speed, burners to find a combination that works best for your console).