DIY variable bench power supply with DPS5005 and LRS-150-48

I have used several power sources for my projects over the years. Things like wall warts, USB ports, ATX power supplies, and a laptop power supply plugged into a buck converter. These power sources are functional, but not ideal. This post covers the creation of a better bench power supply using a DPS5005 front end, and a LRS-150-48 power supply back end.
My bench power supply requirements
Here’s a list of things I was looking for in a power supply. I wanted something that was very flexible, so that it could be used for a wide variety of circuits.
- Variable voltage output, with support for at least 0-20V. Higher voltages would be nice, but being able to handle lower voltages near 0V was important for me.
- Variable current output, with support for at least 0-2A. Higher currents would be nice, but again, being able to set a low current limit is important for me.
- At least two outputs, or two single output supplies that can be combined. This allows me to reach higher voltages, or higher currents, or have a negative voltage rail.
- A dial to set the voltage and current instead of just buttons.
- Reasonably high quality output. This means low noise, and no overshooting voltages.
- Affordable, something in the $100-$200 range ideally.
The search for a bench power supply
It turns out that finding a good bench power supply is hard. Most affordable power supplies either have tons of documented design flaws, or no reviews. This also applies to many of the DIY bench power supplies that have been documented.
I eventually decided it would be best to build my own power supply instead of buying one, primarily so that I would have a better understanding of how it works, and so that it could be more easily modified in the future. I also decided that I wanted to base it off of an existing design, so I could get it built quicker.
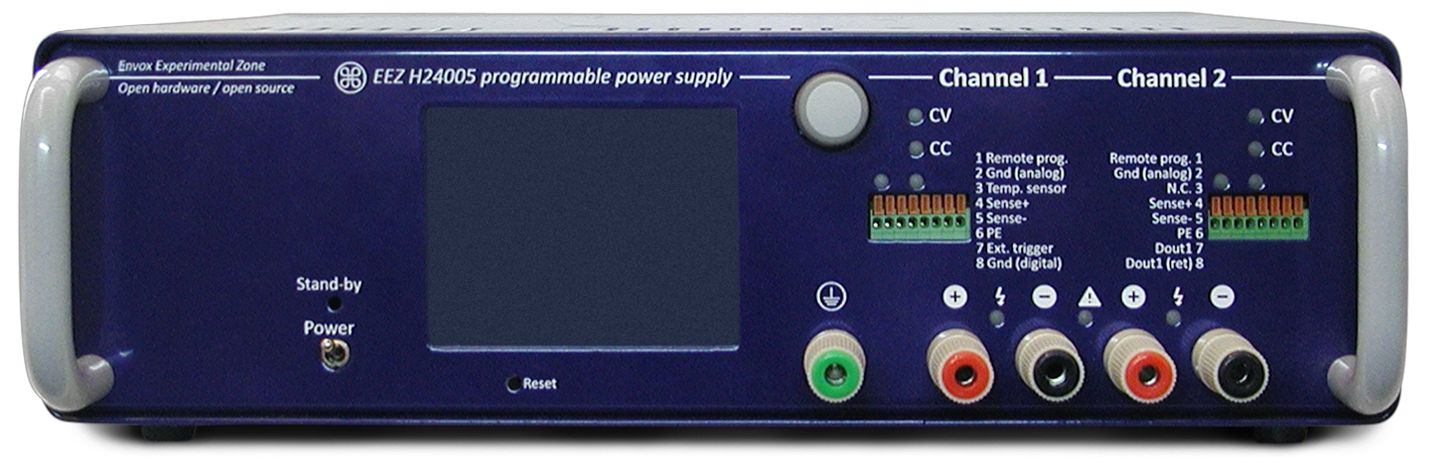
One of my favorite DIY bench power supply projects I found is called the EEZ PSU. It has dual outputs, and support for a wide range of voltages and currents. There was a crowd funding campaign for the supply where you could get the complete kit for $399, but the campaign ended before I had the chance to order it. I did some quick math and it would have cost me more than $399 to source all of the parts myself, so I decided against this supply.

Another DIY bench power supply project I liked is called the PSL-3604. The biggest problem with this supply was the limited documentation. There wasn’t a good schematic, or gerber files that could be used to actually build the supply.
I ended up creating my own power supply based partially on the EEZ PSU. I would use a couple of cheap high voltage and high current AC to DC power supplies to power some sort of power supply front end. Using the AC to DC supplies meant I didn’t have to deal with buying a bulky transformer, and I wouldn’t need to deal with AC.
Power supply parts list
Here’s a short list of the parts I used for my power supply design. It ended up being more like building a computer than building a power supply from scratch. I used all standard off the shelf parts that I assembled into the supply, instead of building something from scratch.
The total cost is around $150 depending on the cost of the parts at the time you buy them.
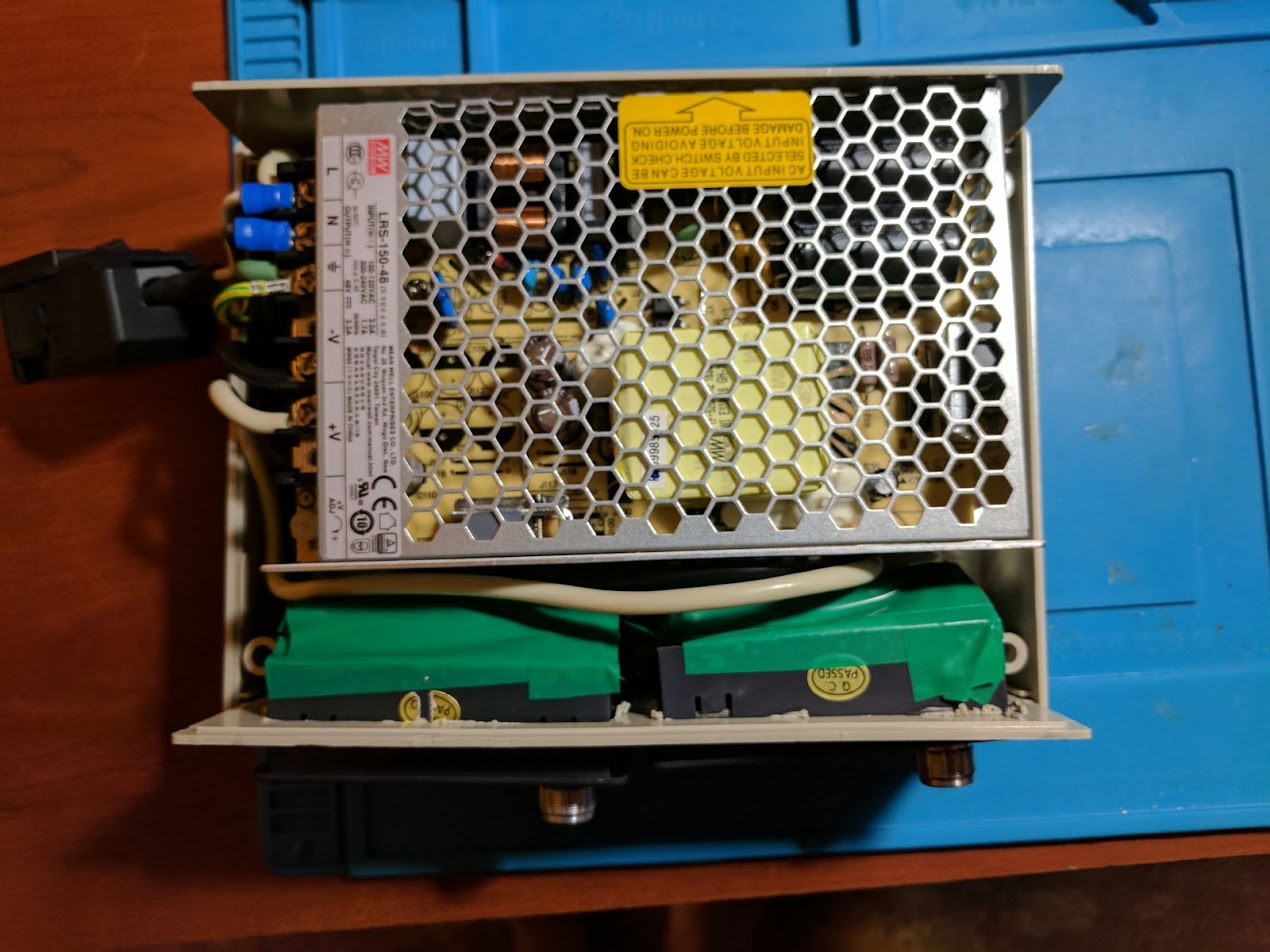
- 2x Mean Well LRS-140-48 power supplies
- These output up to 3.3A of current at 48V. I bought two so that I could have two power supply channels. There are other models that can handle more or less power.
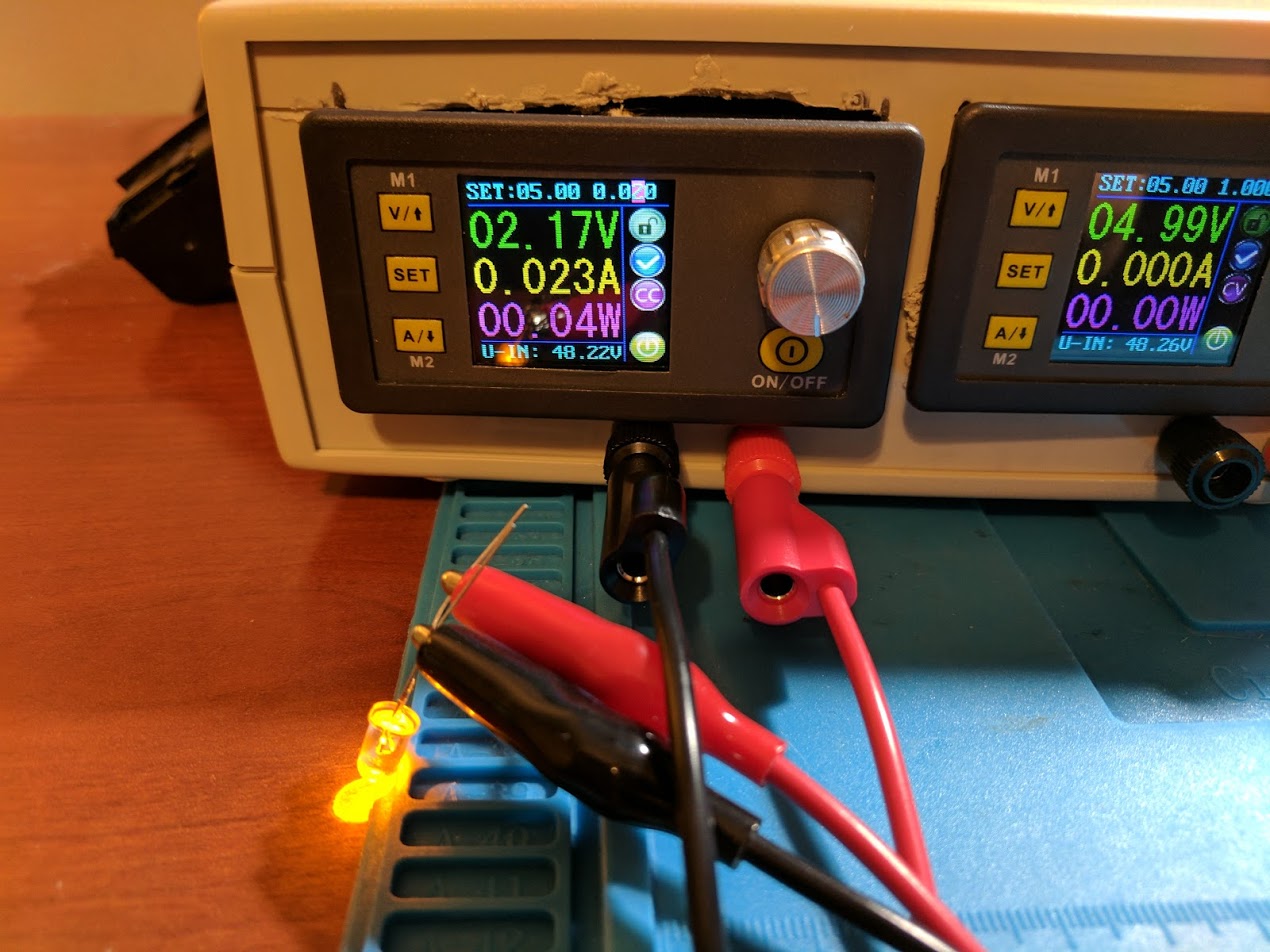
- 2x RD DPS5005 power supply control modules
- These are all over AliExpress and eBay for around $30. These will be the power supply front end. They connect to the LRS-140-48 to output variable voltage and current. There are other models that can handle more or less power.
- Hammond RM2055L enclosure
- This is a cheap instrument enclosure for the supply. It’s a very tight fit, so you might want to look for a larger enclosure.
- 4x panel mount banana plug sockets
- AC power socket with a switch
- Stranded core 12AWG wire
Power supply specifications
With the parts listed above, here are the specifications of the power supply. If you use a larger AC to DC power supply module you’ll be able to get even more voltage and current out of your power supply.
- Dual output channels, each is:
- 0-42V
- 0-3A
- Constant current mode
- Constant voltage mode
Power supply noise isn’t perfect. I don’t have adjustable loads to properly test the supplies, but using my oscilloscope there is a small amount of noise in the output. Smoothing out the power supply output may be an addition I make to this power supply in the future. I didn’t notice any voltage overshooting, but again, I don’t have the tools to properly test the supply.
Putting the power supply together
Assembly is pretty straightforward. Begin by cutting some holes into the front panel of the enclosure for the DPS5005 modules, and the banana plug sockets. I used a Dremel. My holes aren’t very clean, but they get the job done.
Next you’ll want to wire the AC input into the power supplies. I connected the AC inputs of the power supplies together in parallel, and wired that to an external power socket with a switch built in. I bought a panel mount DPST switch and power socket, but wasn’t able to get them to fit into the space I had.
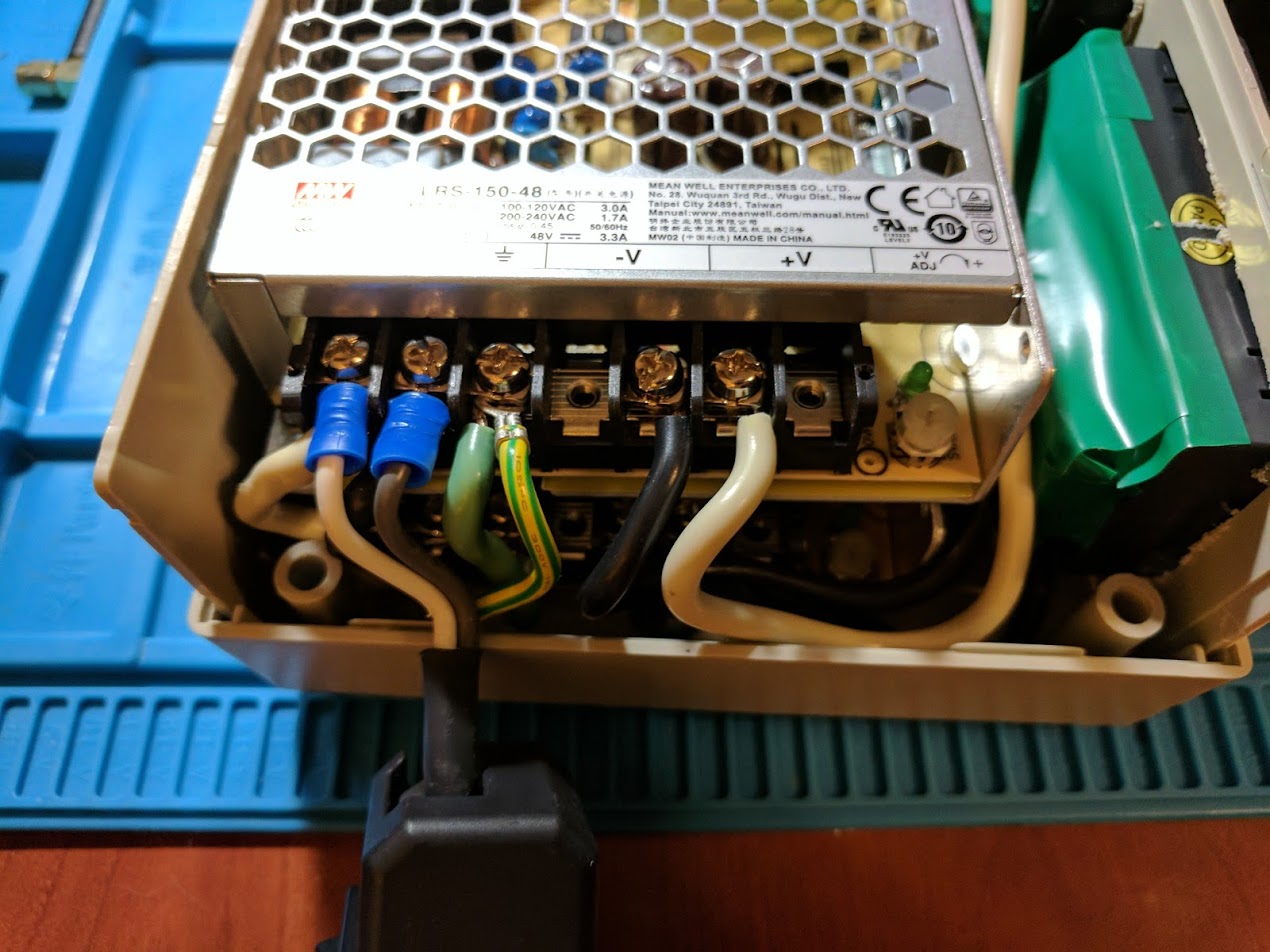
Then you’ll want to connect everything to the DPS modules. Each power supply output goes to its own DPS module power input, and the DPS module power outputs go to the banana plug sockets. I used 12AWG stranded wire throughout so that the connections could handle plenty of current.
There are four short plastic standoffs on the bottom of the enclosure to mount a PCB on, I cut these off so that the power supplies could sit flush with the bottom. I also surrounded the DPS modules with electrical tape to prevent them from touching the power supply enclosure.
Conclusion

So far the power supply has been working really well. I was worried about the power supplies needing a fan, but so far they have been staying cool without a fan, at least for my smaller loads.
If I were to do this again I would look for a different enclosure, and be a lot more careful with the cutting. The DPS modules stick out of the front of the supply a bit since there isn’t much room inside. I’d also like to have physical switches to cut power to the banana plugs, I bought switches, but just didn’t have enough room in the case for them.
Next I’d like to build a DDS function generator, and also look more into building a bench power supply from scratch, and smoothing the output of this power supply.
Man, I love your enthusiasm for modding and building cool stuff, but my only complaint is that you really should try to make cleaner cuts. The old cliche “measure twice, cut once” is a good rule of thumb. You at least acknowledge your cuts are really…. bad. From my perspective your cuts are the only thing standing in your way of having some pretty perfect projects.
Either way, awesome work!
Hi,
Are you able to connect the outputs in series to generate a dual rail supply for op amp usage? e.g. -9v, 0v, +9v?
Thanks
Yes.