SCPH-39001 PS2 project introduction
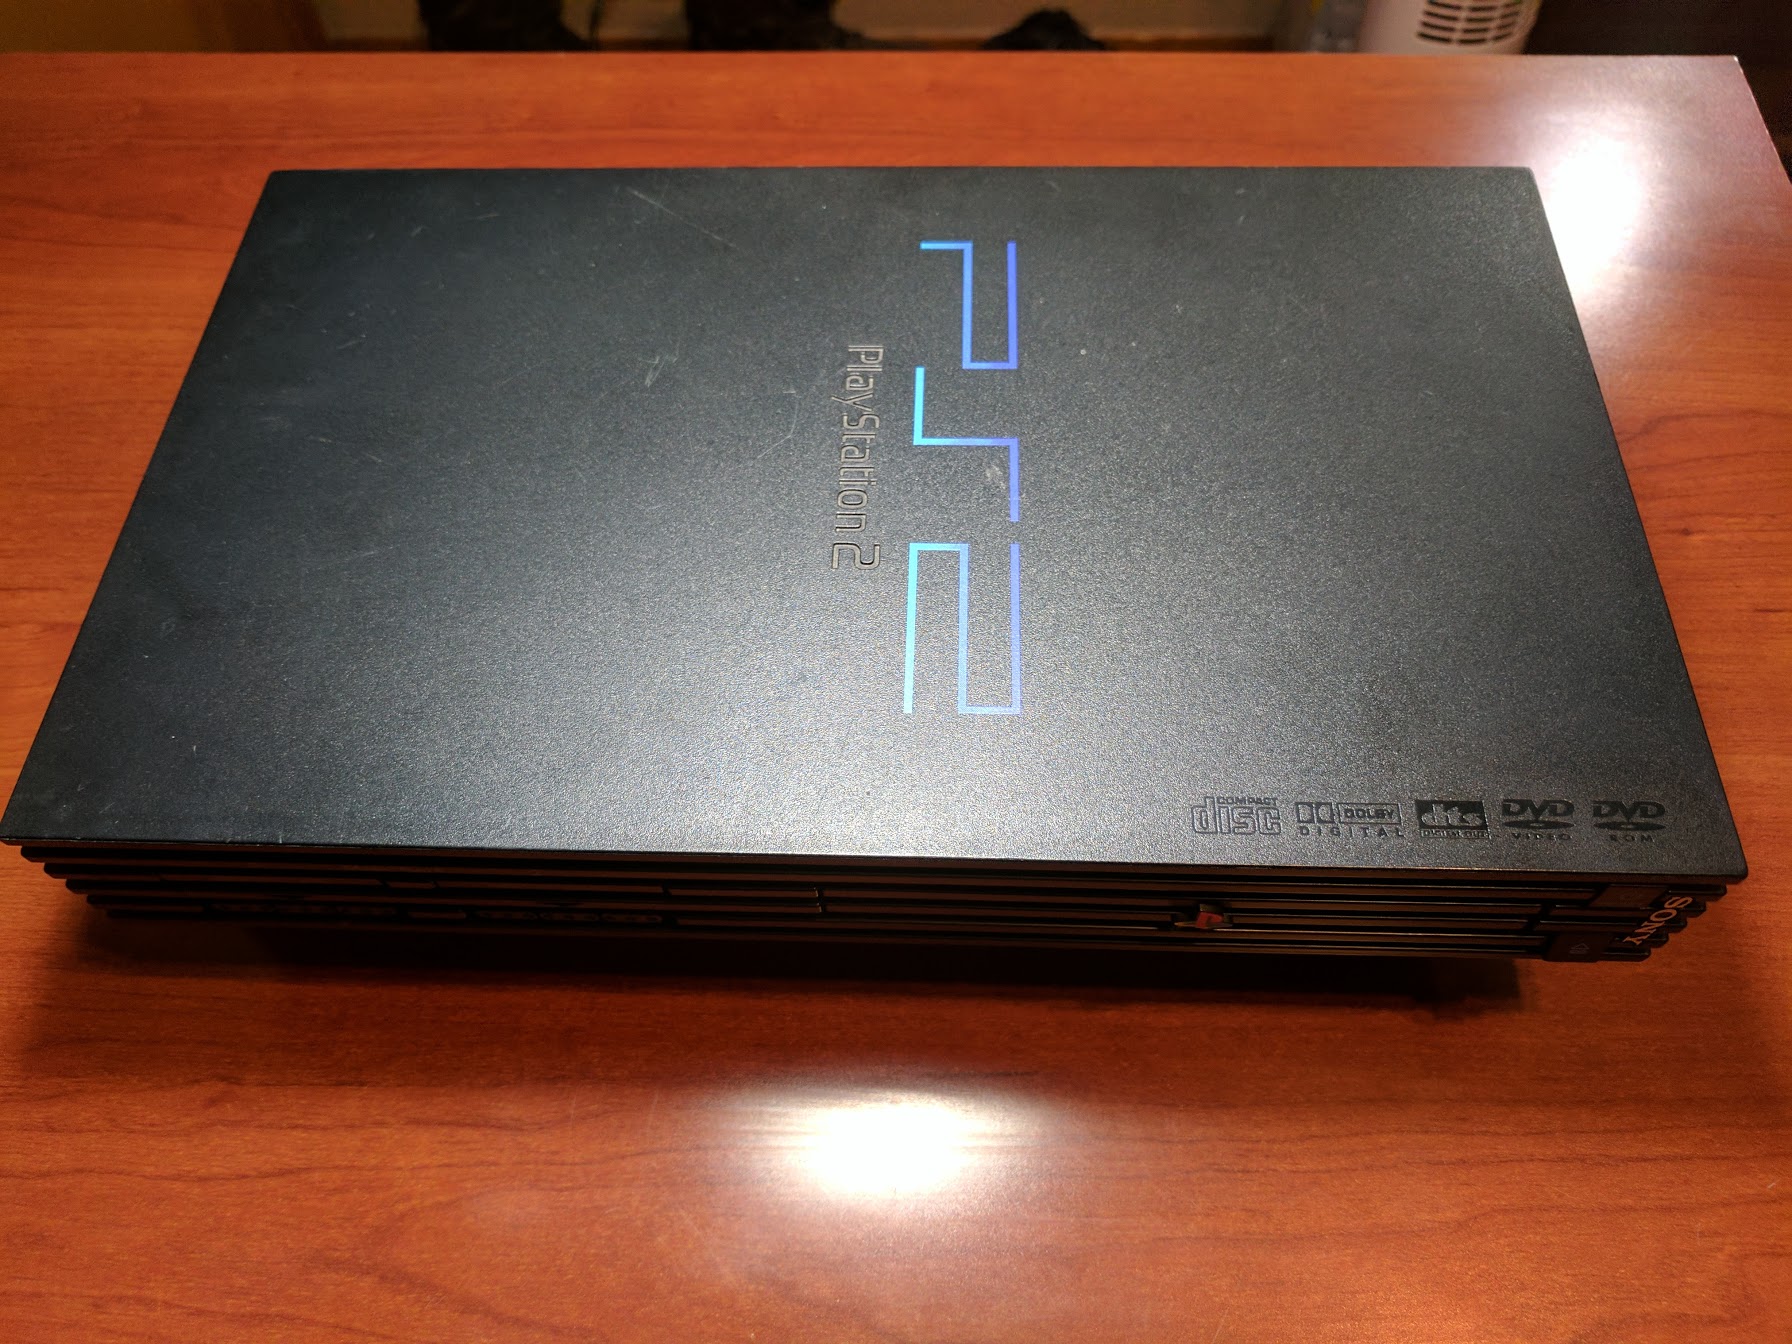
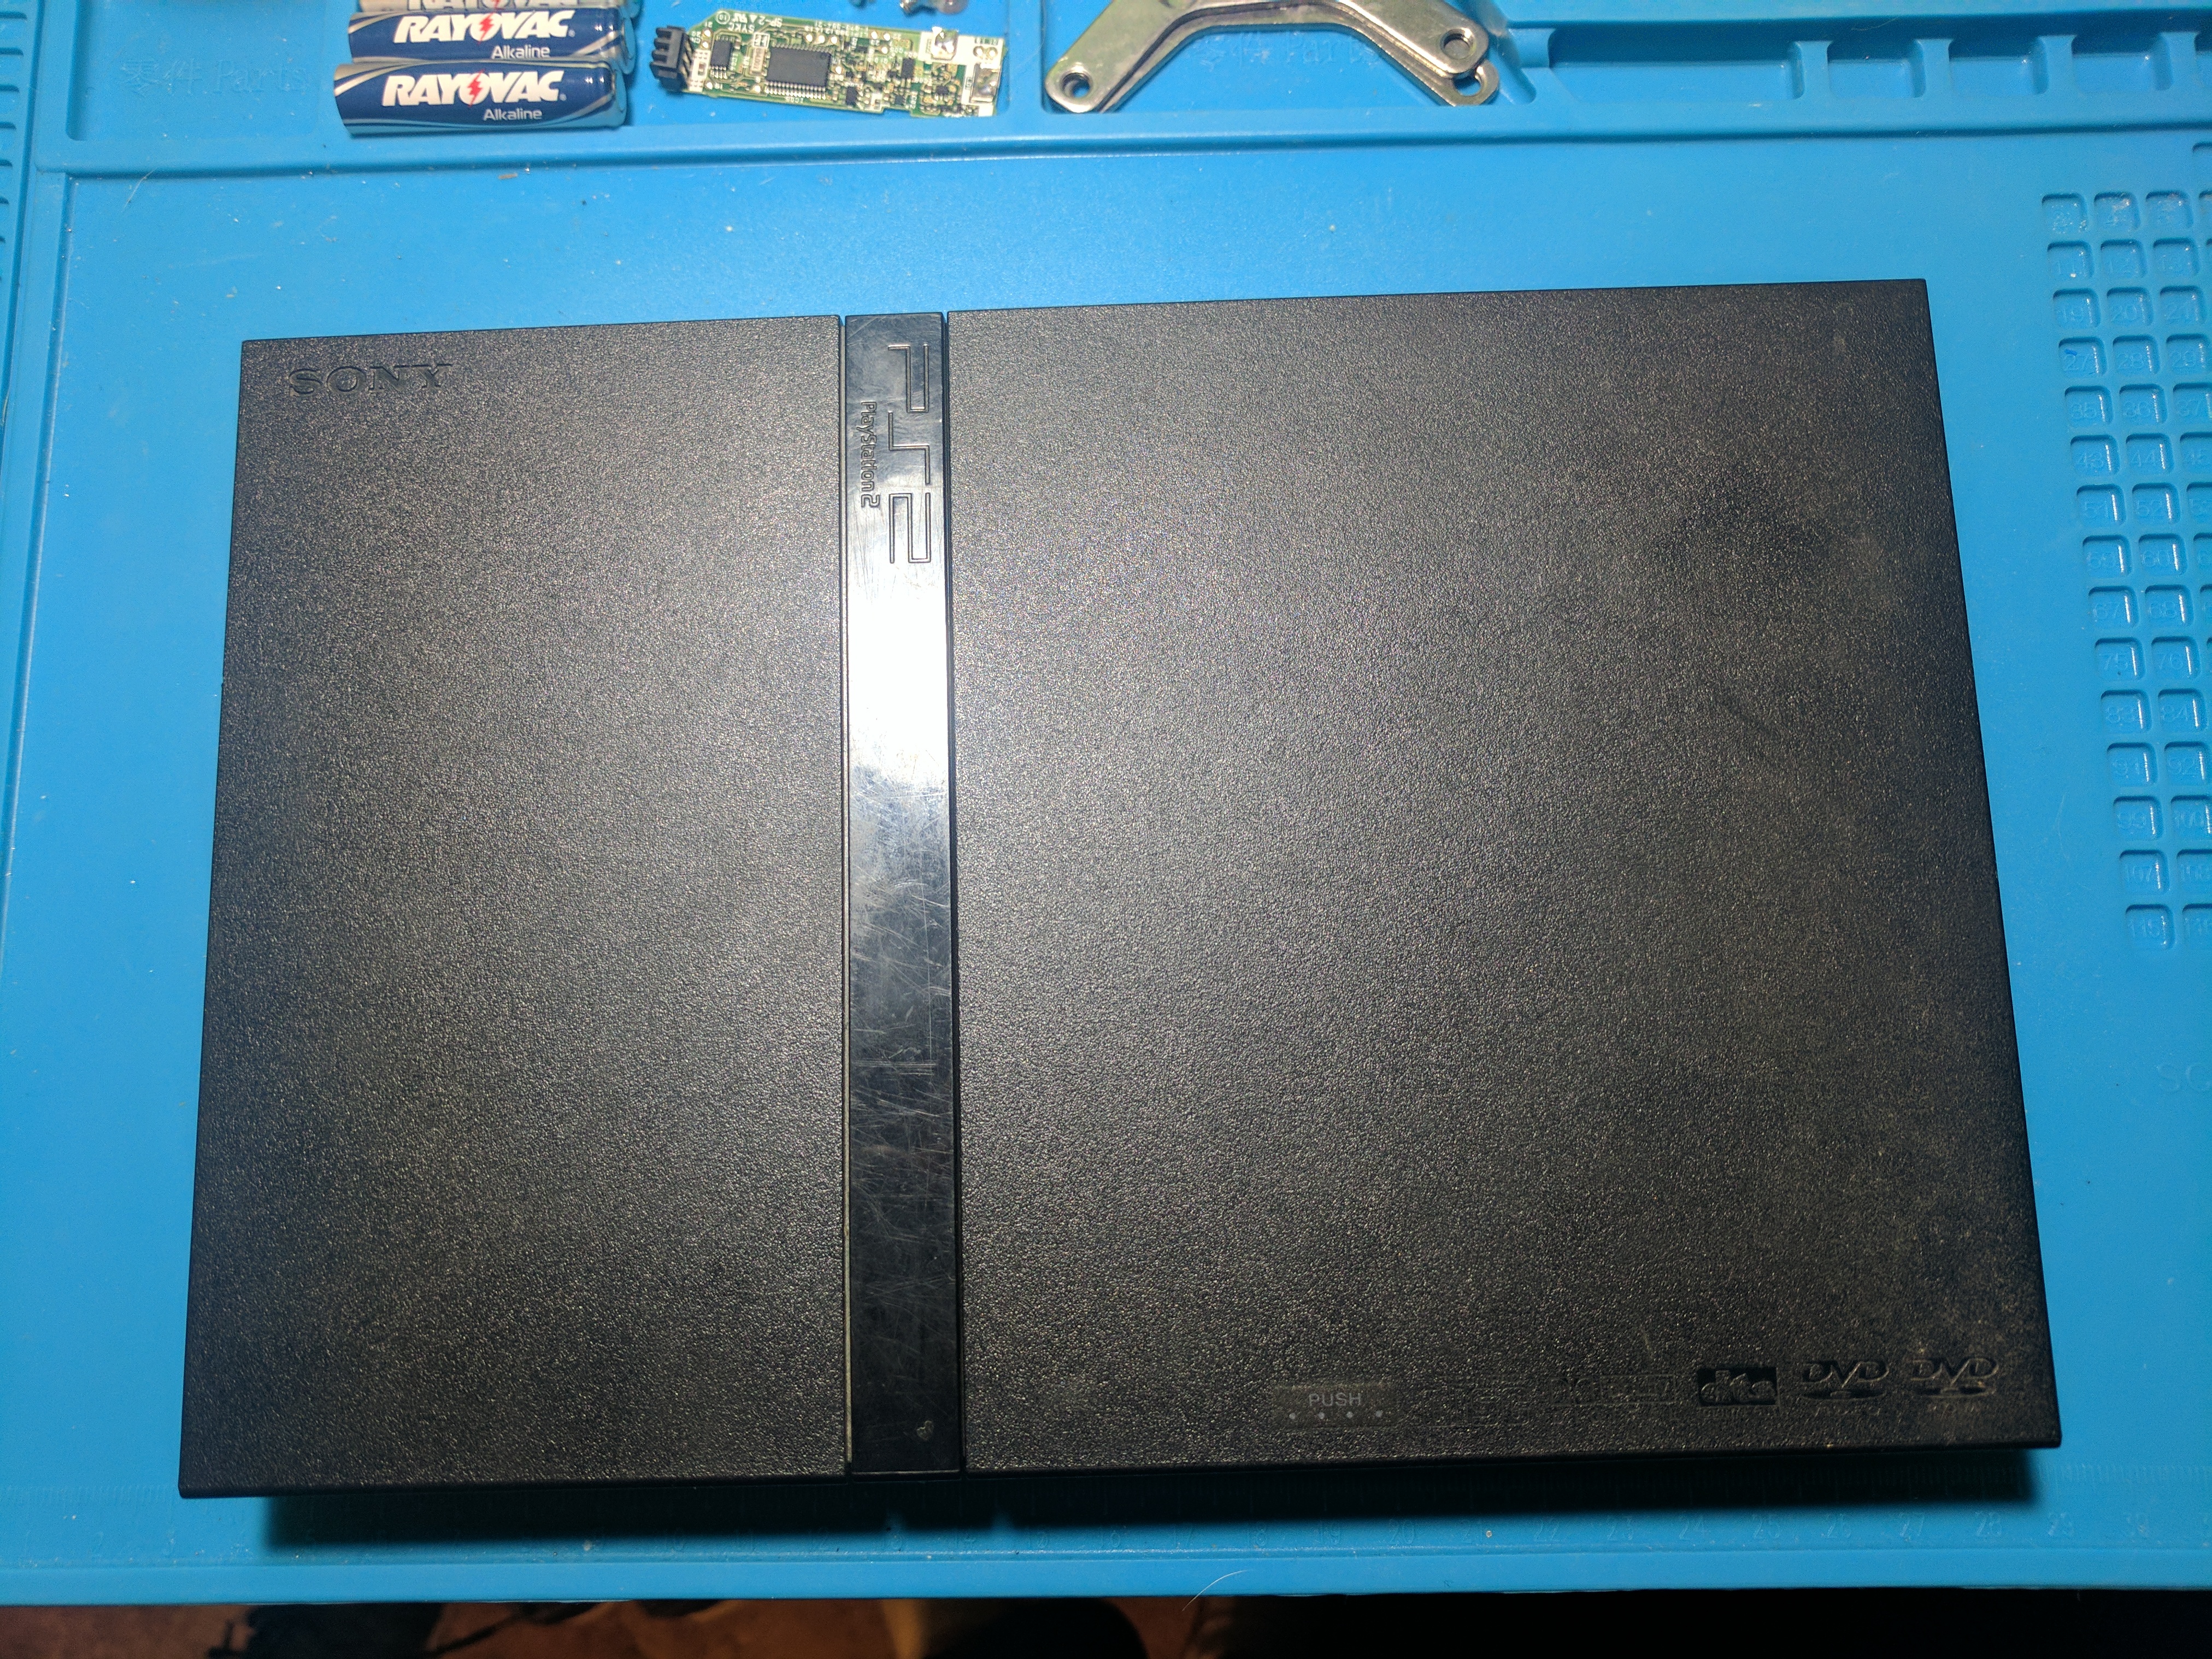
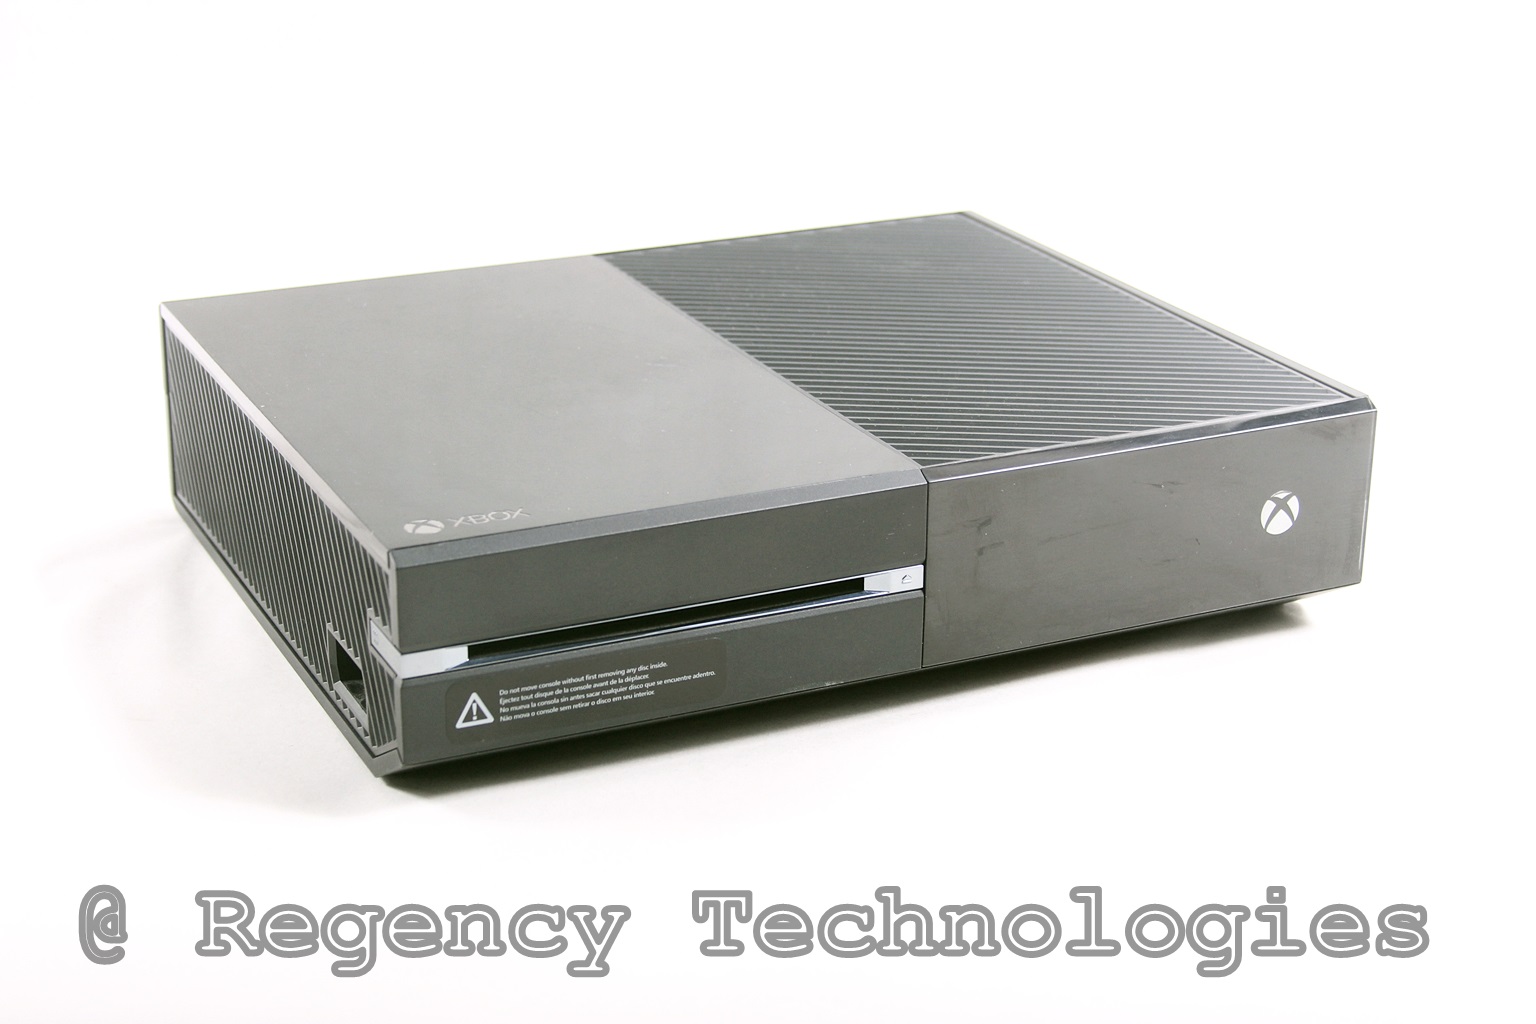
Sony’s PlayStation 2 is the best selling video game console of all time. By selling over 155 million systems Sony dominated the sixth generation of consoles. For comparison Microsoft only sold 24 million original Xbox consoles. At $299.99 the PS2 wasn’t the cheapest console of its generation, but being priced less than most DVD players helped people justify the higher price. Both the Dreamcast and the GameCube cost $199.99, but didn’t support DVD playback. This is the start to a series of posts covering the fat SCPH-39001 PS2 project.