Xbox One controller bumper repair, button switch replacement
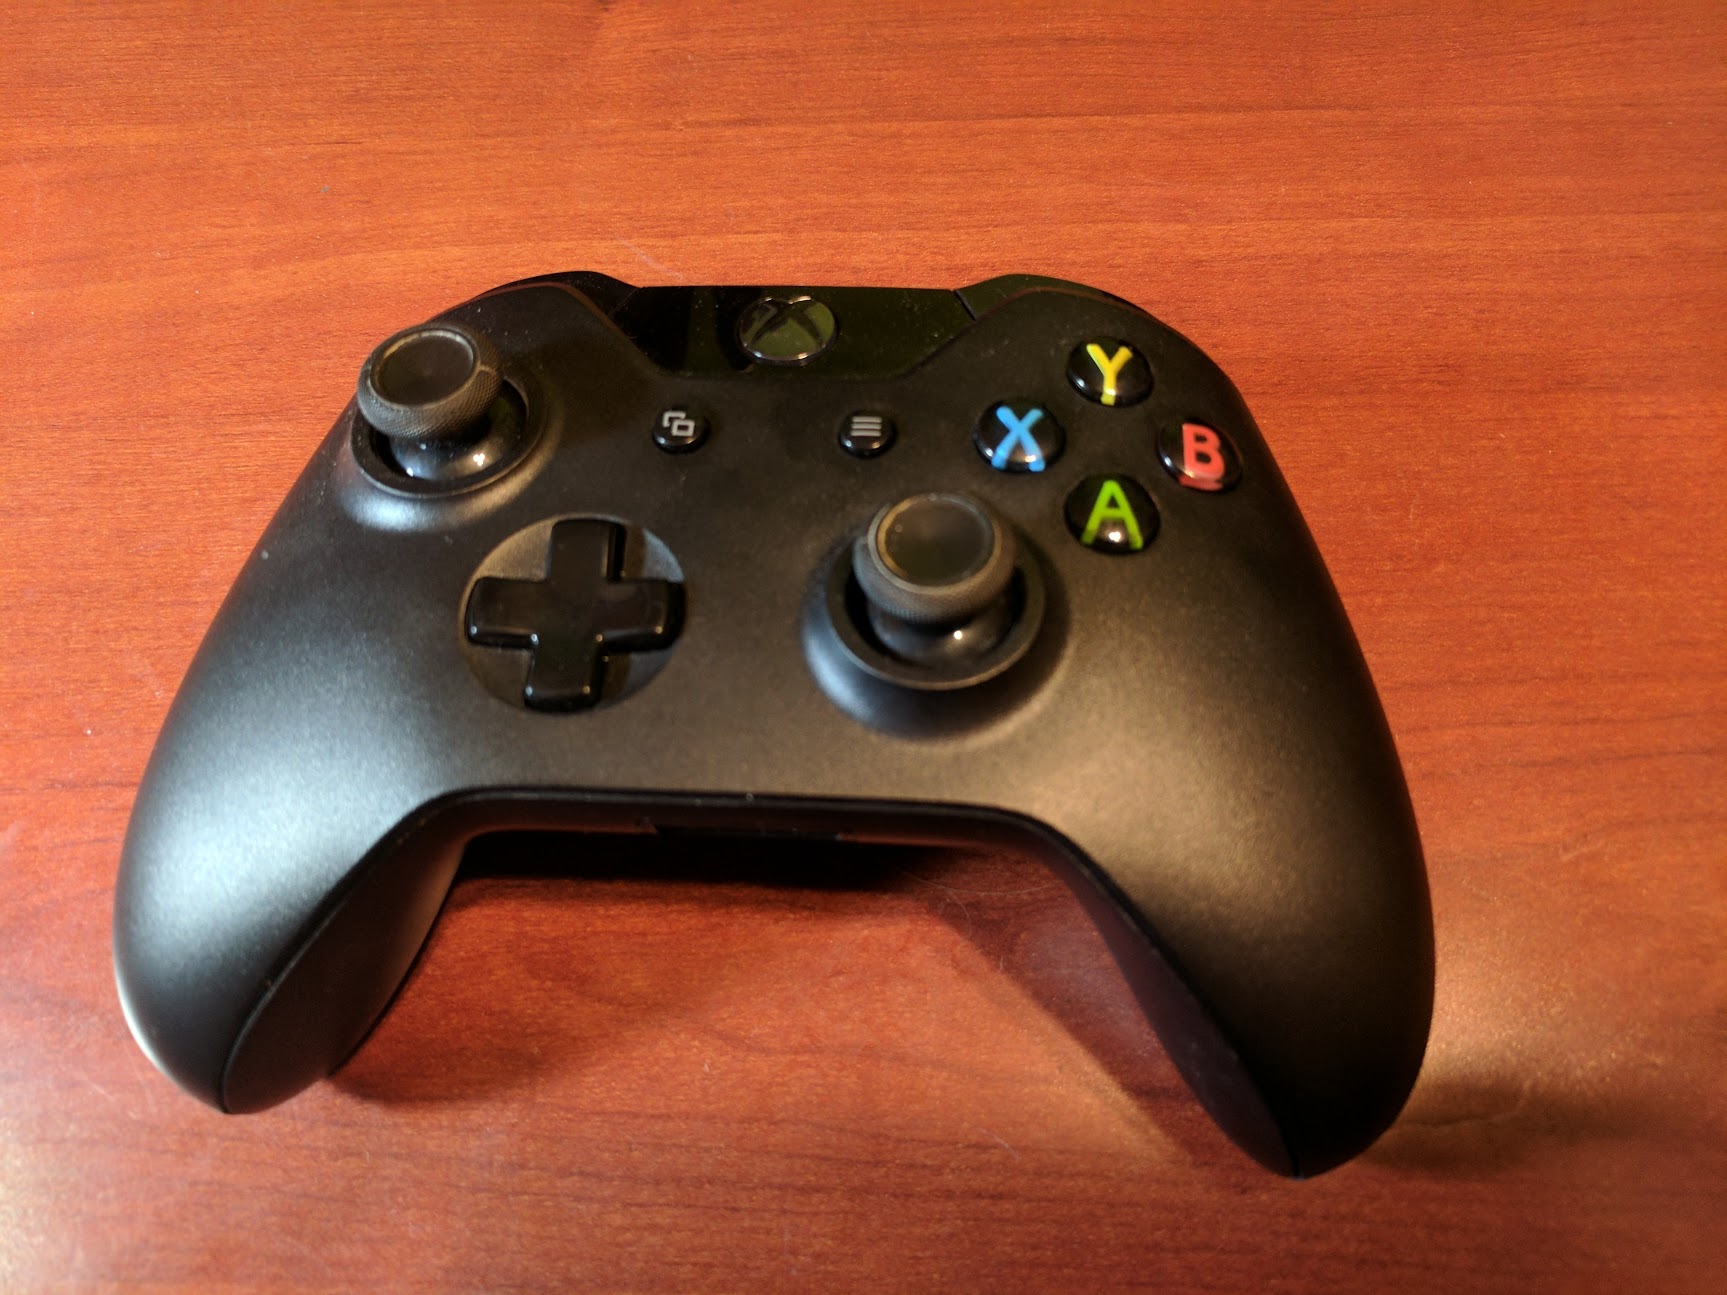
The Xbox One controller is one of my favorite controller designs. It took the comfortable Xbox 360 controller, which was based on the original Xbox controller S, and improved it. Two big changes were the more precise d-pad, and the support for being used with a computer using a standard USB cable.
An Xbox One controller I had bought in 2015 started having problems recently. The left bumper button wouldn’t always register presses. It always made the click sound, but wouldn’t always be recognized as a press in games. Obviously this is very annoying when switching tabs in the Xbox dashboard, and when playing games that require the frequent use of the left bumper.
This post outlines the process of my Xbox One controller bumper repair.
Potential problems
There are many things that could cause problems with the bumper button. Here’s a short list of possible problems, and how to fix them.
- Dust or gunk built up around the button.
- This would prevent the button from being pressed correctly.
- You can try to solve this by blowing compressed air at the button, and opening up and cleaning the button if the air didn’t work.
- Broken plastic bumper piece
- This would cause the button not to press at all.
- You’d just need to replace the plastic piece that makes contact with the actual button switch.
- A faulty button.
- This is also a possibility.
- You can test a button using a continuity tester. If the tester doesn’t register button presses, then the button needs replaced.
- A faulty controller board.
- This is the hardest to fix.
- You’d need to figure out what’s wrong with the board, and either fix it, or buy a whole new controller board or controller.
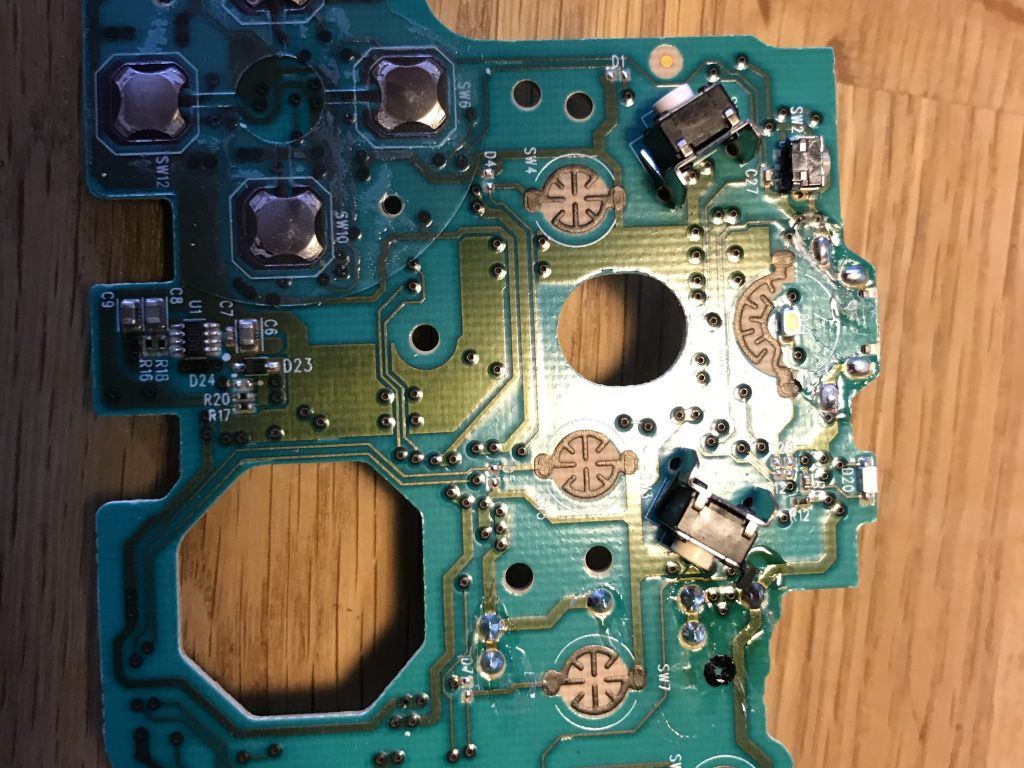
In my case I had a faulty button switch, which needed to be replaced. It must have worn out from being pressed too many times.
Controller disassembly
You can follow this iFixit guide on how to disassemble the controller. It’s a fairly straightforward process once you get the plastic around the handles removed.
Cleaning the controller
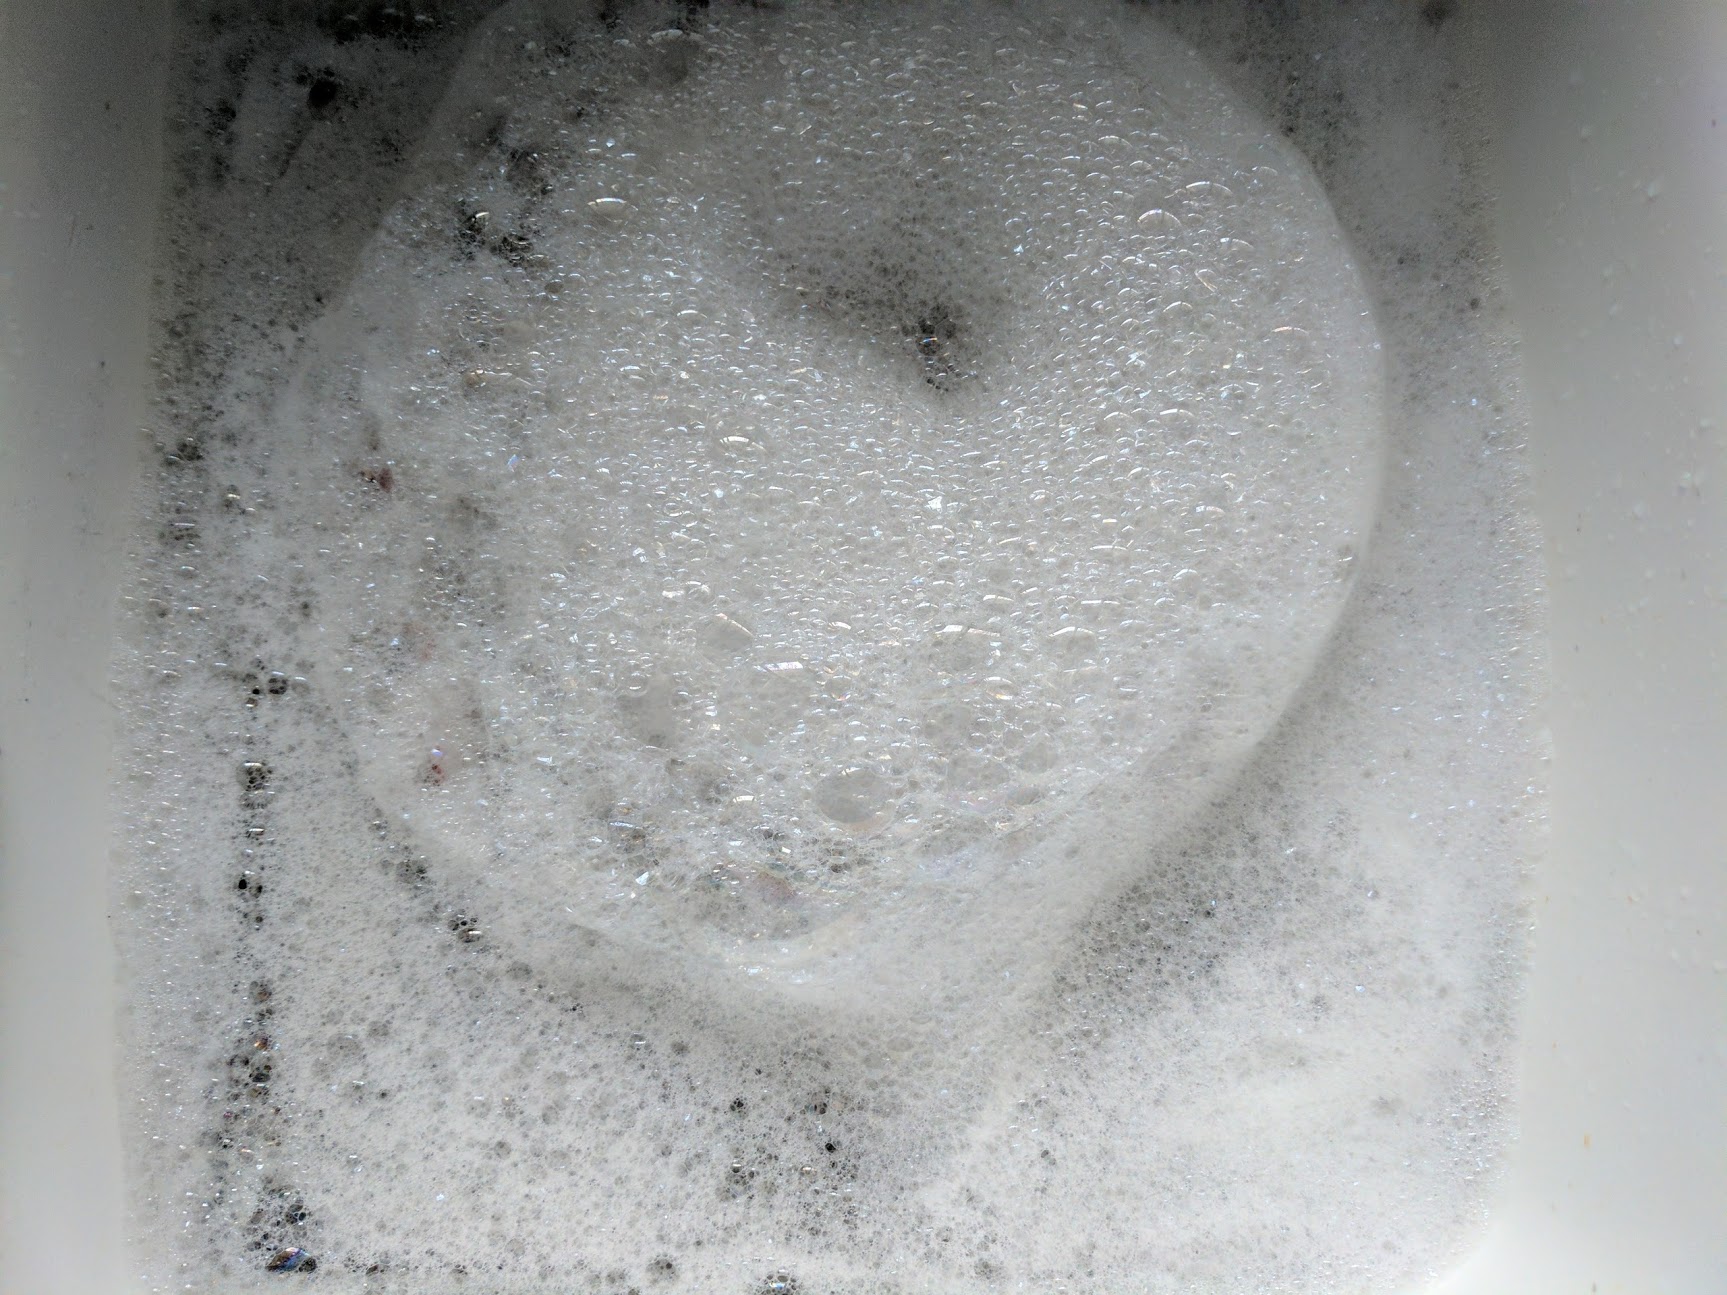
While you have your controller disassembled I suggest that you clean it. Take all of the plastic pieces, and put them into a sink with warm water and dish soap. After letting the pieces soak for a few minutes you can use an old toothbrush to scrub away any gunk that has built up on the controllers.
I typically use a small bowl instead of the sink for smaller pieces like buttons. Once you have cleaned the plastic pieces you’ll need to rinse them off, and let them dry.
If you’d like to clean the electronic components you can use 99% isopropyl alcohol along with some q-tips. Just be sure that the boards are completely dry before putting everything back together.
Replacing the bumper button switches
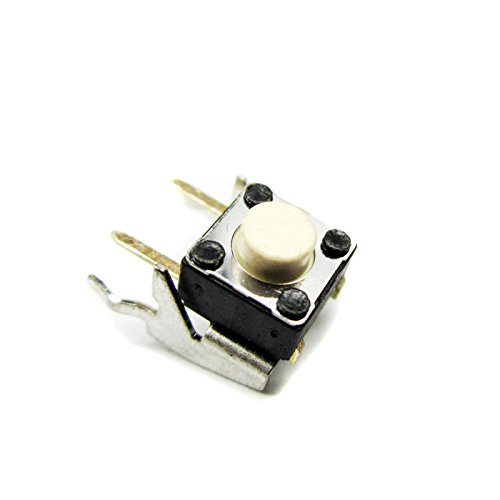
Replacing the bumper buttons is pretty straightforward. To replace the buttons you’ll need a soldering iron, desoldering wick, solder, and replacement bumper switches. You can find replacement bumper switches on eBay, the Xbox 360 and Xbox One use the same button switches.They are fairly cheap, I got a ten pack for $5.99. I’d suggest buying at least two so that you can replace both buttons while you have the controller open.
Remove the old switches by heating up the desoldering wick on top of the legs of the old switches.You should eventually be able to remove the buttons with pliers once enough solder has been removed with the wick.
You can then put the new switches through the holes on the board, and solder them back down. Make sure that the switches are flat, and as close to the board as they go, otherwise you will have trouble putting the controller back together.
With the new switches soldered to the board, you can put your controller back together.
Controller reassembly
You can follow this iFixit guide on how to disassemble the controller, but in reverse.There’s also a good chance that you’ll remember how to put it back together after taking it apart, there aren’t many pieces, and it’s fairly similar to other controller designs.