XenoGC GameCube modchip installation
I’ve been selling XenoGC modchips for the Nintendo GameCube on my eBay store. I thought I’d write a guide on how to install the XenoGC.
The XenoGC is a popular modchip that allows you to do many things. It can directly boot both game backups and genuine games from any region. It will work on all GameCube models. The chip is fairly easy to install since it only requires soldering six points, no wires required.
The XenoGC source code was released in 2011, meaning if you wanted to you could make your own with an ATmega8L. I may end up doing this in the future, and writing a post about it. Right now you can find XenoGC chips available from places like eBay.
Things you’ll need
Here’s a list of things you’ll need to install the XenoGC modchip into your GameCube.
- GameCube console
- Nintendo 4.5mm game bit
- XenoGC modchip (from my eBay store when in stock, or other eBay sellers, or Eurasia)
- Soldering iron and solder (while don’t personally use this iron, I bought one to try out and can say it’s a pretty solid iron for the price)
- Flux
If you aren’t confident in your soldering skills you might also need some wire. You can install the chip into the console using wires instead of directly, which makes it easier to tell if you have a bad connection.
Preparing the GameCube for the modchip
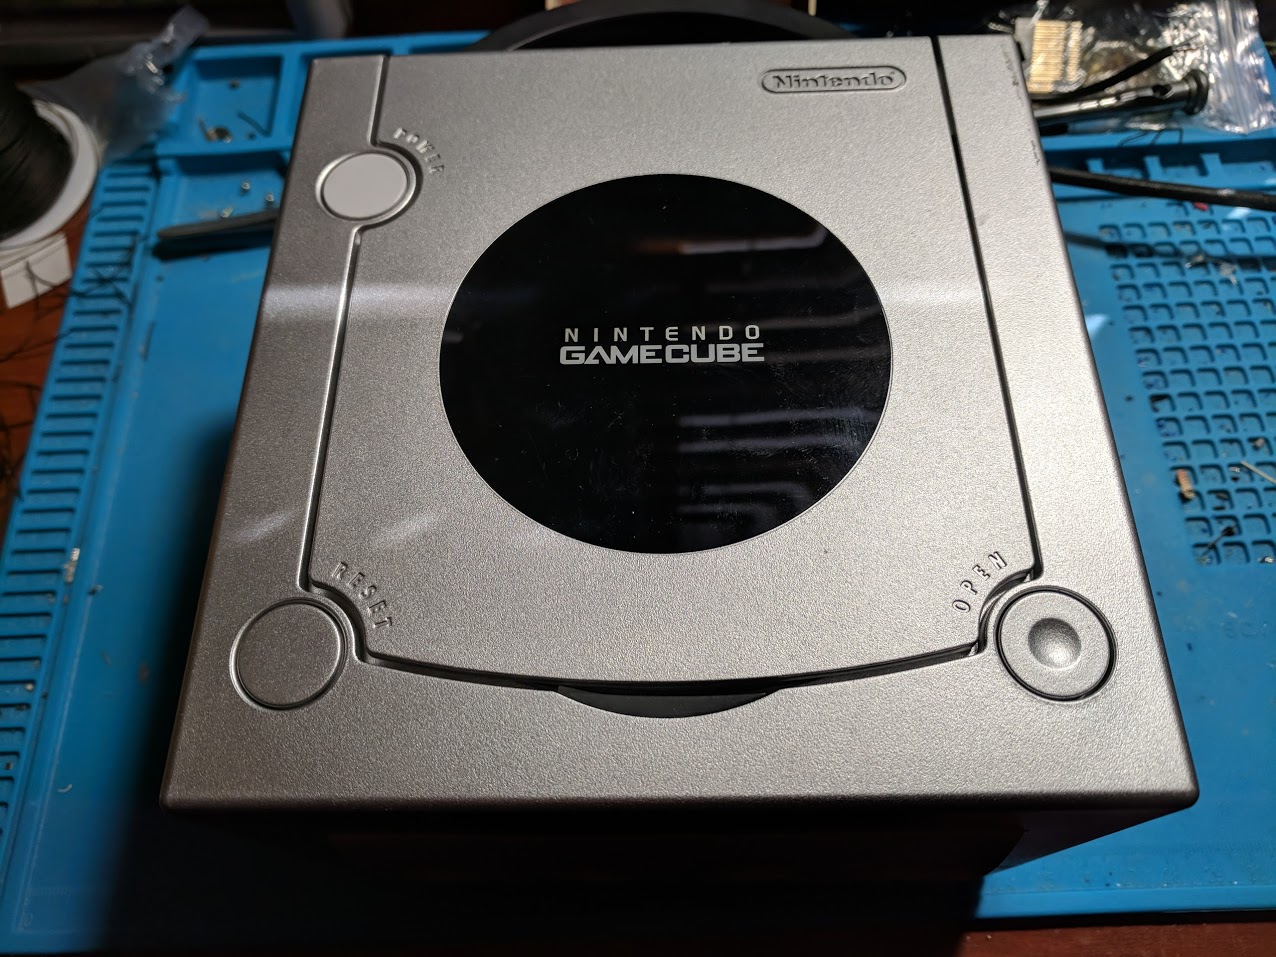
Before you can install the chip you’ll need to take apart your console. You can find guides on how to do this on other websites, but I’ll give you a brief overview. There are four Nintendo 4.5mm screws at the bottom, followed by many regular screws around the base of the inside of the console.
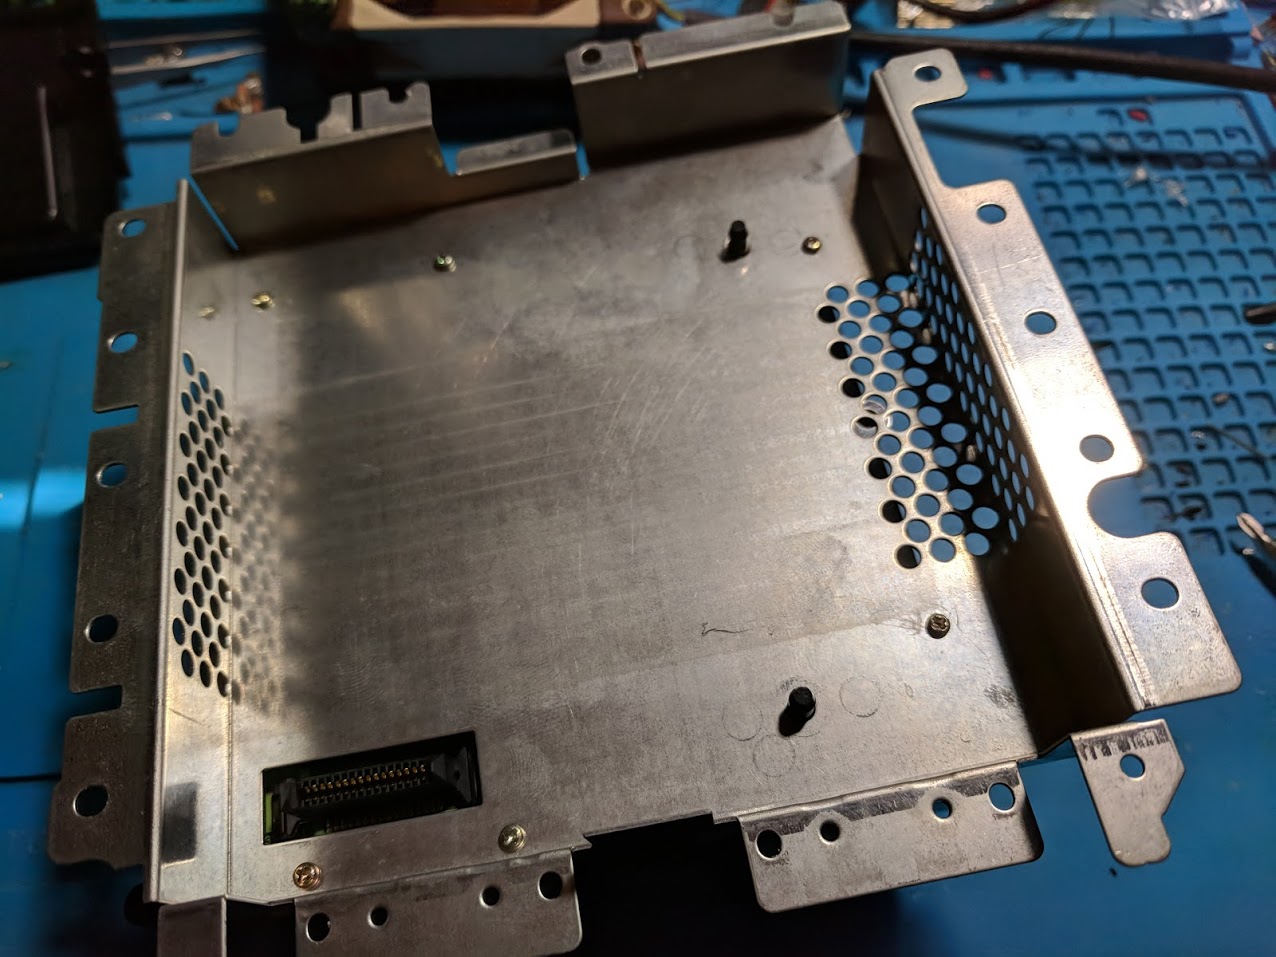
Once all of the screws have been removed, along with the front and back panels, you can lift the drive assembly away from the console’s motherboard. At the bottom of the drive assembly is a metal shield with some smaller screws. Once the screws are removed you can lift away the metal shield to reveal the disc drive controller board.
The drive controller board is what the XenoGC modchip is soldered to.
Installing the XenoGC modchip
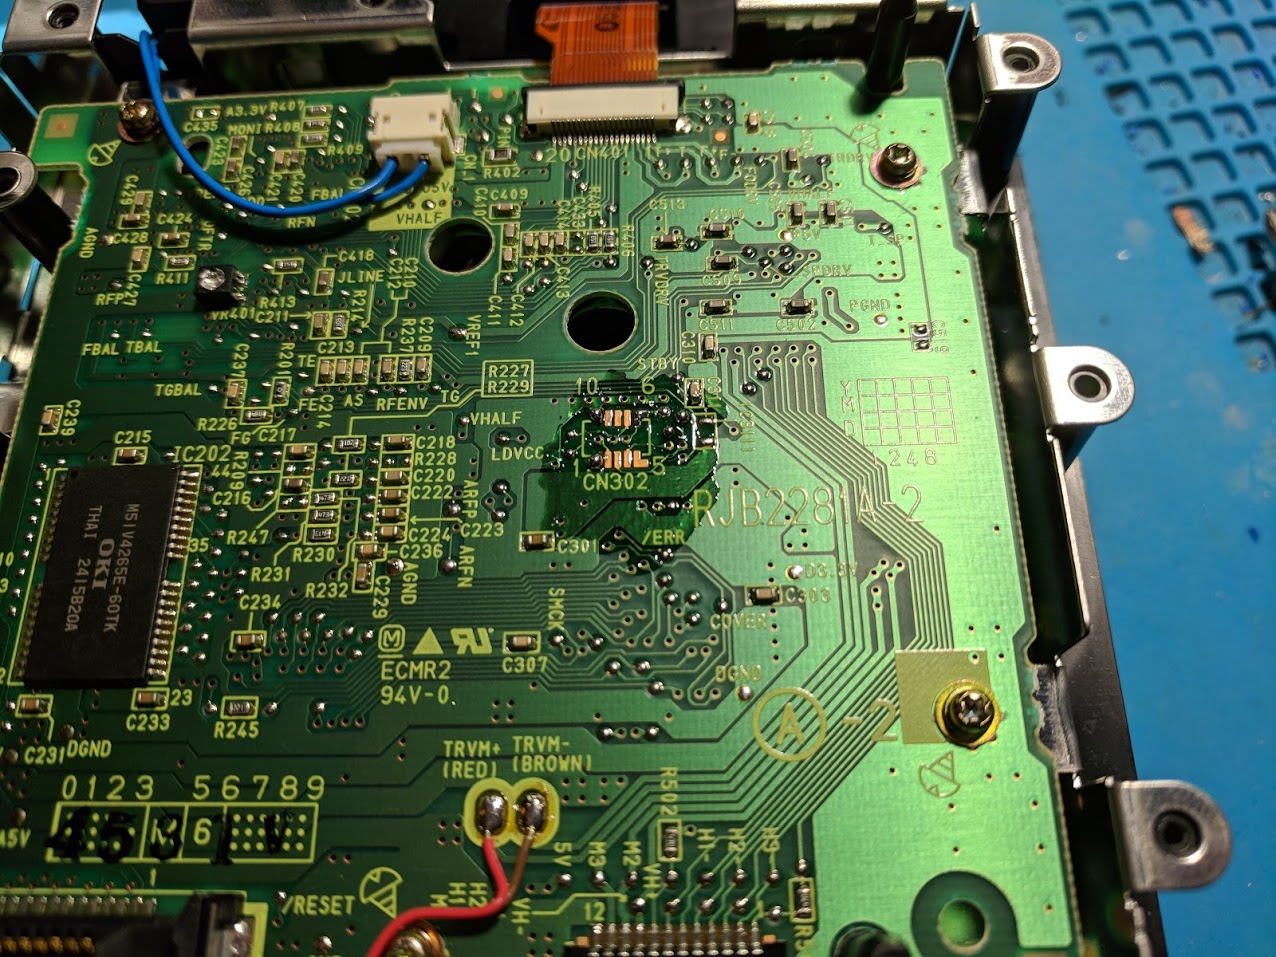
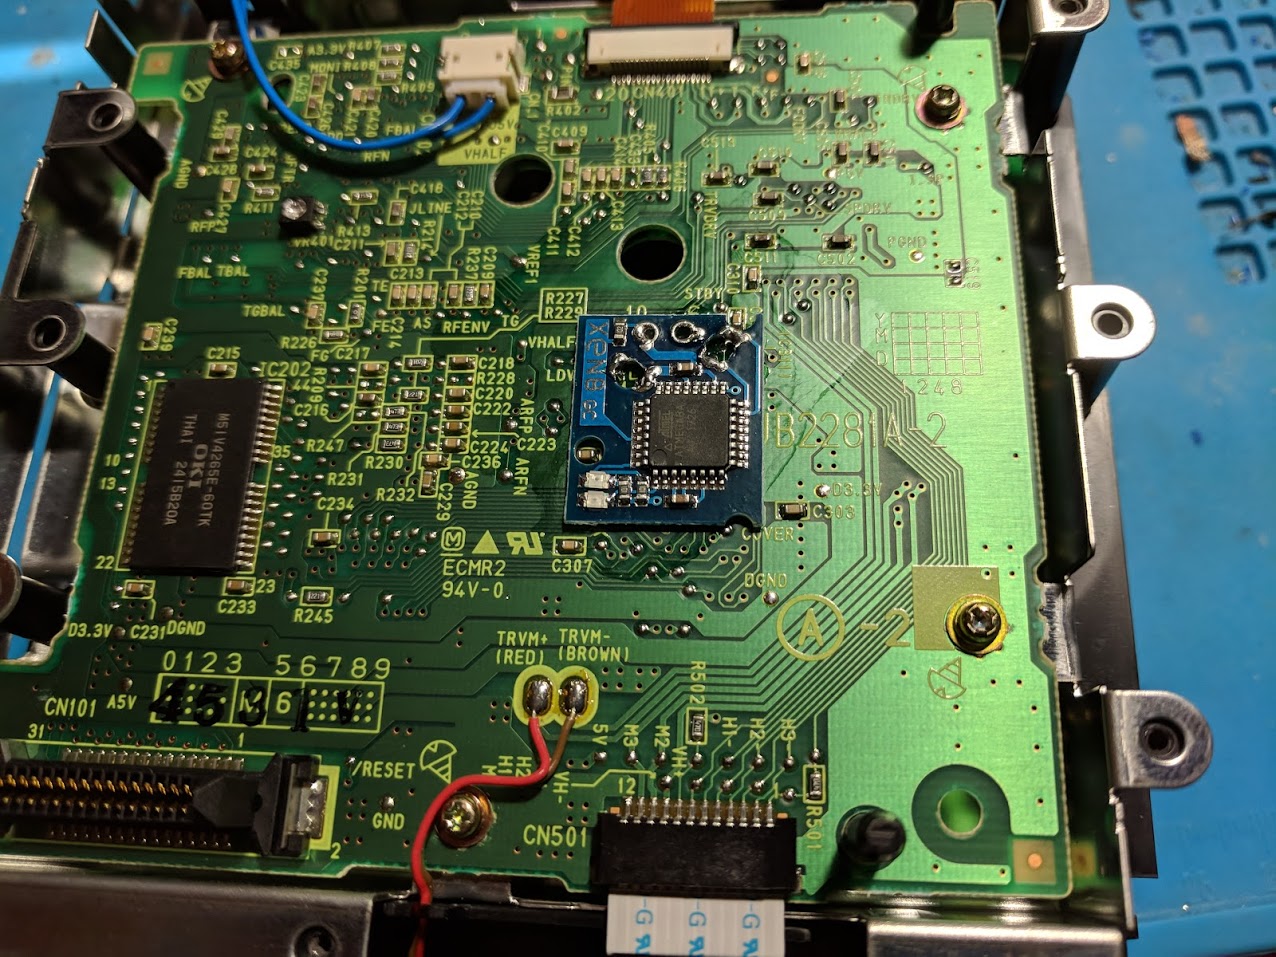
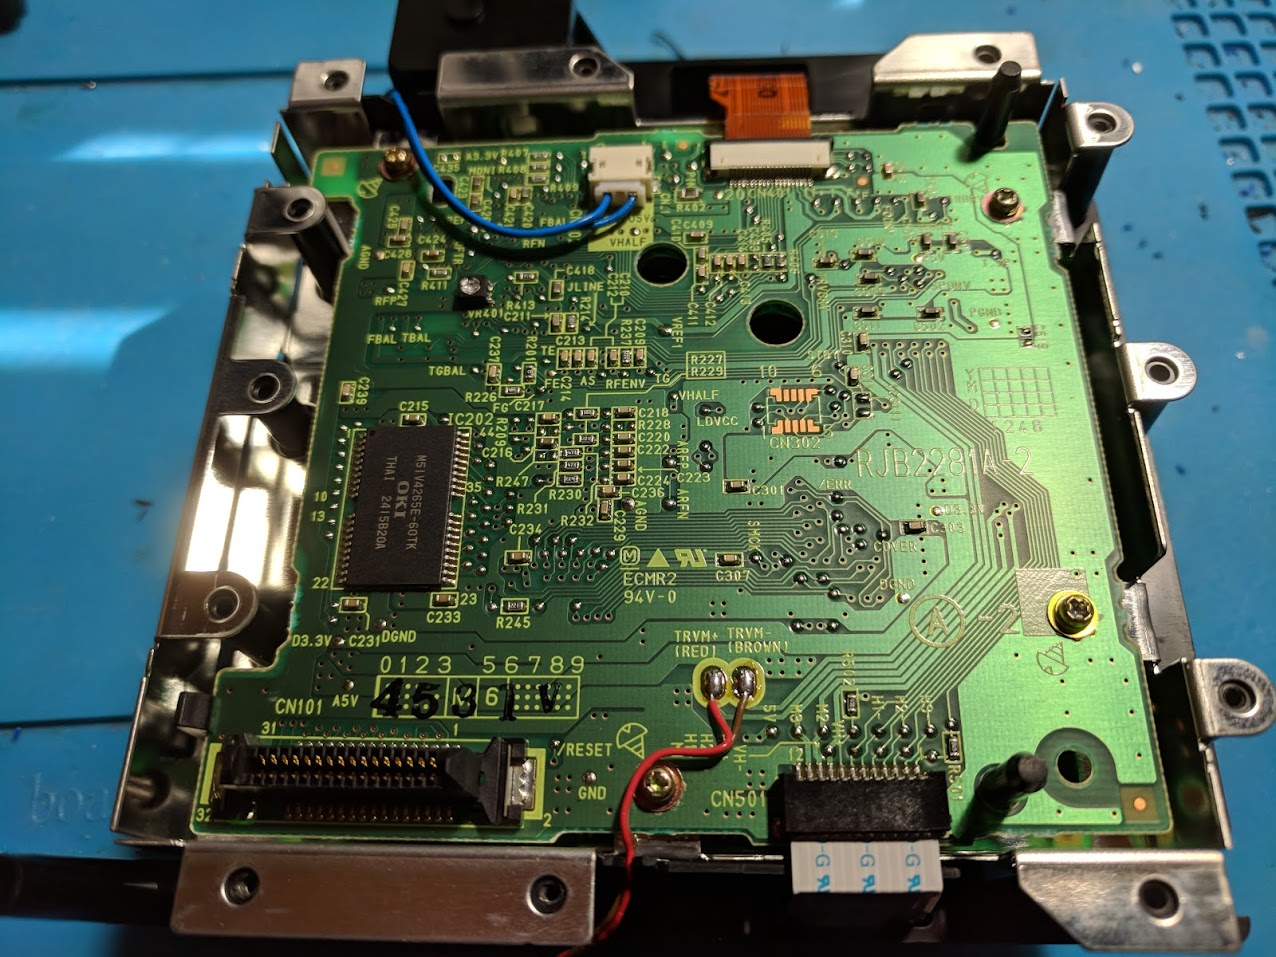
Now it’s time to solder the XenoGC modchip to your console. Start by finding where the modchip should be positioned on your board, and then add some flux over where you will be soldering. You should then tin each point with a small amount of solder. The picture above shows the board with flux, and the points tinned.
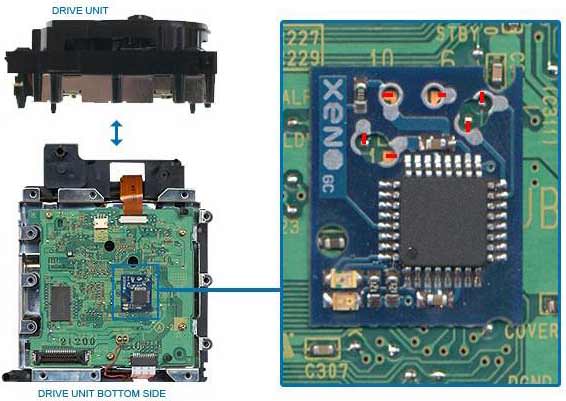
Now place the XenoGC onto the board, and solder each of the points in the diagram above. You’ll want to heat both the solder blob on the drive controller board, and the XenoGC chip at the same time. You may need to add a small amount of additional solder. Don’t add too much solder or you’ll risk bridging some connections.
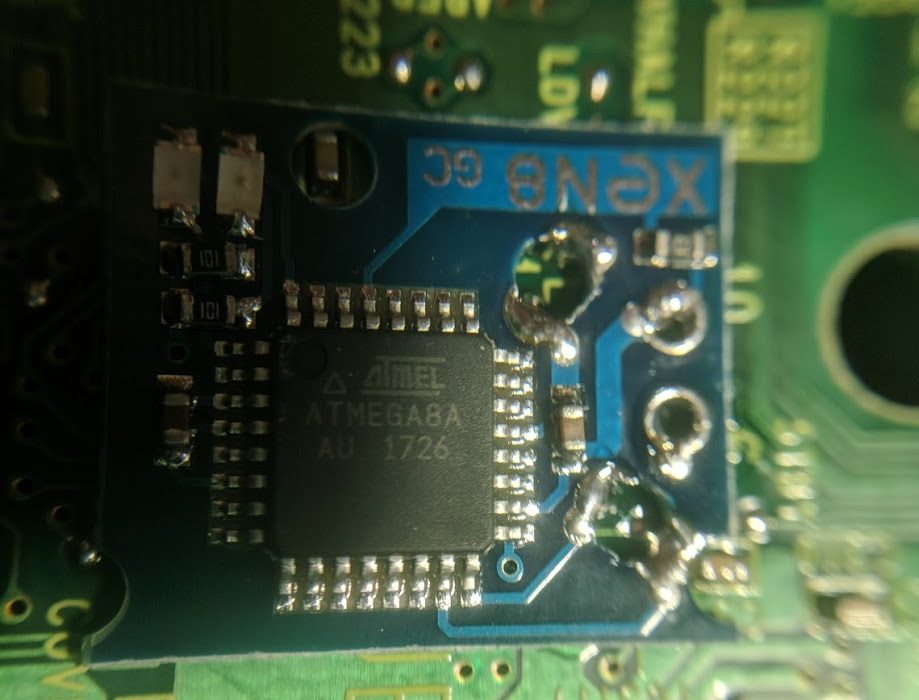
Once you’ve finished soldering the chip it should look something like the two images above. You want solid shiny solder connections. Alternatively you can use wire (something like 30 AWG wire) to connect the points on the chip to the points on the board.
Testing the XenoGC installation
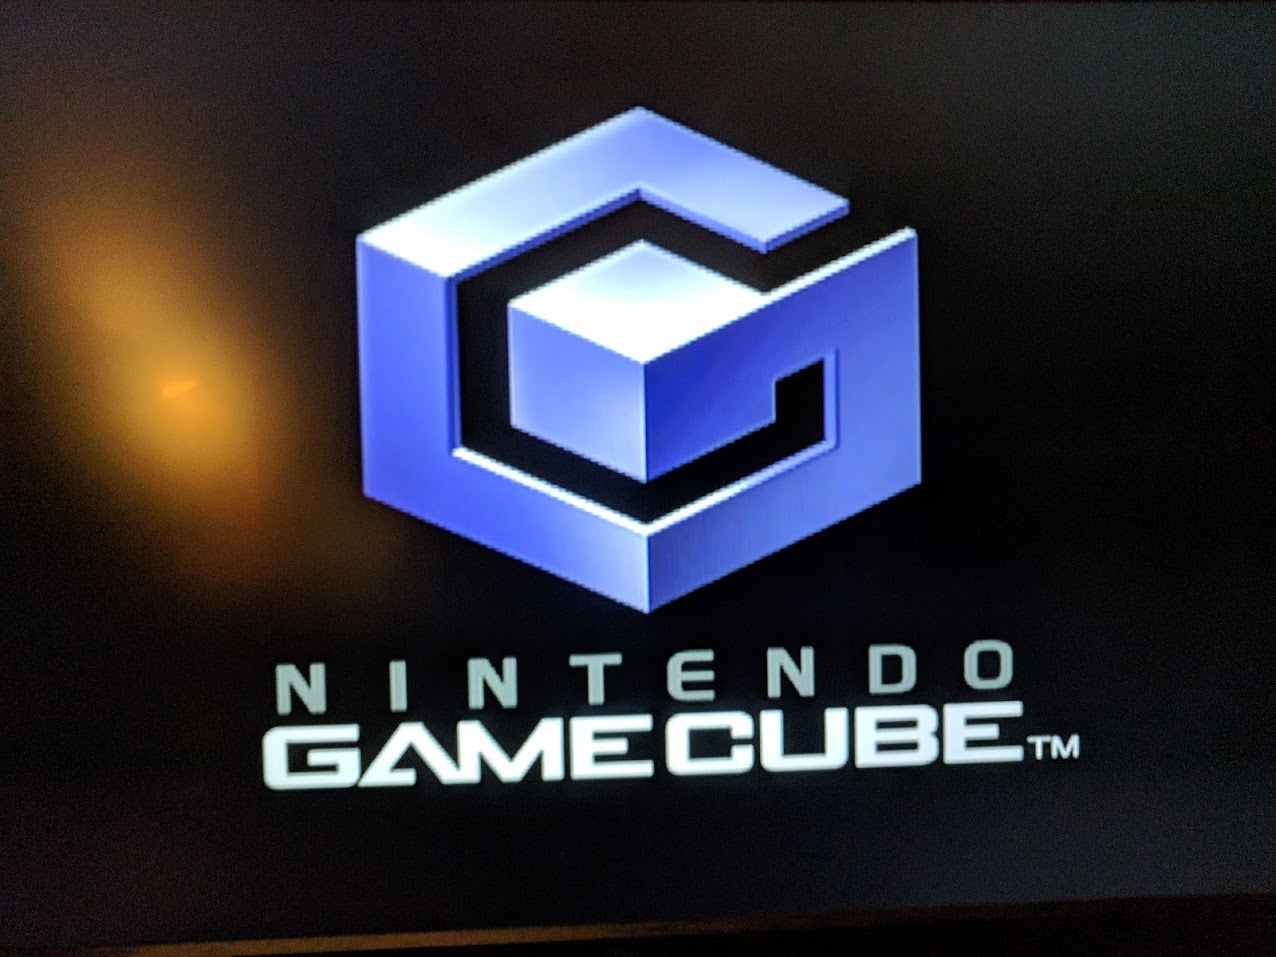
Once the chip is installed you’ll want to test it. I recommend putting the console back together, but leaving the top of the console off until you verify it works. There are status lights on the modchip that you can use to see the status of the installation. The colors and their meanings vary, but in general seeing an LED light up in general is a good sign.
You can test booting backup discs, and games from other regions. There is also a XenoShell menu you can access by holding the start button on the first controller while starting a game. It displays the text XenoShell, but with a PAL video signal so it may not work with your TV.
If your laser is worn out you may need to adjust the laser potentiometer to get it to read game backups. Be careful though, since if you move it too far you might not be able to read games at all, or only be able to read backup games.
Conclusion
The XenoGC is a fairly easy chip to install into a console. If you are good at soldering the hardest part is taking apart the console because of how many screws need removed.
The chip works very well. I haven’t had any issues with it not booting game backups or anything like that. It’s a great way to get a cheap Game Boy player without a startup disc, and then burn your own startup disc.