Xbox 360 E teardown guide
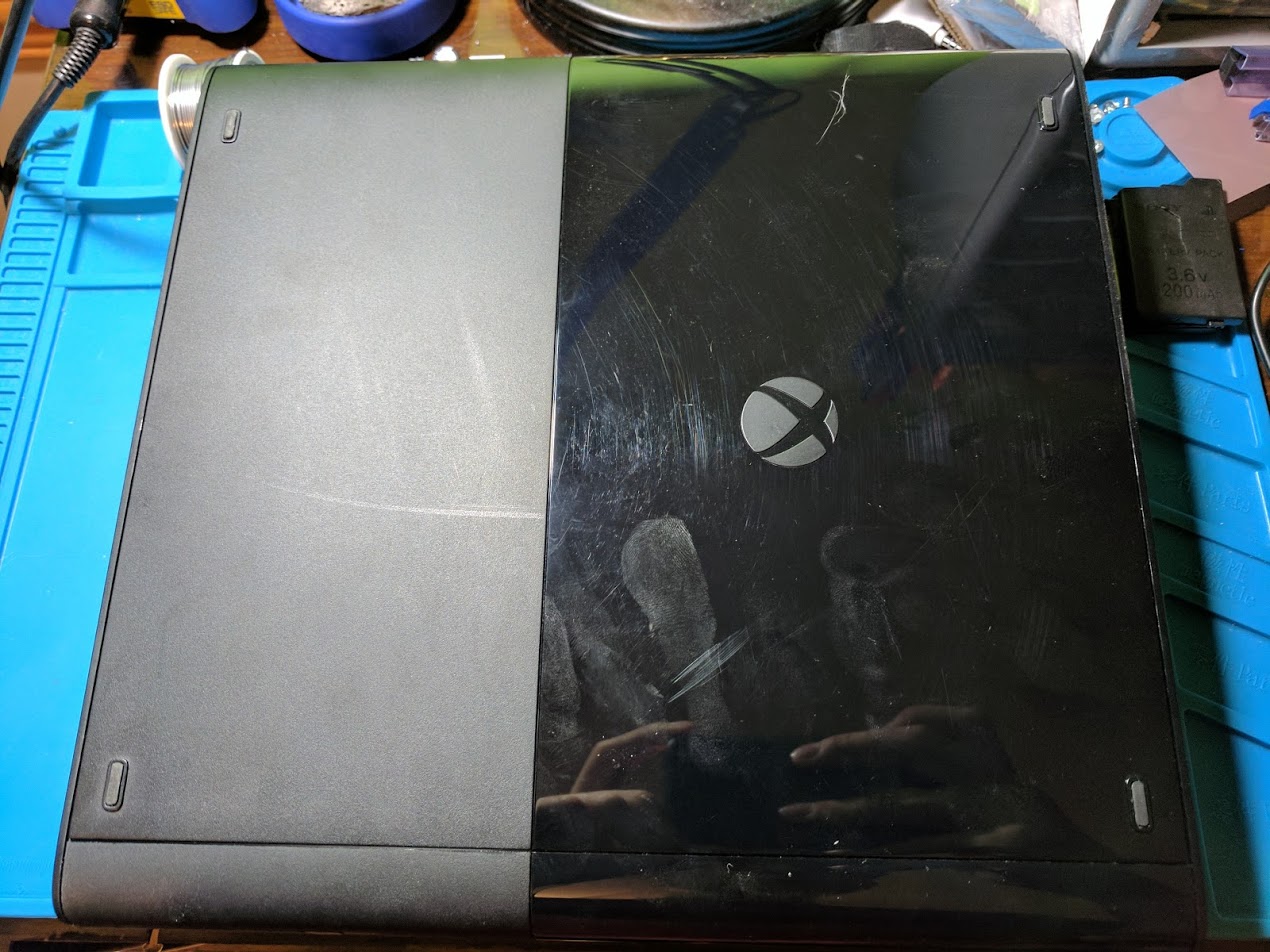
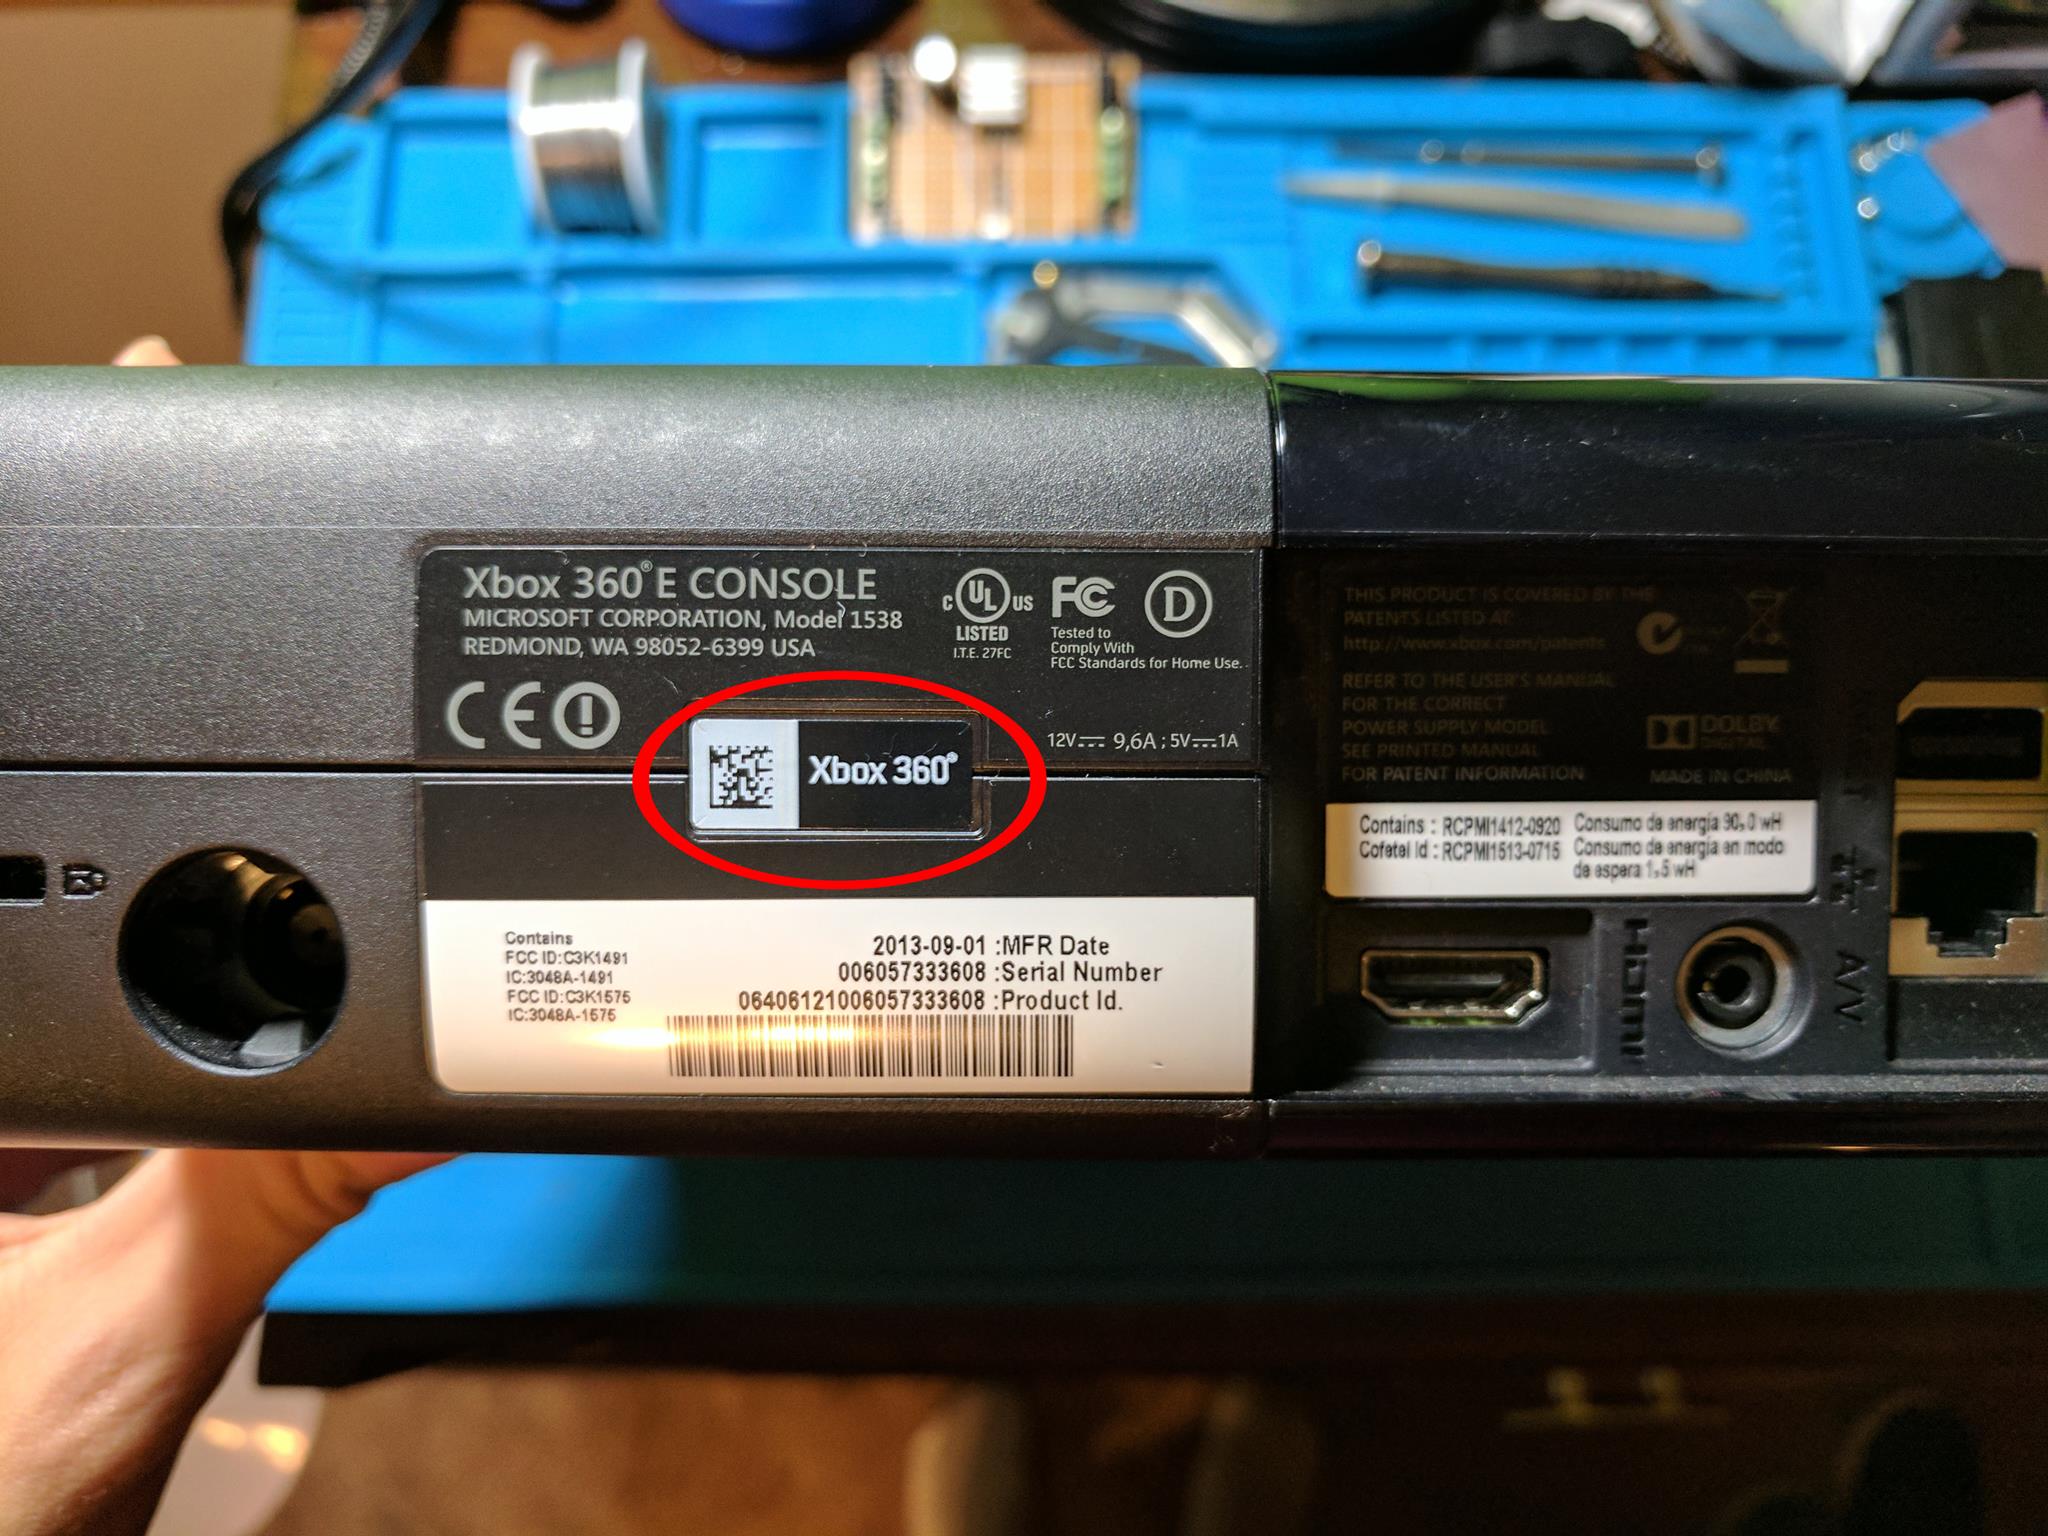
In my last two teardown guides I covered taking apart a PSone, and a PS2 slim. This post is similar, but for Microsoft’s second slim revision of their Xbox 360, the Xbox 360 E. My goal is to have an Xbox 360 E teardown guide that’s more complete than the others available online.
I found the process of taking apart the Xbox 360 E to be easier than the process of taking apart my original Xenon Xbox 360. You won’t need a special opening tool to help you with hidden tabs or anything like that. It was however harder to take apart than a PS3 slim, mostly because of the lack of external screws.
I purchased this console used, and the images taken were before I cleaned it up. It was actually in pretty good condition, but it’s also not that old since it was made in 2013.
Step 1 – Hard drive removal
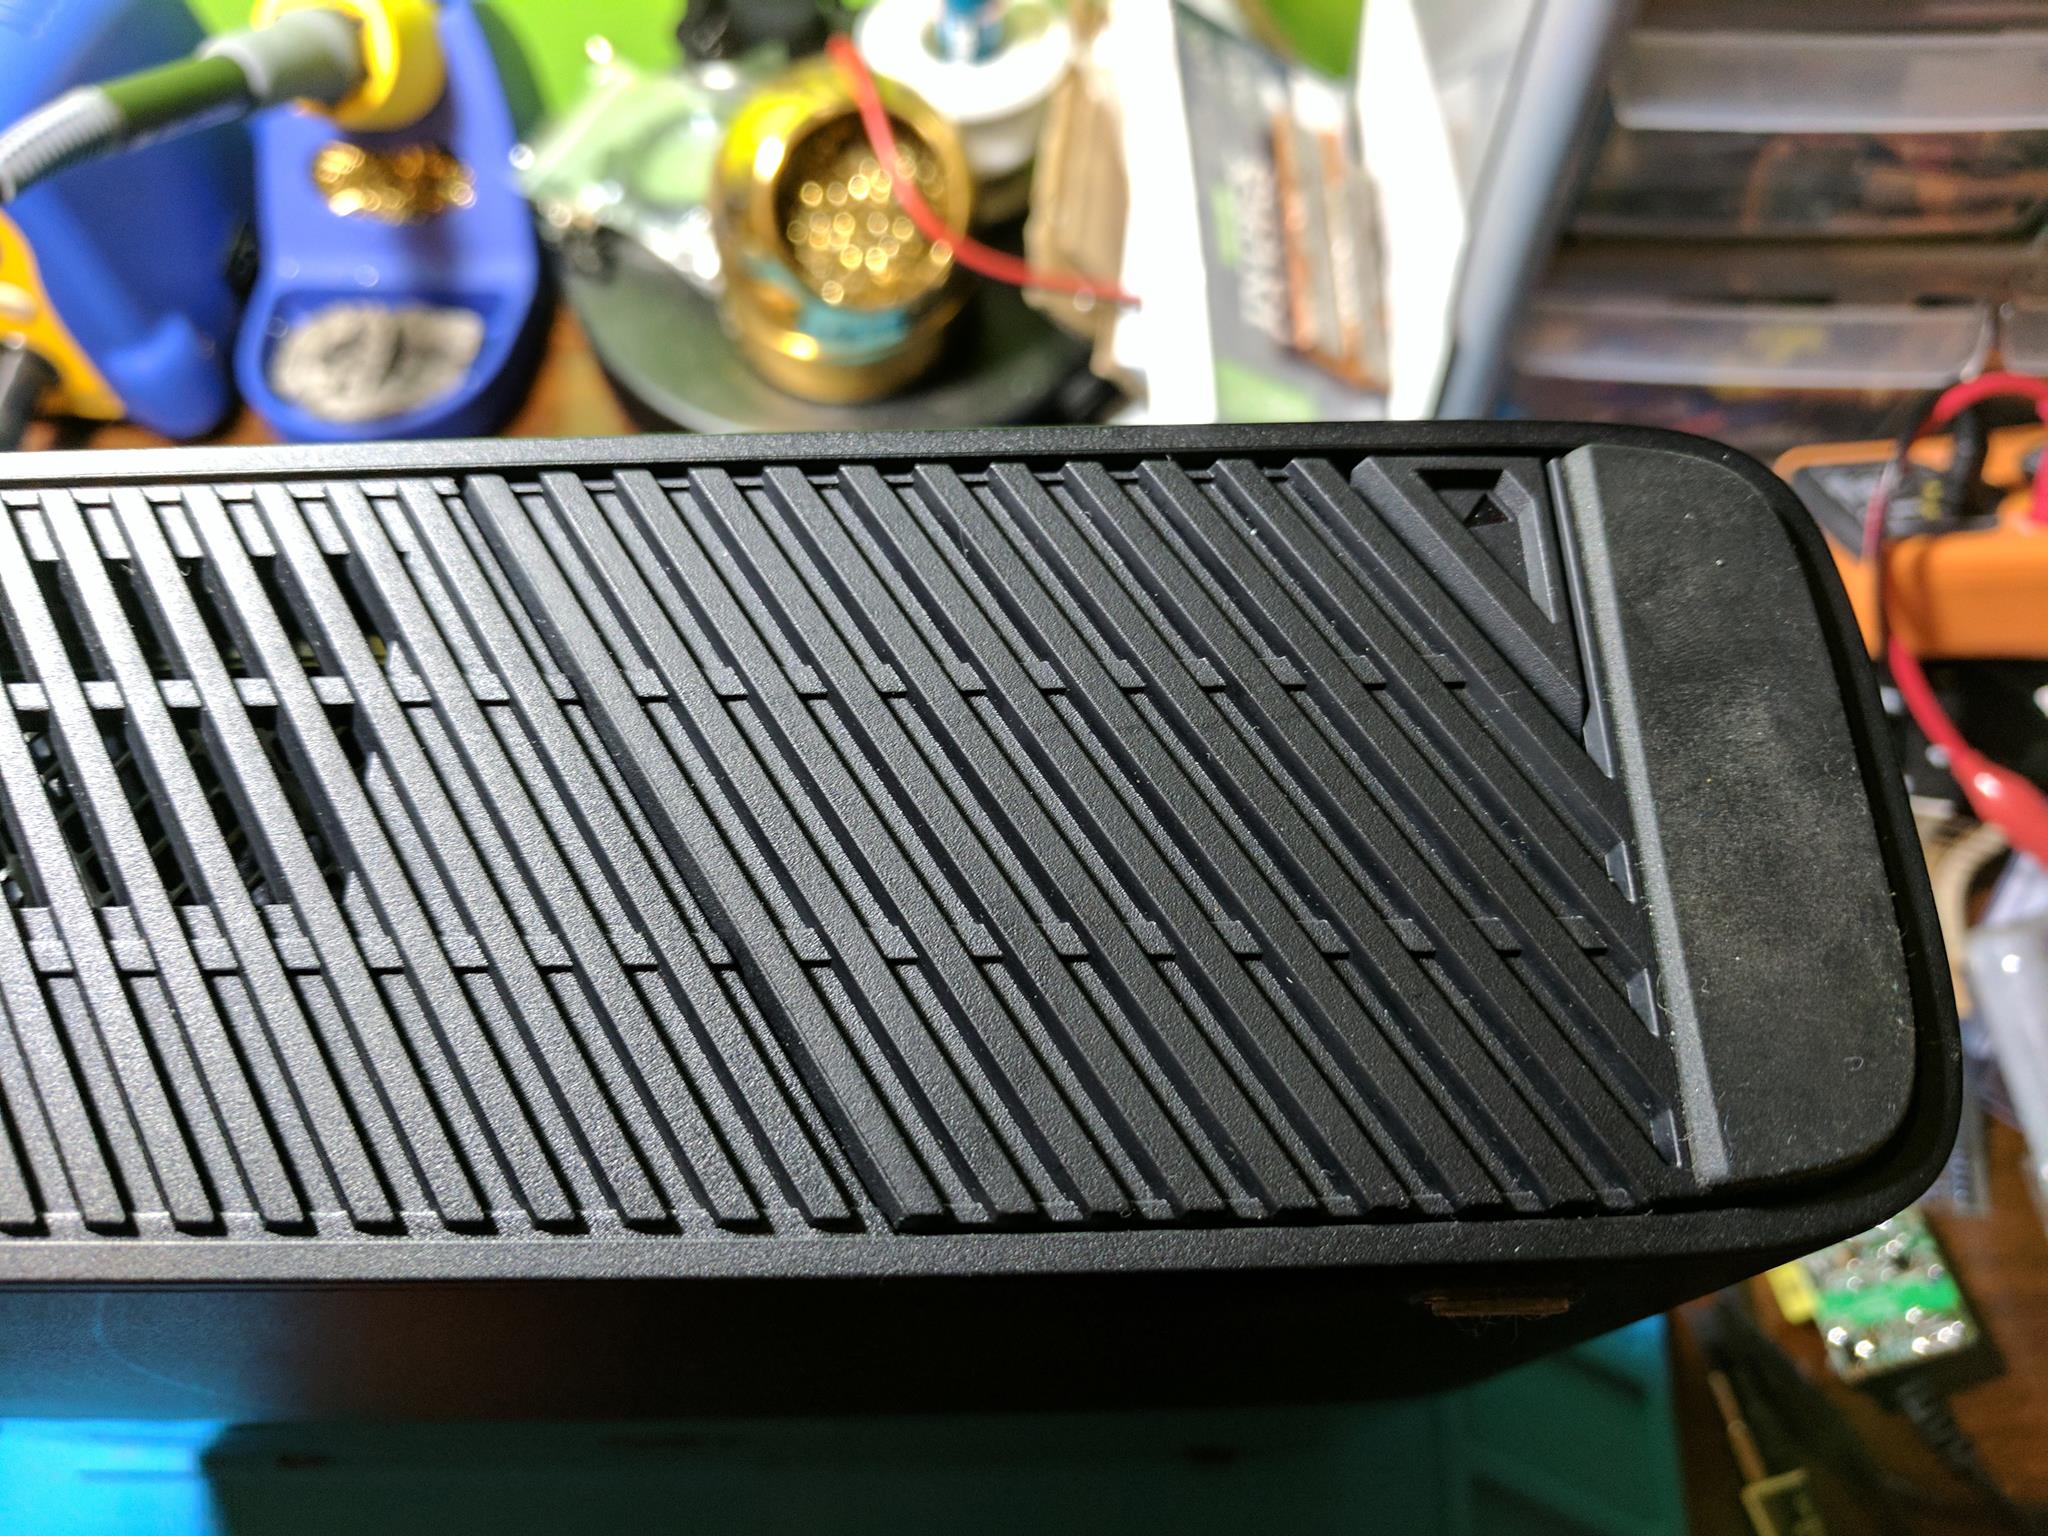
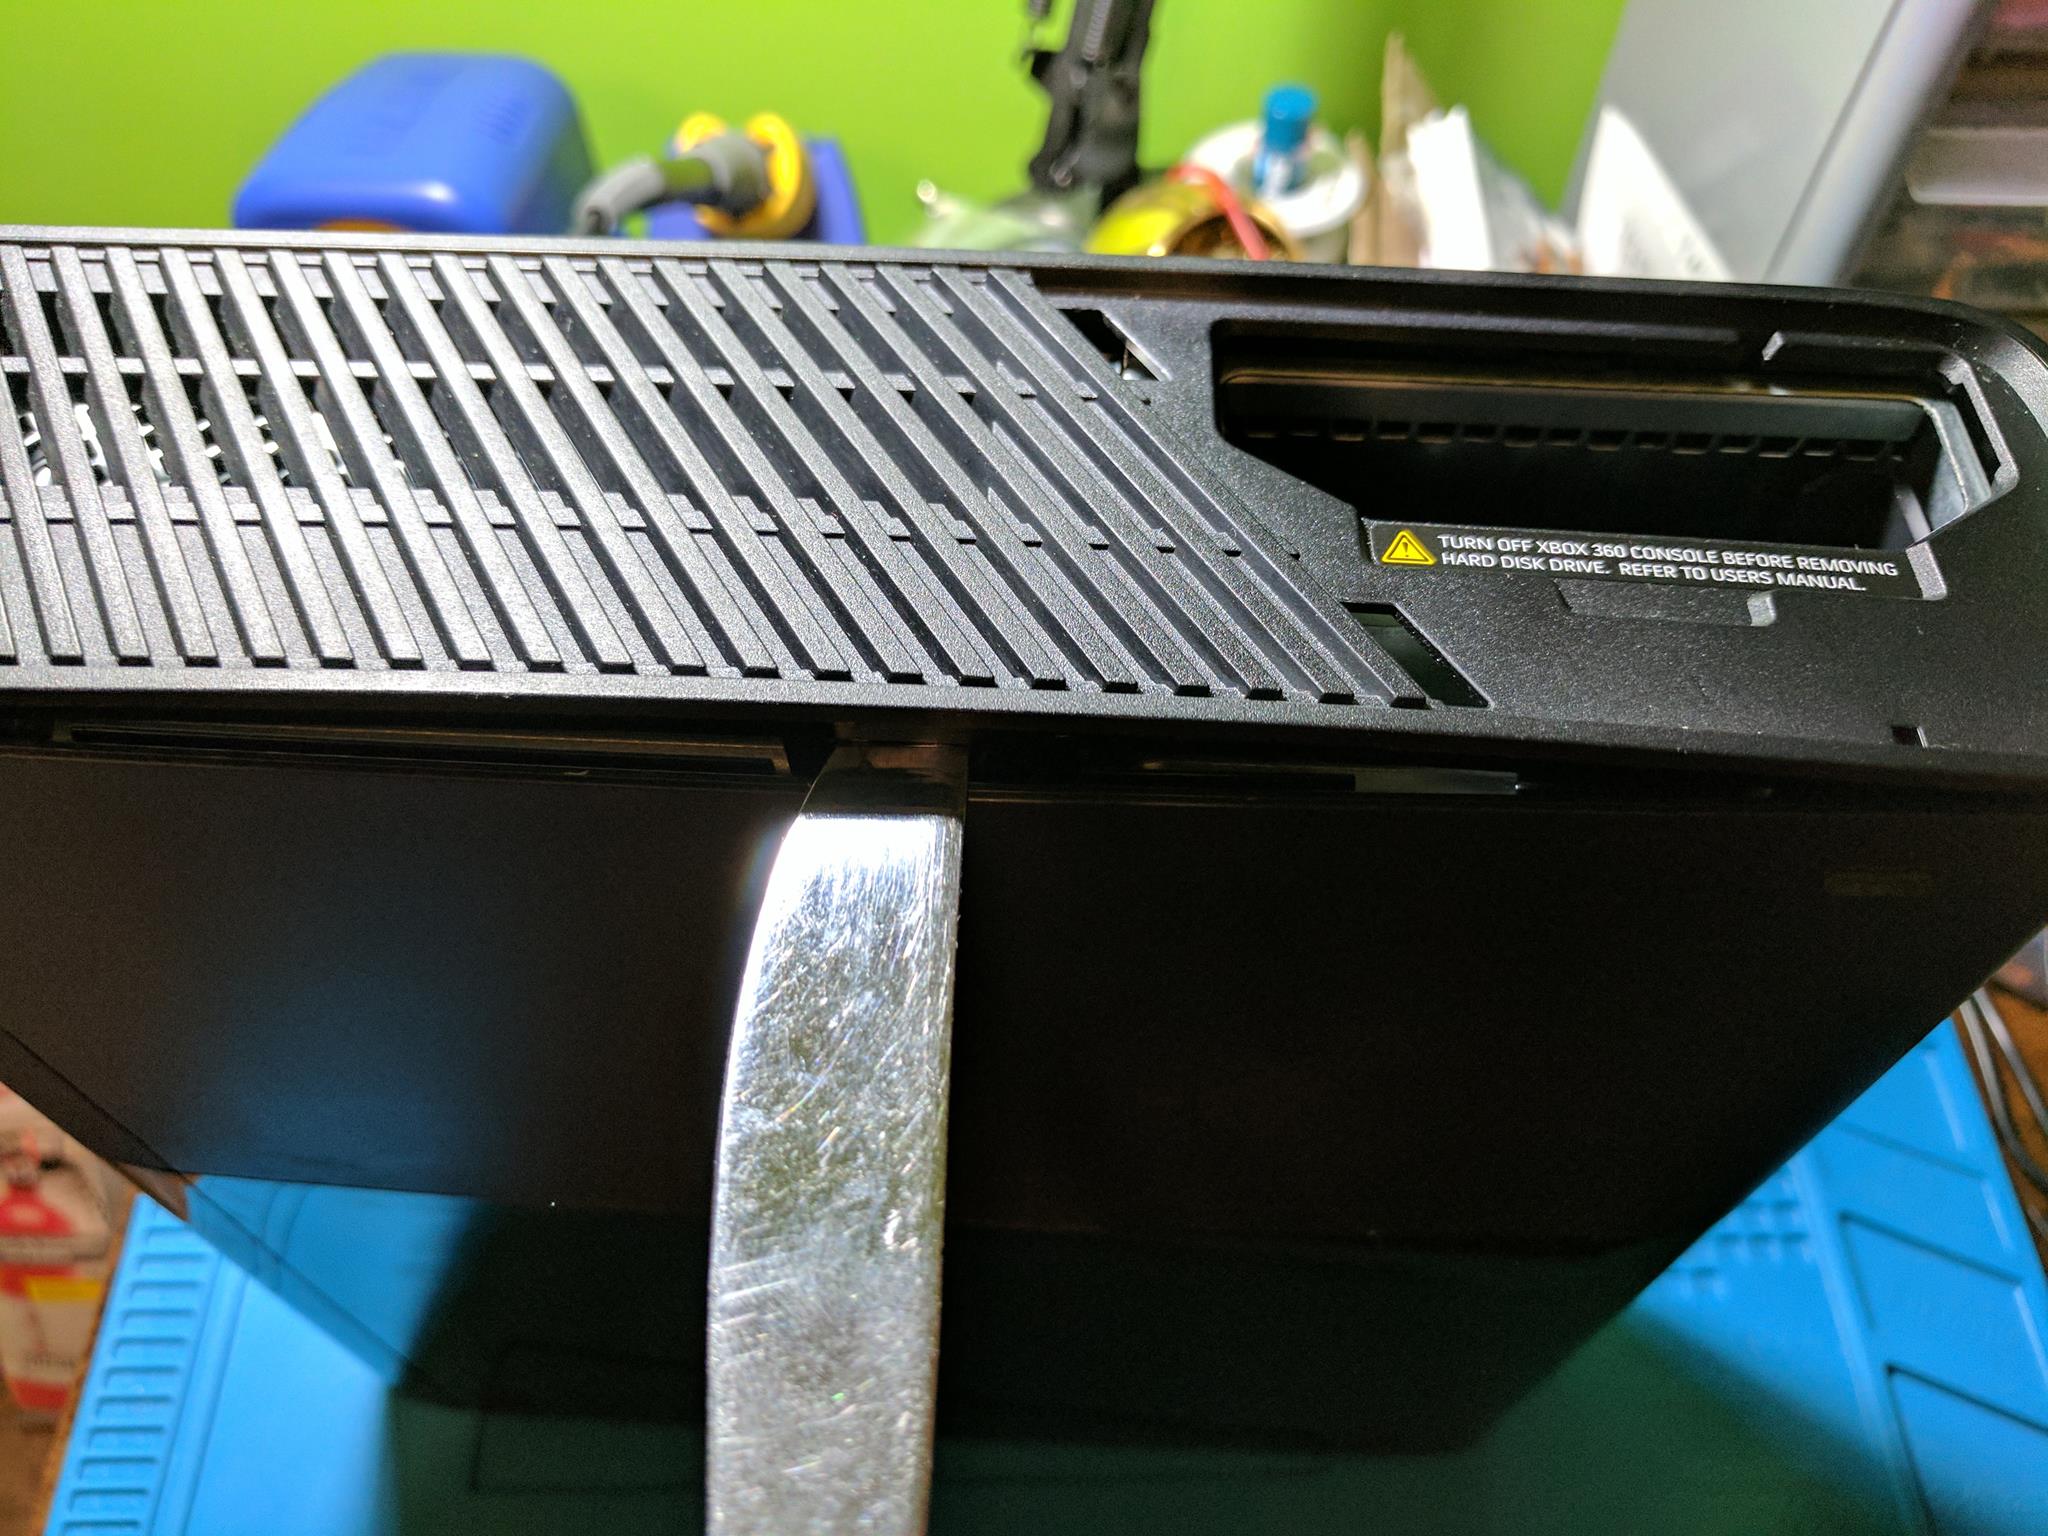
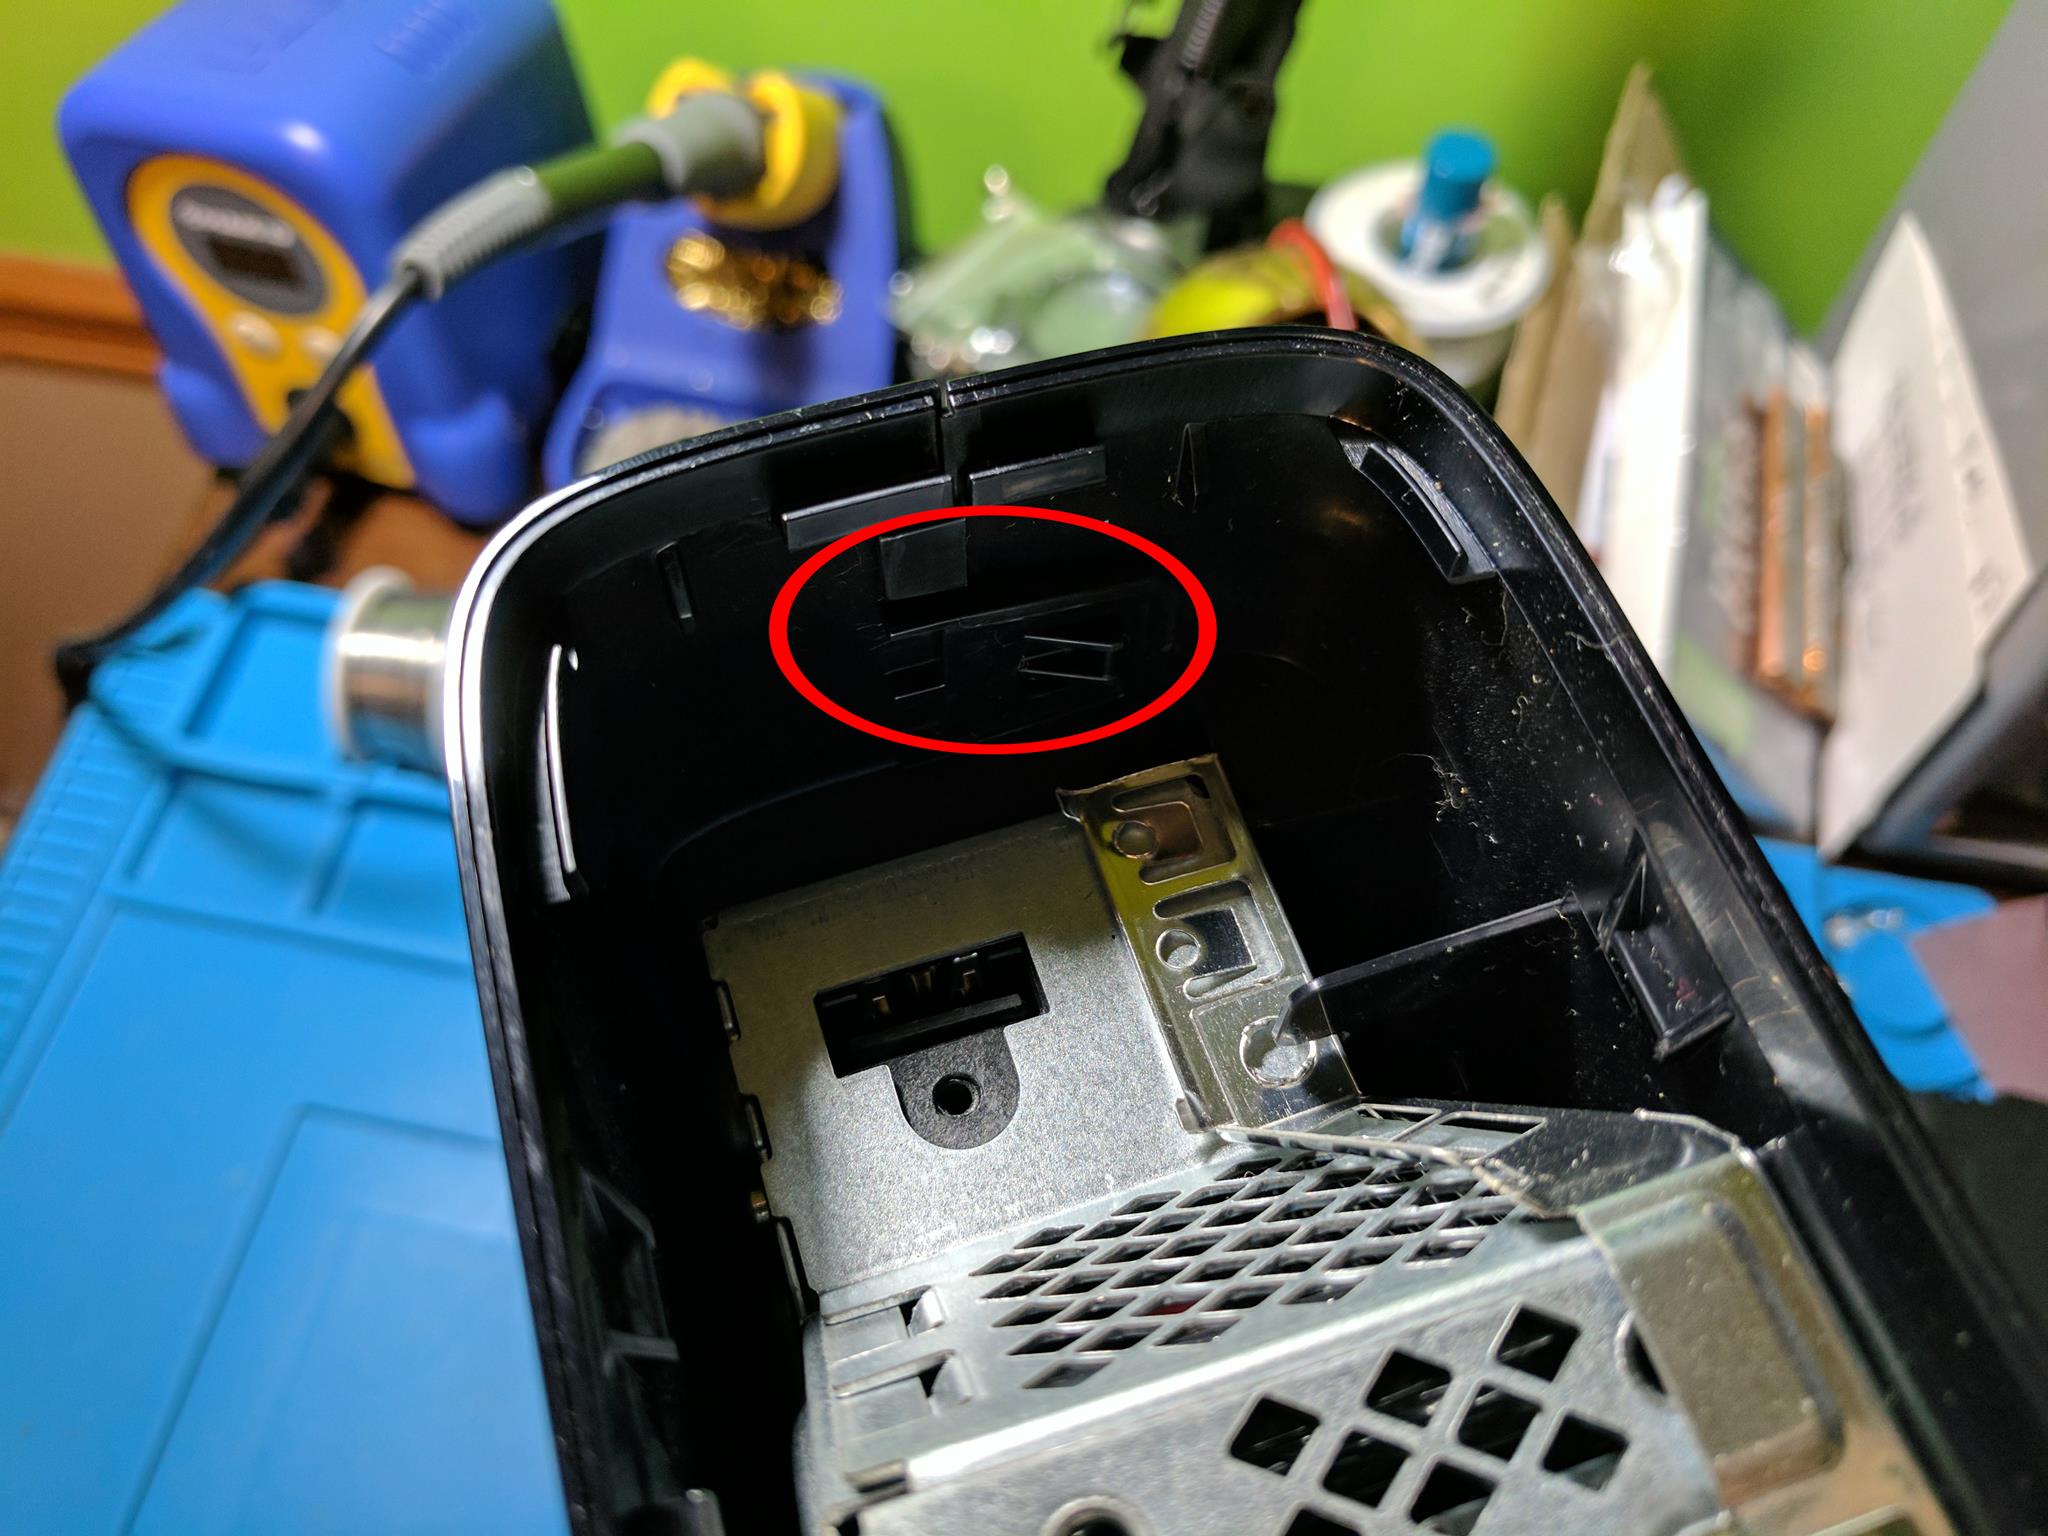
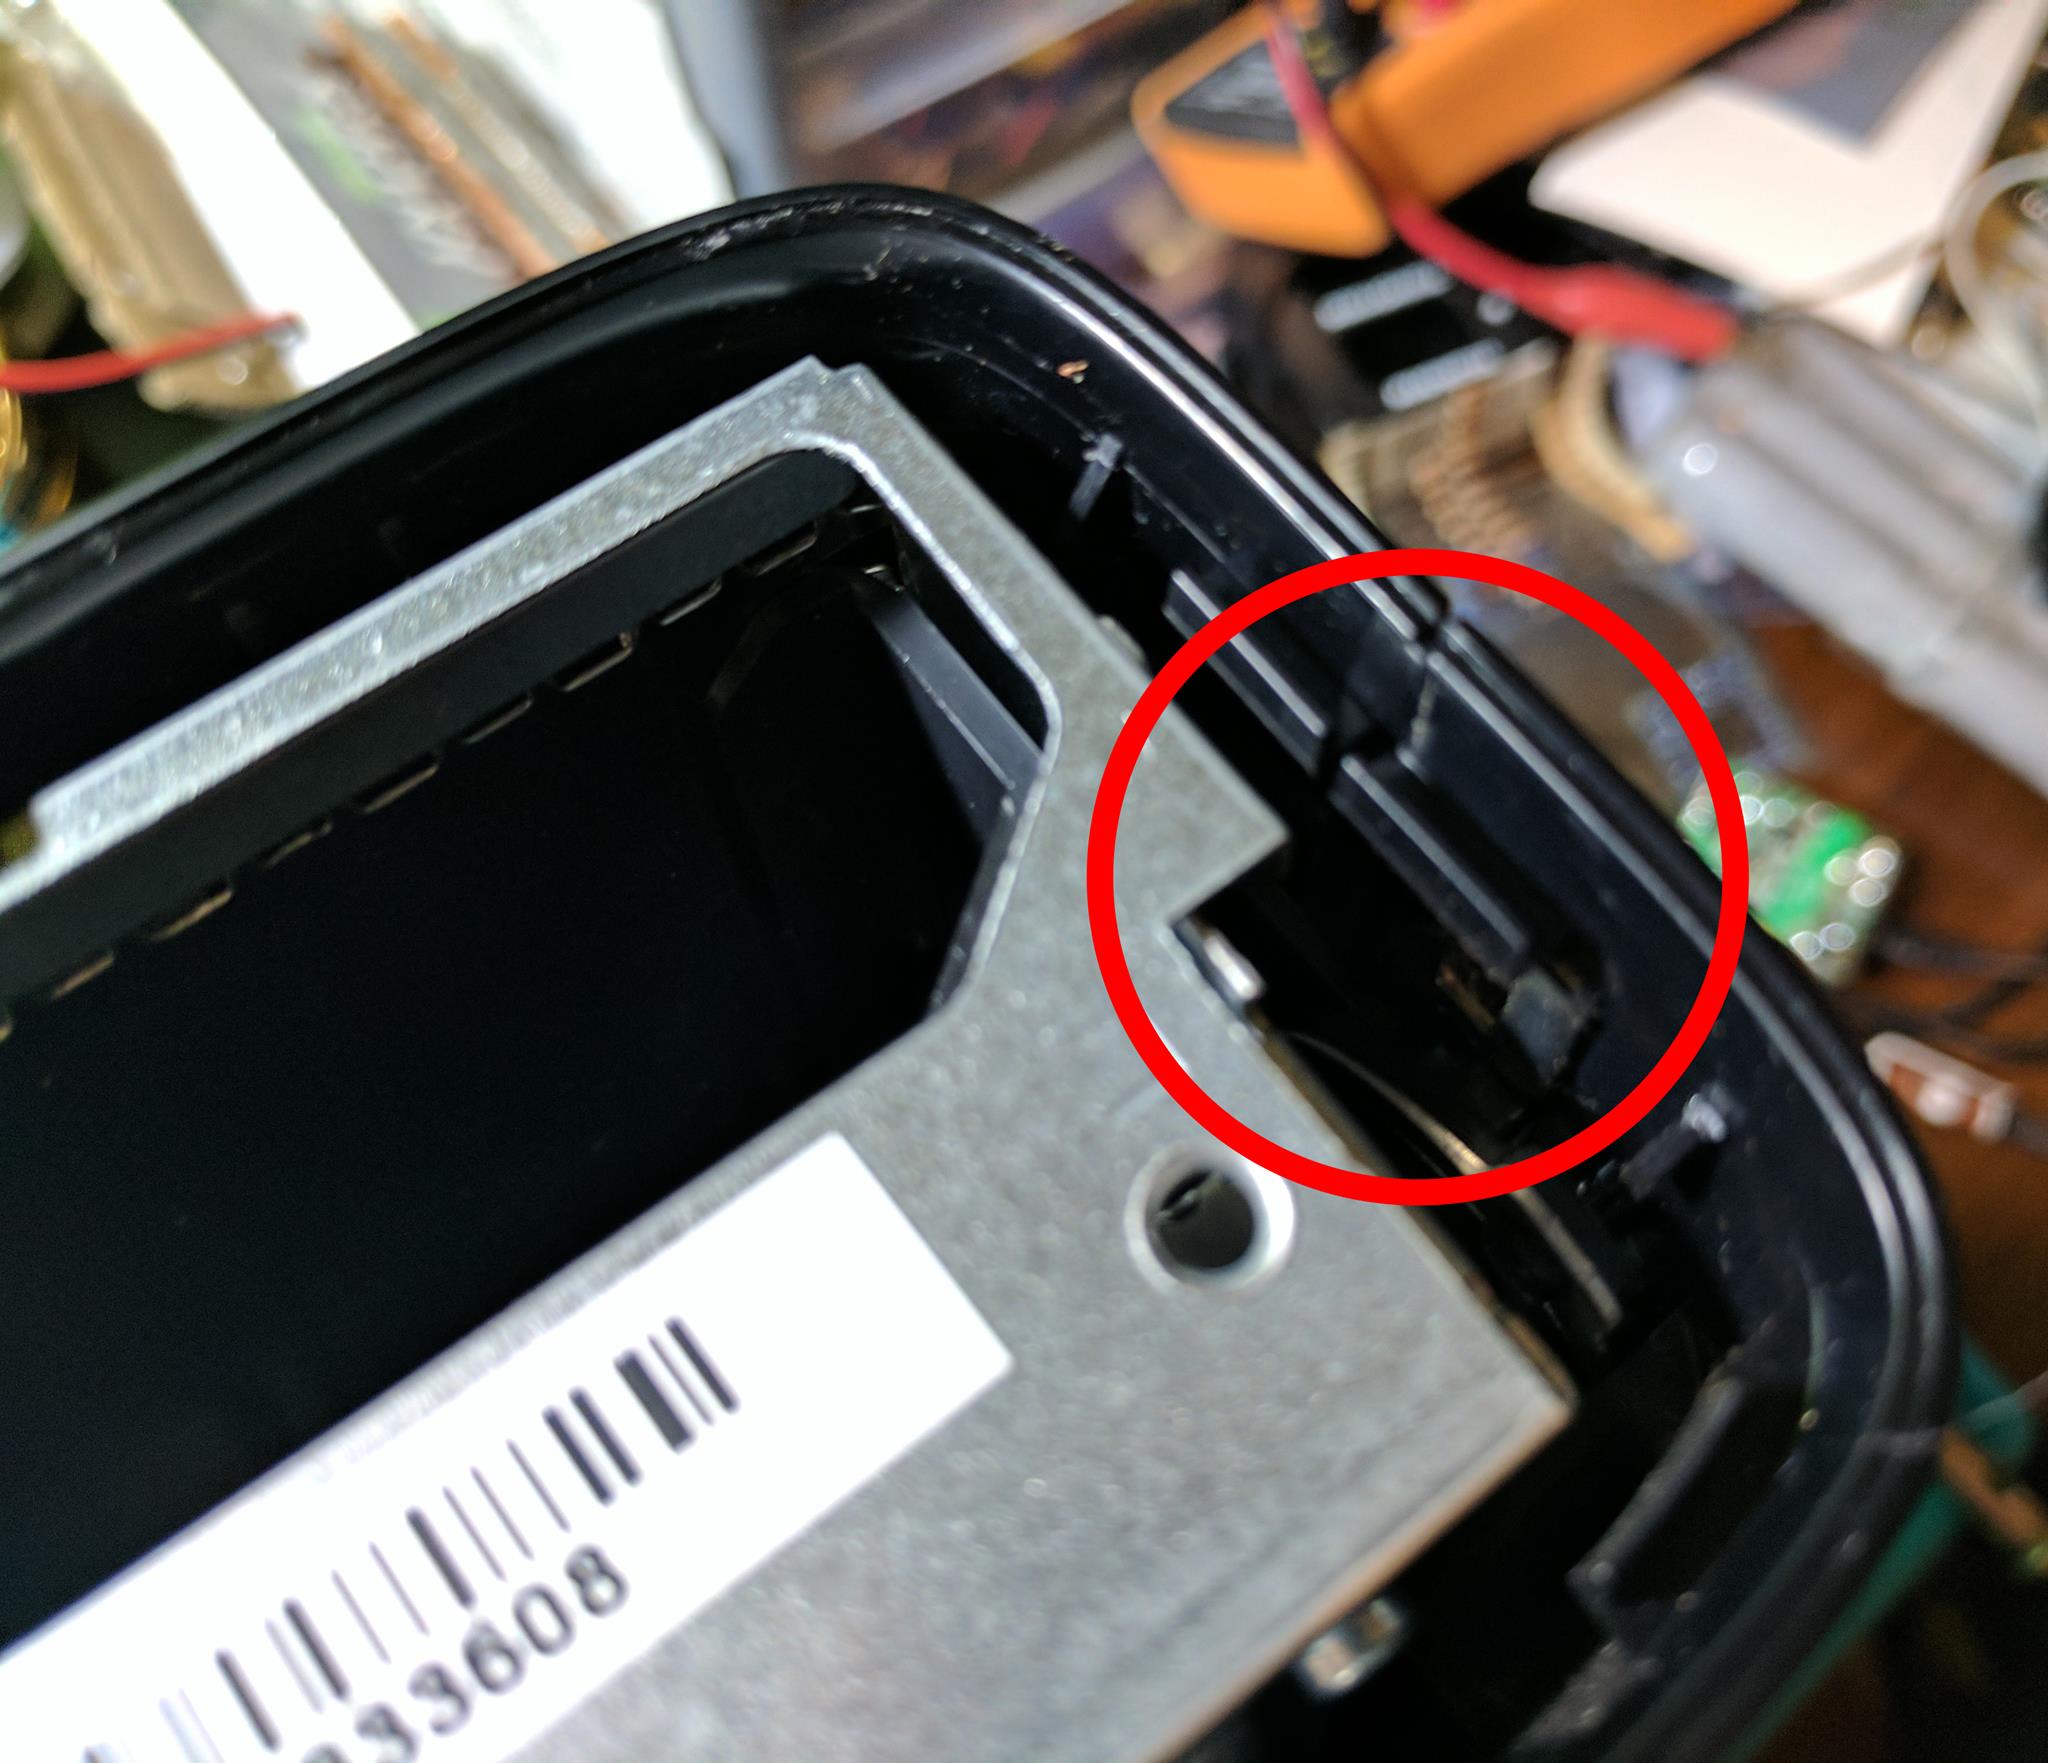
Let’s begin with the easiest part of this guide, removing the hard drive. Unlike the Xbox One, Microsoft designed the Xbox 360 E so that the hard drive is easily replaceable. This step doesn’t even require any tools. Begin by pushing the latch in the top right corner of the image below.
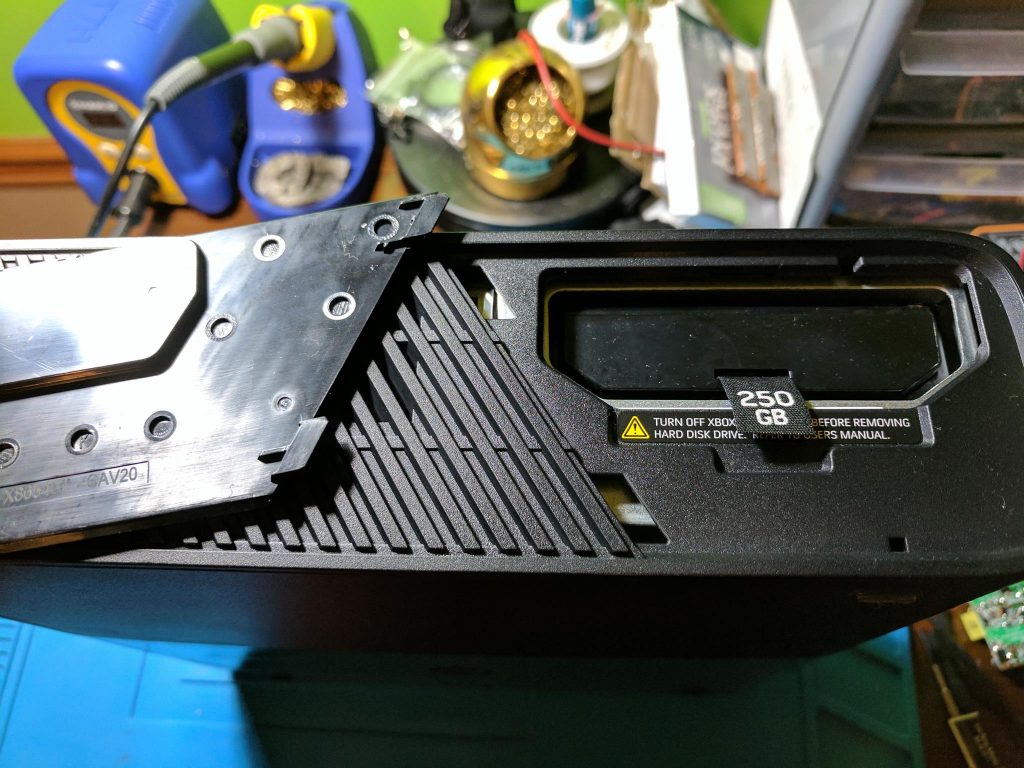
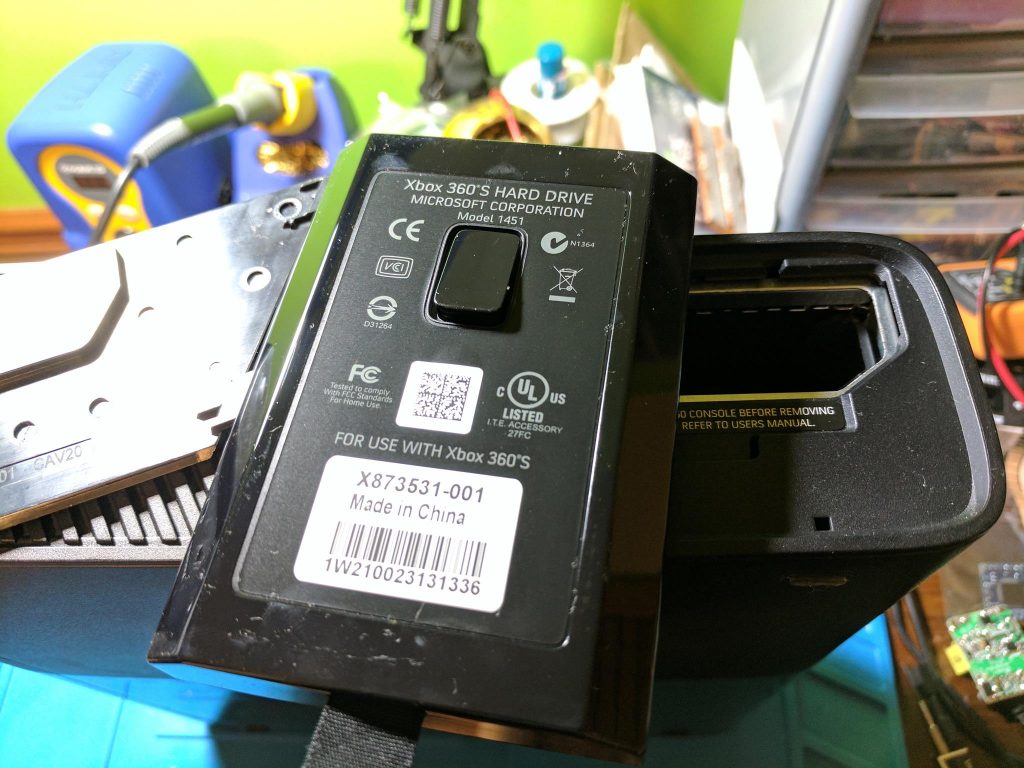
Once the plastic piece is out of the way, you can see that there is a tab labeled with the size of the drive. Pull on that tab to remove the hard drive from the console. The hard drive is pictured below before and after it has been removed from the console.
Step 2 – Plastic side vent removal
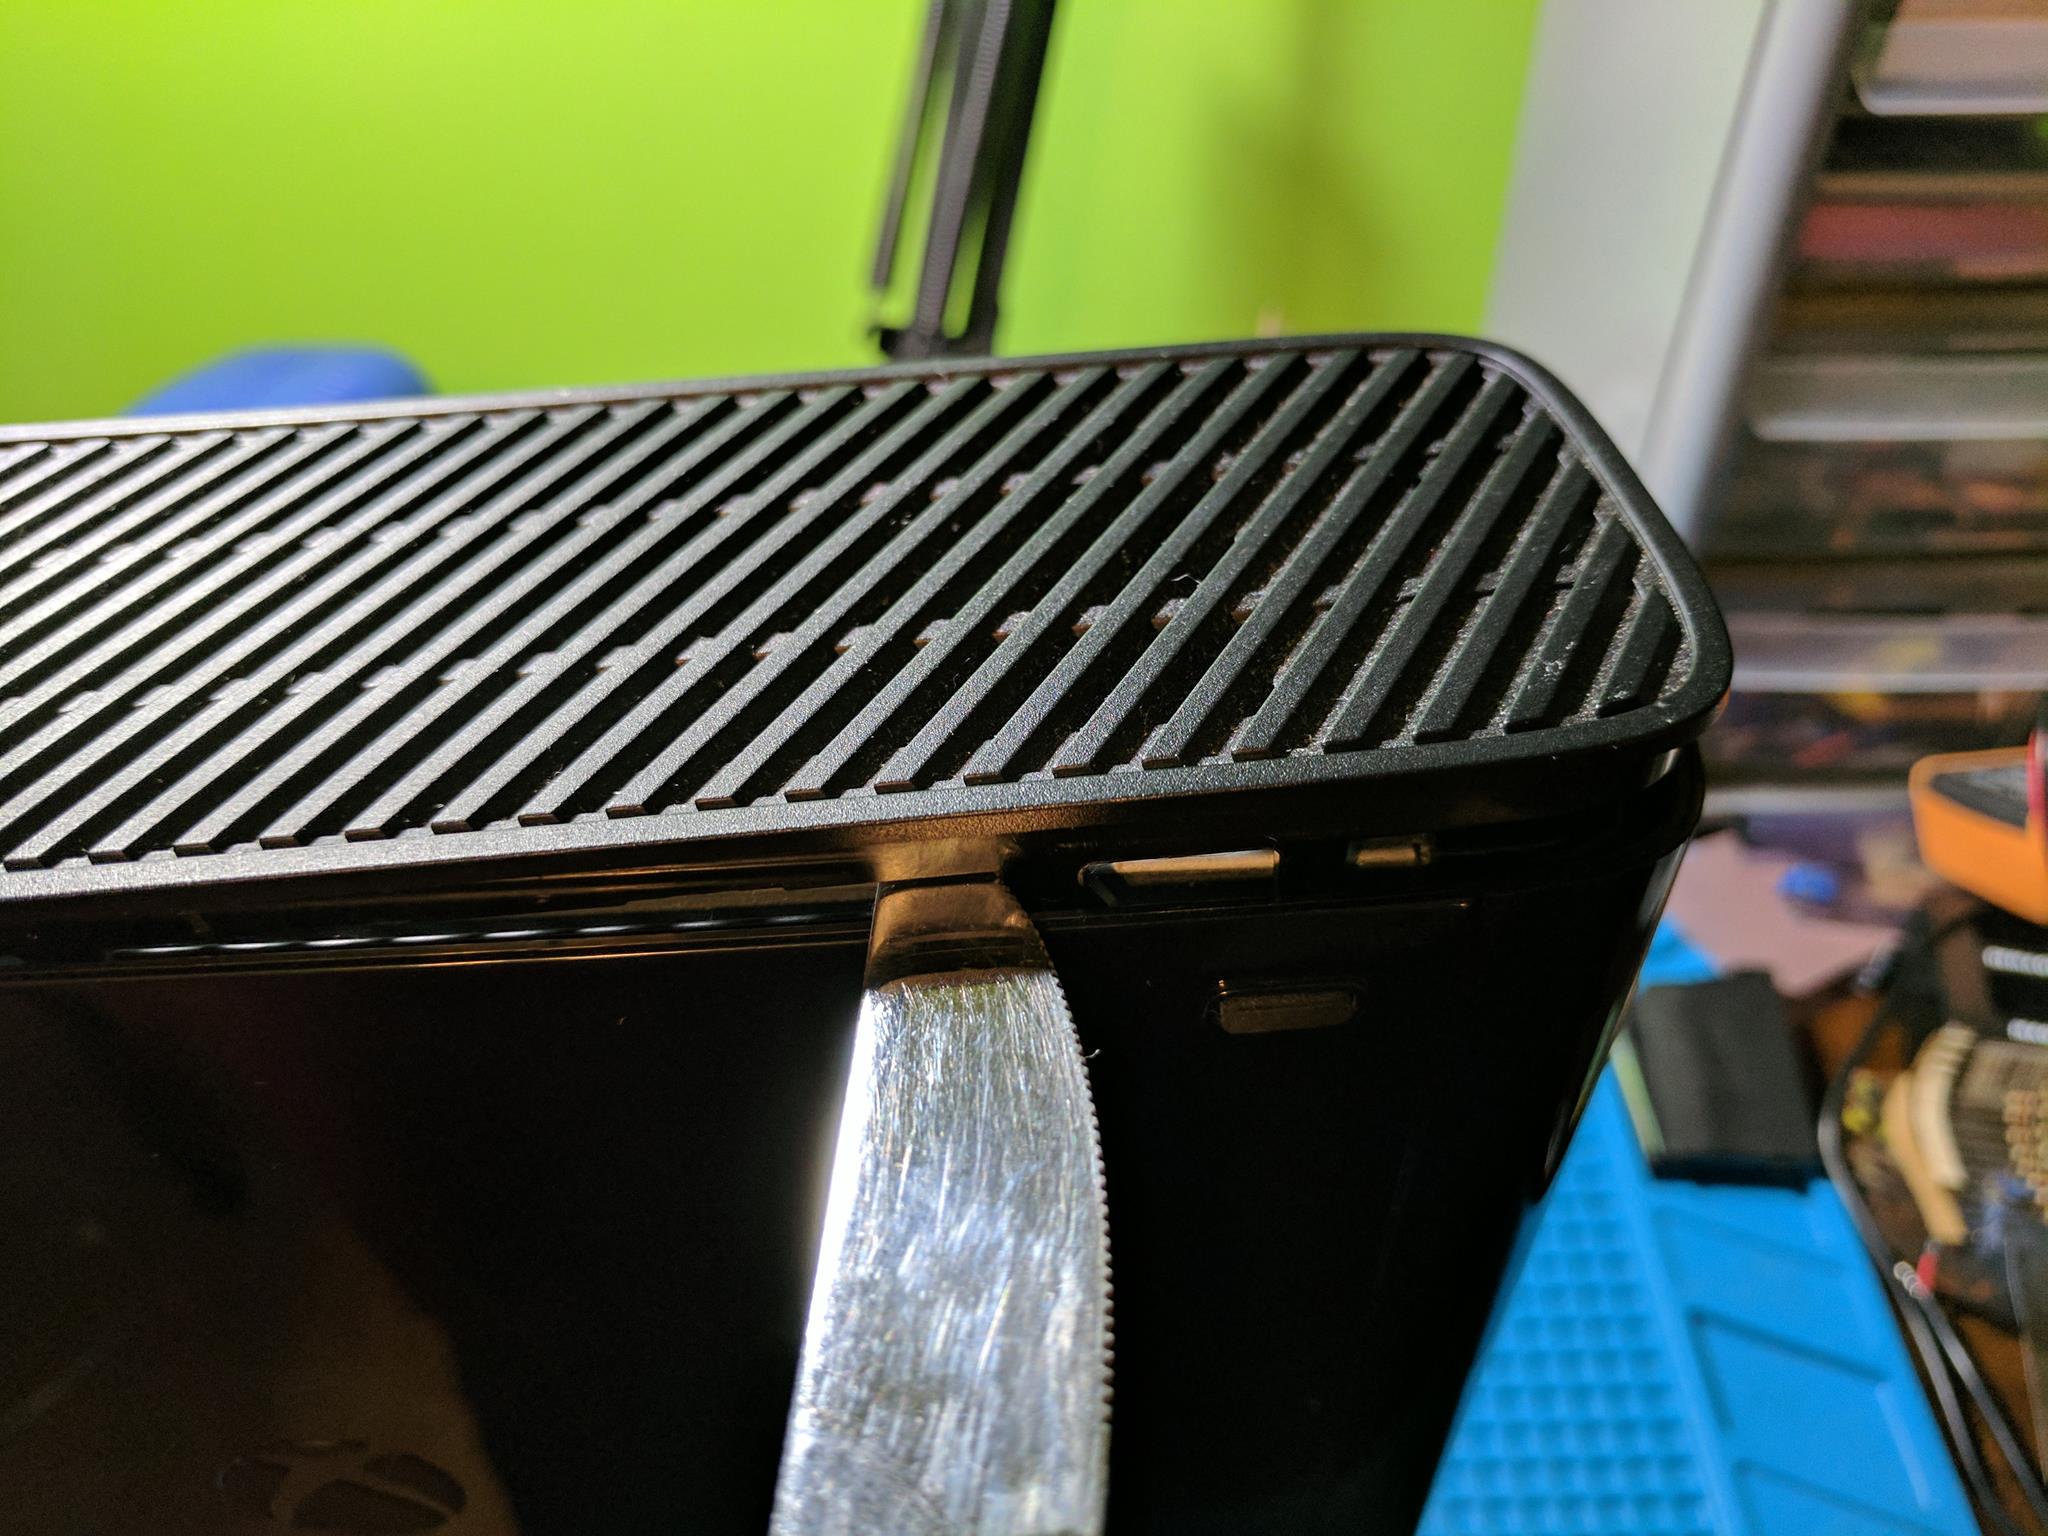
This is where things get a little more difficult. There are plastic vents on either side of the console. The vents are locked into place using plastic tabs. To remove the vents you have to carefully pry them off. I used a butter knife. Below are images of both of the side vents being removed.

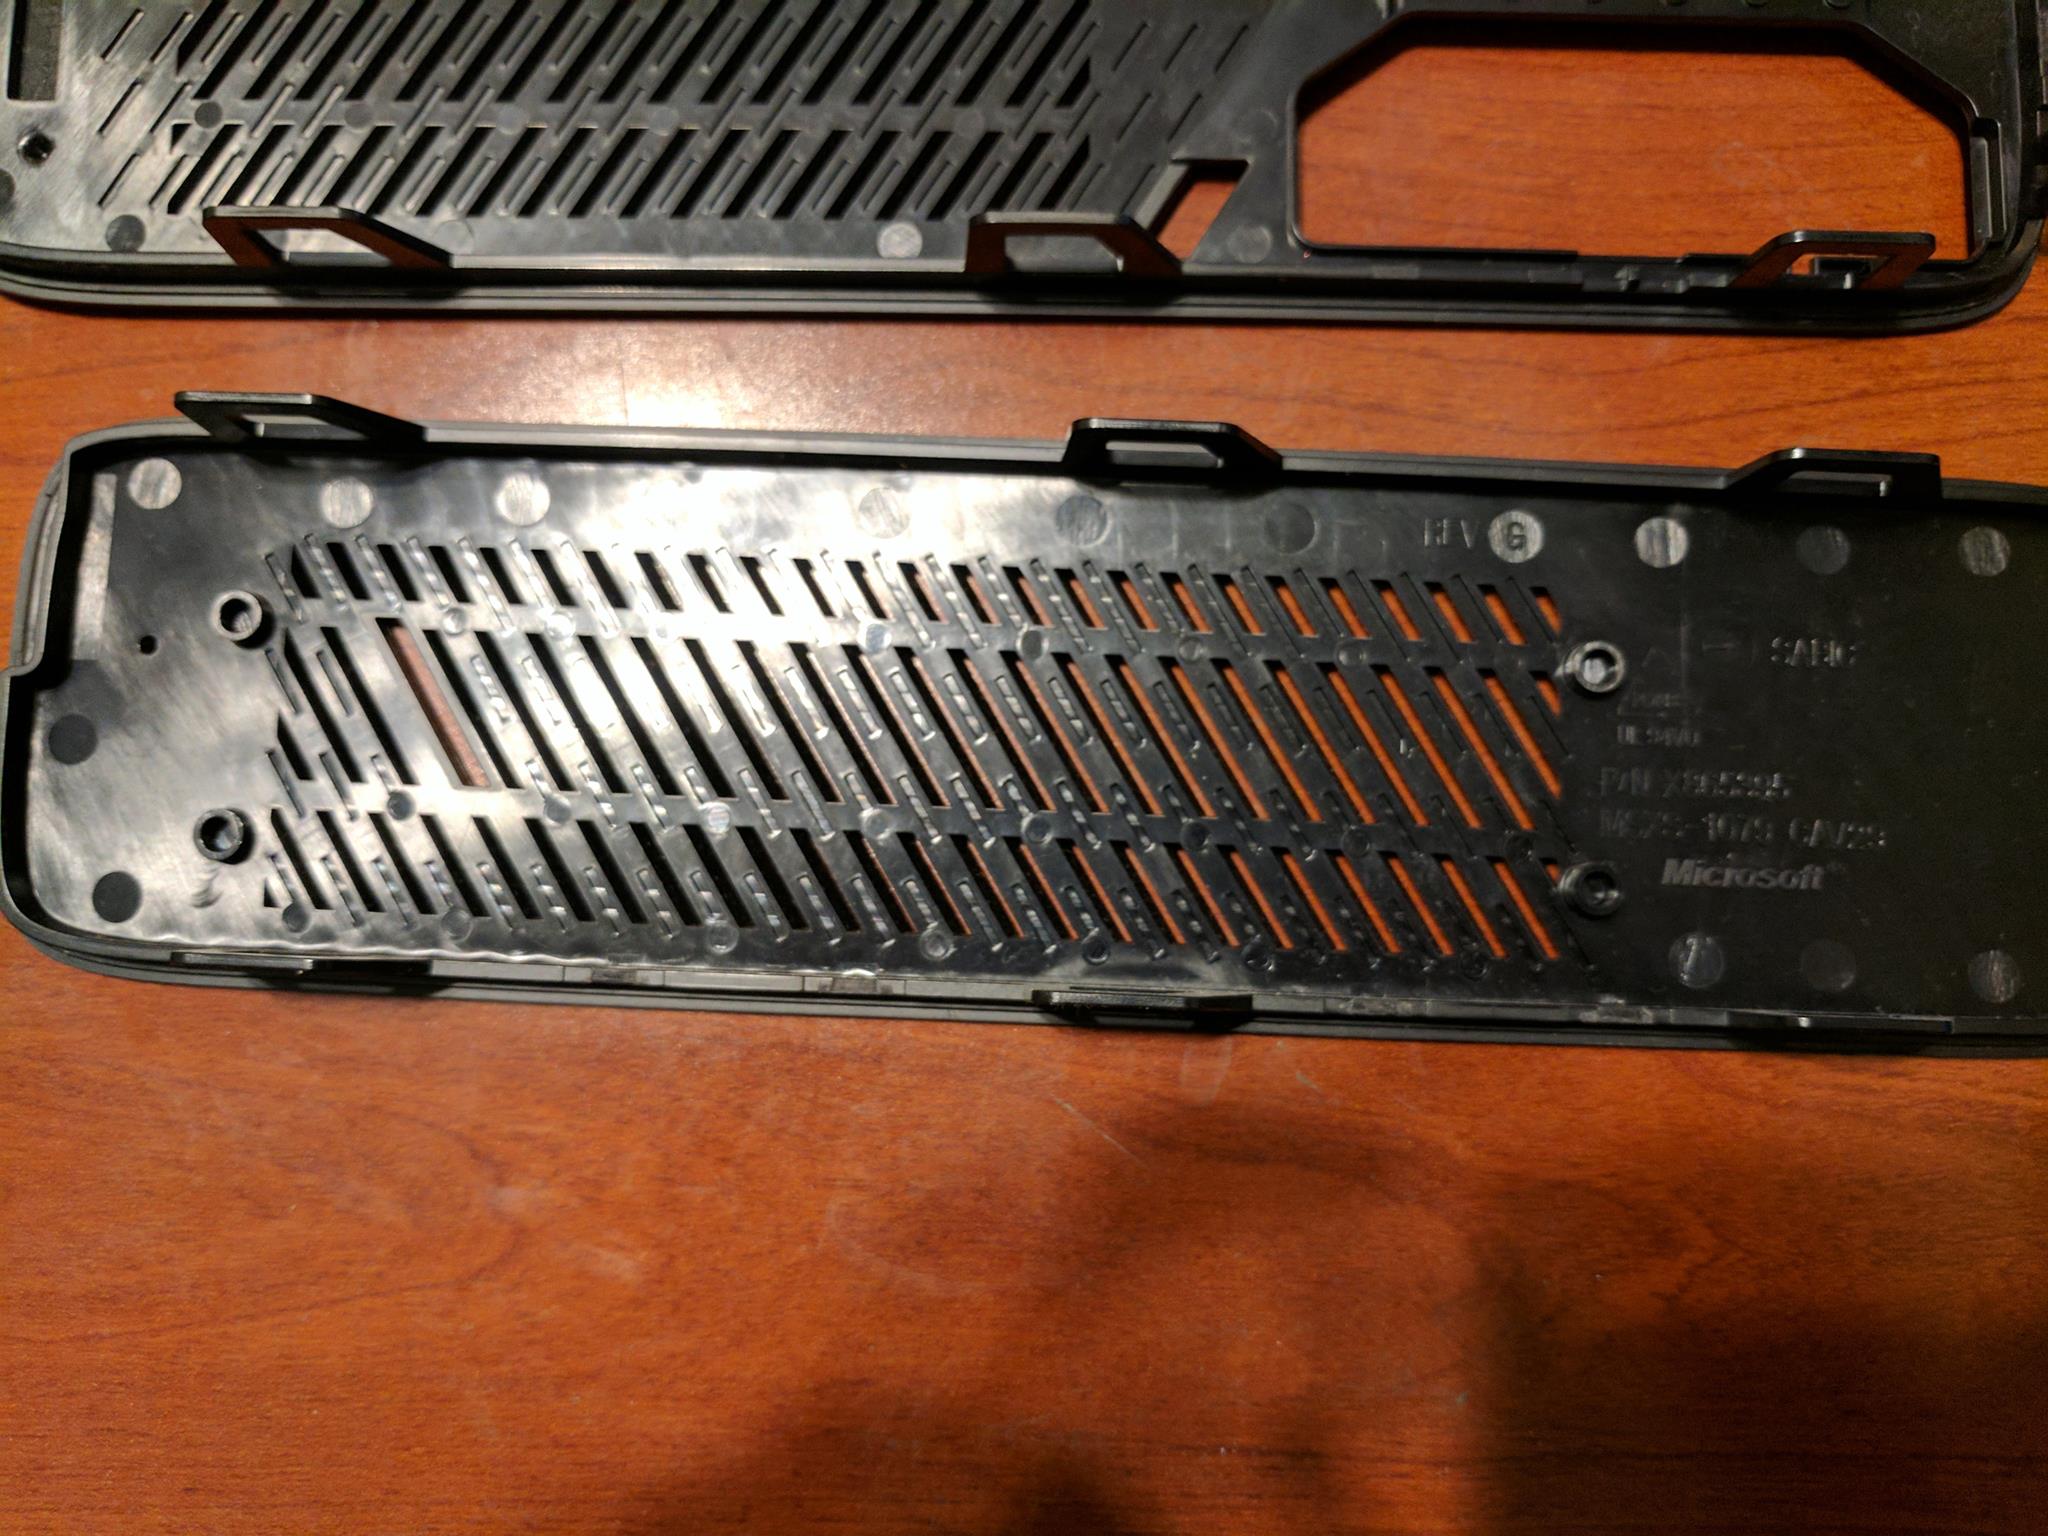
The tabs are large and sturdy enough that they shouldn’t break easily. Below is an image of the plastic vents once they have been removed. You can get a better look at the six tabs on each vent.
Step 3 – WiFi module removal
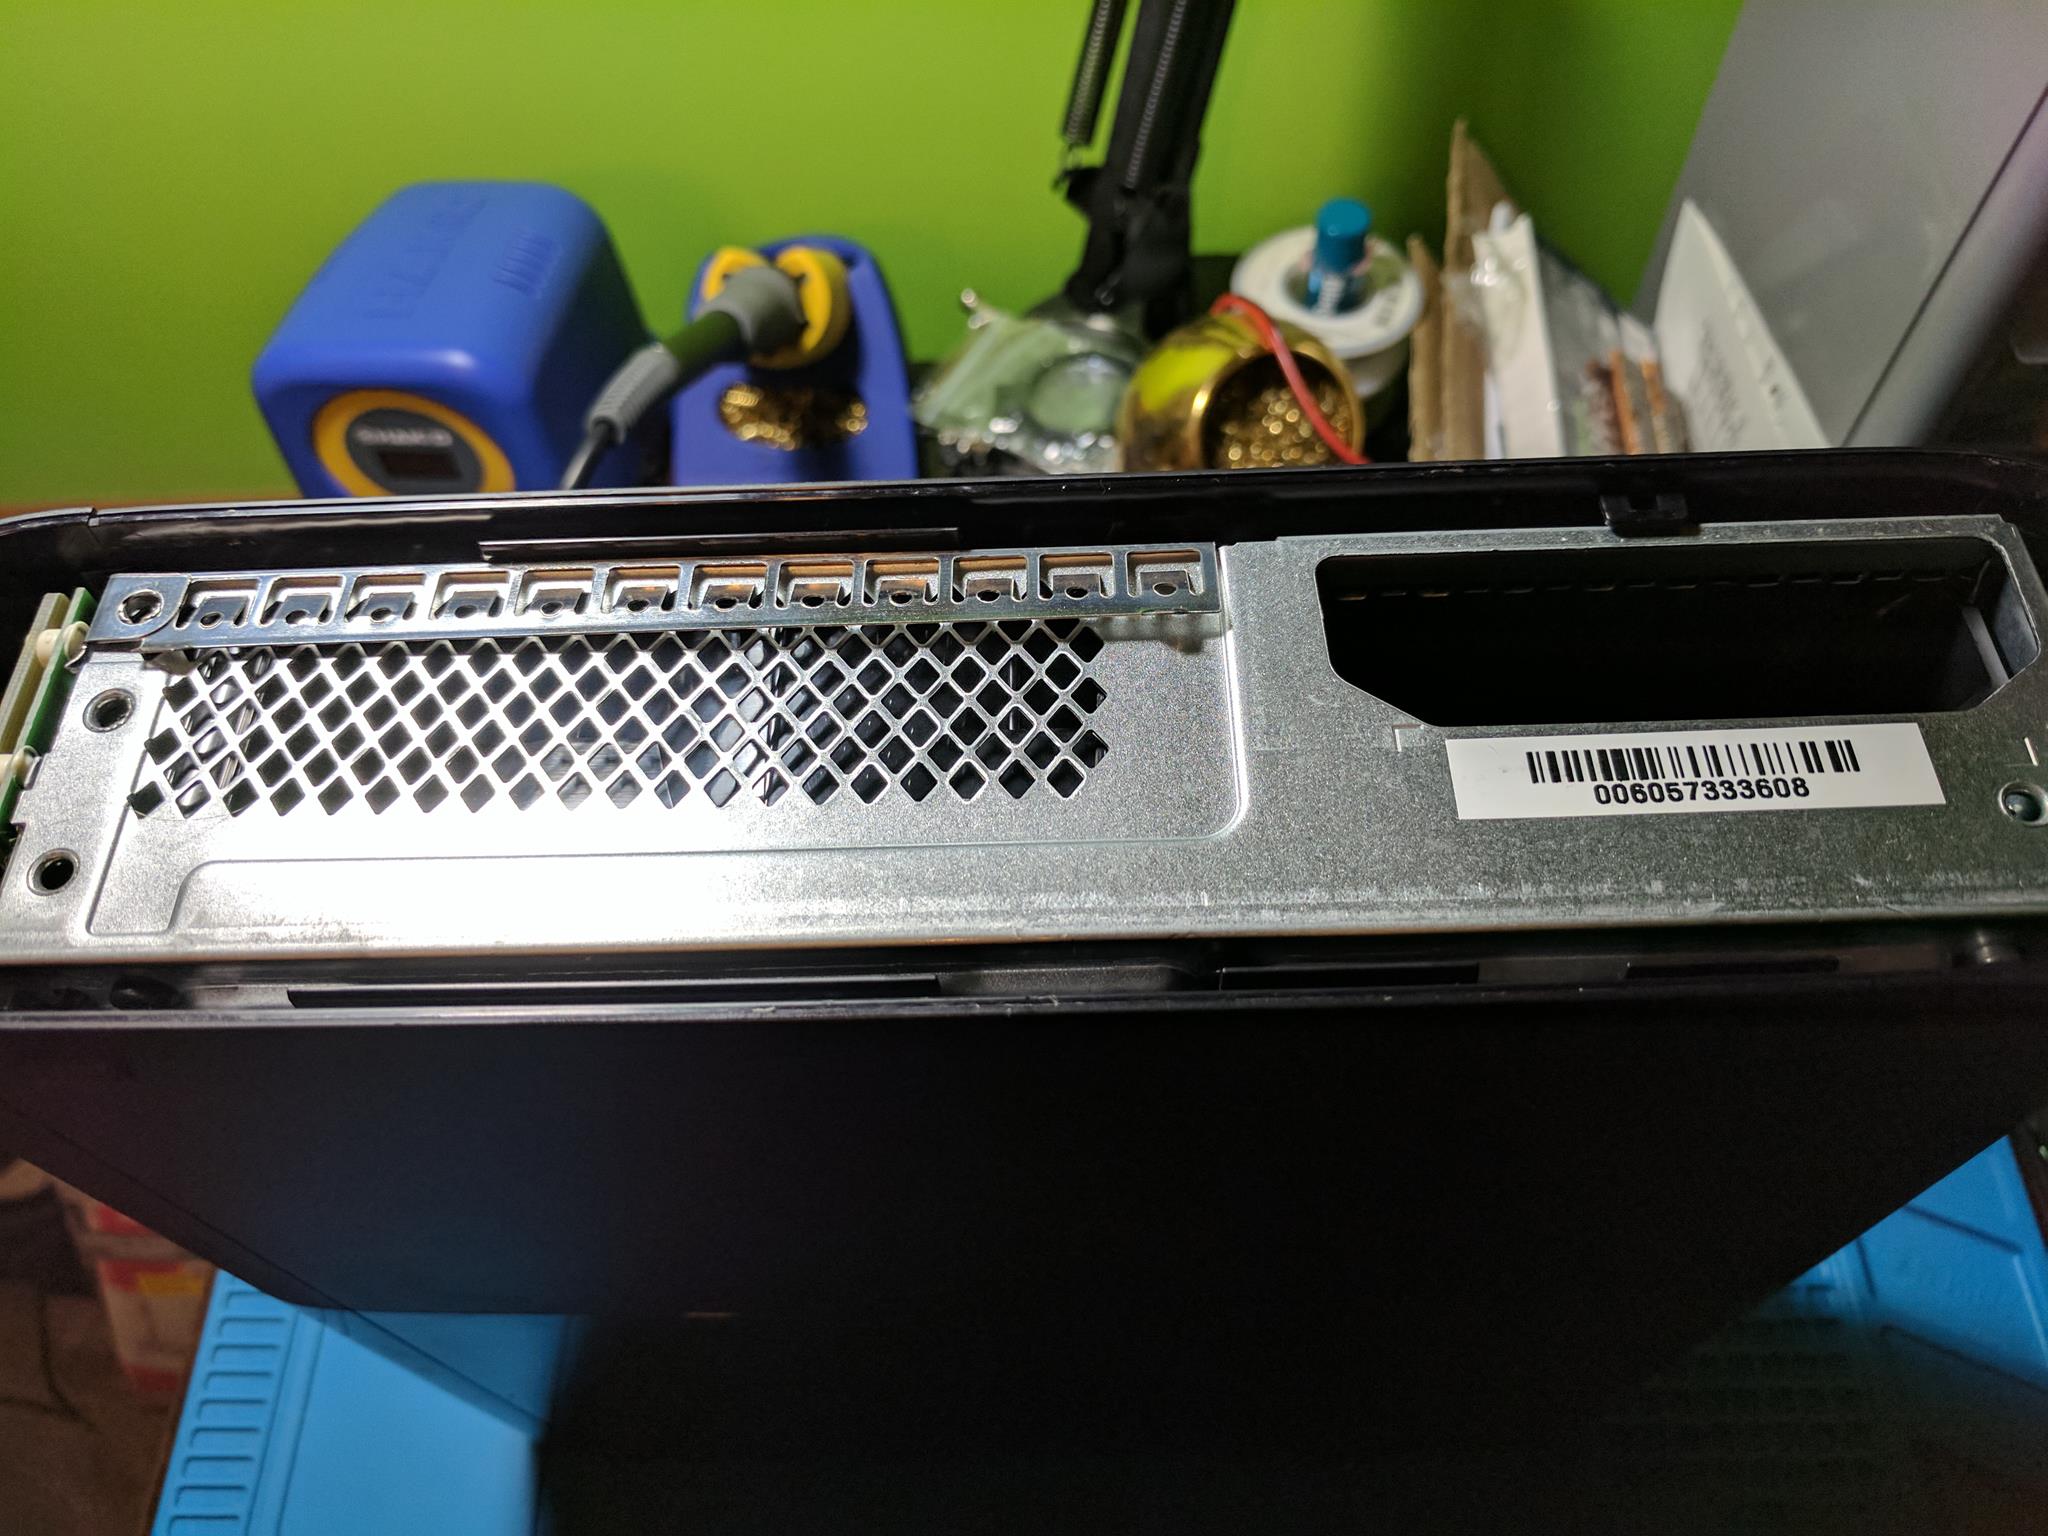
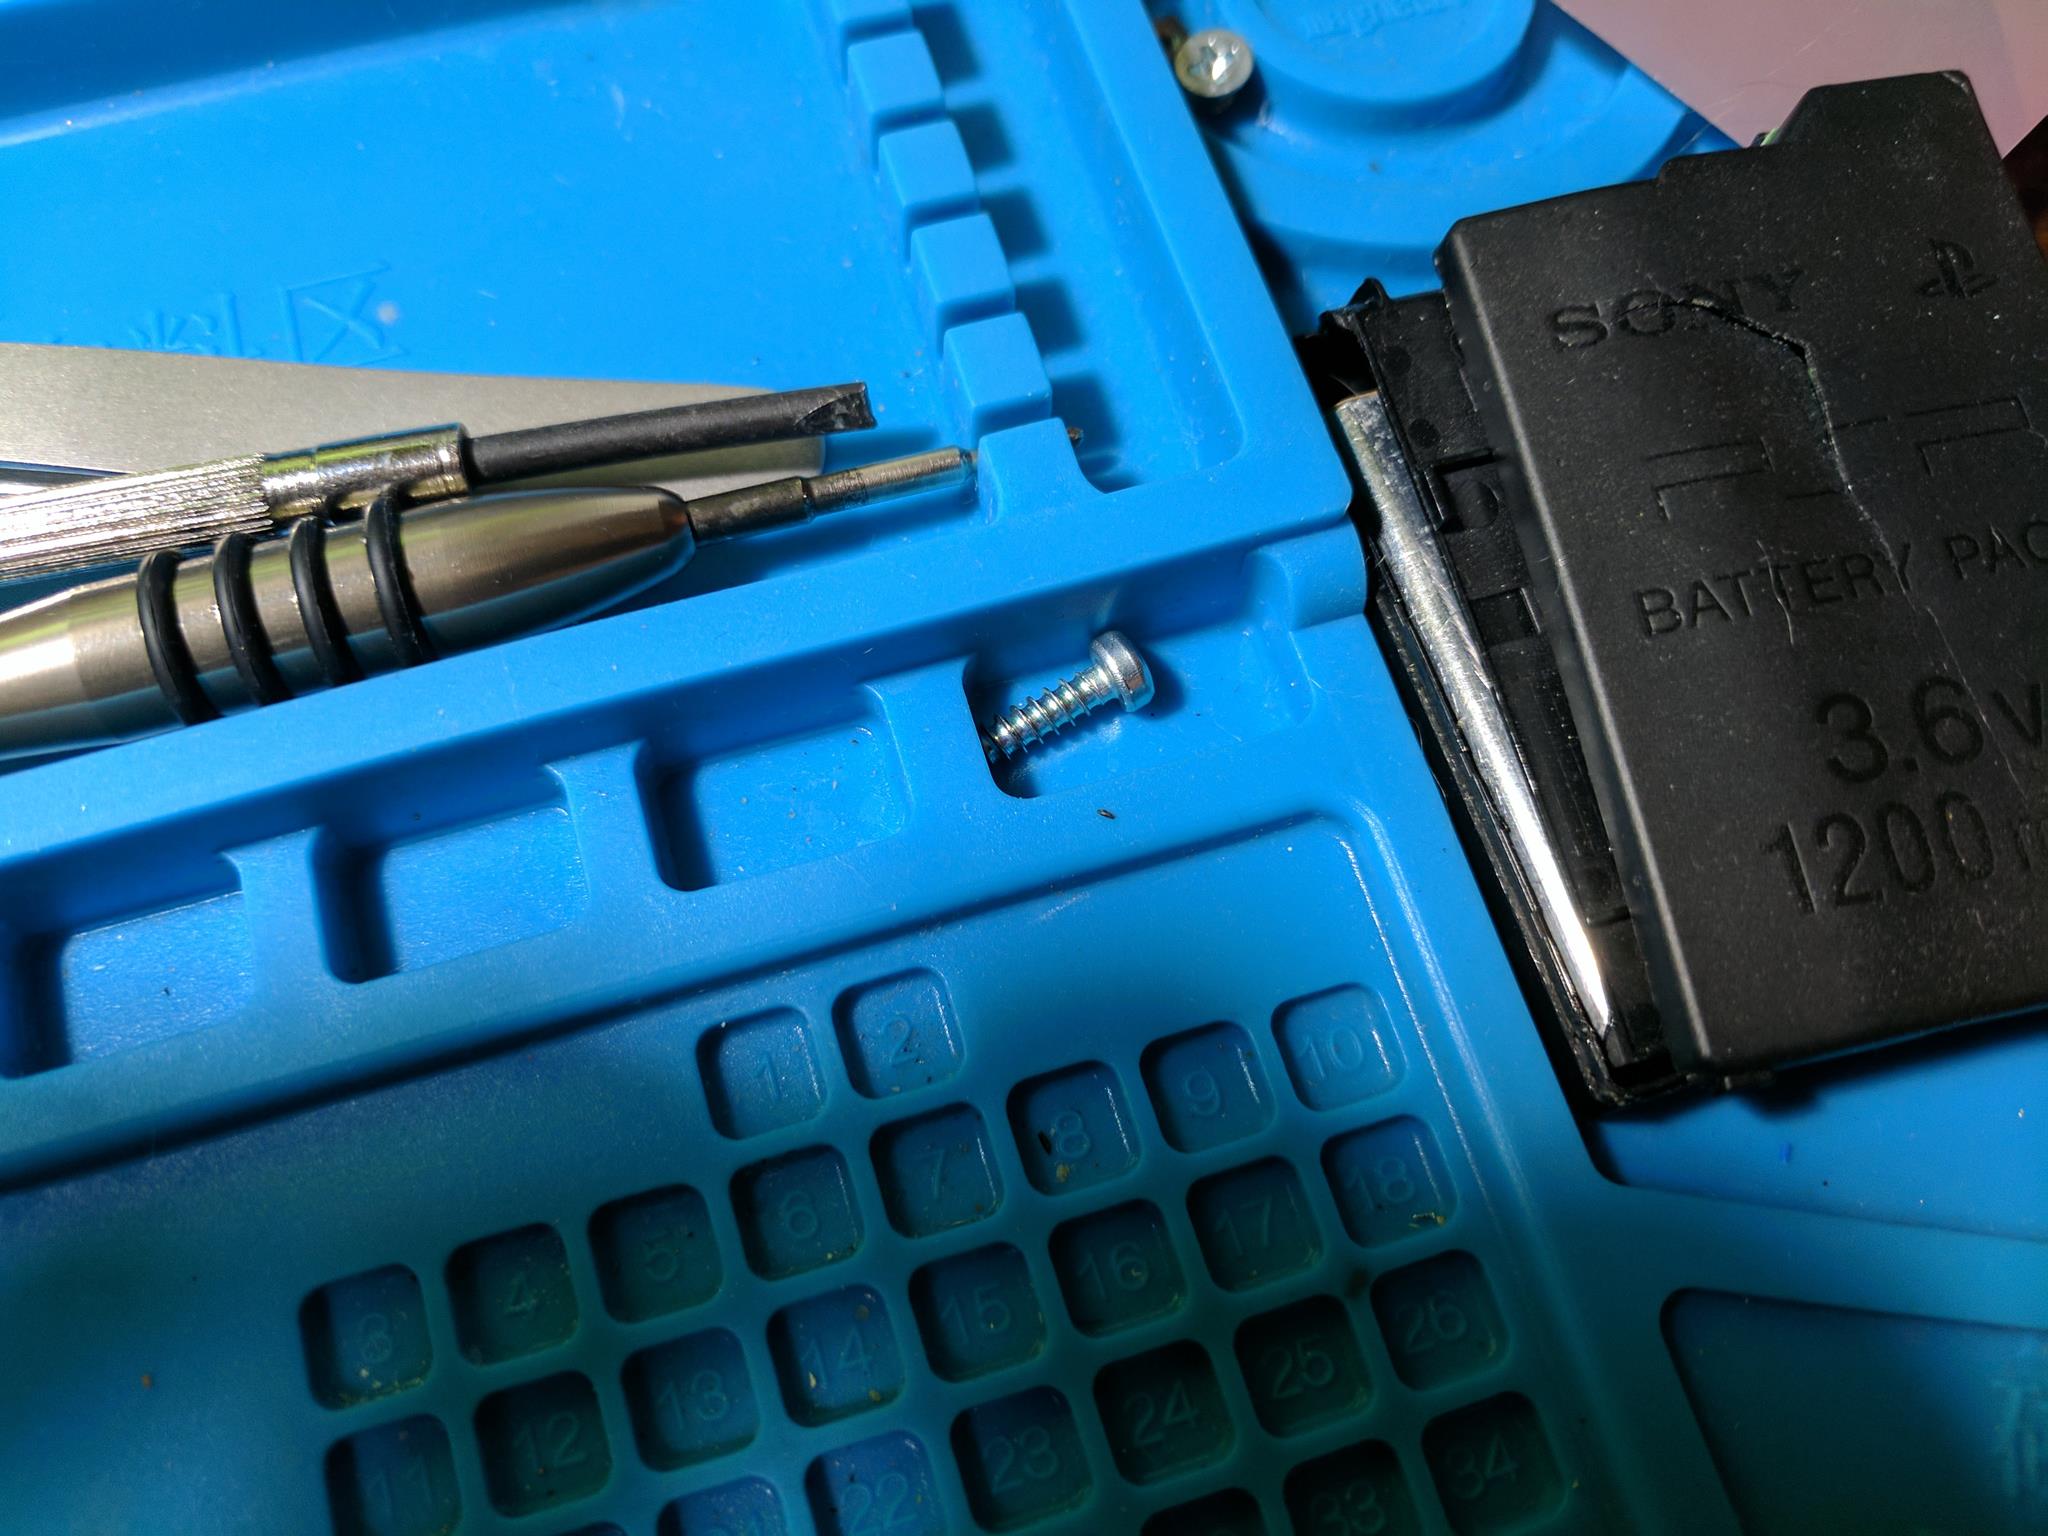
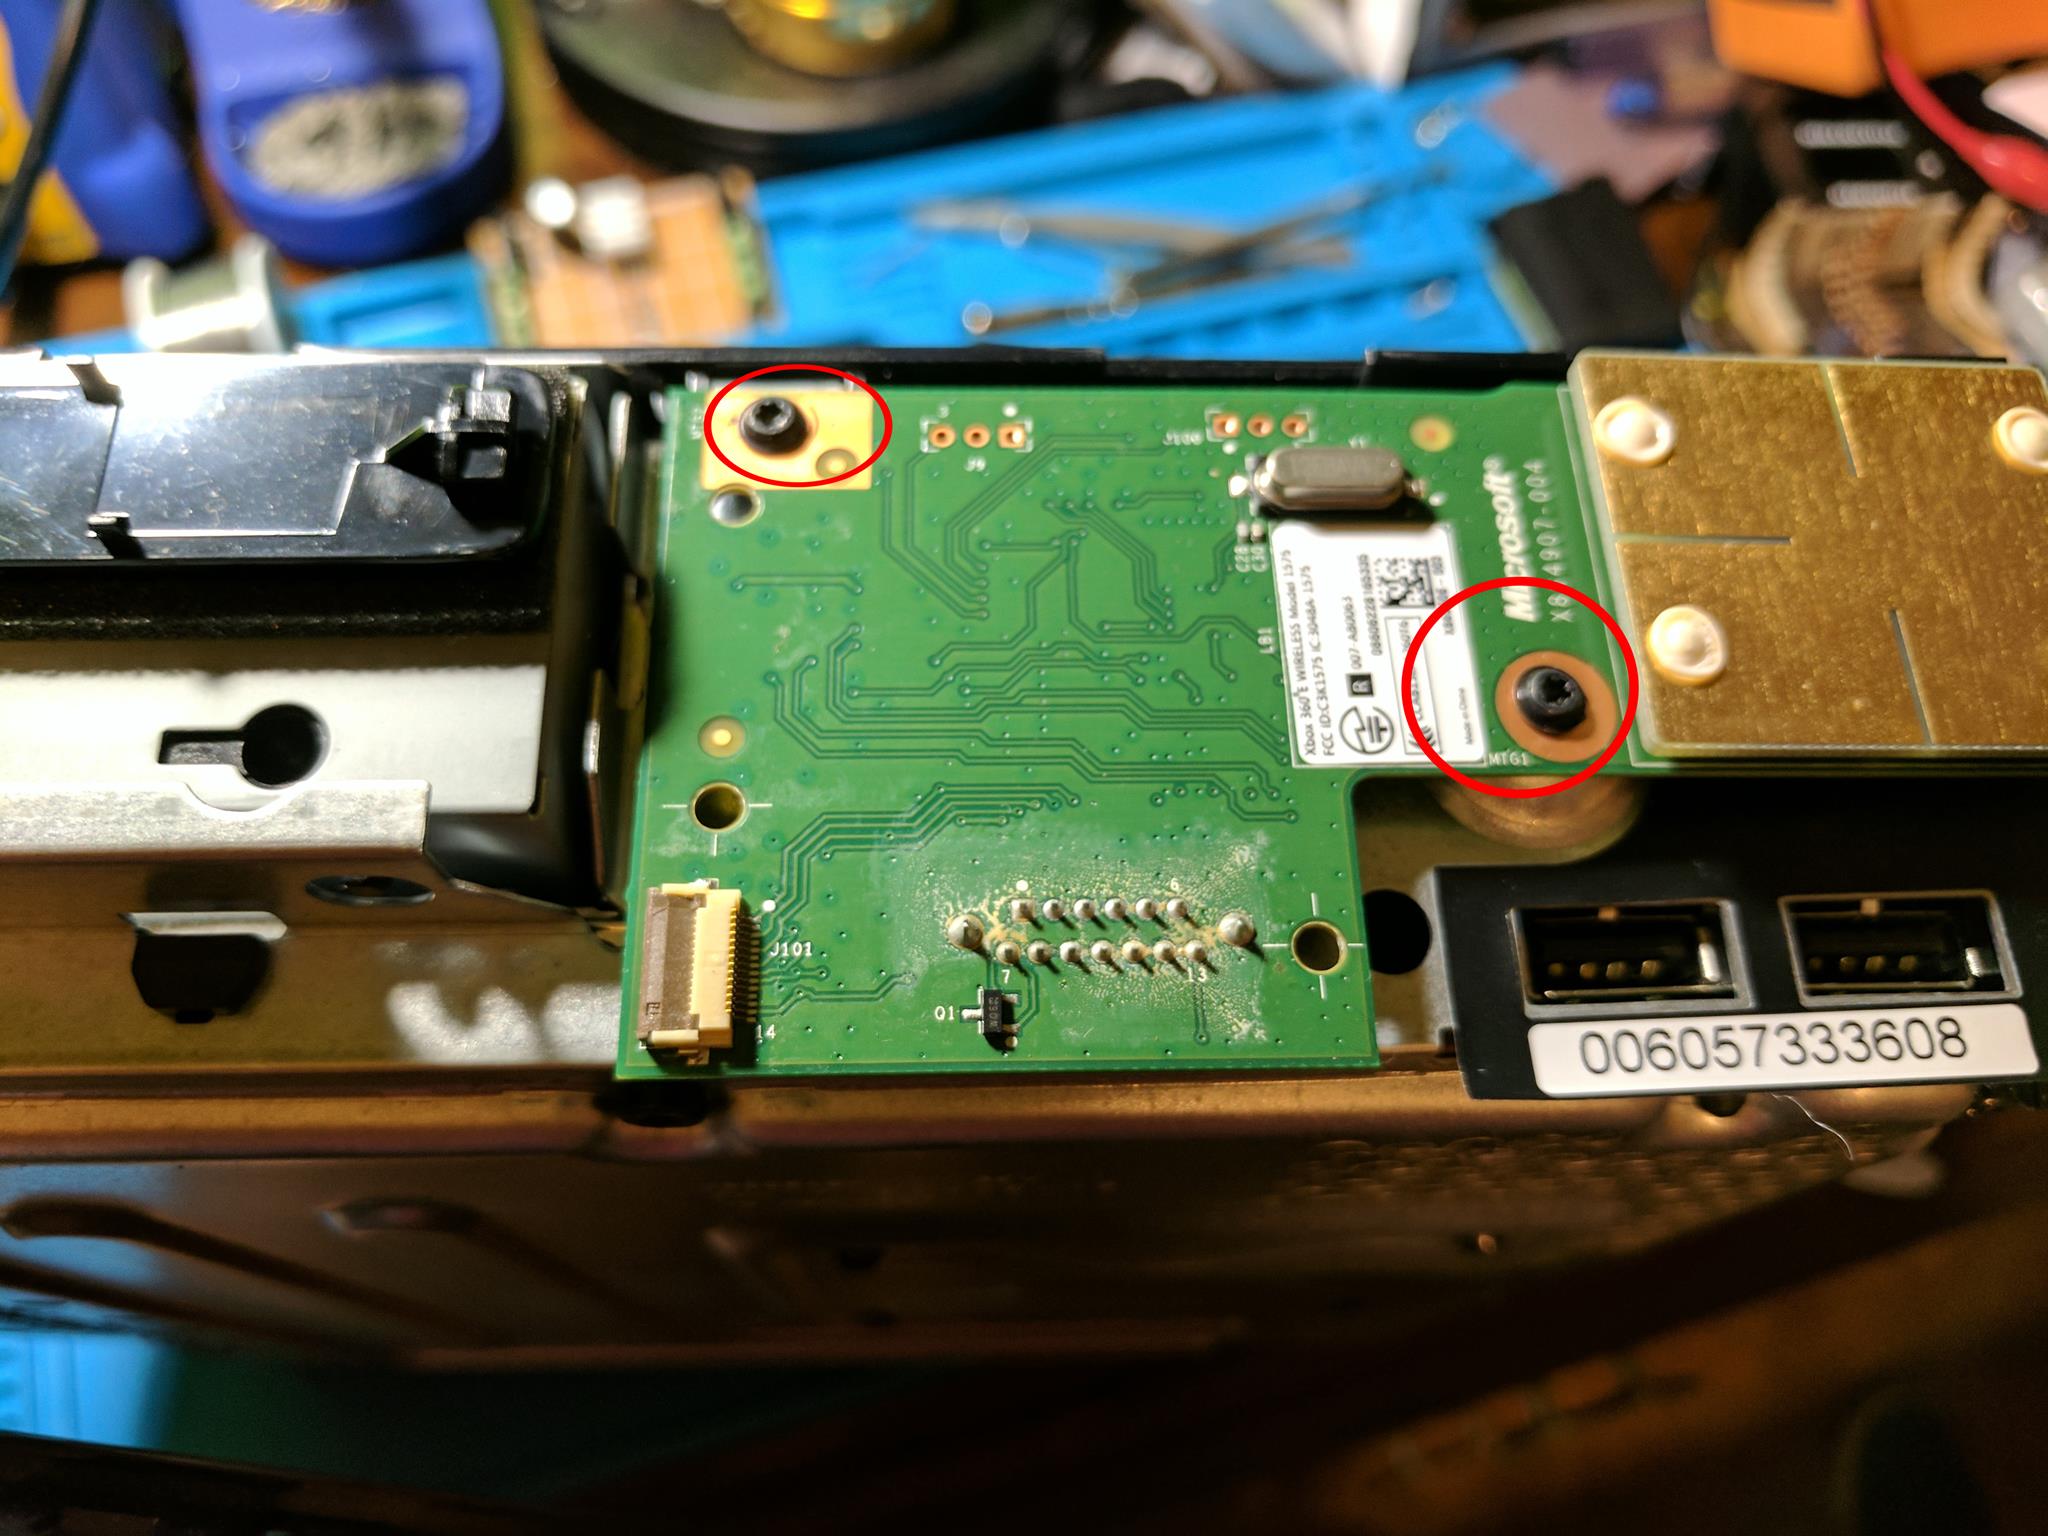
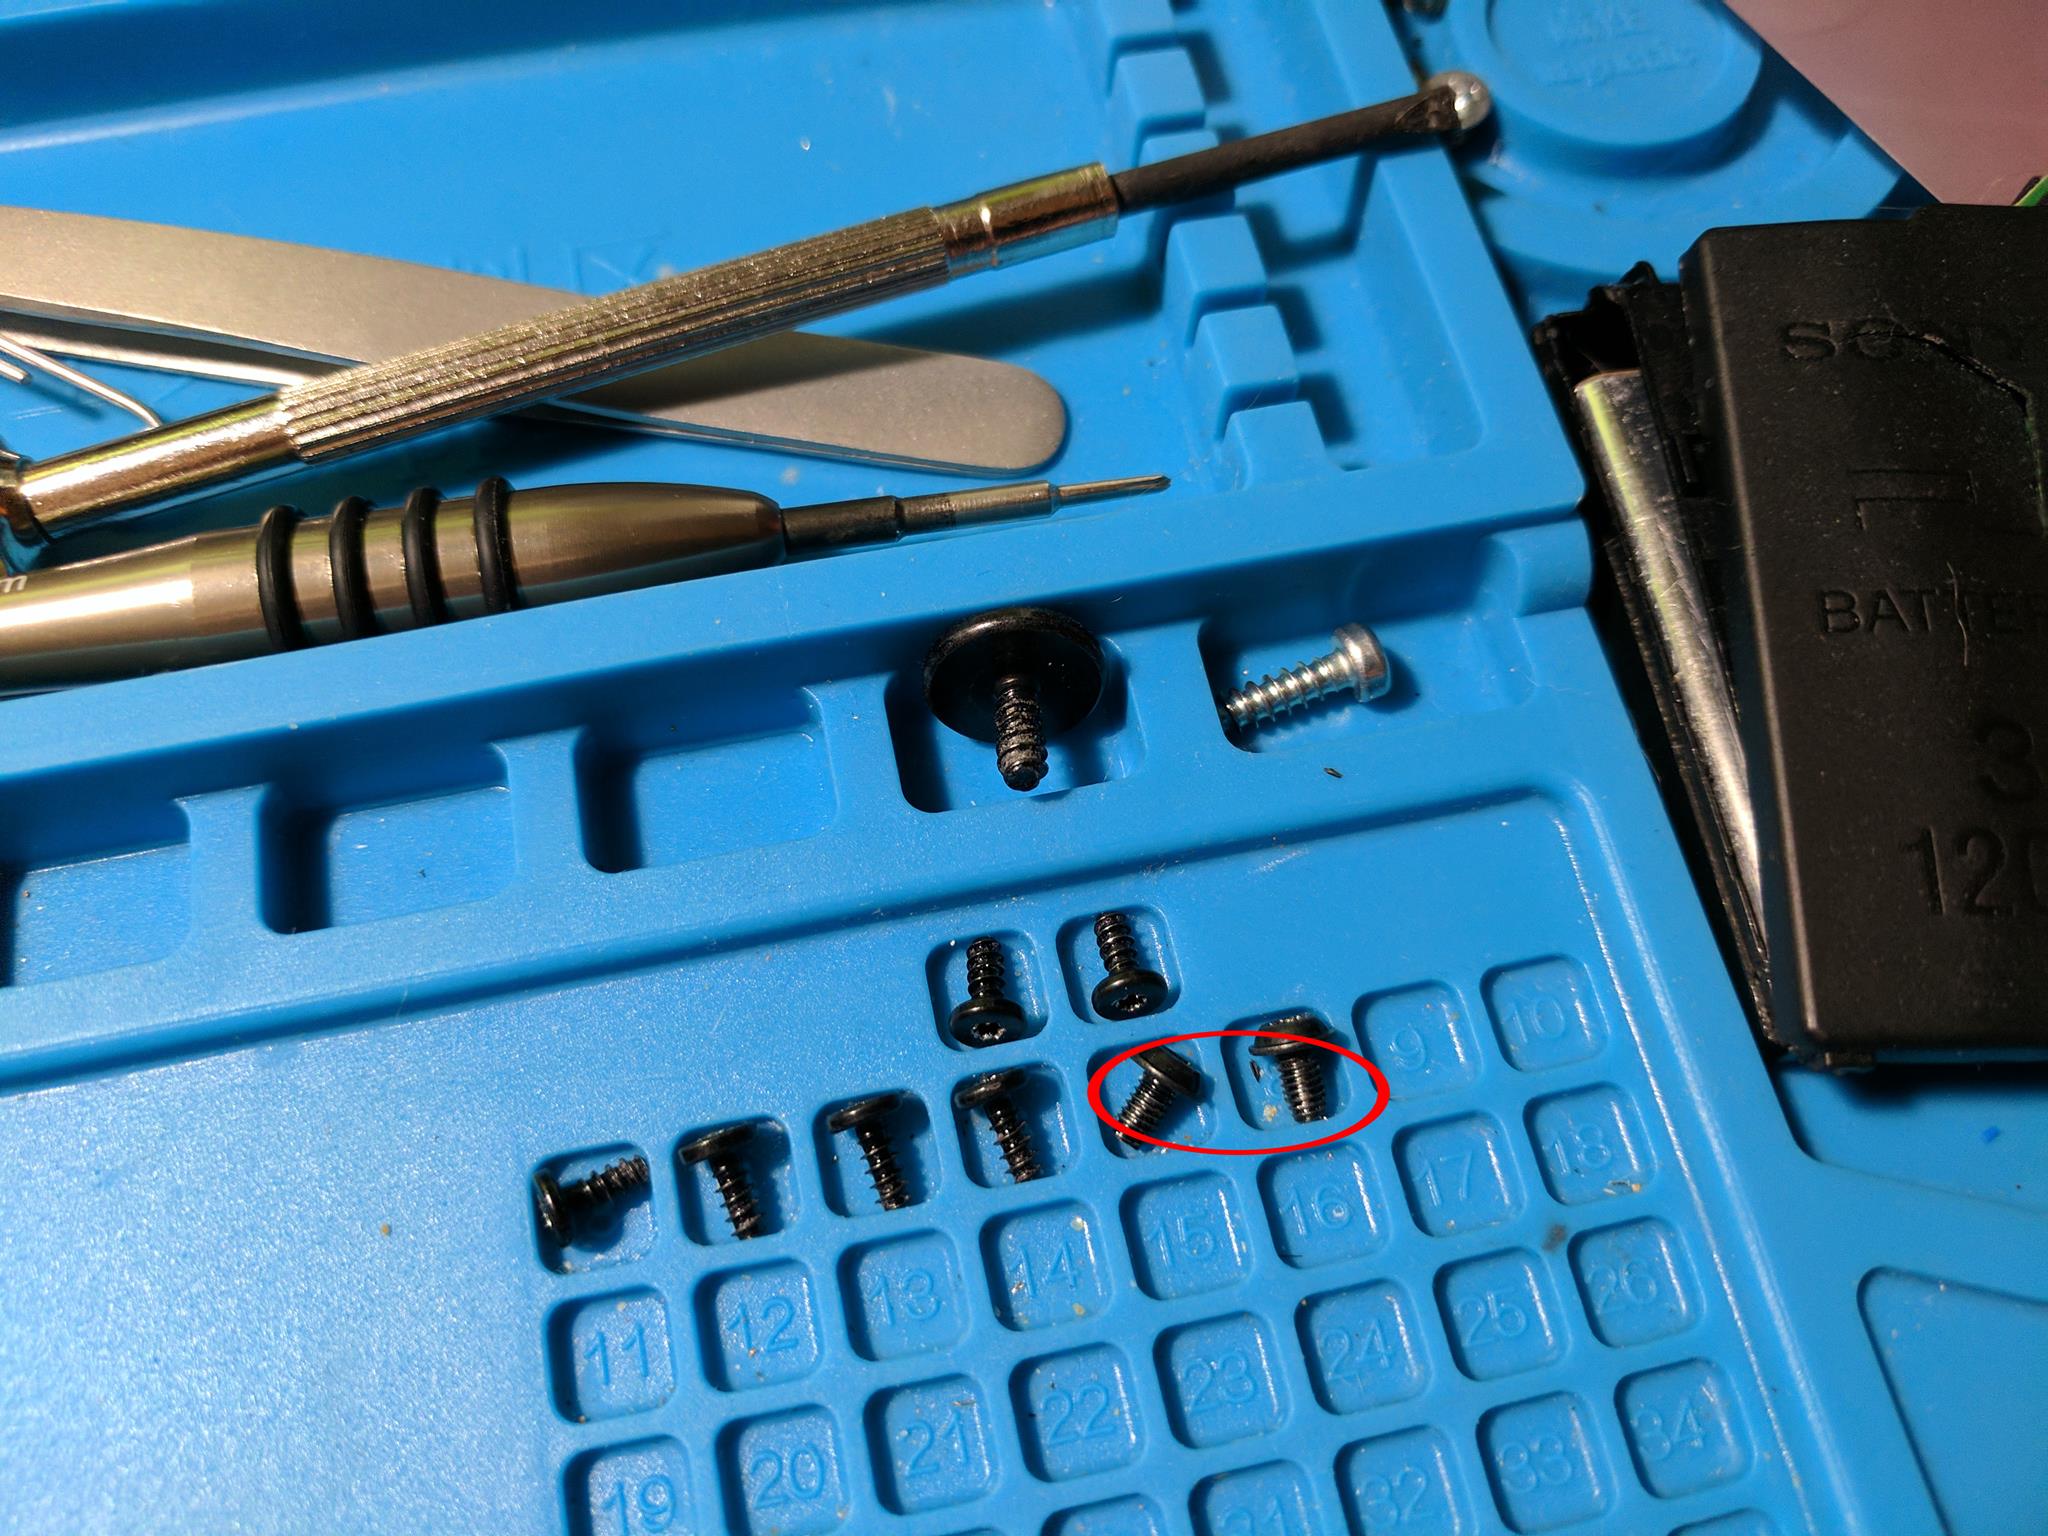
You probably noticed that on the side opposite from the hard drive is a small board screwed in place. I’m pretty sure this is a WiFi module. My Xenon Xbox 360 didn’t have anything like this because it didn’t come with support for WiFi. You can remove the single screw holding it in place, and then pull it out.
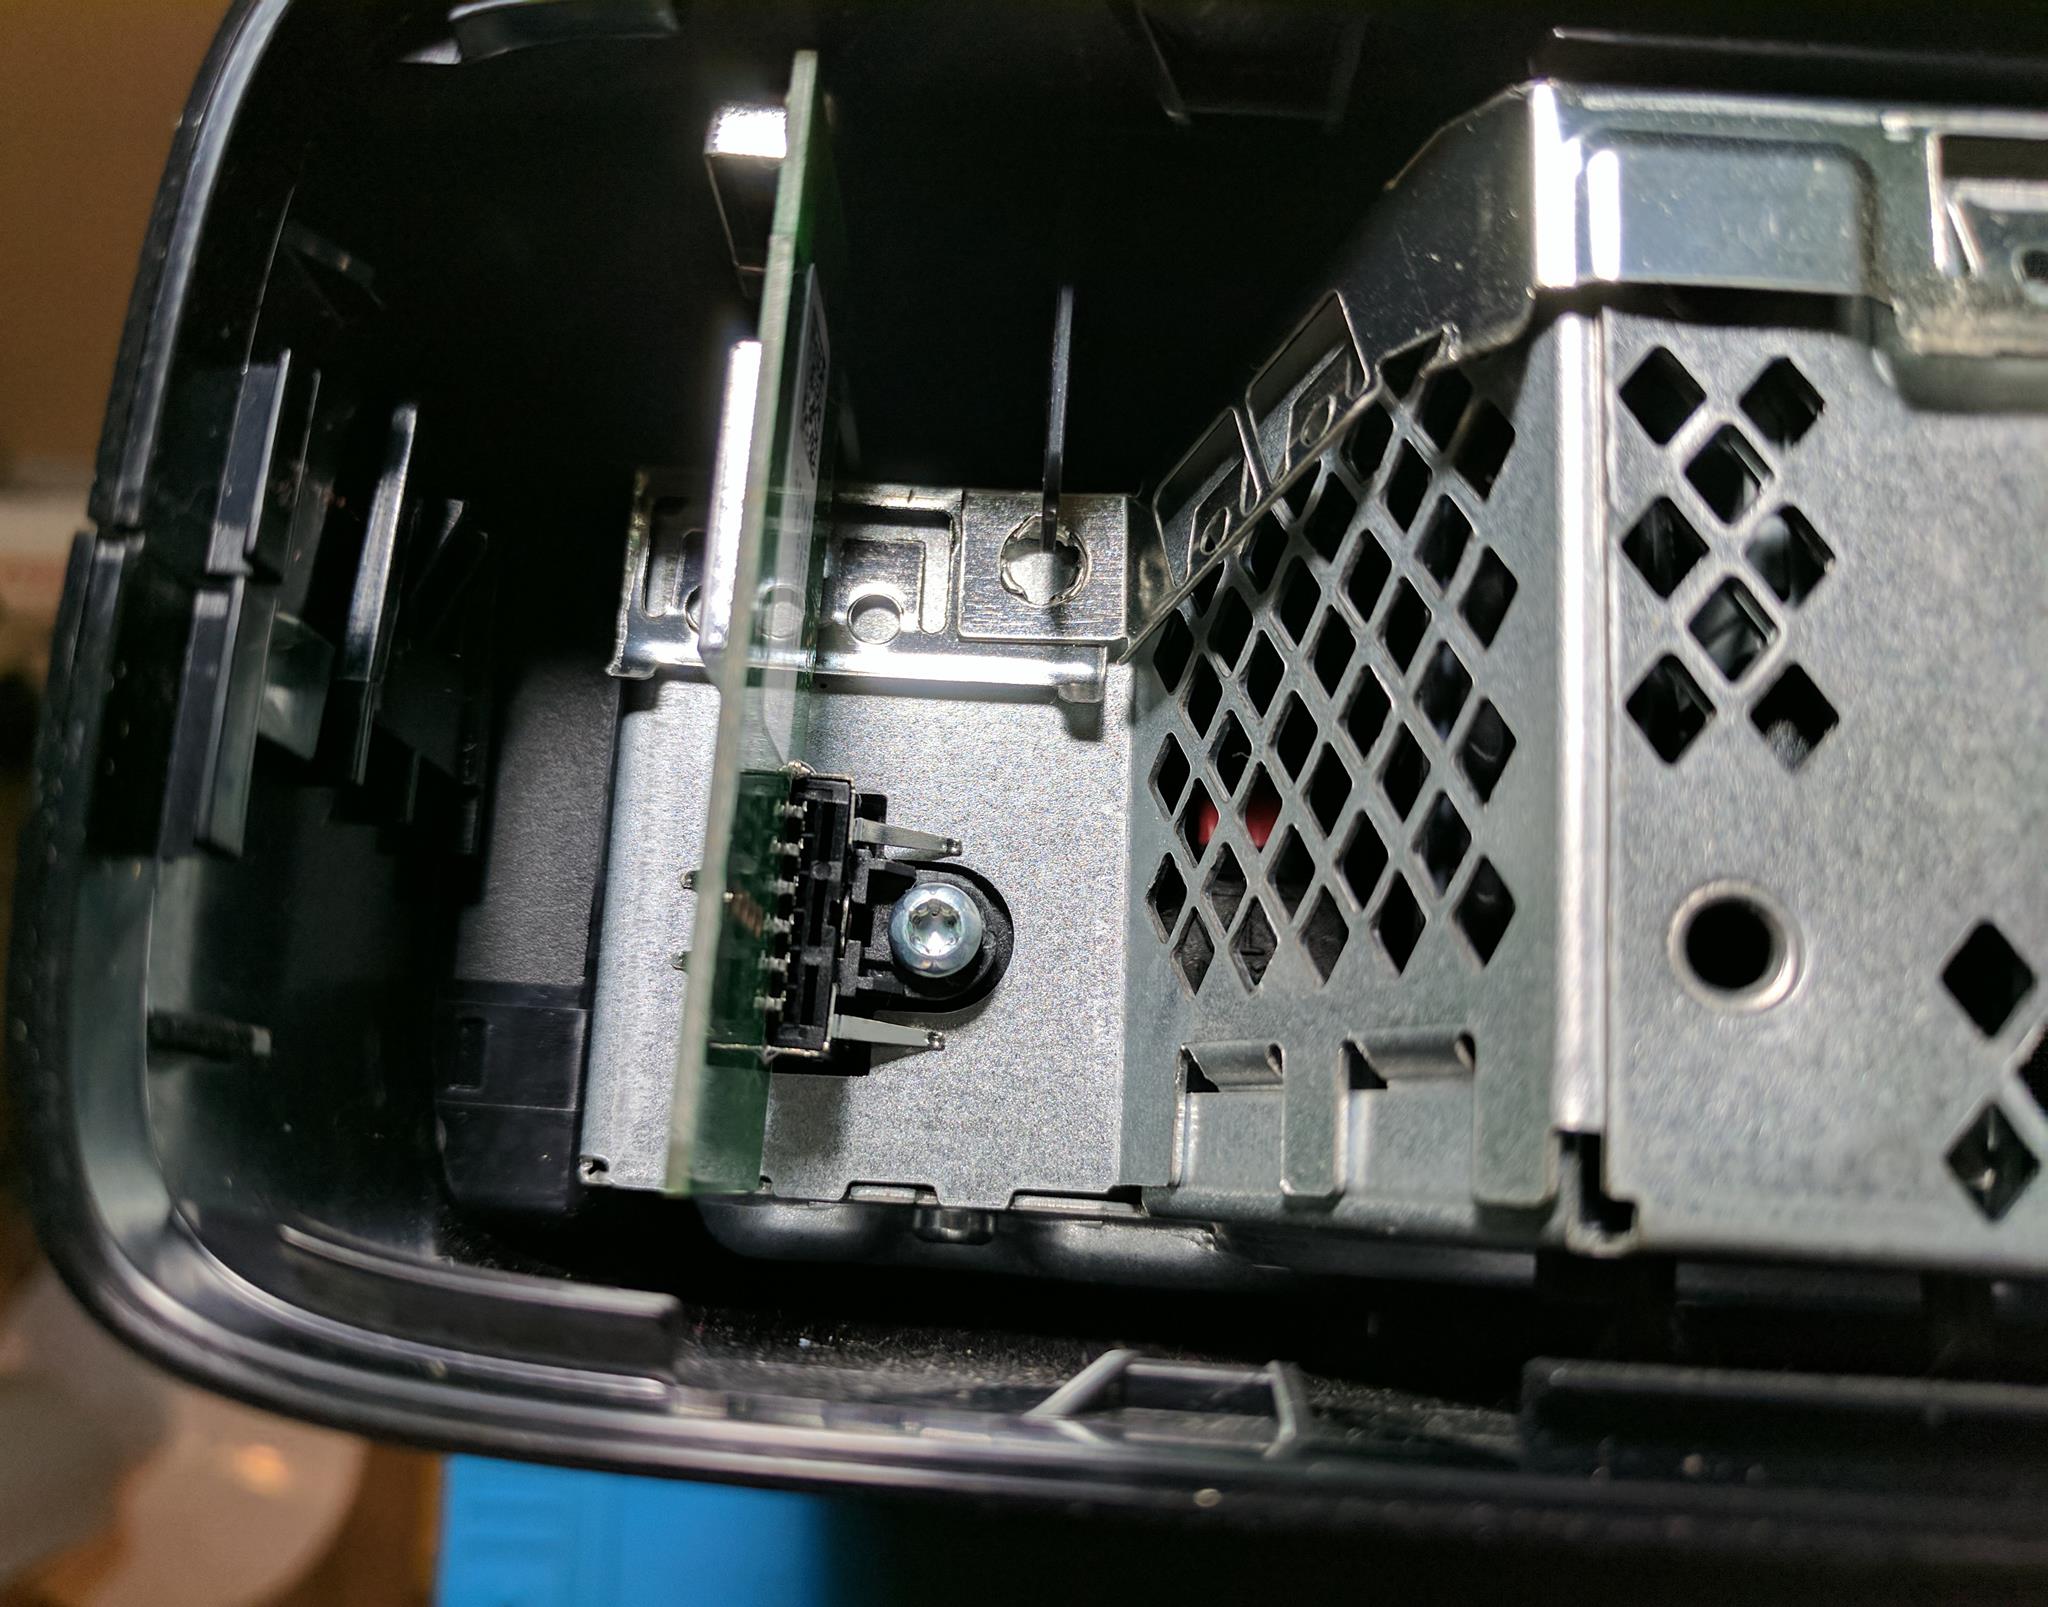
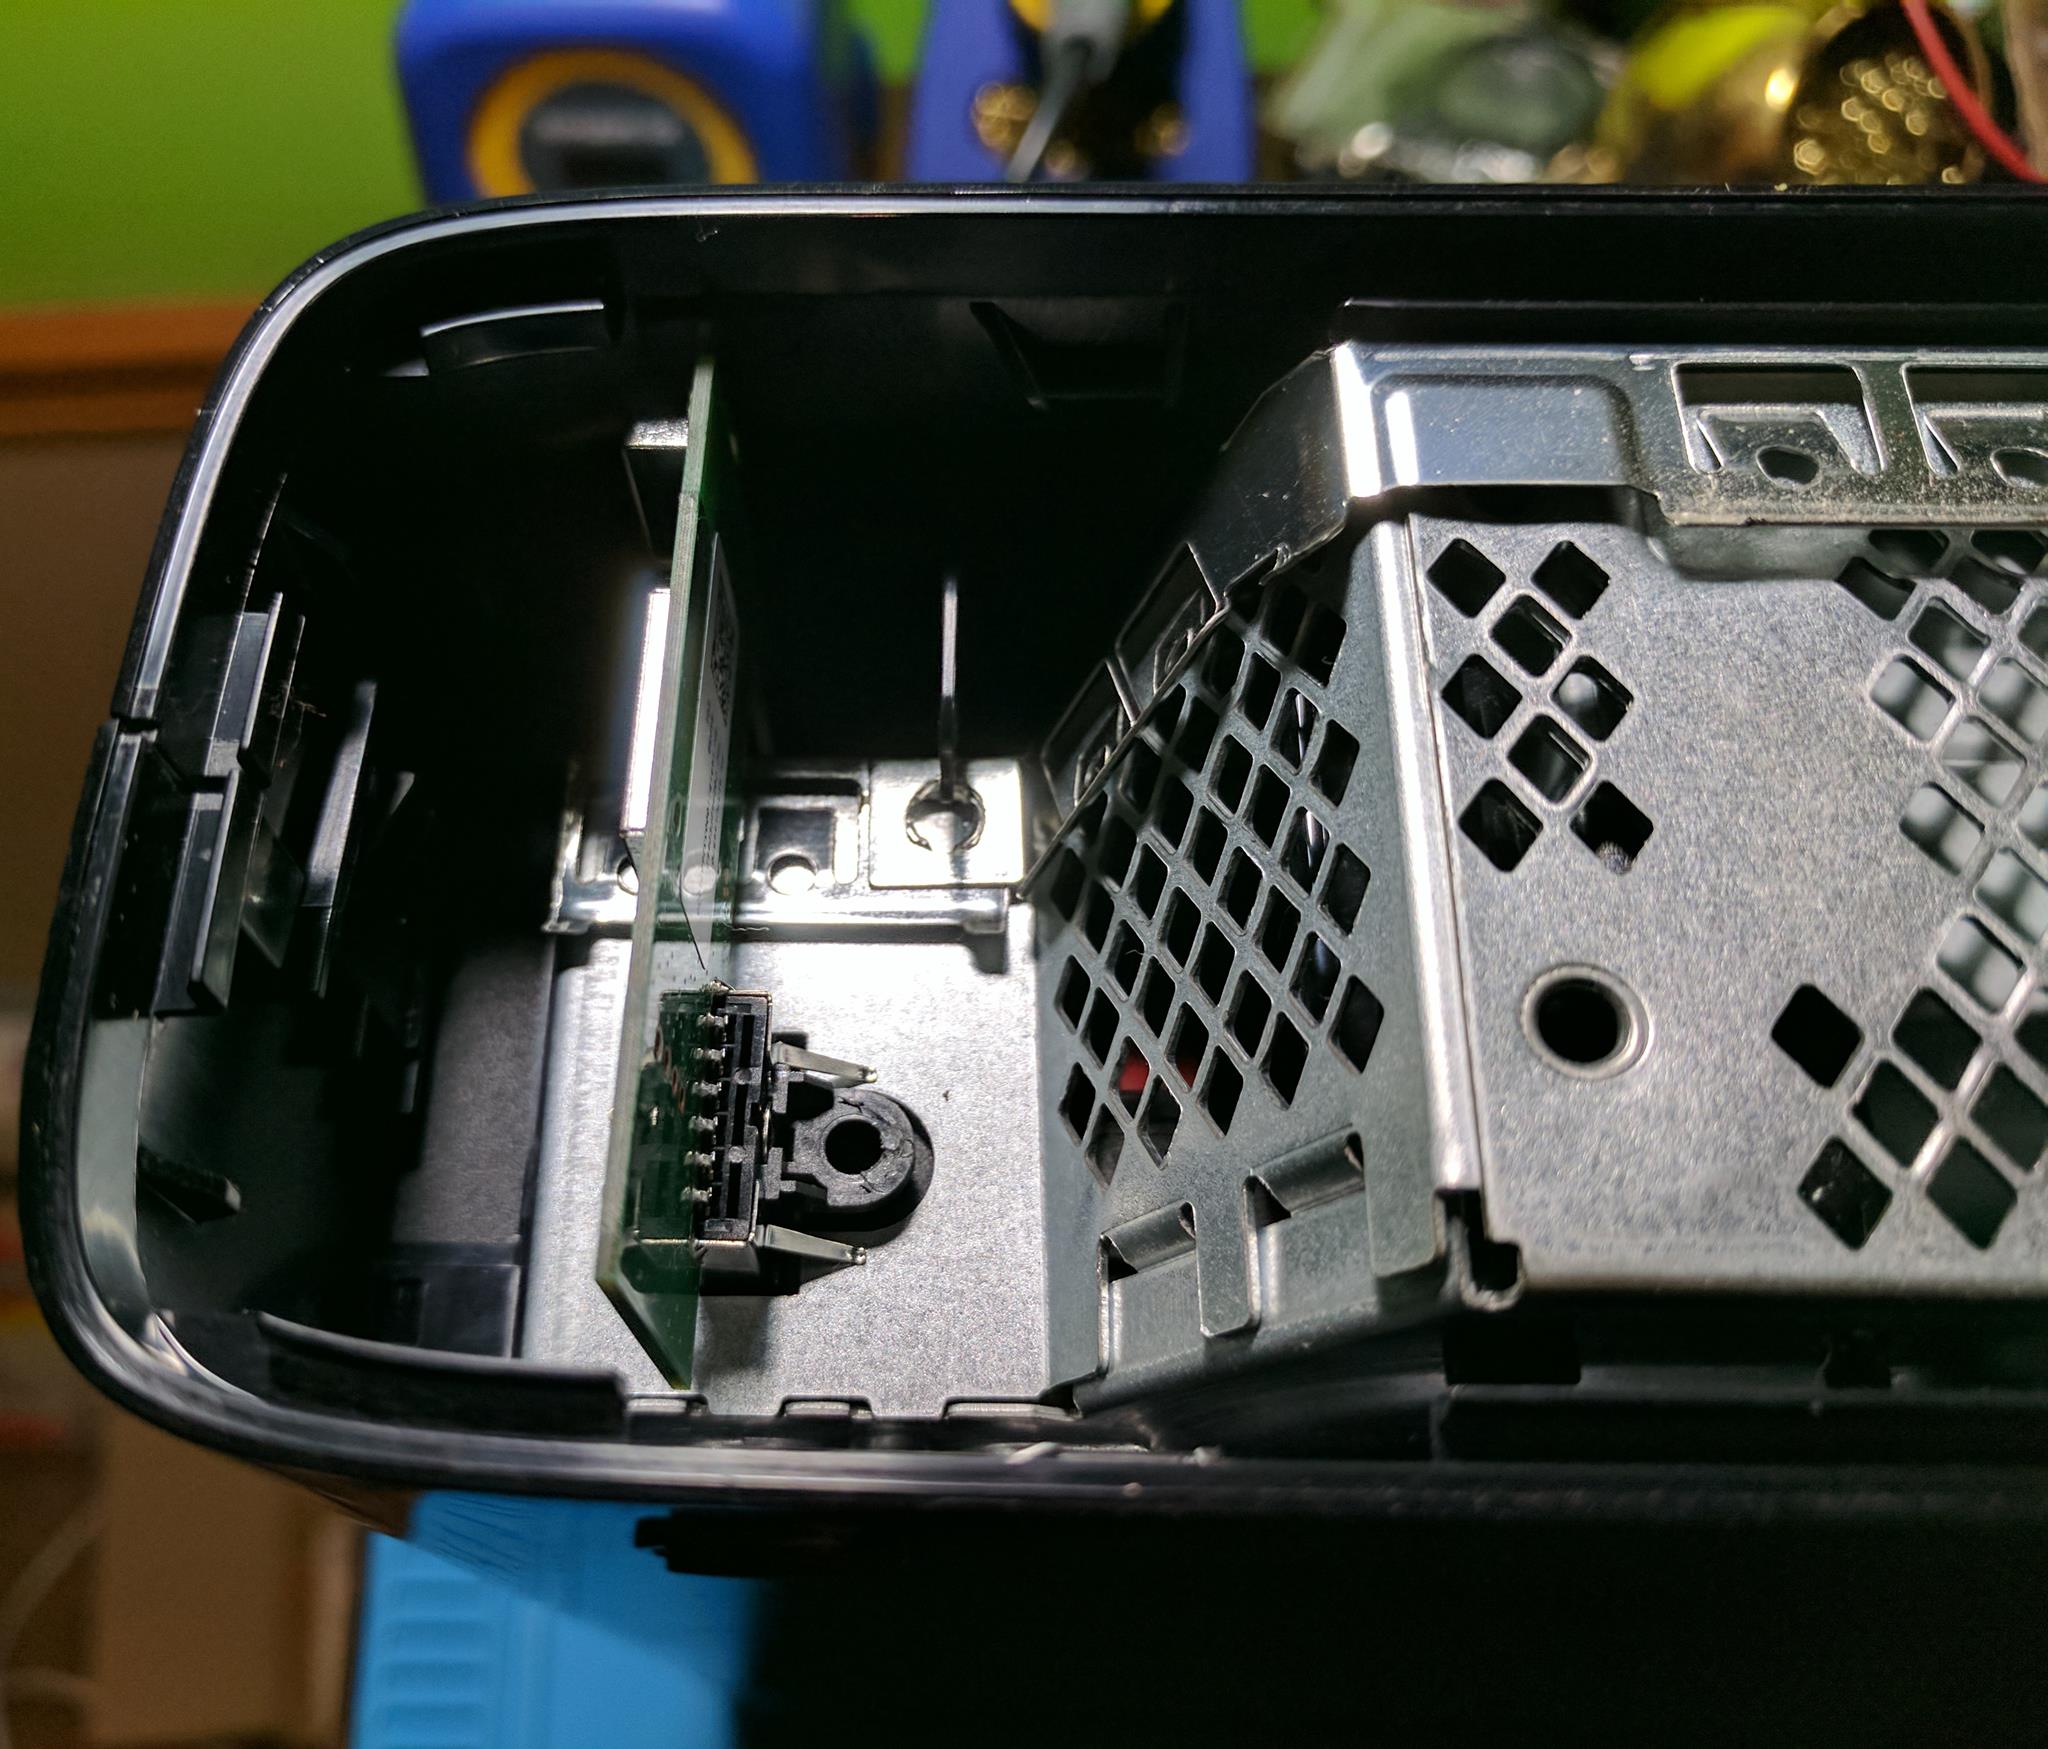
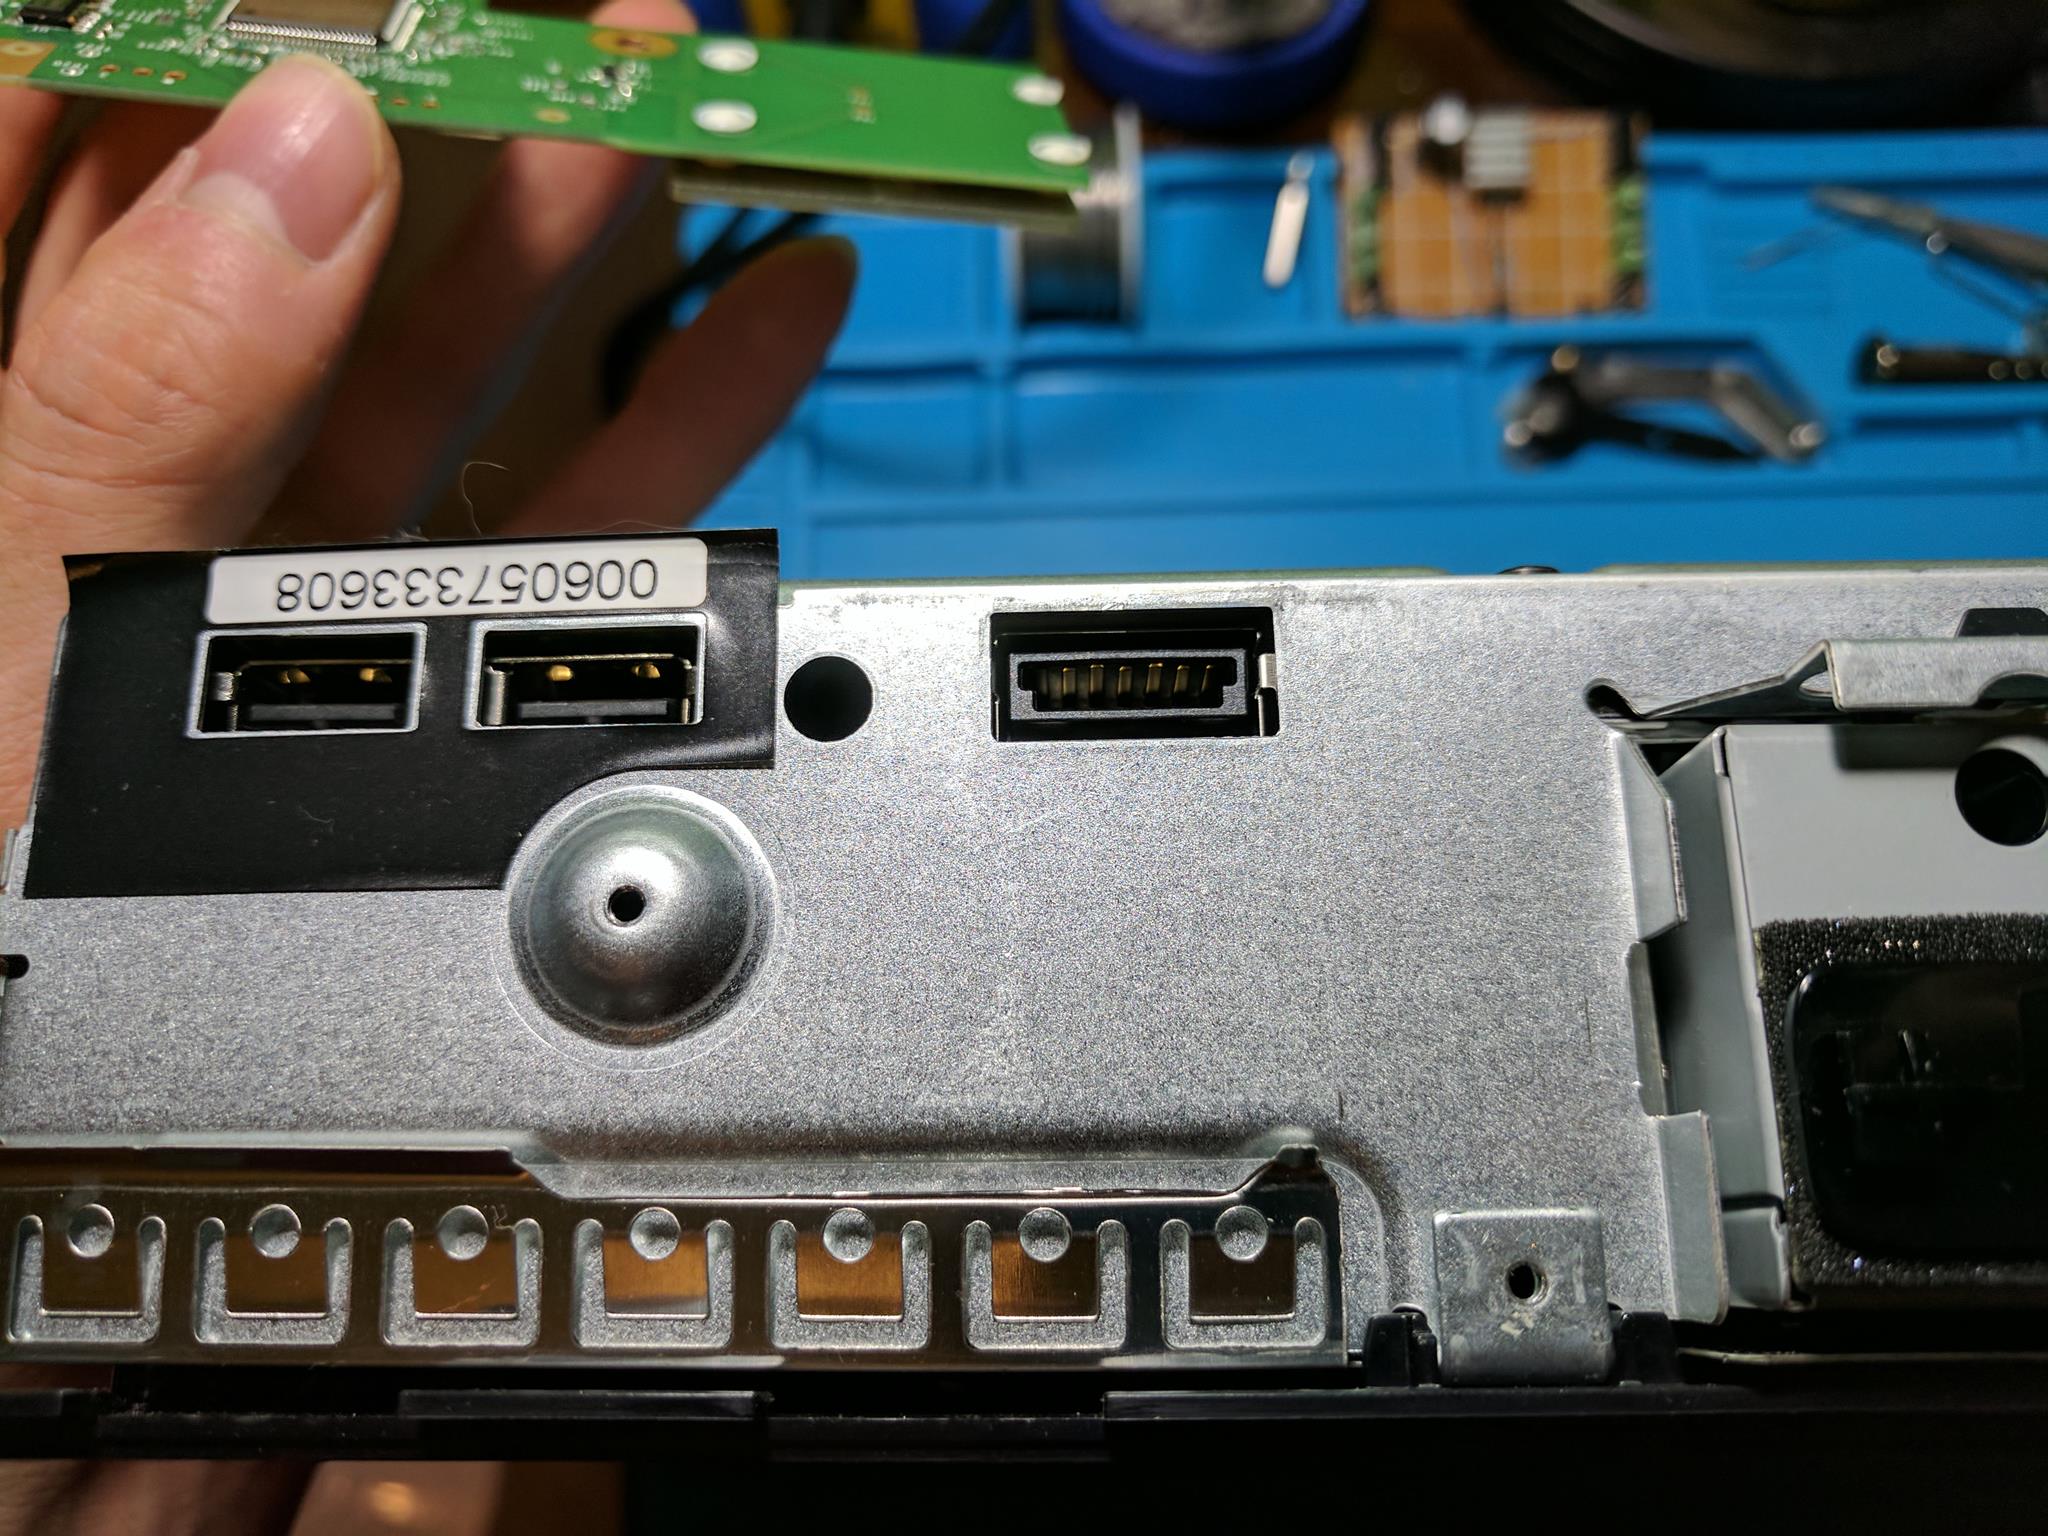
The board has an interesting connector on it. It looks almost like a USB connector, but it’s a little too big. I wouldn’t be surprised if Microsoft did something similar to what they did with the original Xbox. The original Xbox’s controller ports were actually USB ports, but with an extra pin, and in a different shape. This is probably just a USB port with a different connector. Adding WiFi to Xenon Xbox 360’s involved plugging in a USB WiFi adapter into the back of the console.
Step 4 – Disc drive tray bezel removal
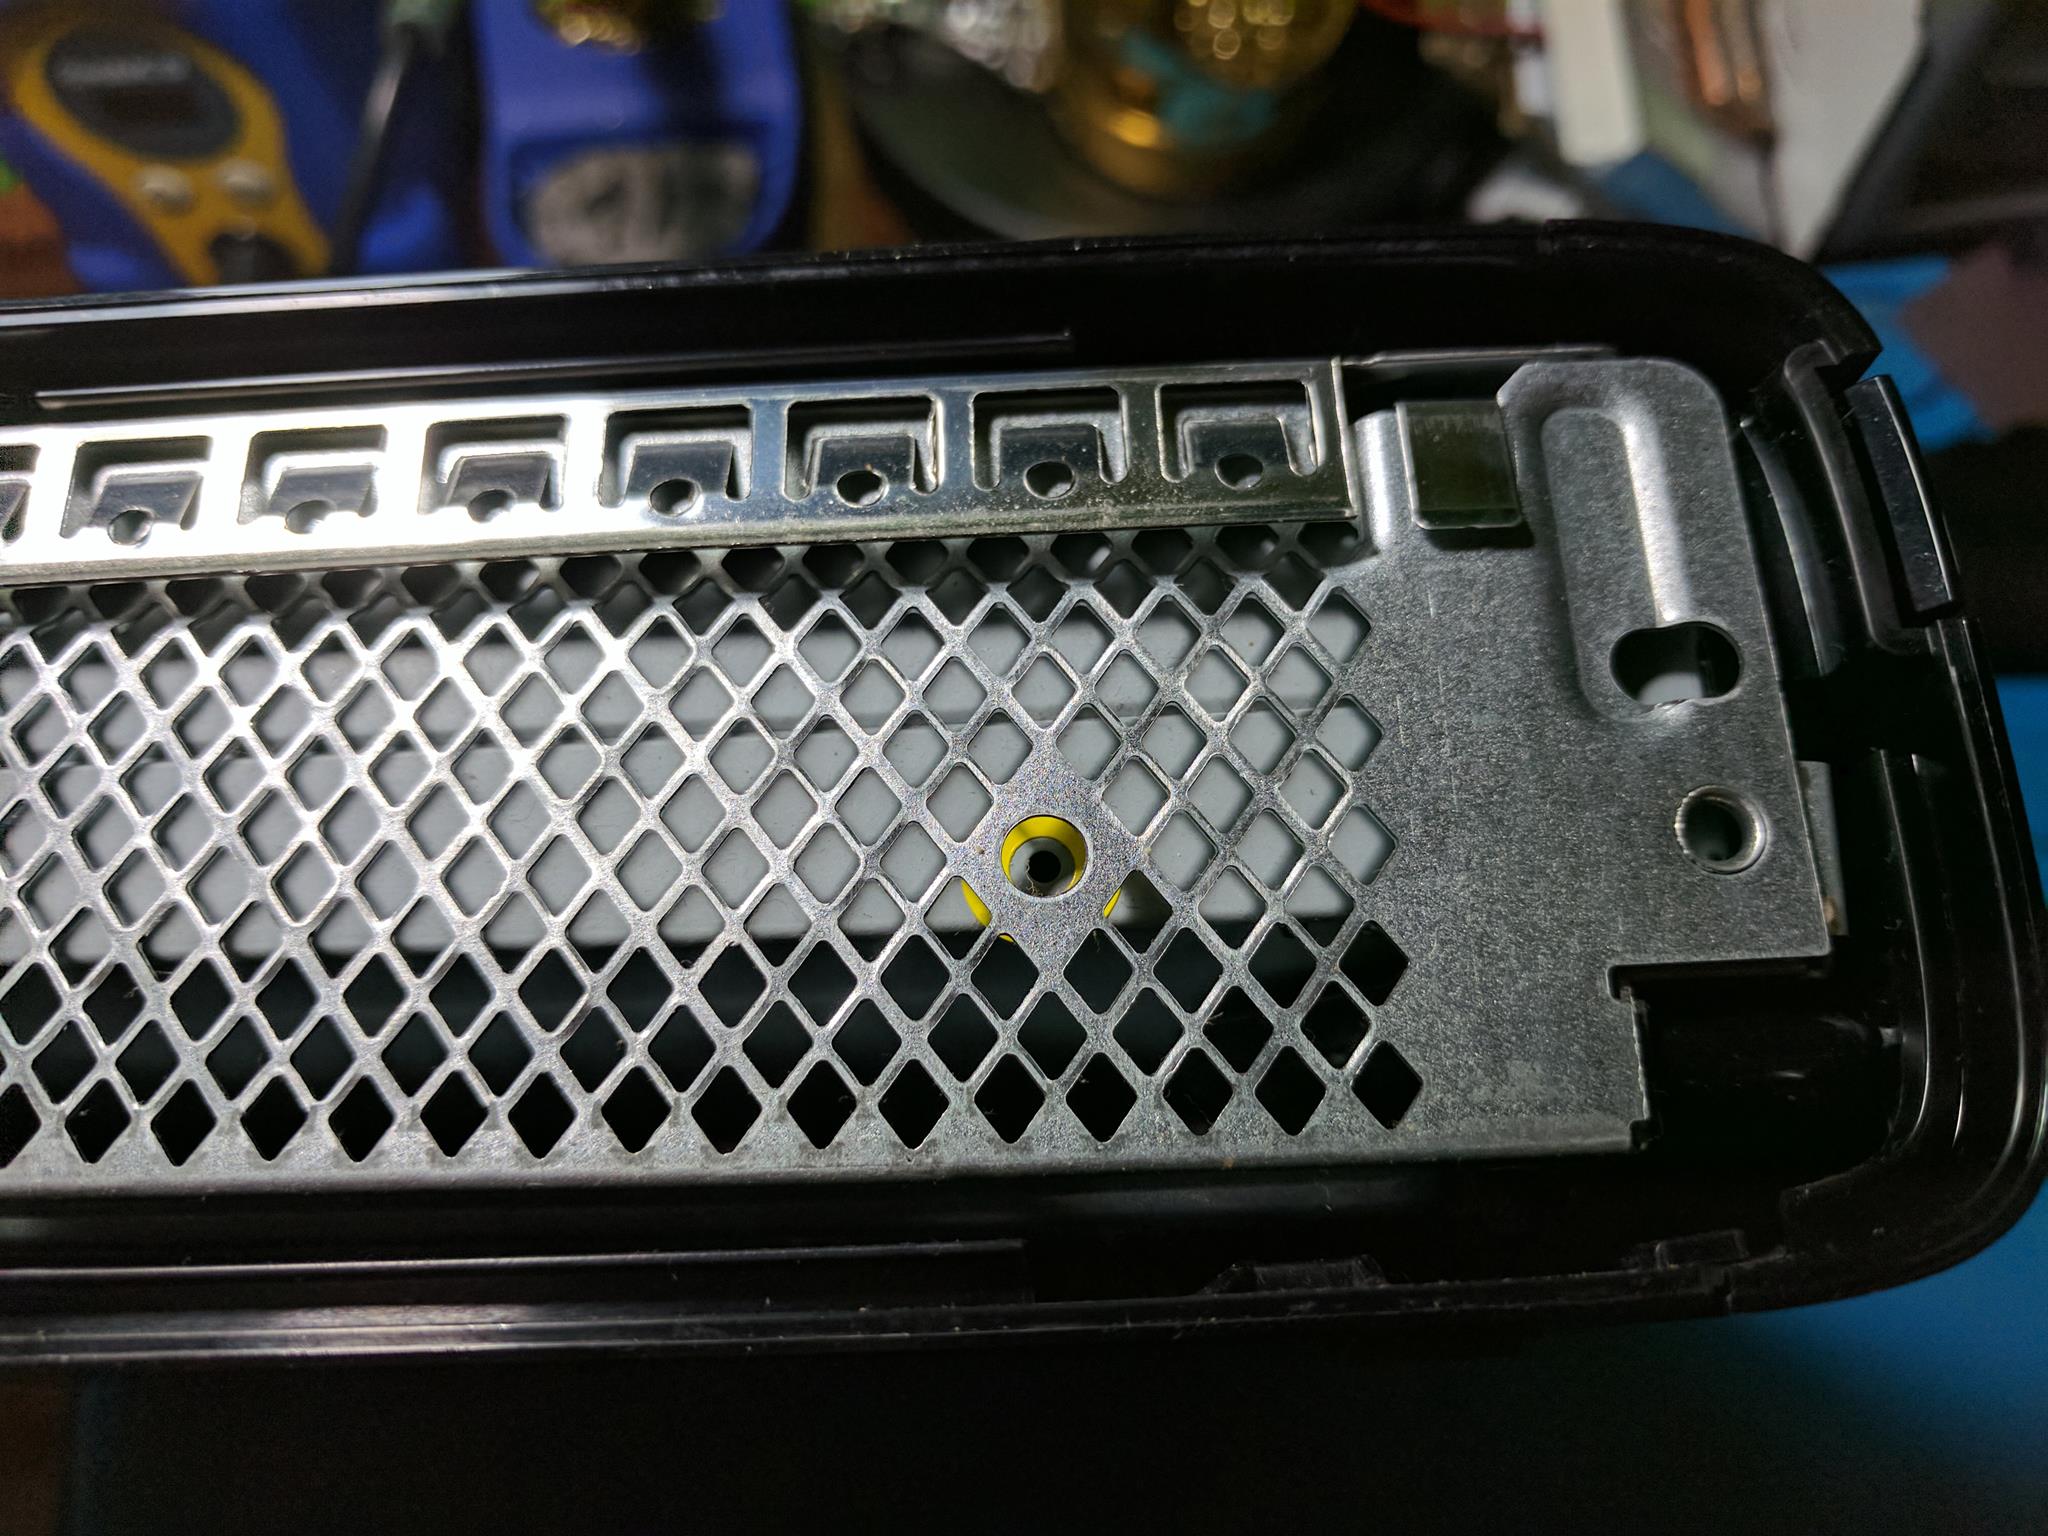
There is a small circle with a yellow ring around it that goes into the side of the disc drive. This is a manual mechanical way to release the disc tray from the disc drive. If the motor fails in your Xbox 360, you can use this button to easily get your game out. Many consoles have some sort of release latch like this.In the case of the Xbox 360 E, it’s actually usable without even needing to take the side bezels off. Go ahead and using something like a paperclip to release the drive tray.
With the drive tray released, you can pry off the bezel with the Xbox 360 logo off of the drive tray. It took quite a bit of effort to get the bezel off of my console.

Below is an image of the removed bezel. The image shows the two clips that attach to the tray. The plastic piece on the left came loose when I removed the bezel, and I had to reattach it to the disc tray before I put the console back together.

Step 5 – Bottom shell removal
Now is a good time to remove the warranty label that holds the top and bottom of the shell from being removed.I sliced the label along the seam with a knife.
I found this step to be the most challenging step when taking apart the Xbox 360 E. There are three clips holding the two halves of the outer plastic shell together. All but one clip are hidden behind other parts. Start by unlatching the clip in the area where the WiFi module was located.
There is another clip that you may be able to release on the other side. I was able to get it unlatched after a lot of effort.
Below are the images of the three clips once they have been unlatched.The third clip in the middle was fairly easy to unlatch once the other two were unlatched. I used a butter knife for this step. I suggest prying from each direction until the clips start to move. The more aggressive you are, the more you risk damaging your console.

The bottom plastic shell just pops right off once the clips have been released.
Step 6 – Front bezel and power button removal
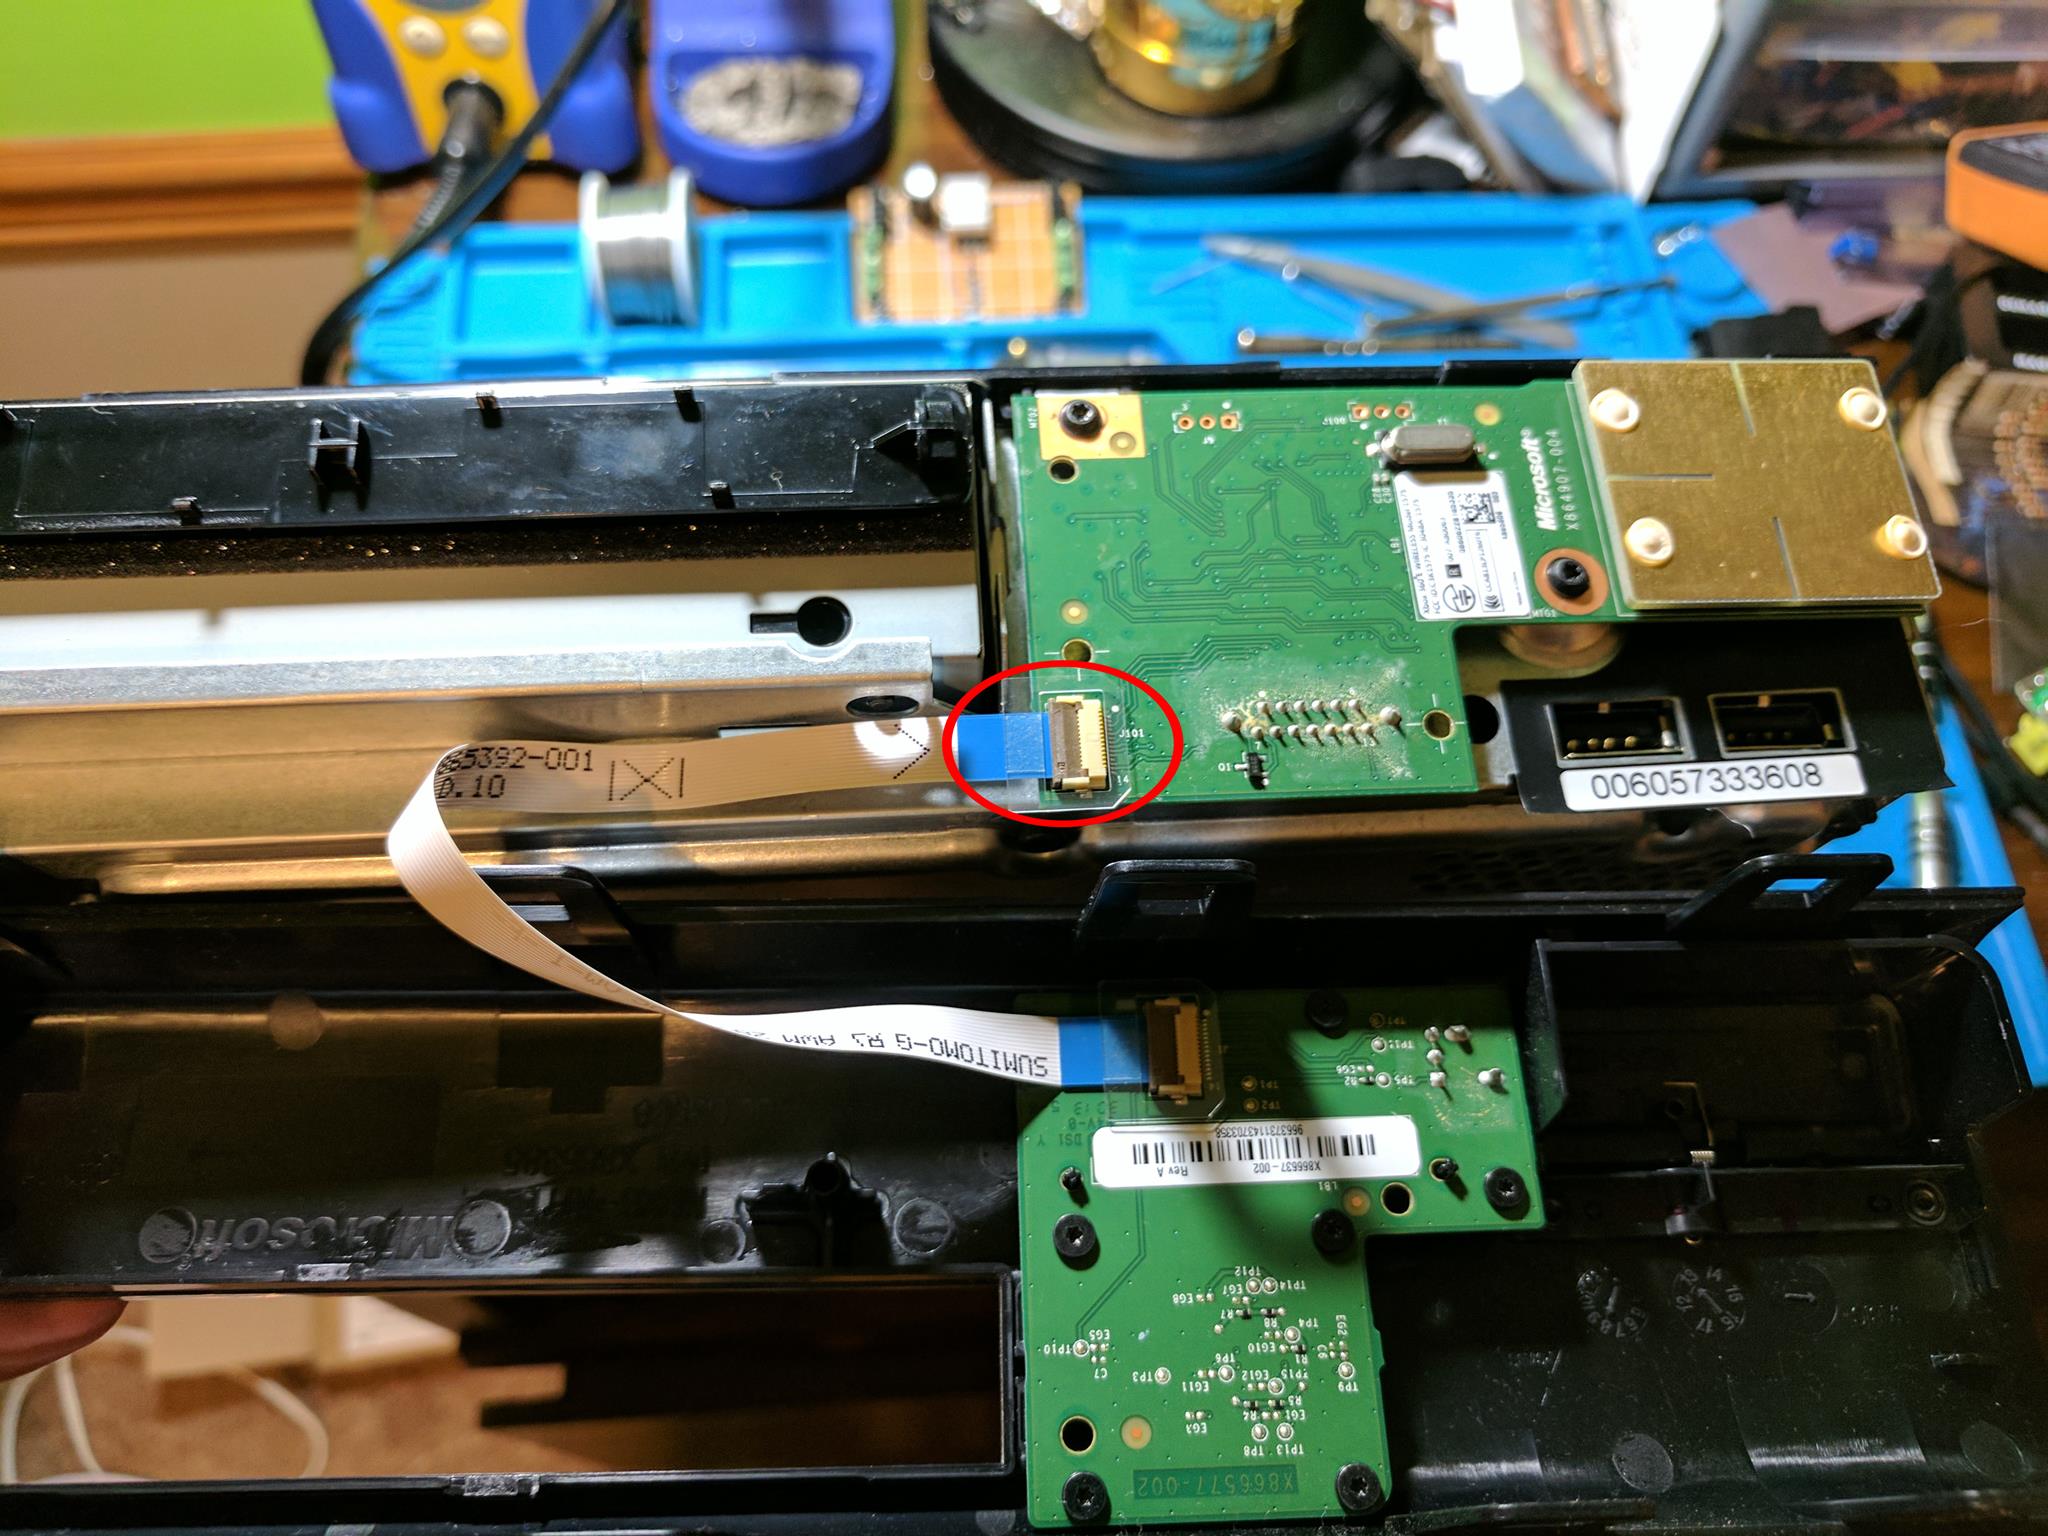
Once the bottom plastic shell has been removed, you can slide the front bezel away from the rest of the console. Be careful though, since there is a ribbon cable that connects the power button to the rest of the console. You need to unclip the ribbon cable from the board by flipping up the brown tab.
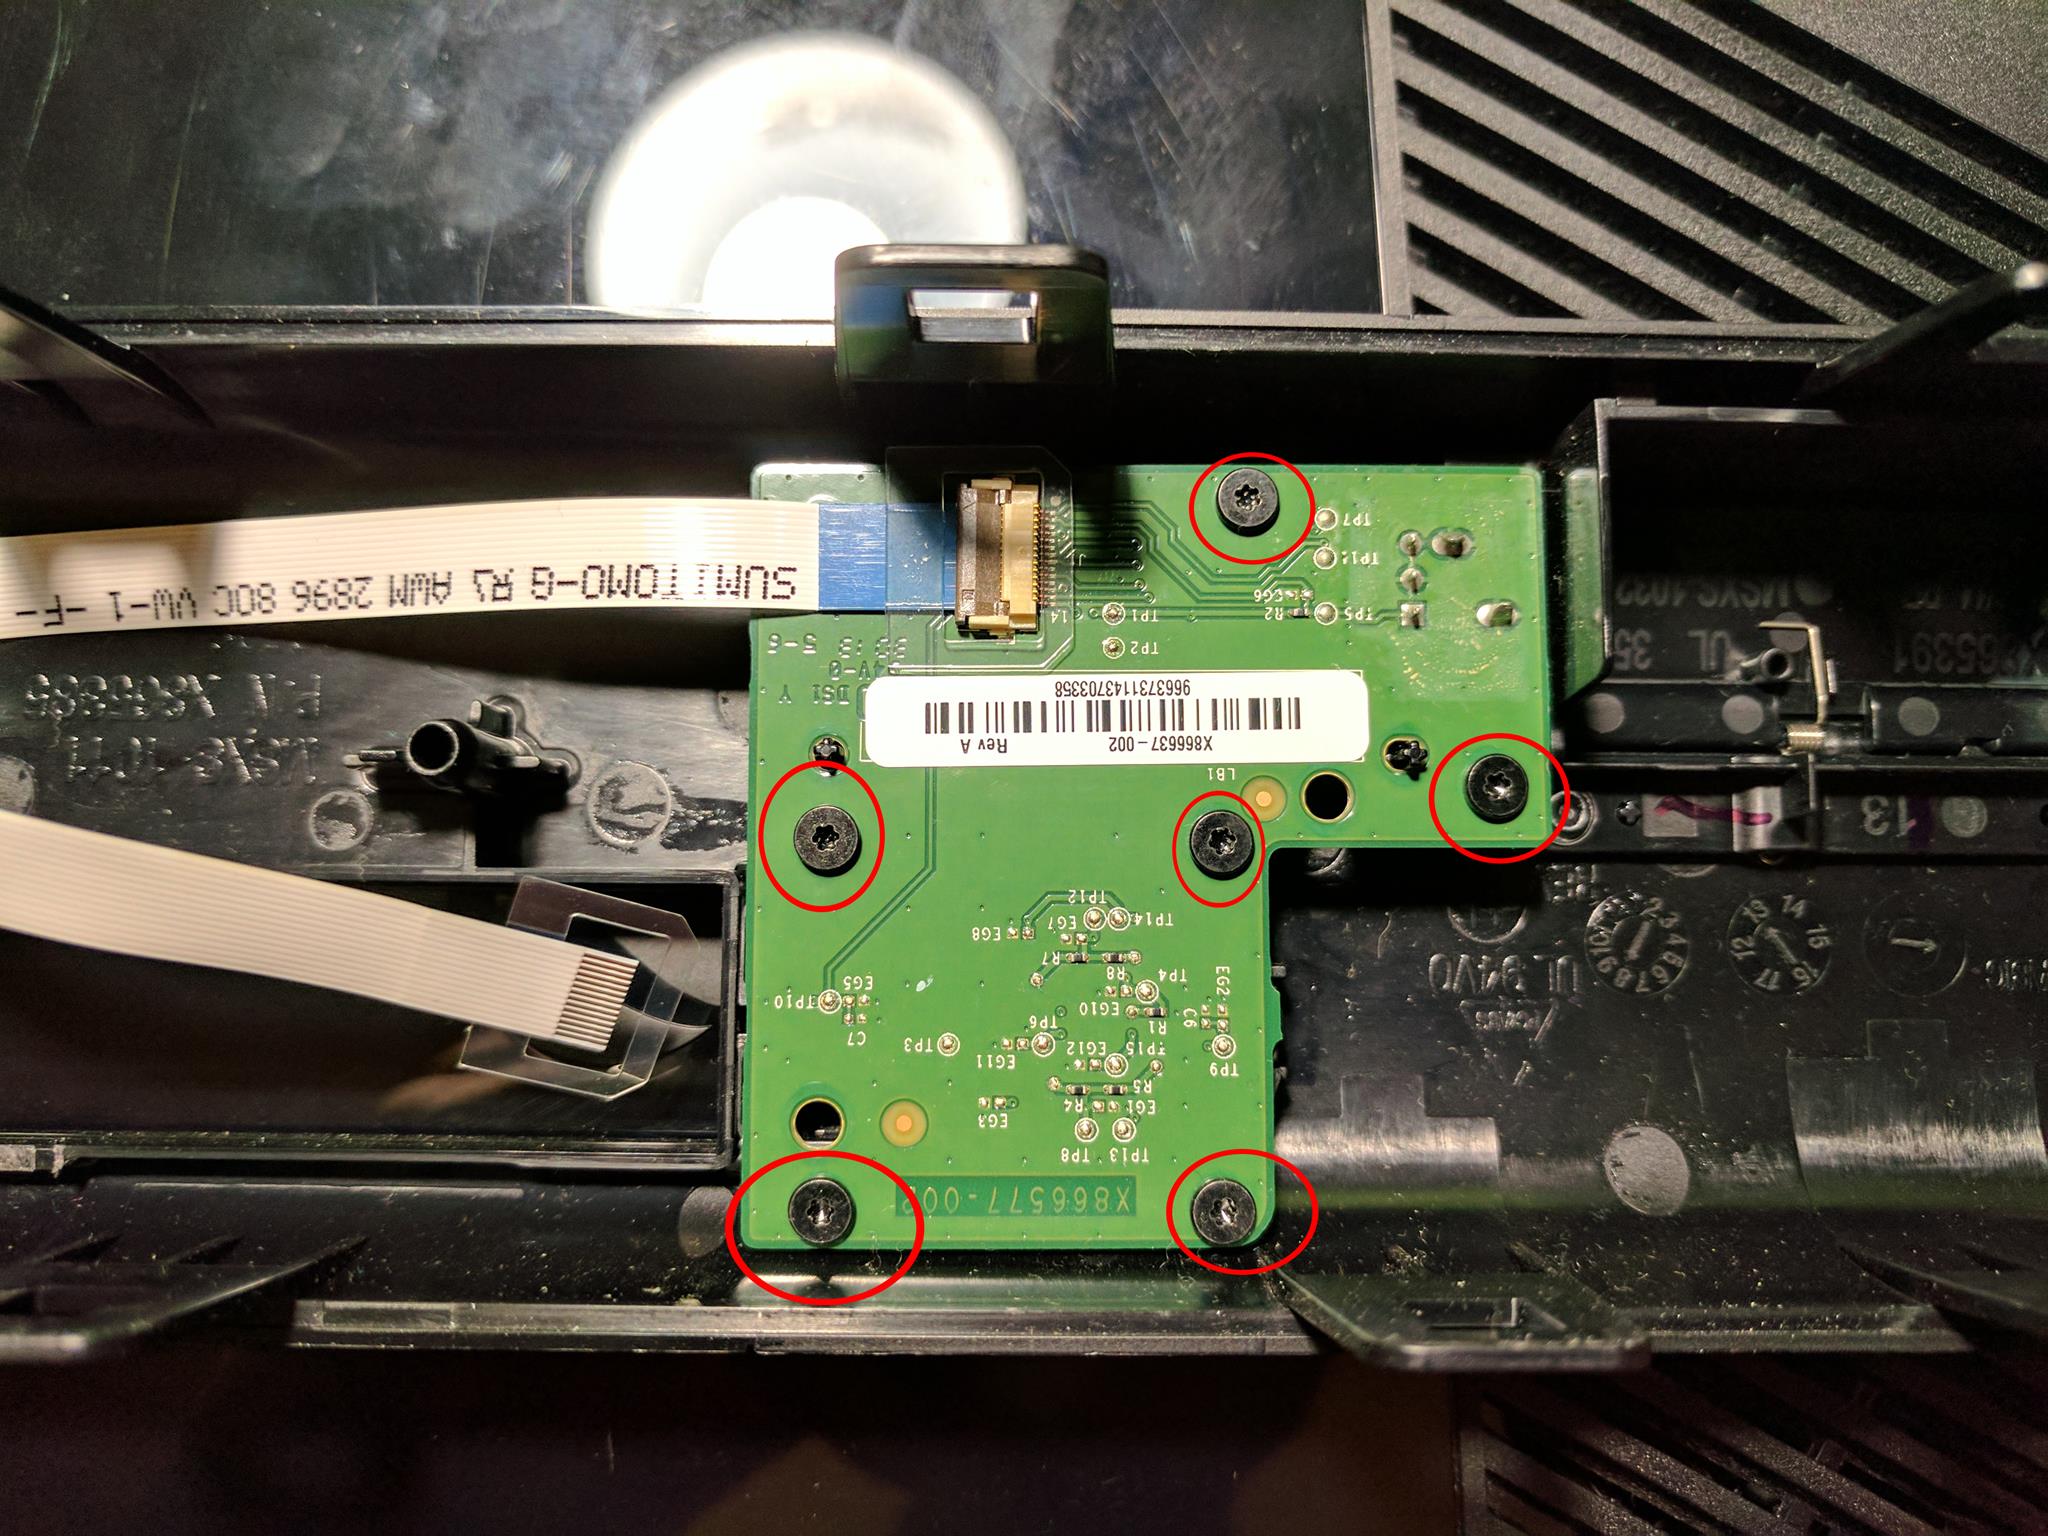
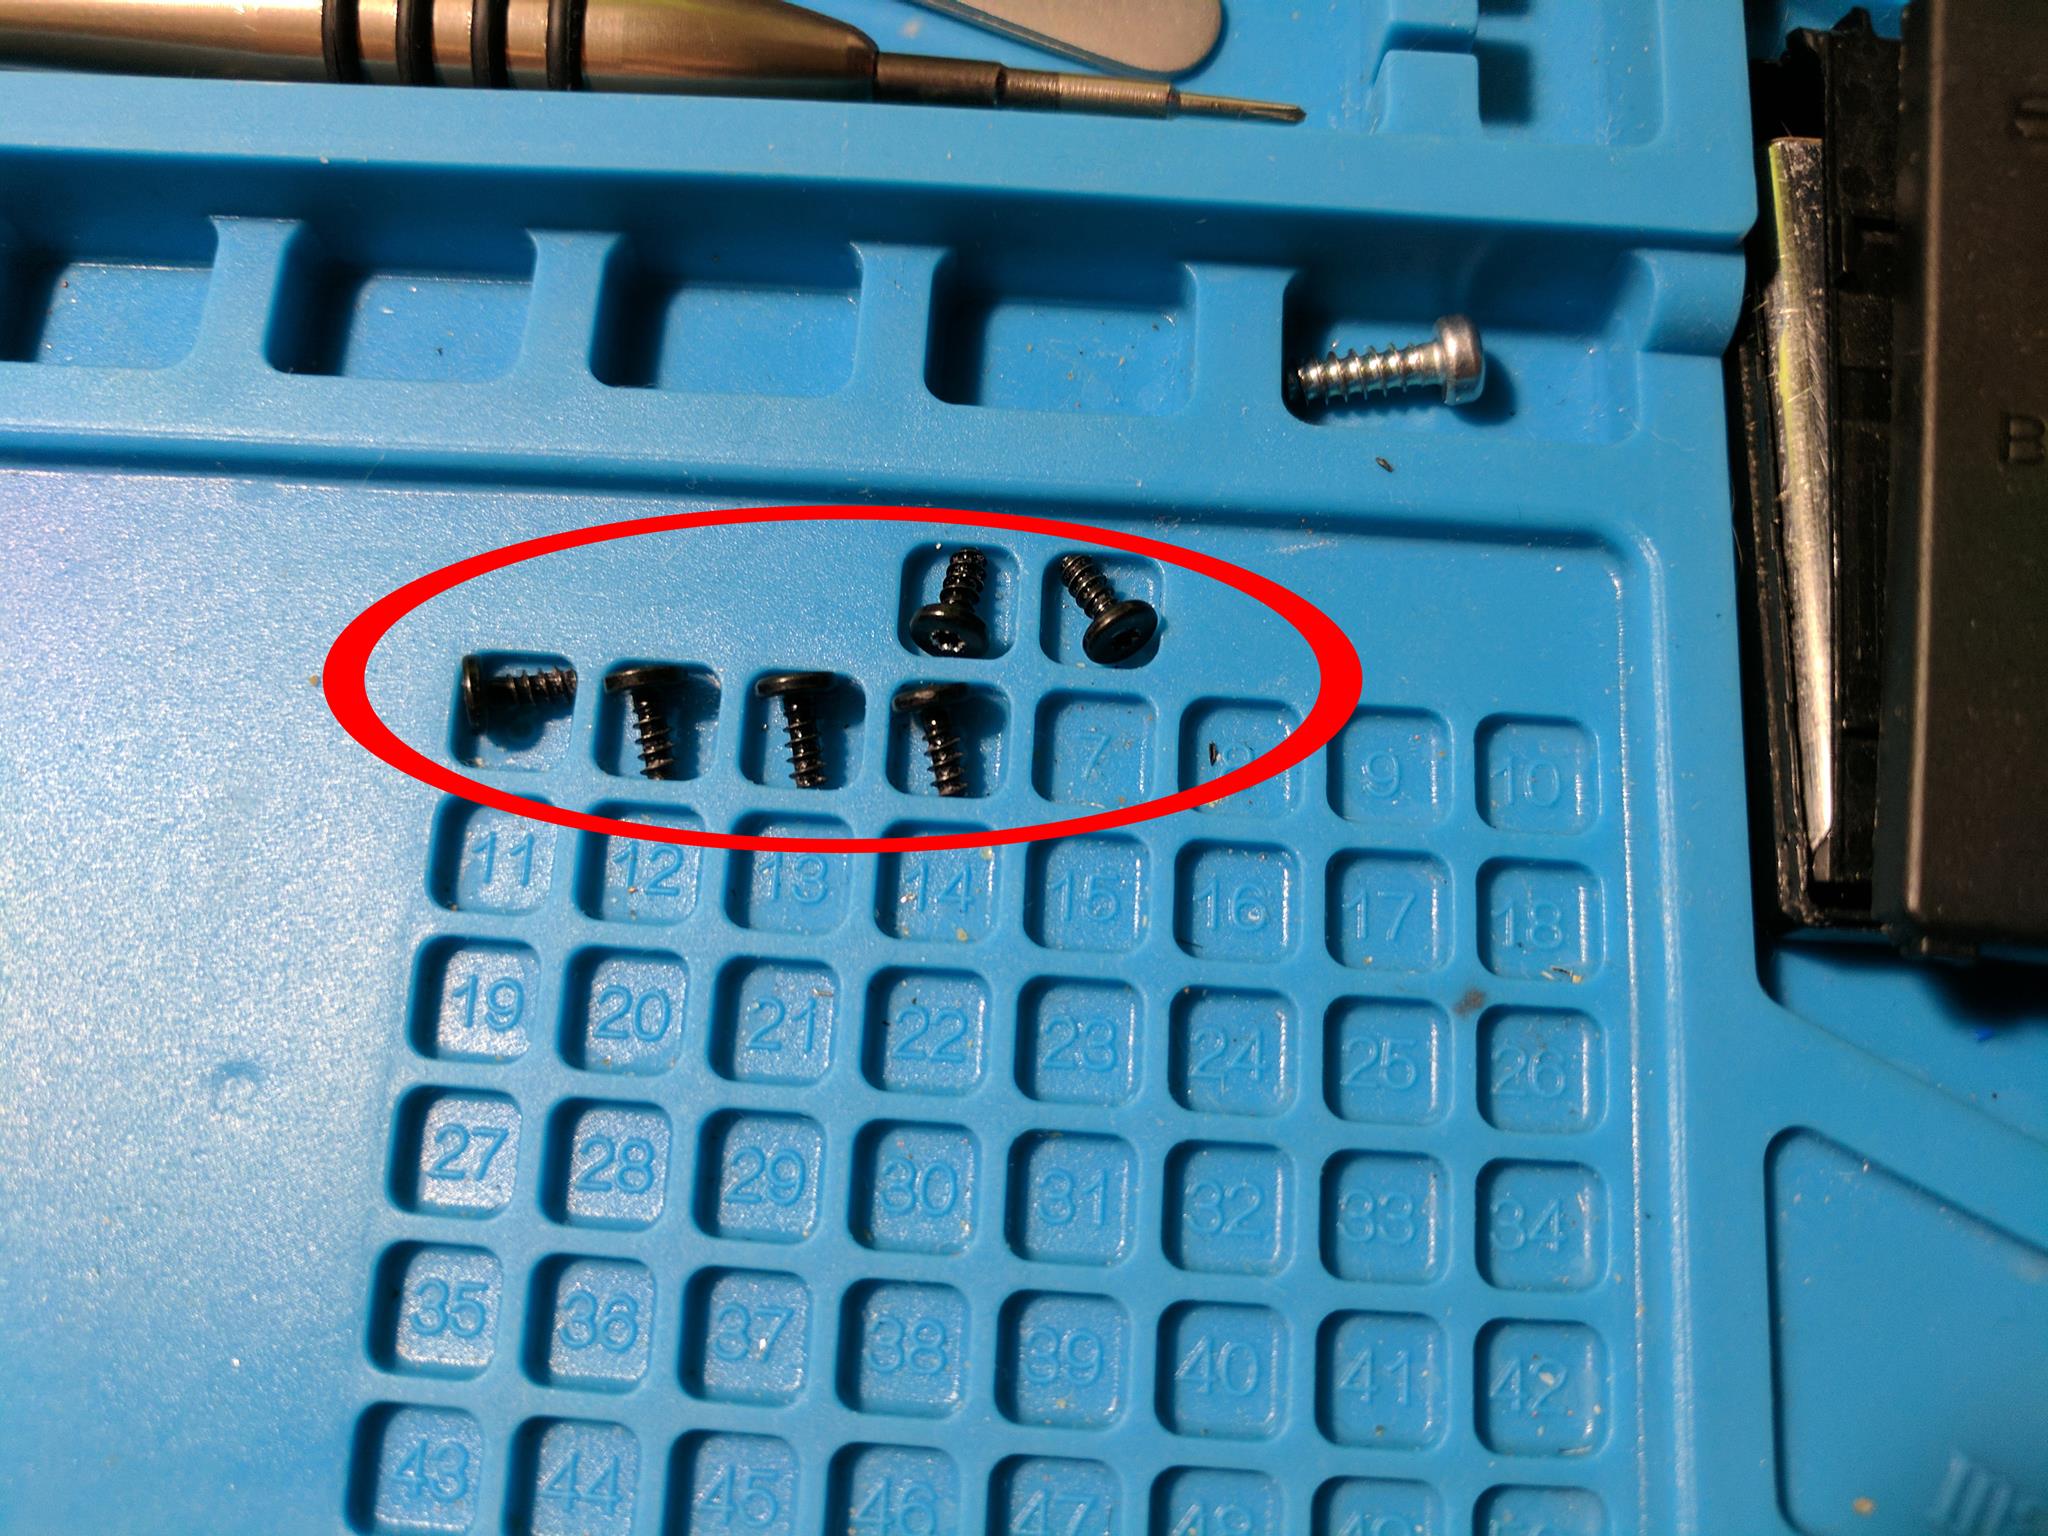
With the front bezel removed, you can remove the power button board from the bezel. There are six screws holding it in place. Once the screws are out the board can be lifted away. The power button also lifts out of its hole underneath the board.
Below is an image of that power button.

Step 7 – Controller wireless board removal
The power button ribbon cable attaches to another board that plugs into the console. I’m pretty sure this board is for the wireless signal for the controllers, since a similar board also exists inside my Xenon Xbox 360.
Interestingly Microsoft chose to not integrate the power button and lights into a single board for the Xbox 360 E. I liked being able to see which players were connected using the lights on the front of the console.
To remove this board simply unscrew the two screws holding it in place.
The controller board unplugs from the socket in the motherboard similar to how it did on the Xenon Xbox 360.
Step 8 – Top plastic shell removal
It is interesting how Microsoft has stuck with a similar console design. They typically have a plastic outer shell that surrounds a metal box. Inside the box is typically a large motherboard that takes up most of the space, with components stacked on top.
In contrast Sony typically builds their consoles with a plastic outer shell that surrounds two sheets of metal that shield the motherboard. Most of the components like the drives sit outside of the metal sheets.
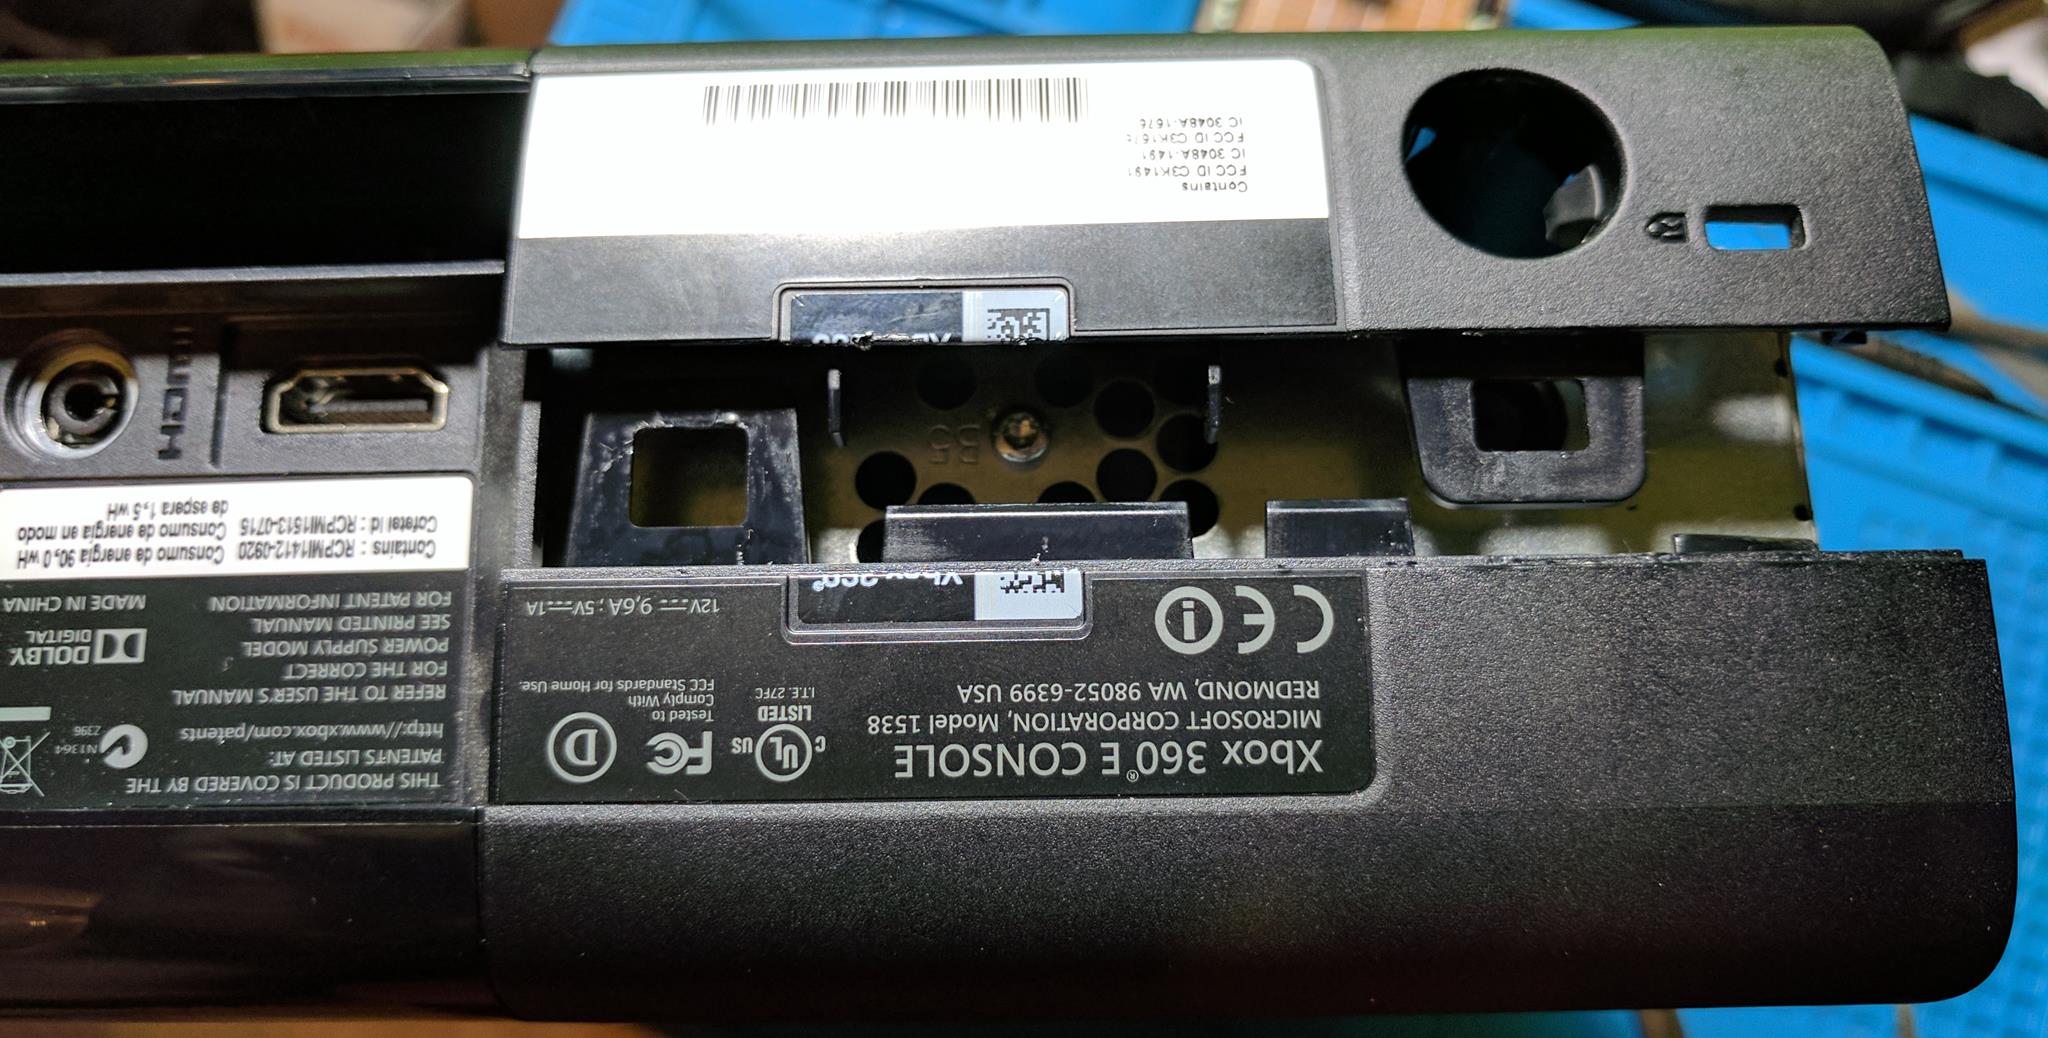
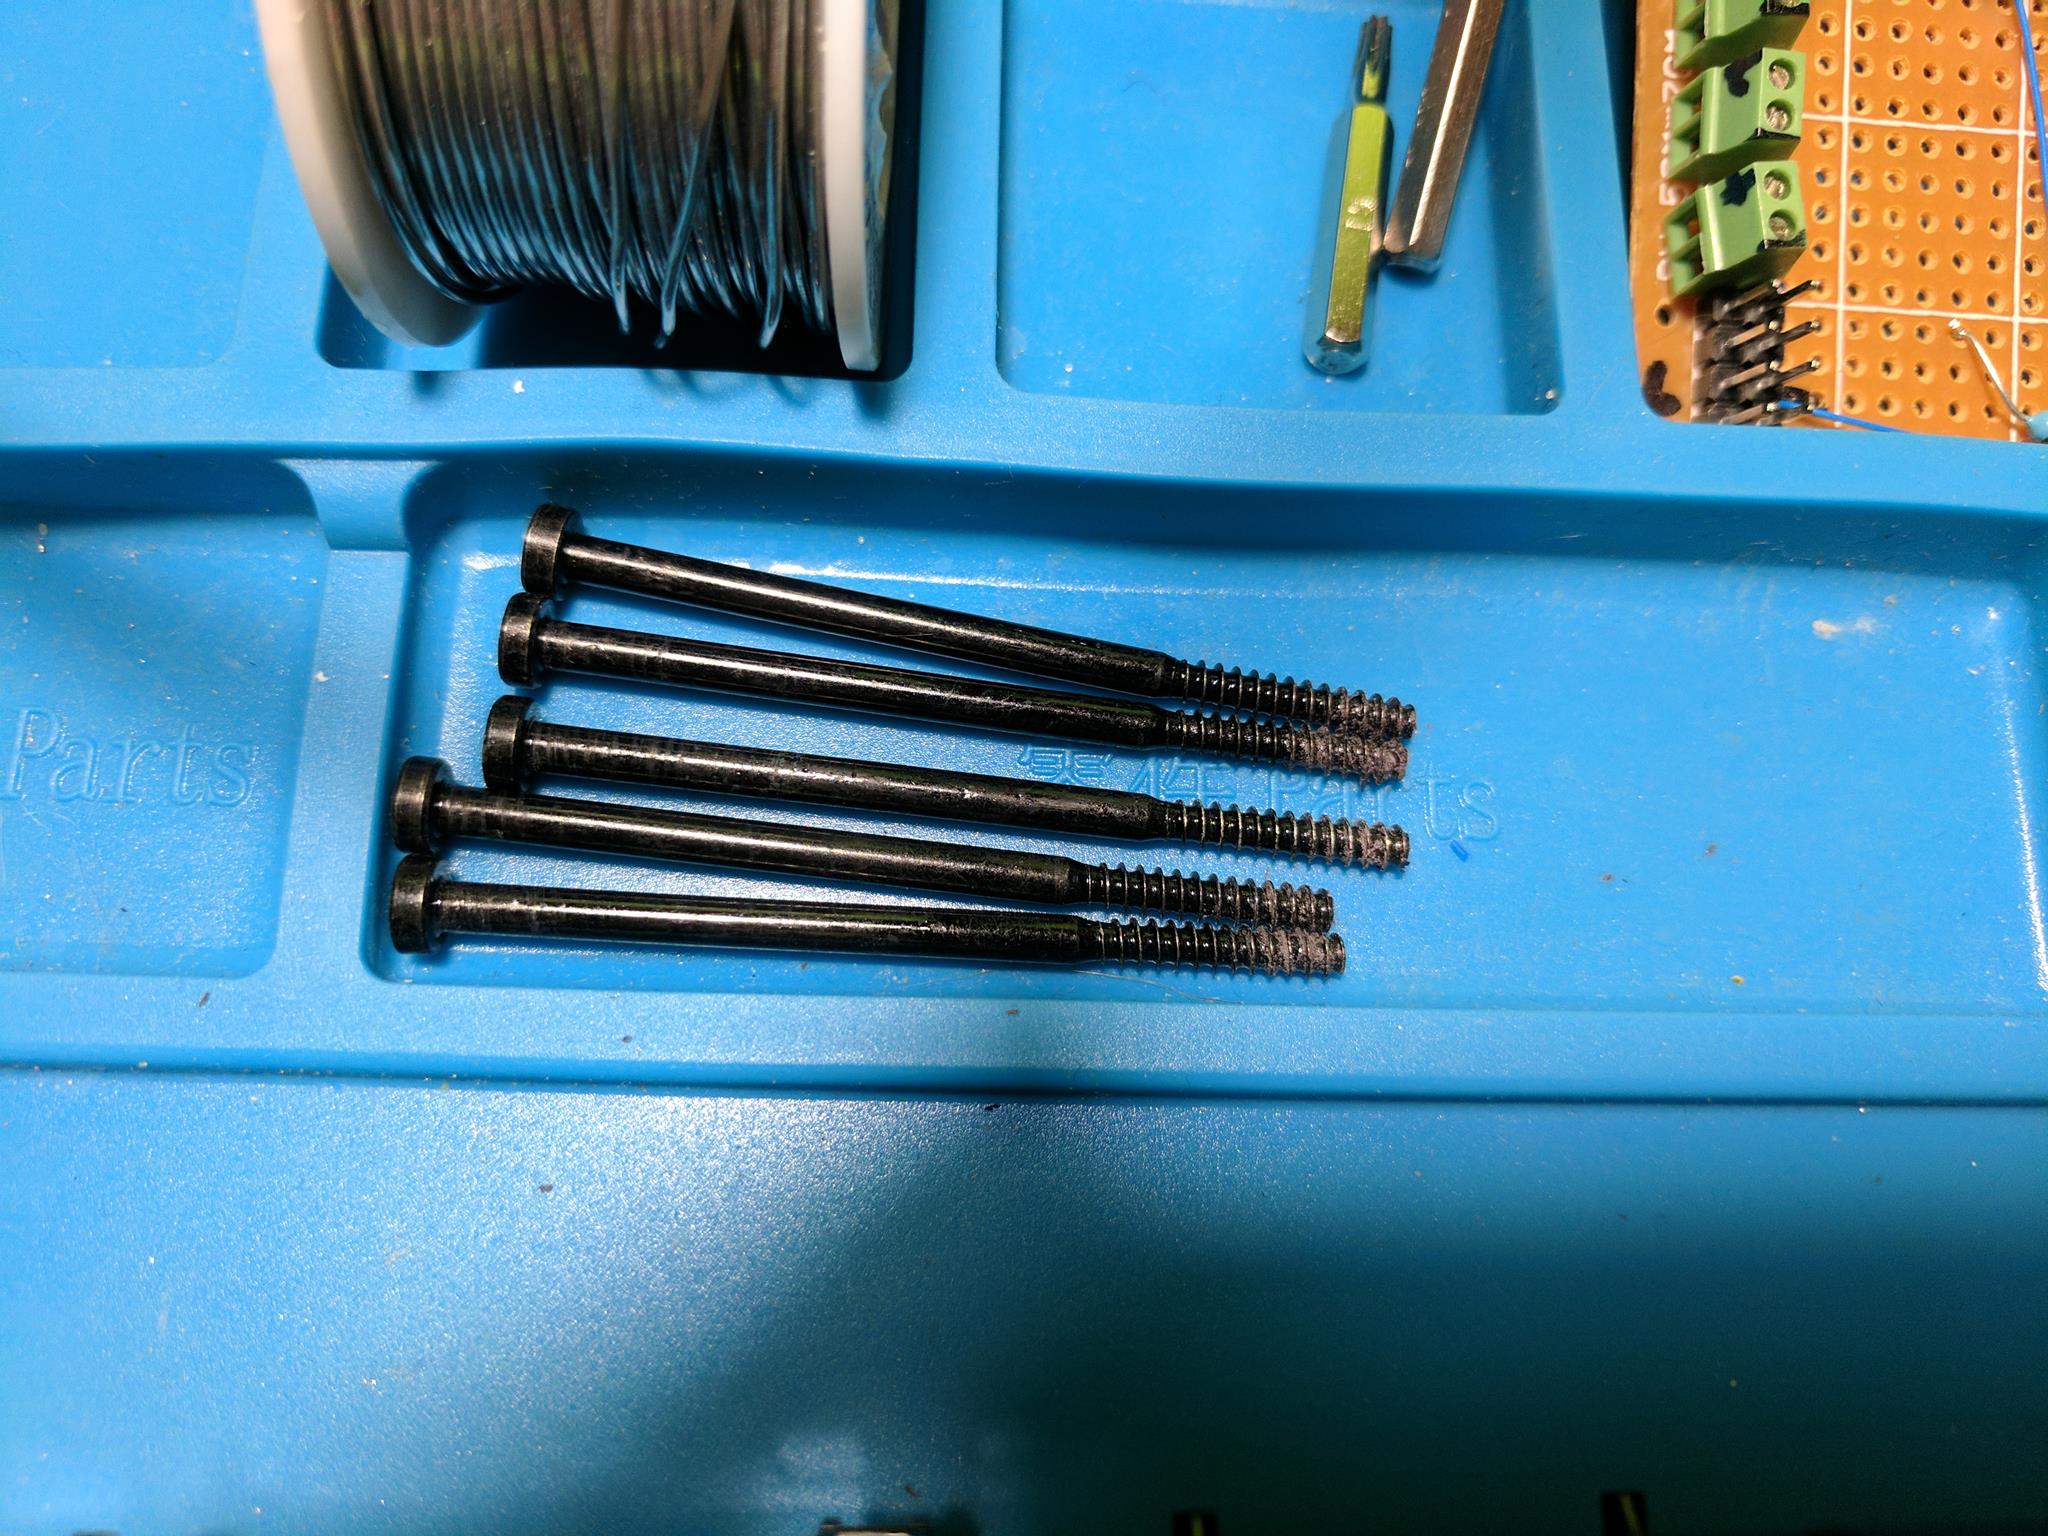
There are five long screws painted in black pictured below. These screws hold the top plastic shell to the metal housing.
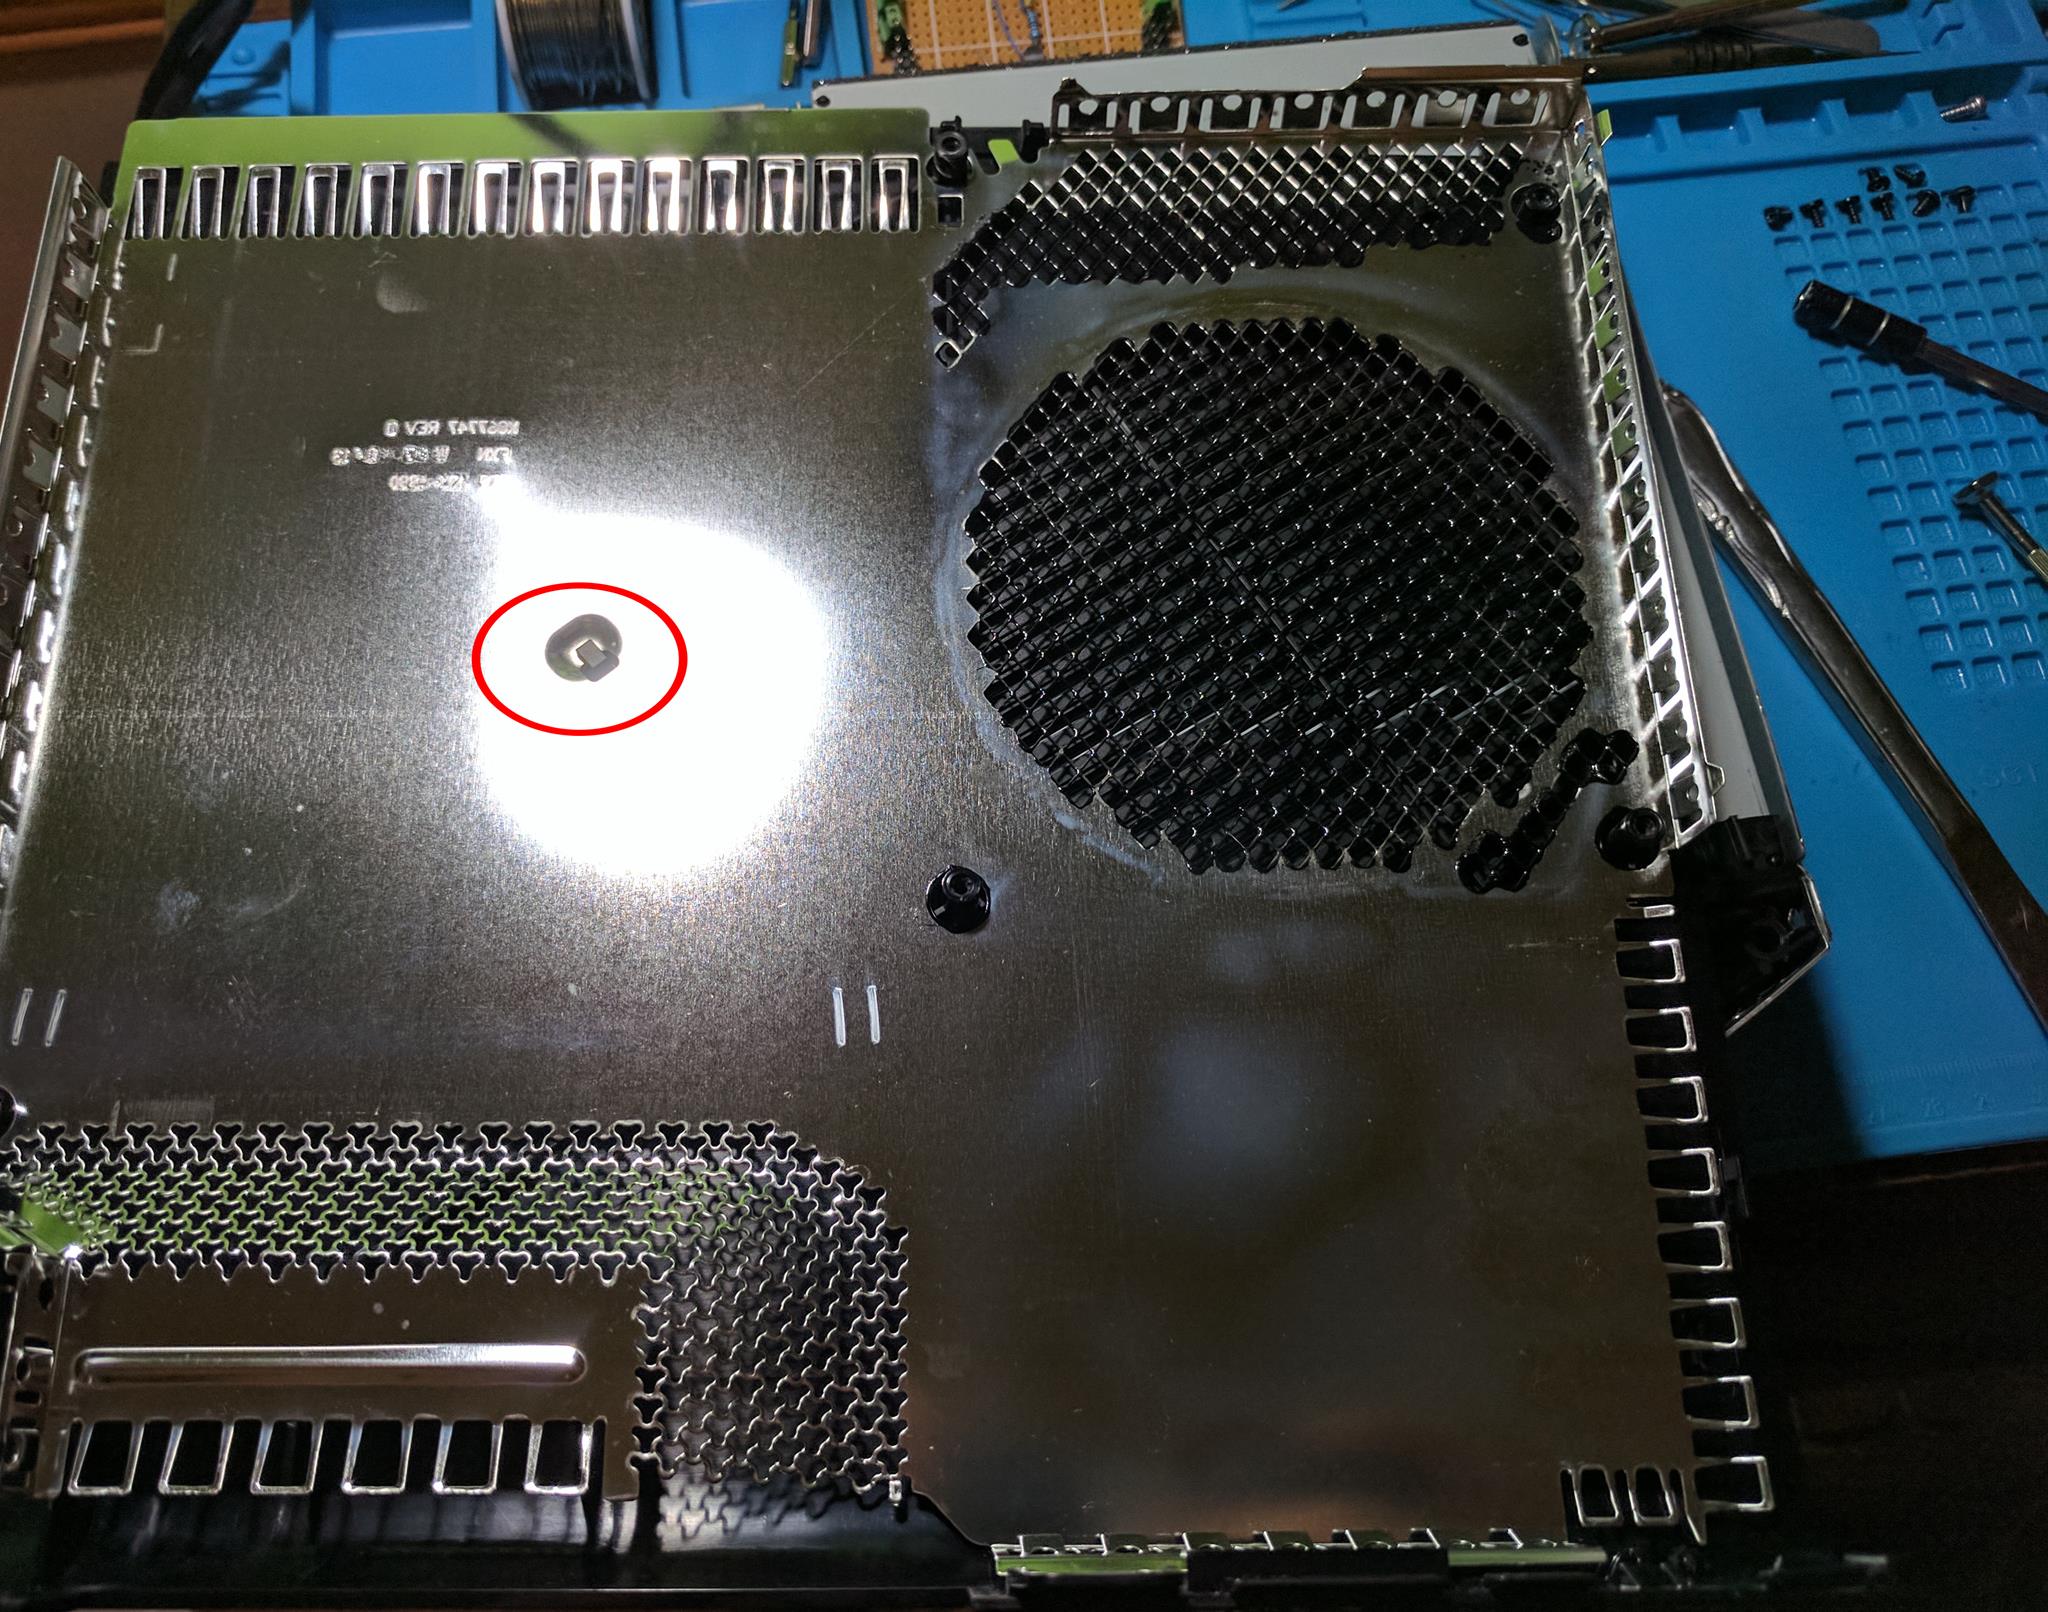
Once the five screws have been removed you will see the top part of the shell. There is a thin metal shield attached to the plastic shell. You can remove the metal from the plastic by bending and pulling around the plastic notch circled in the image below.
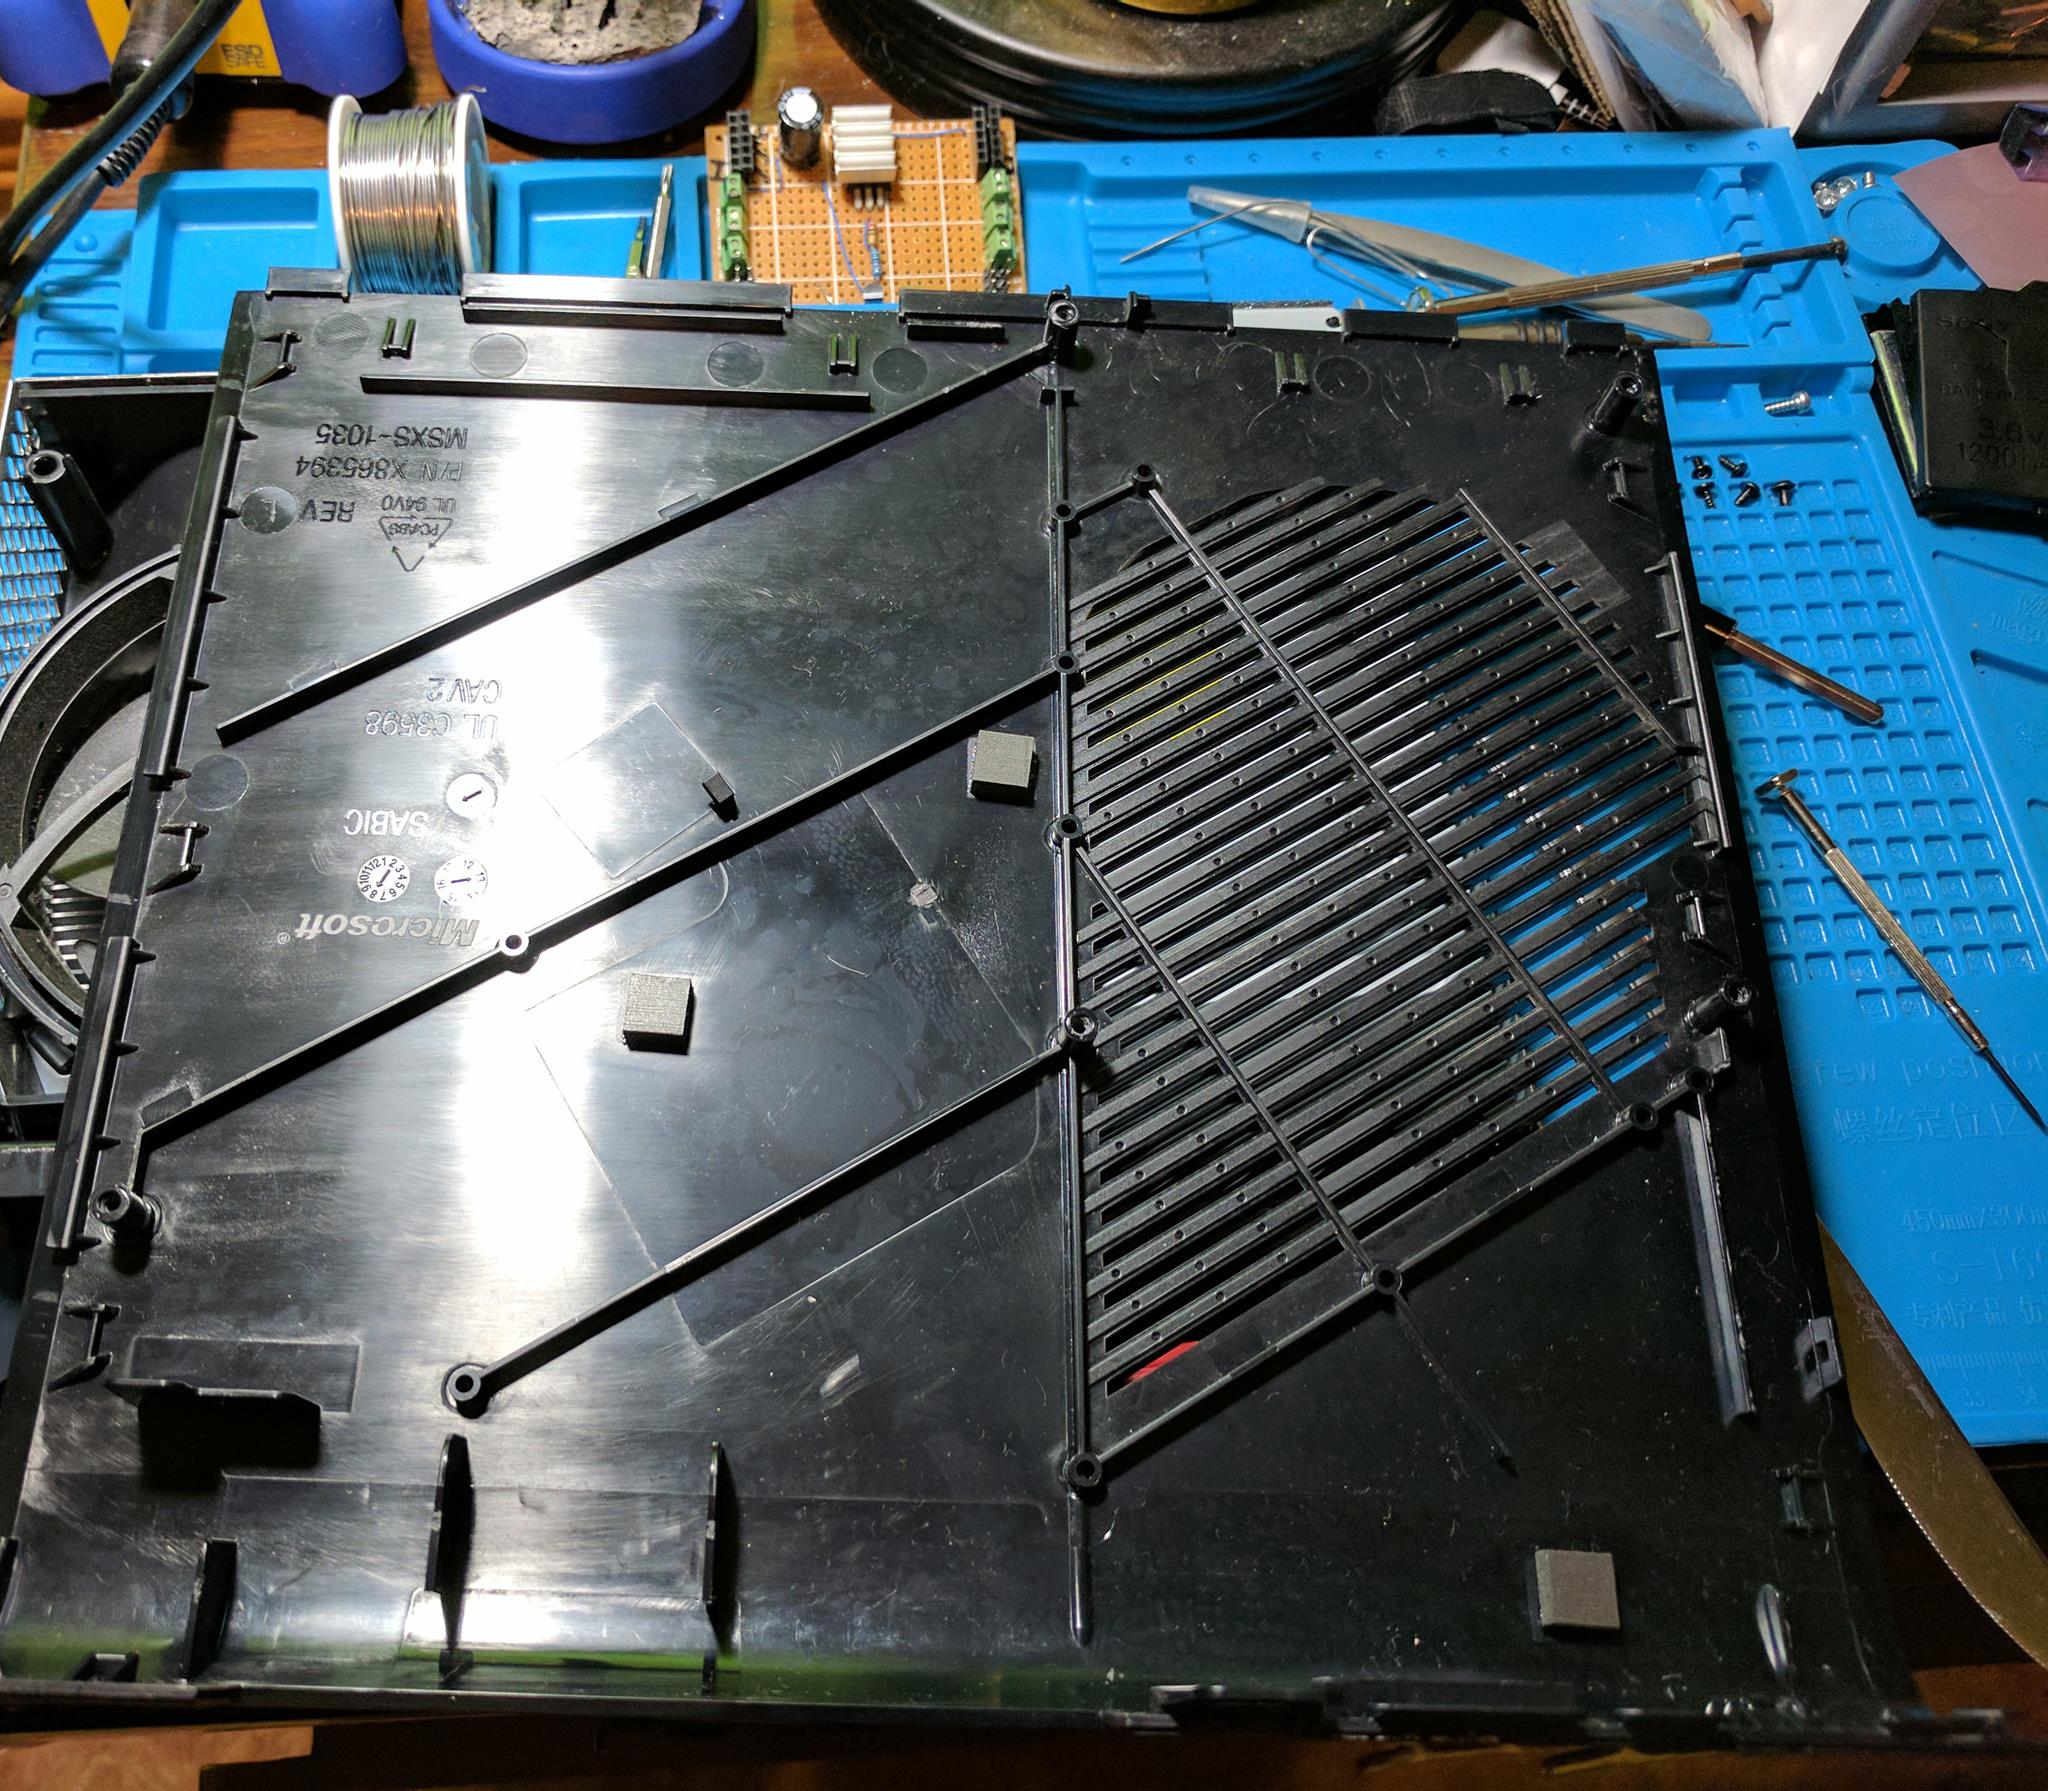
With the top part of the shell removed we can see the components inside of the Xbox 360 E.
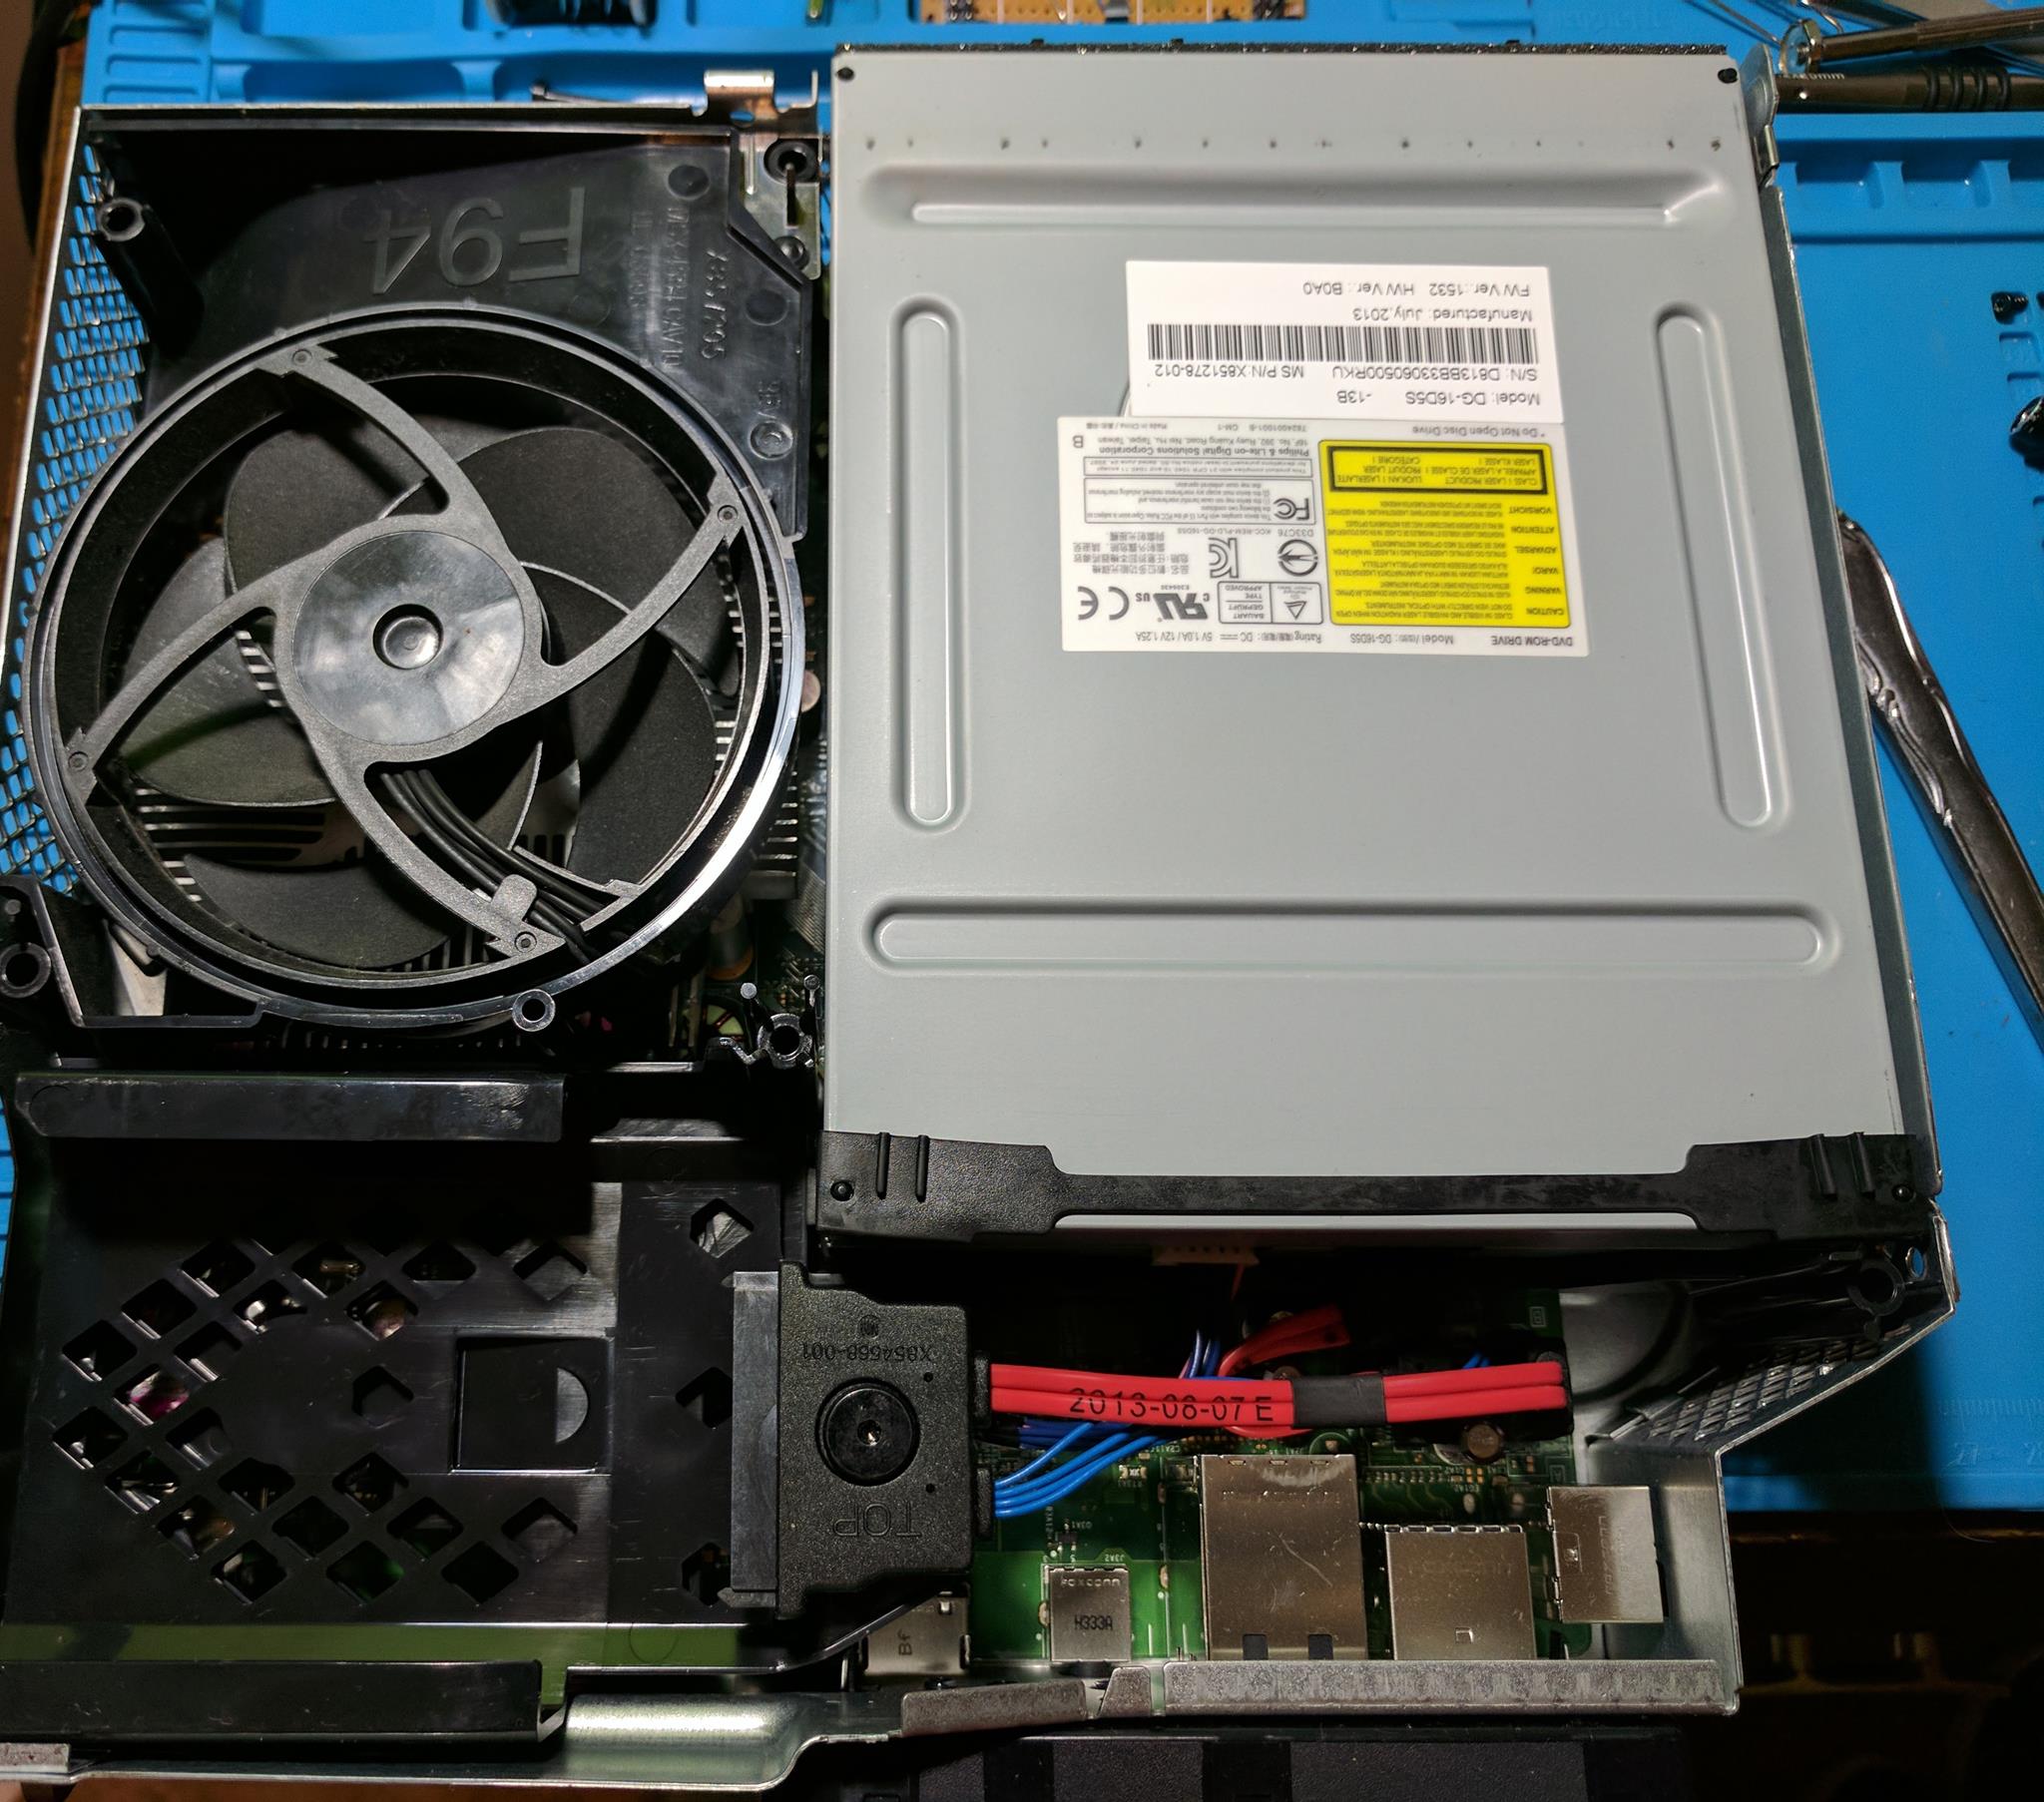
Step 9 – Disc drive removal
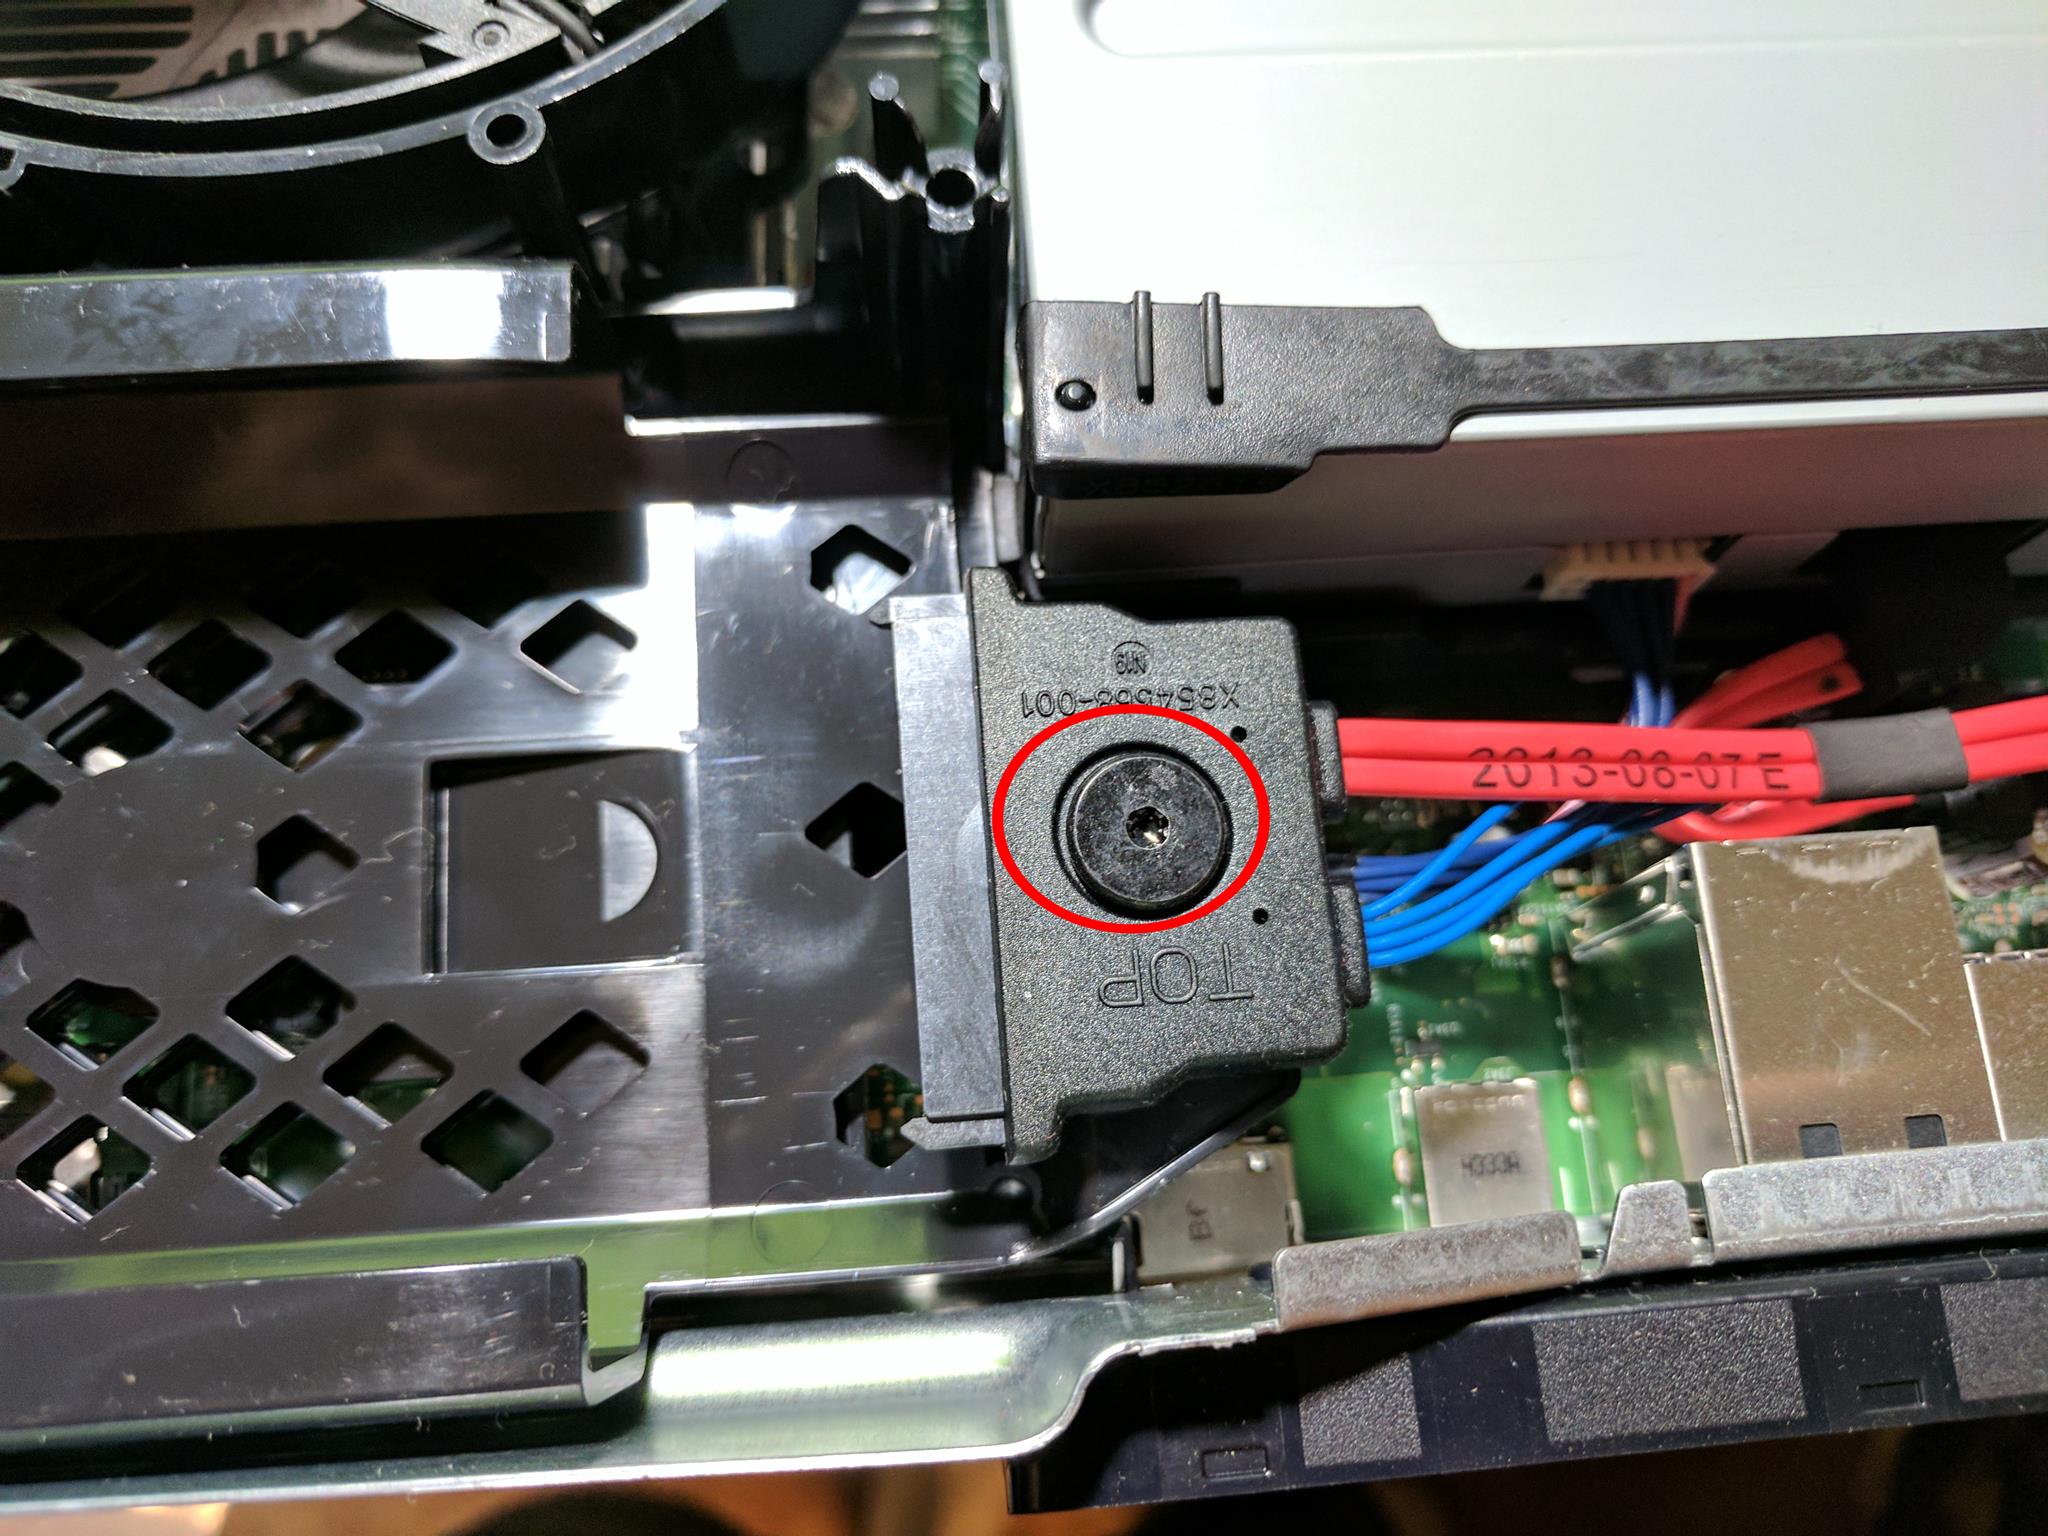
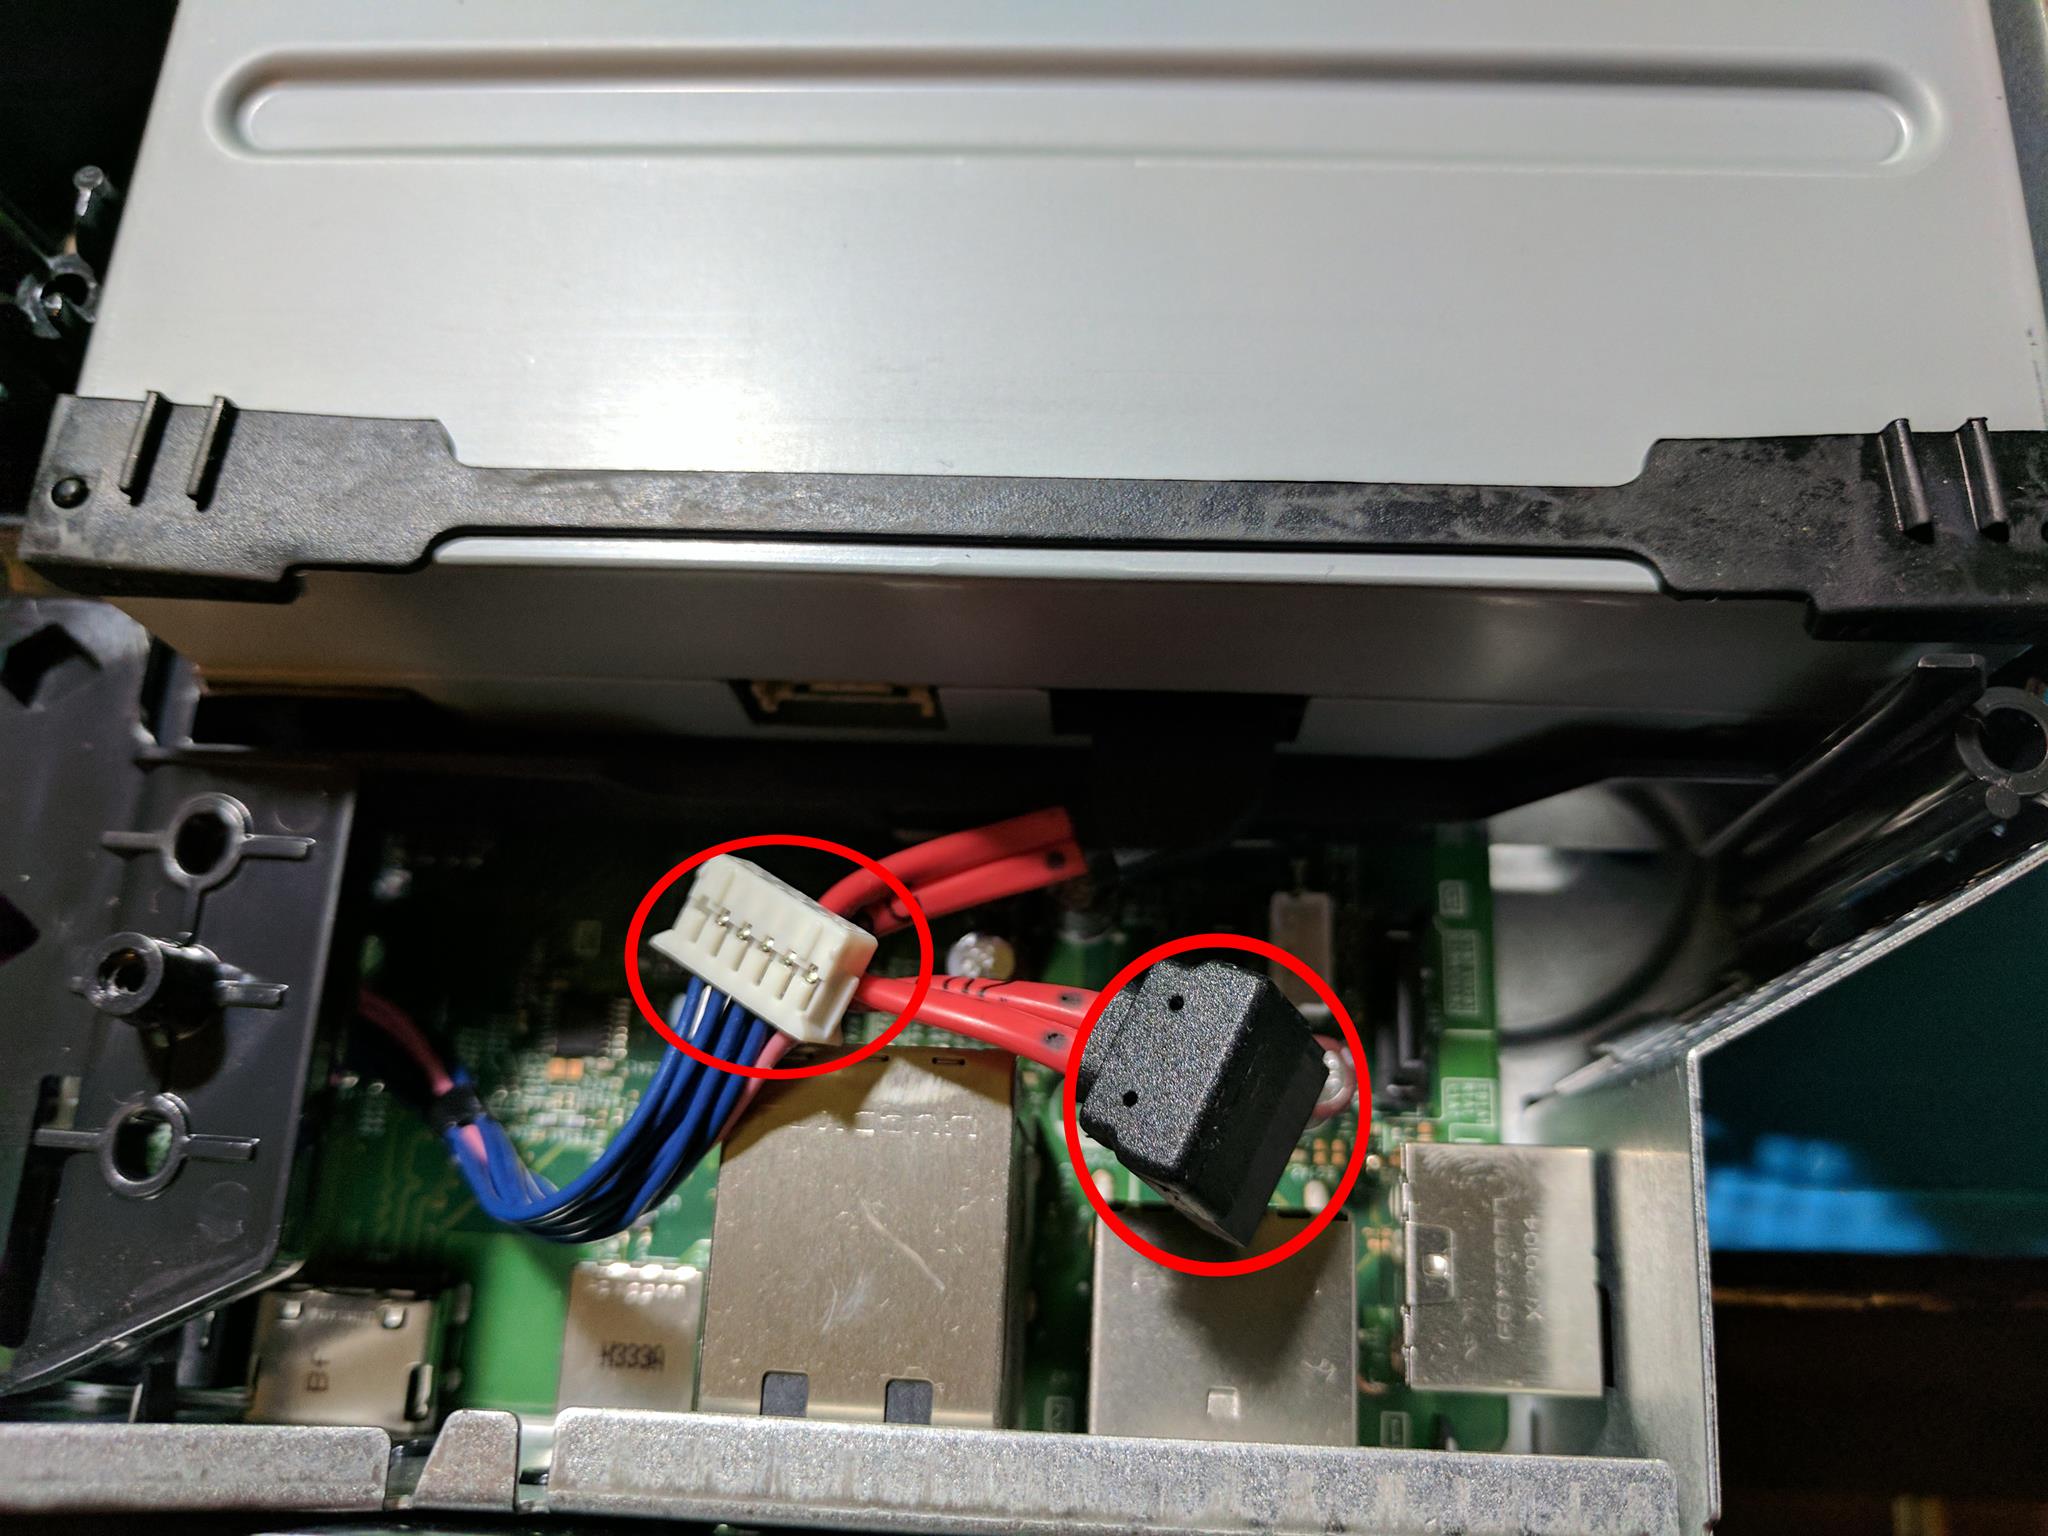
There’s a large screw that holds the SATA data and power cable to the plastic tray that holds the hard drive. Once the screw is removed you can unplug the cables from the motherboard.

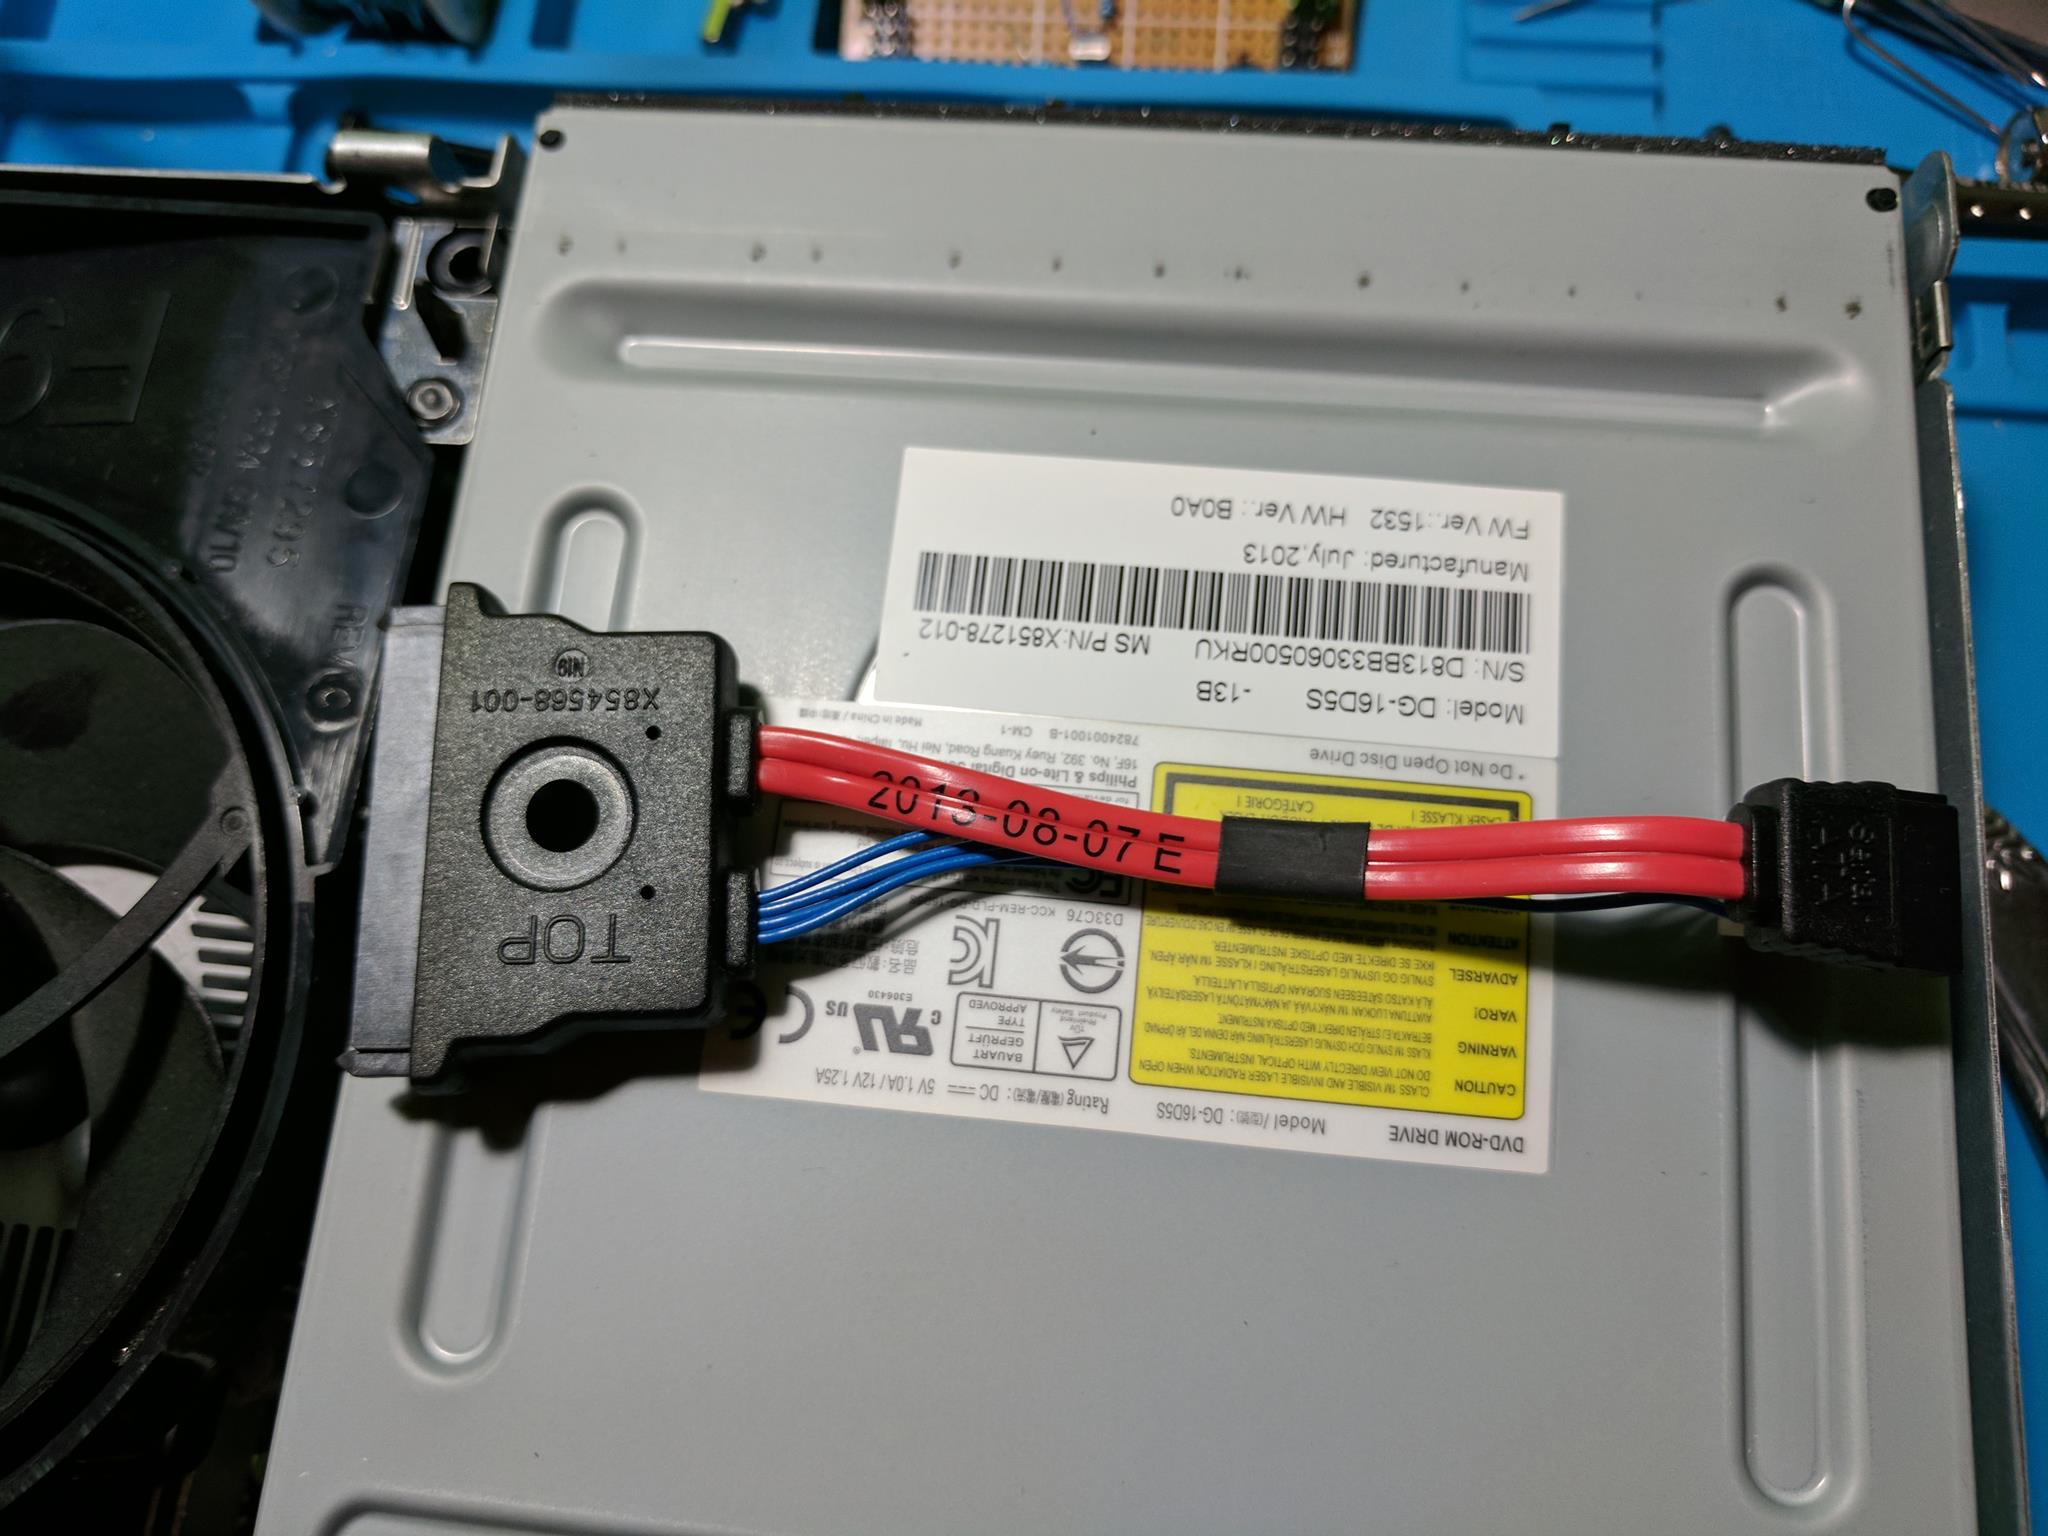
Next unplug the disc drive from the motherboard by unplugging the SATA data and the power cable.
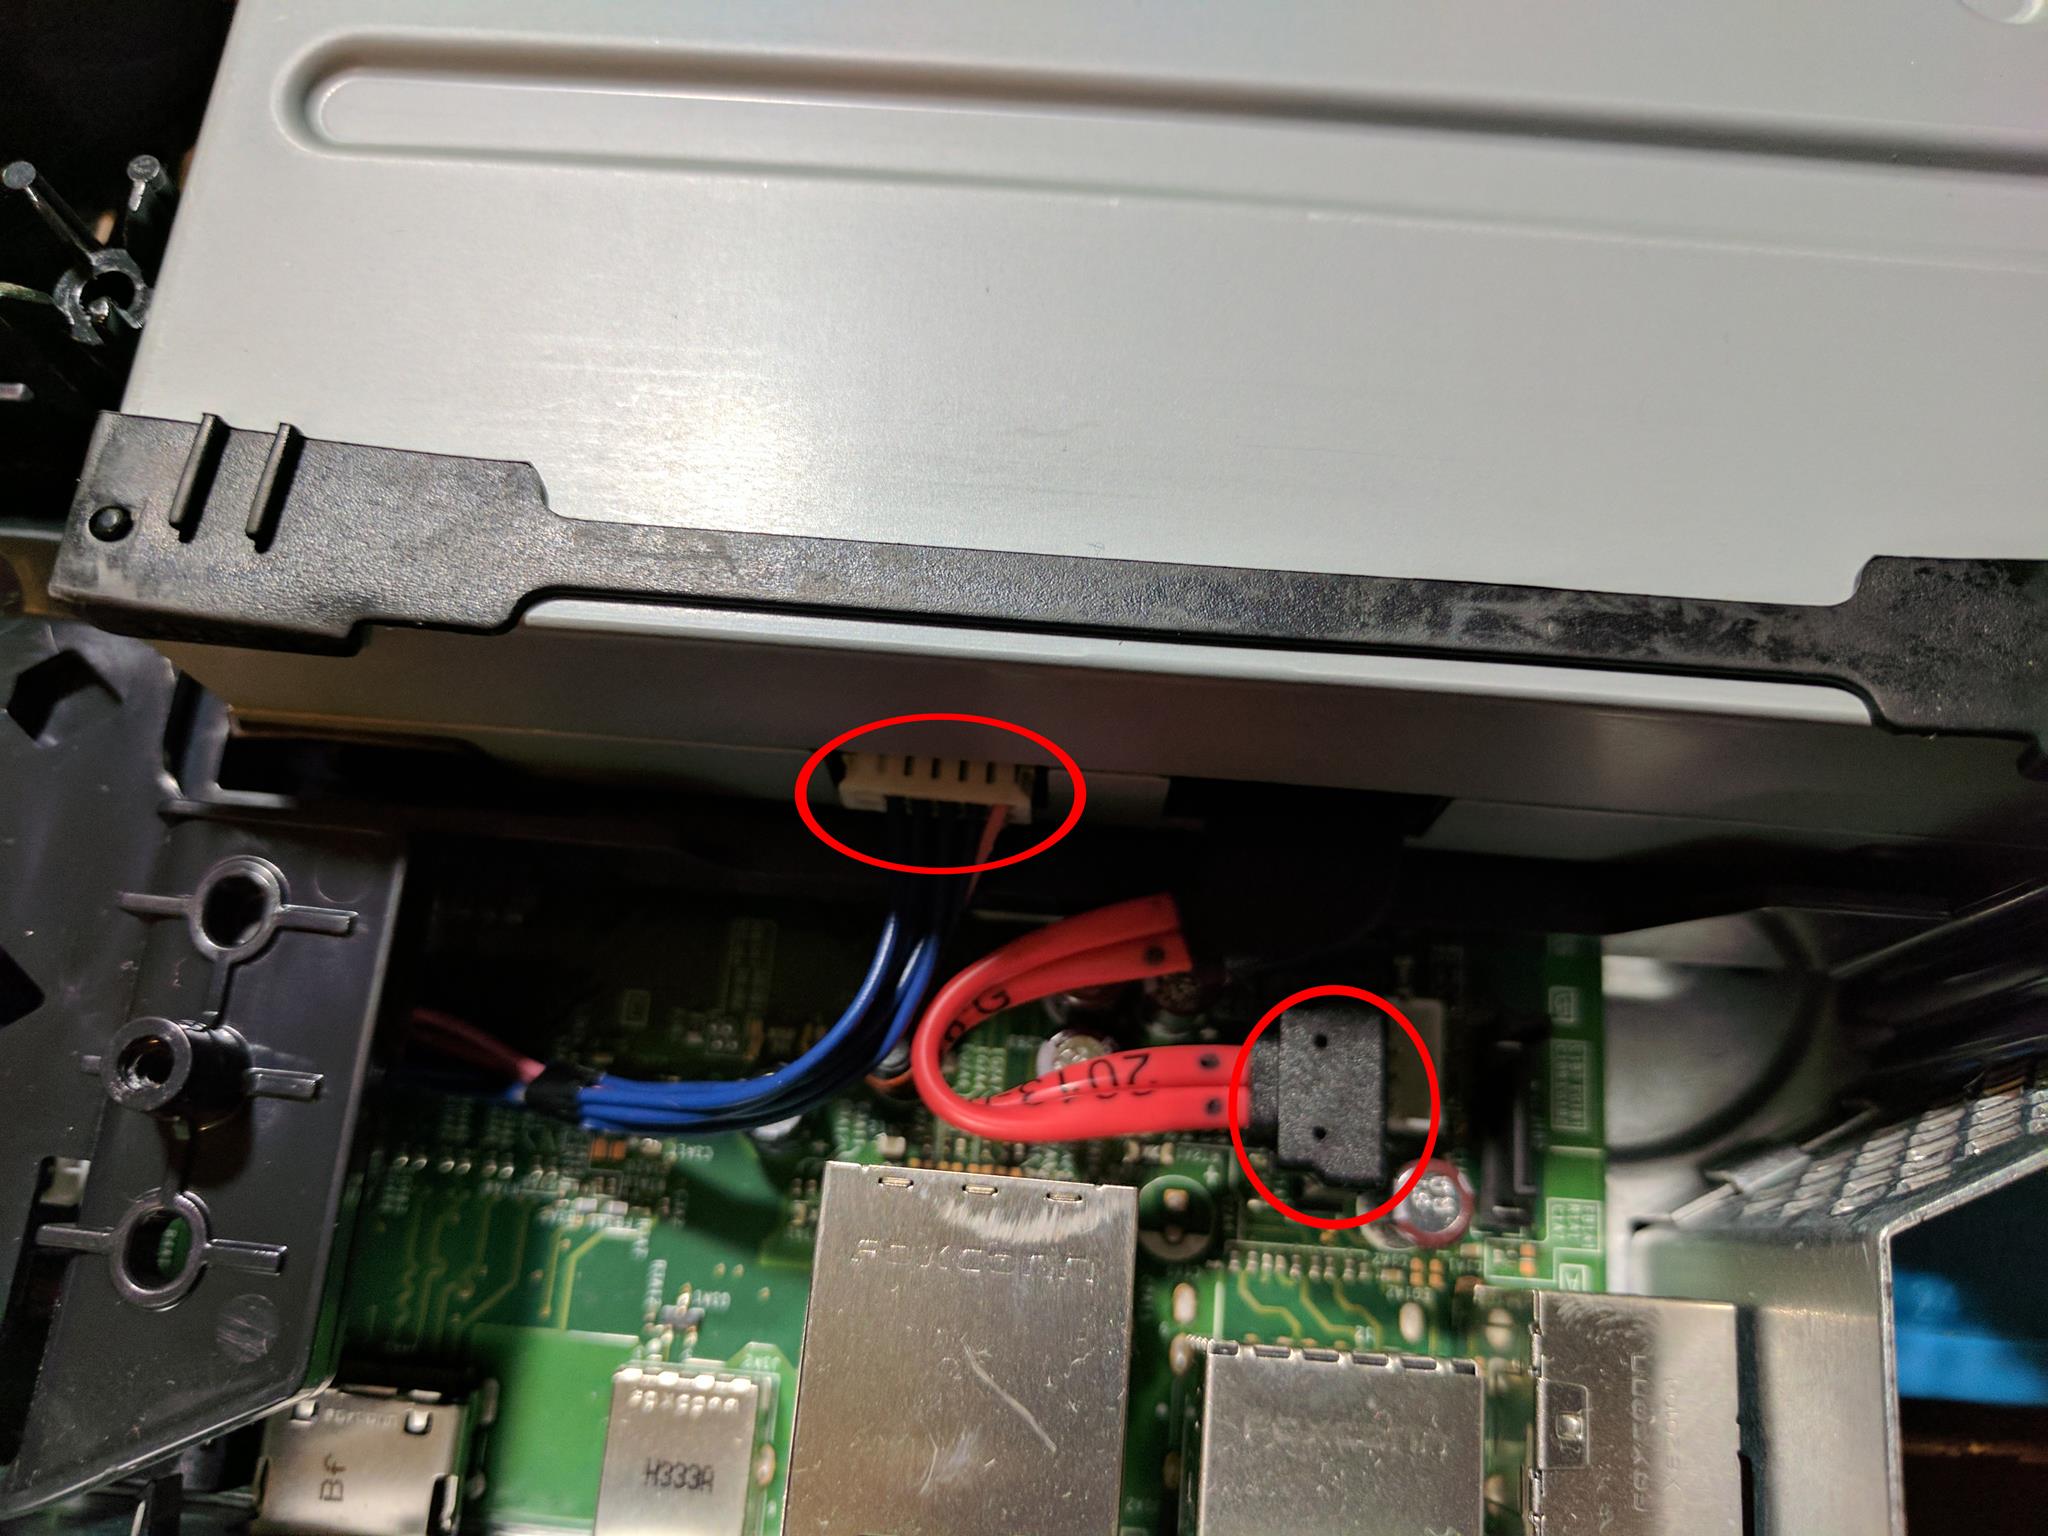
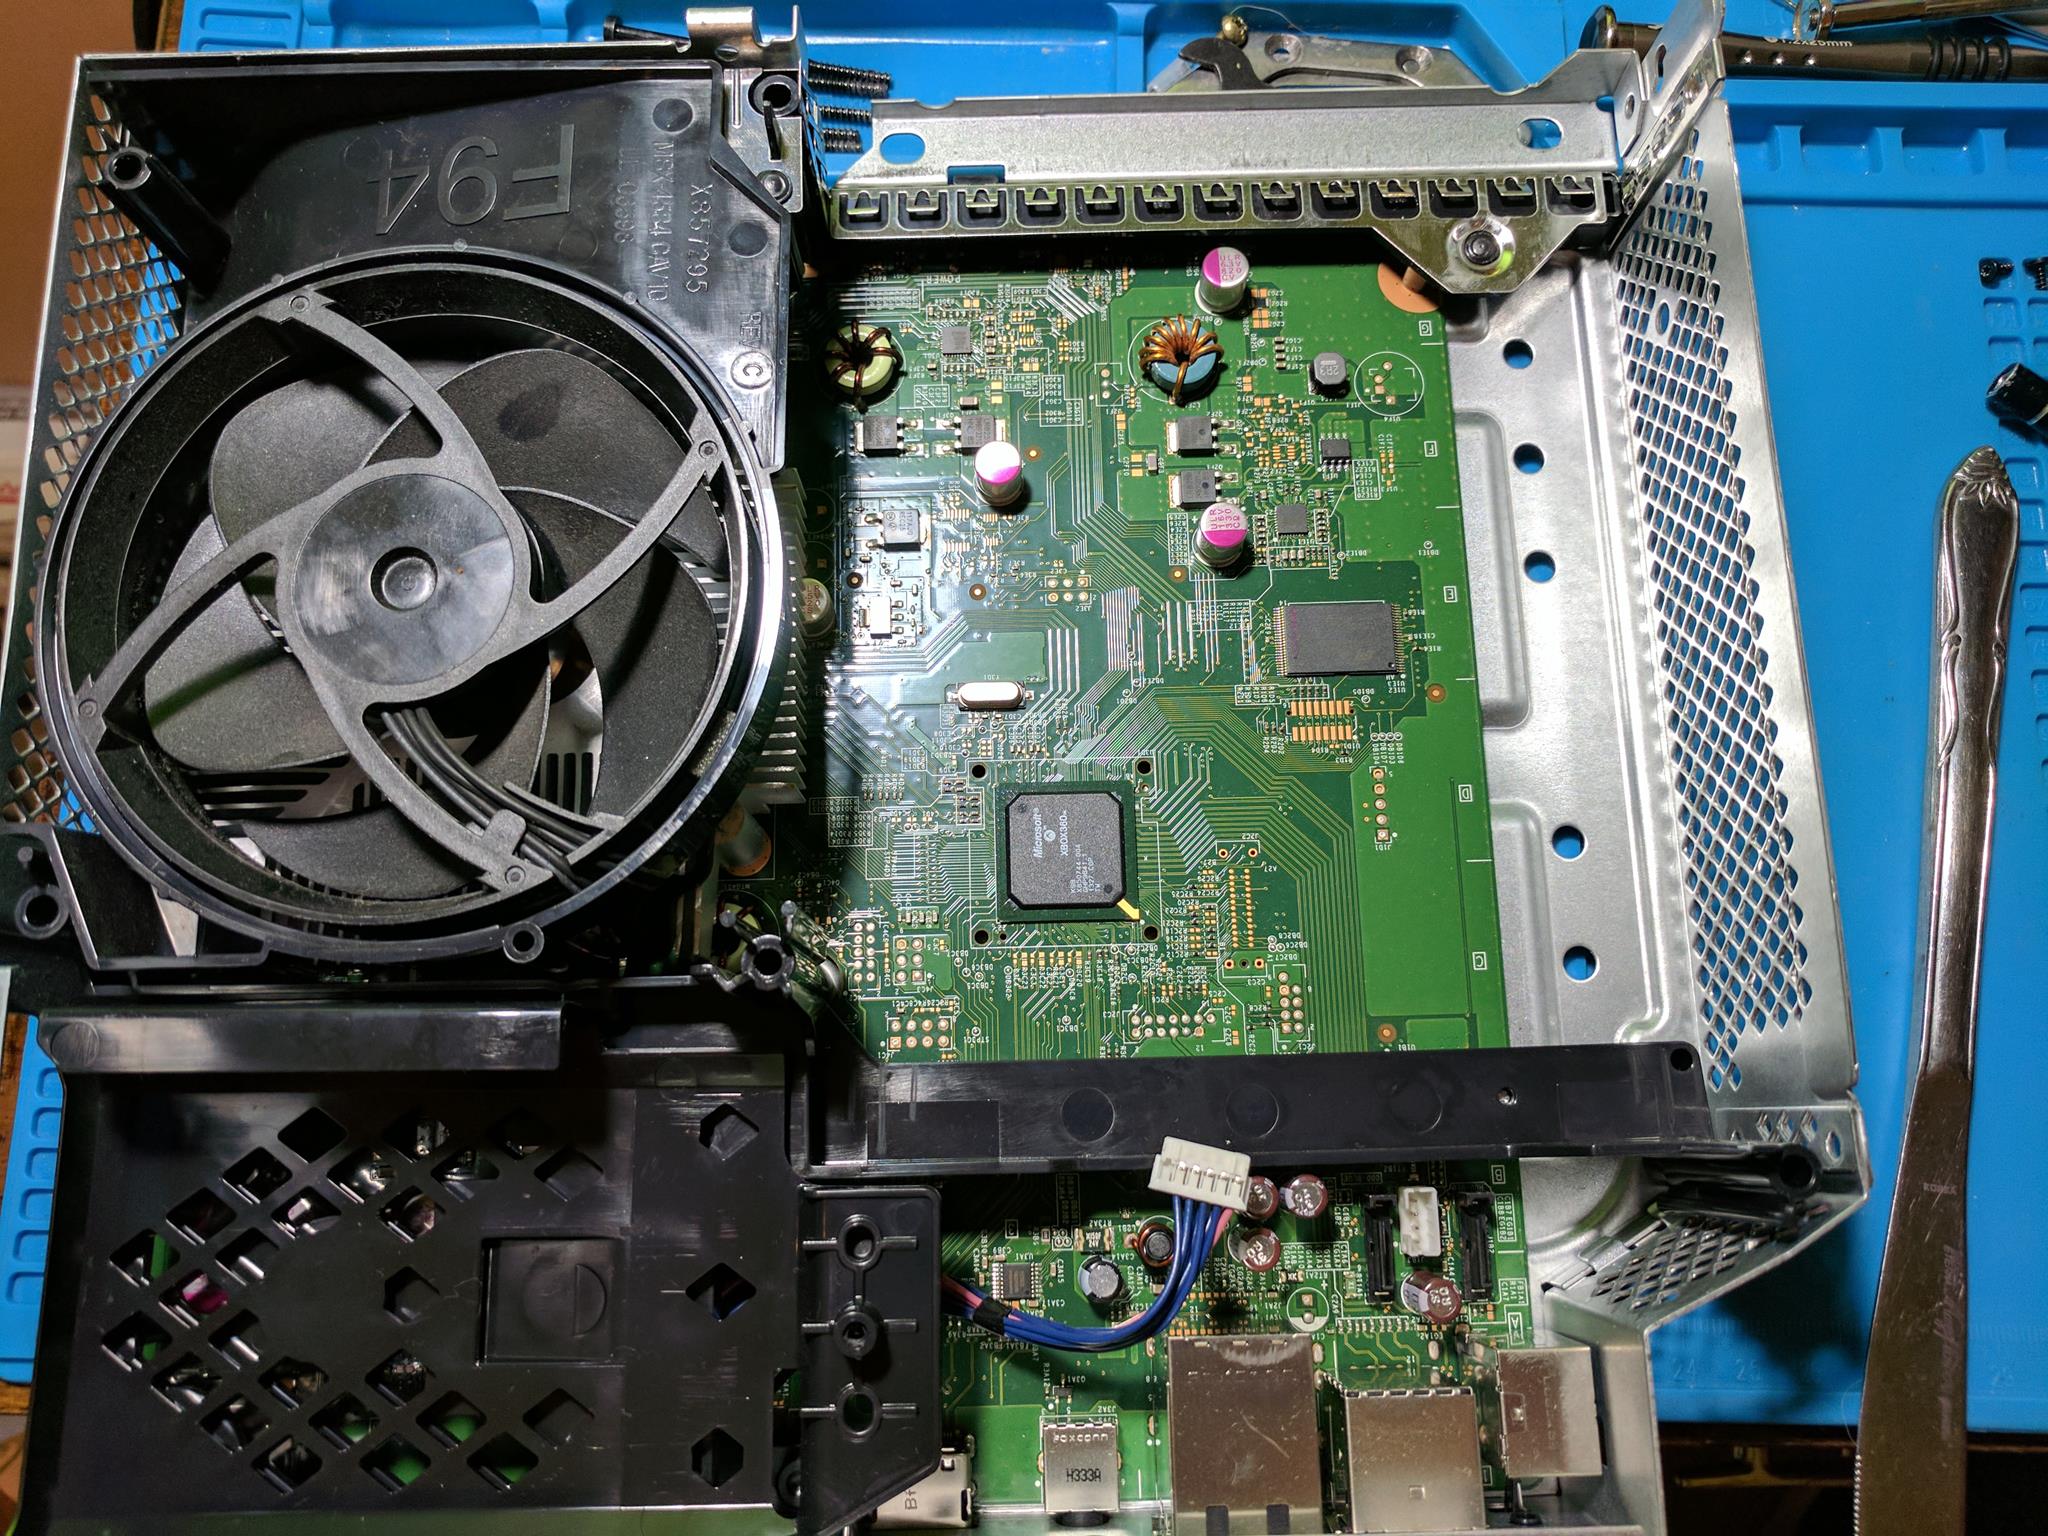
With the cables removed you should be able to lift the disc drive out of the console to reveal more of the motherboard.
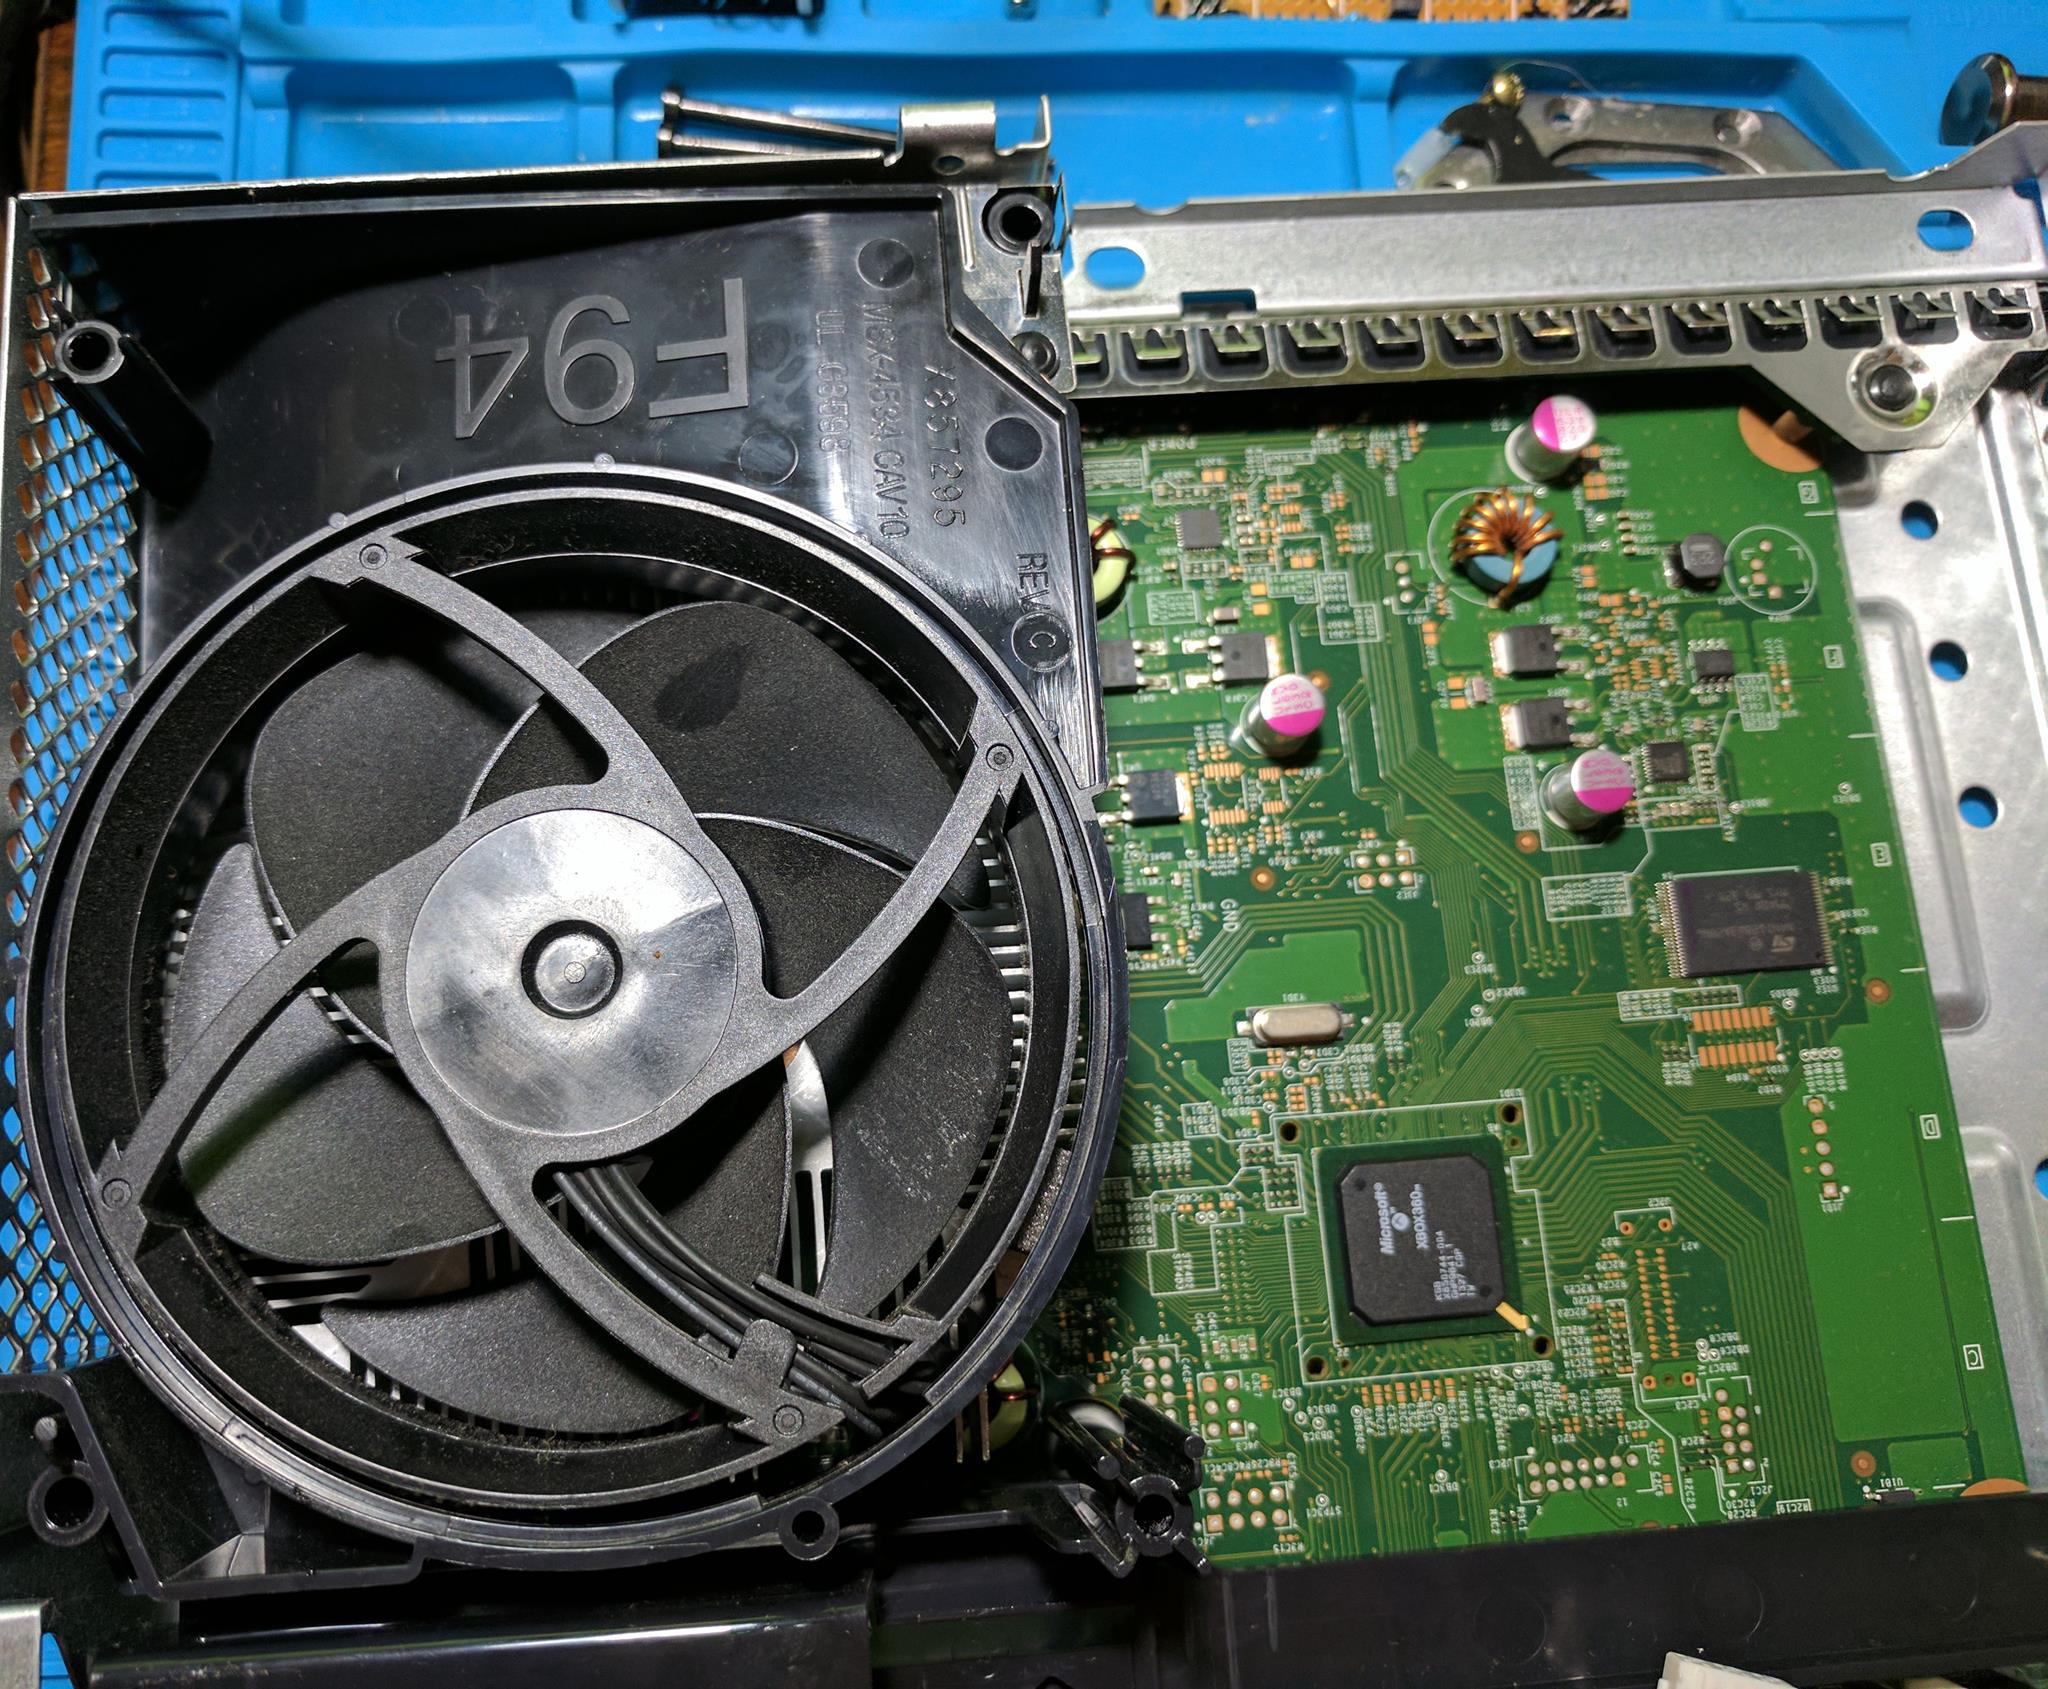
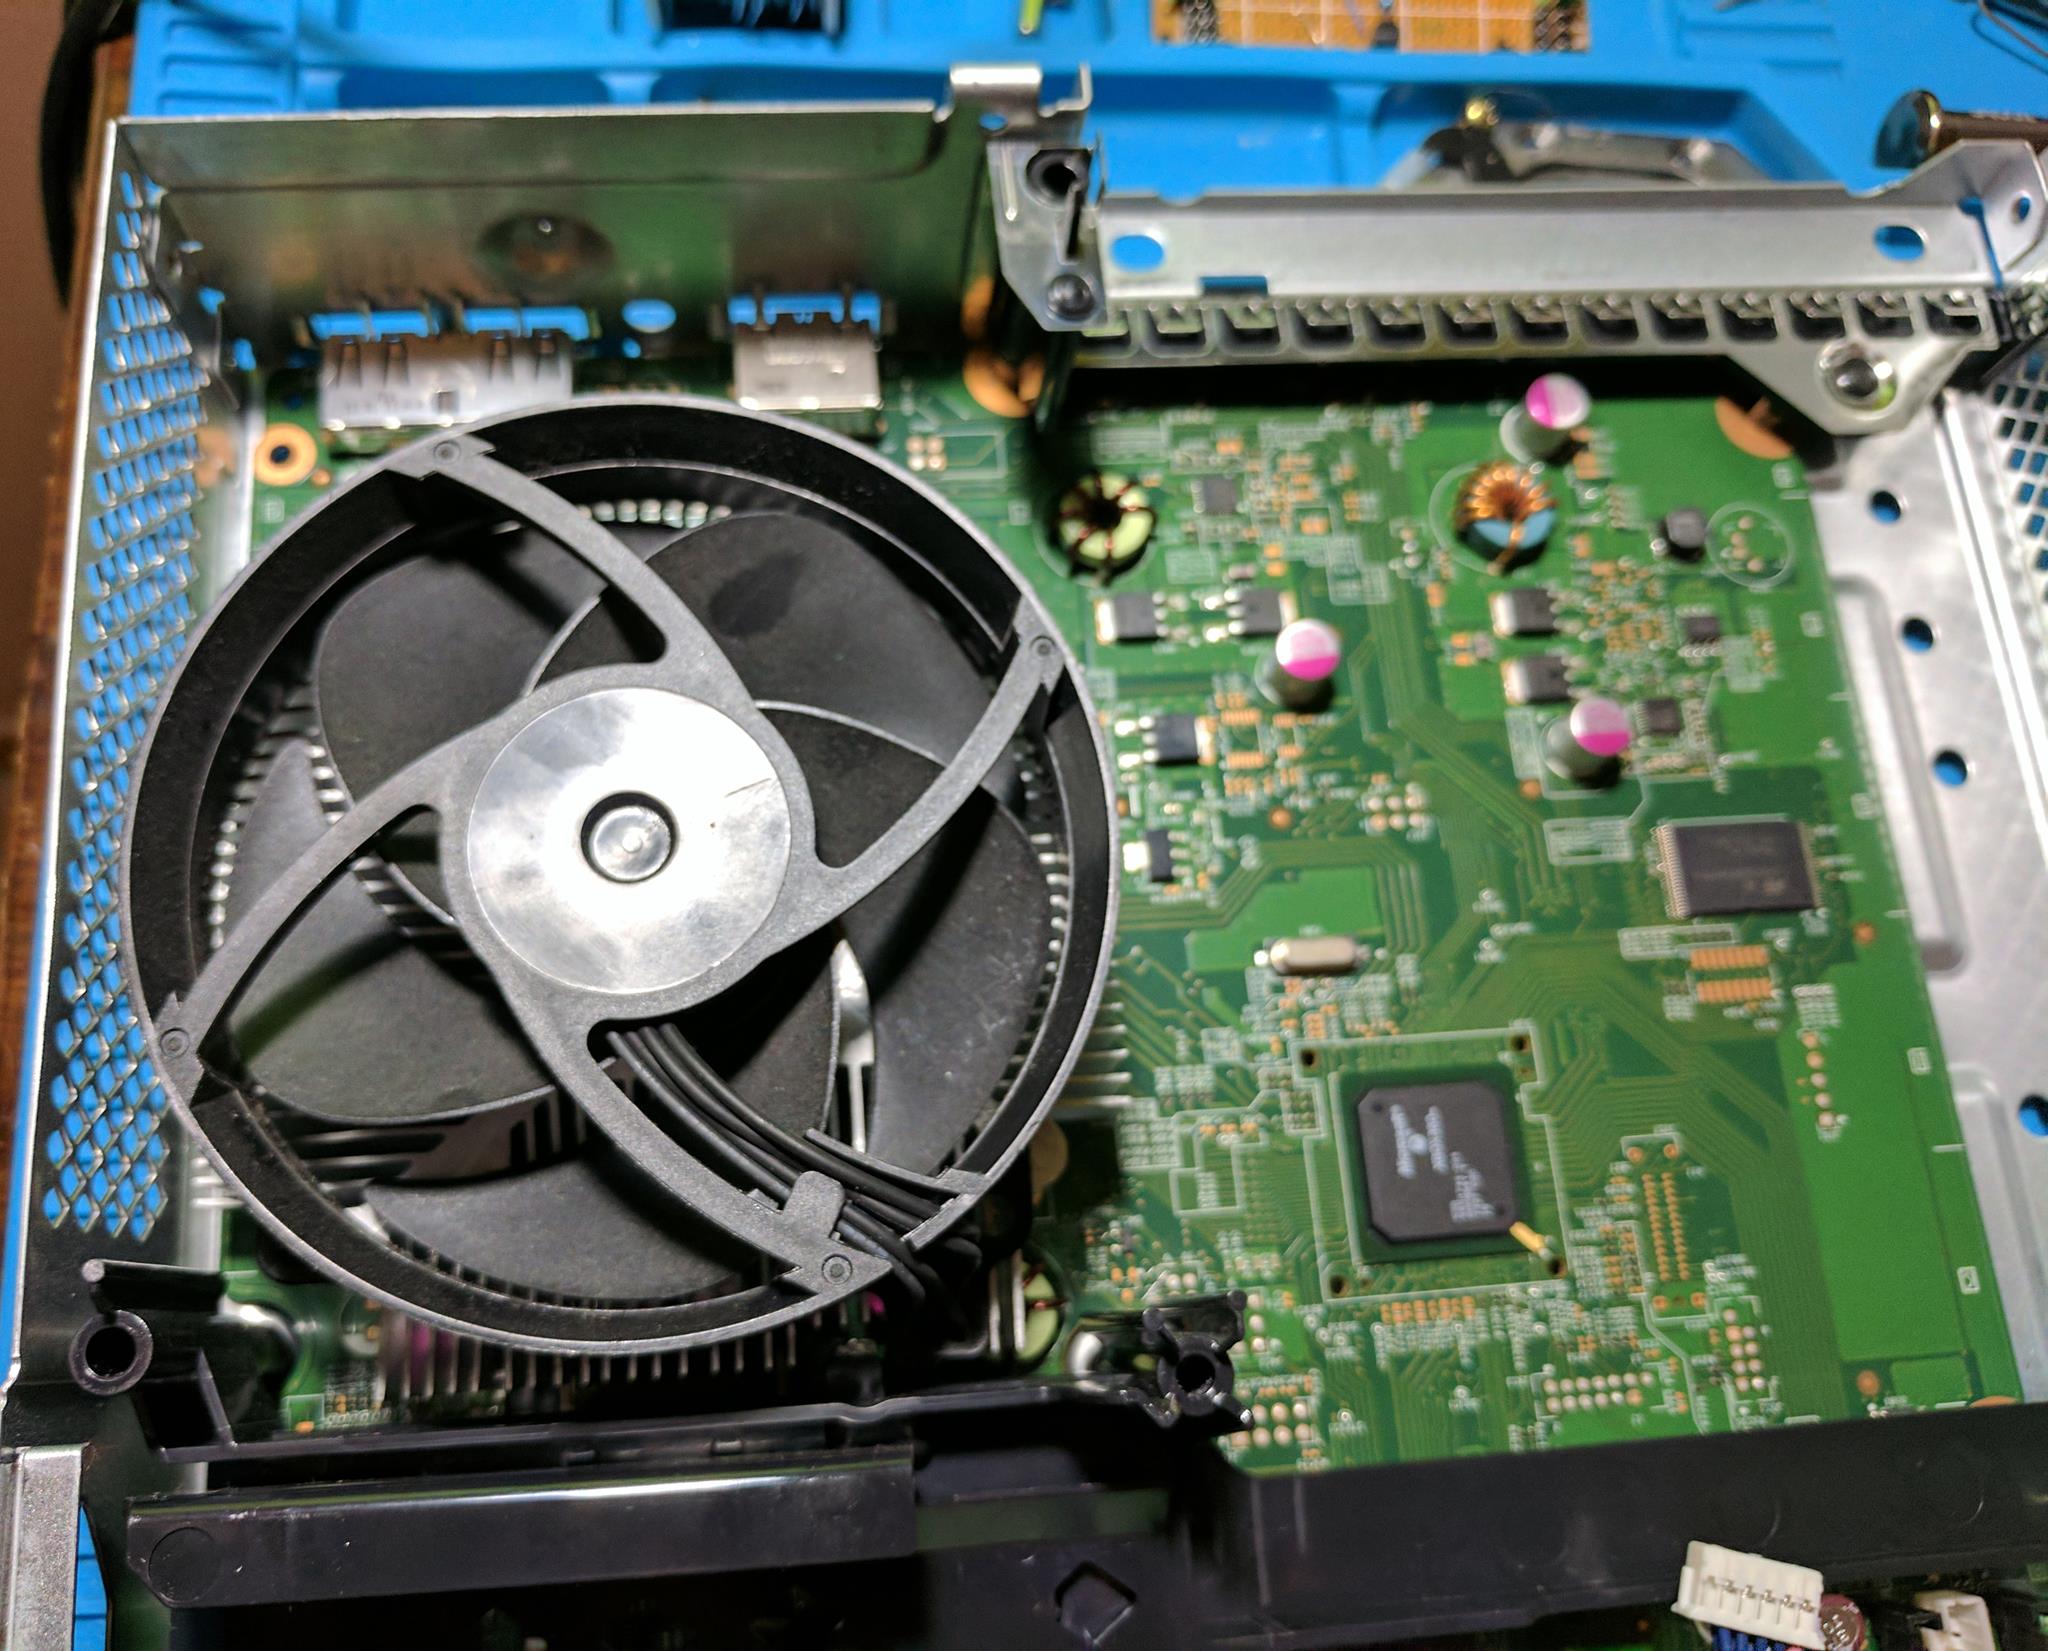
Step 10 – Fan shroud removal
There is a large plastic shroud around the fan that can be lifted out of place. There aren’t any screws holding it in place.
Step 11 – Hard drive tray removal
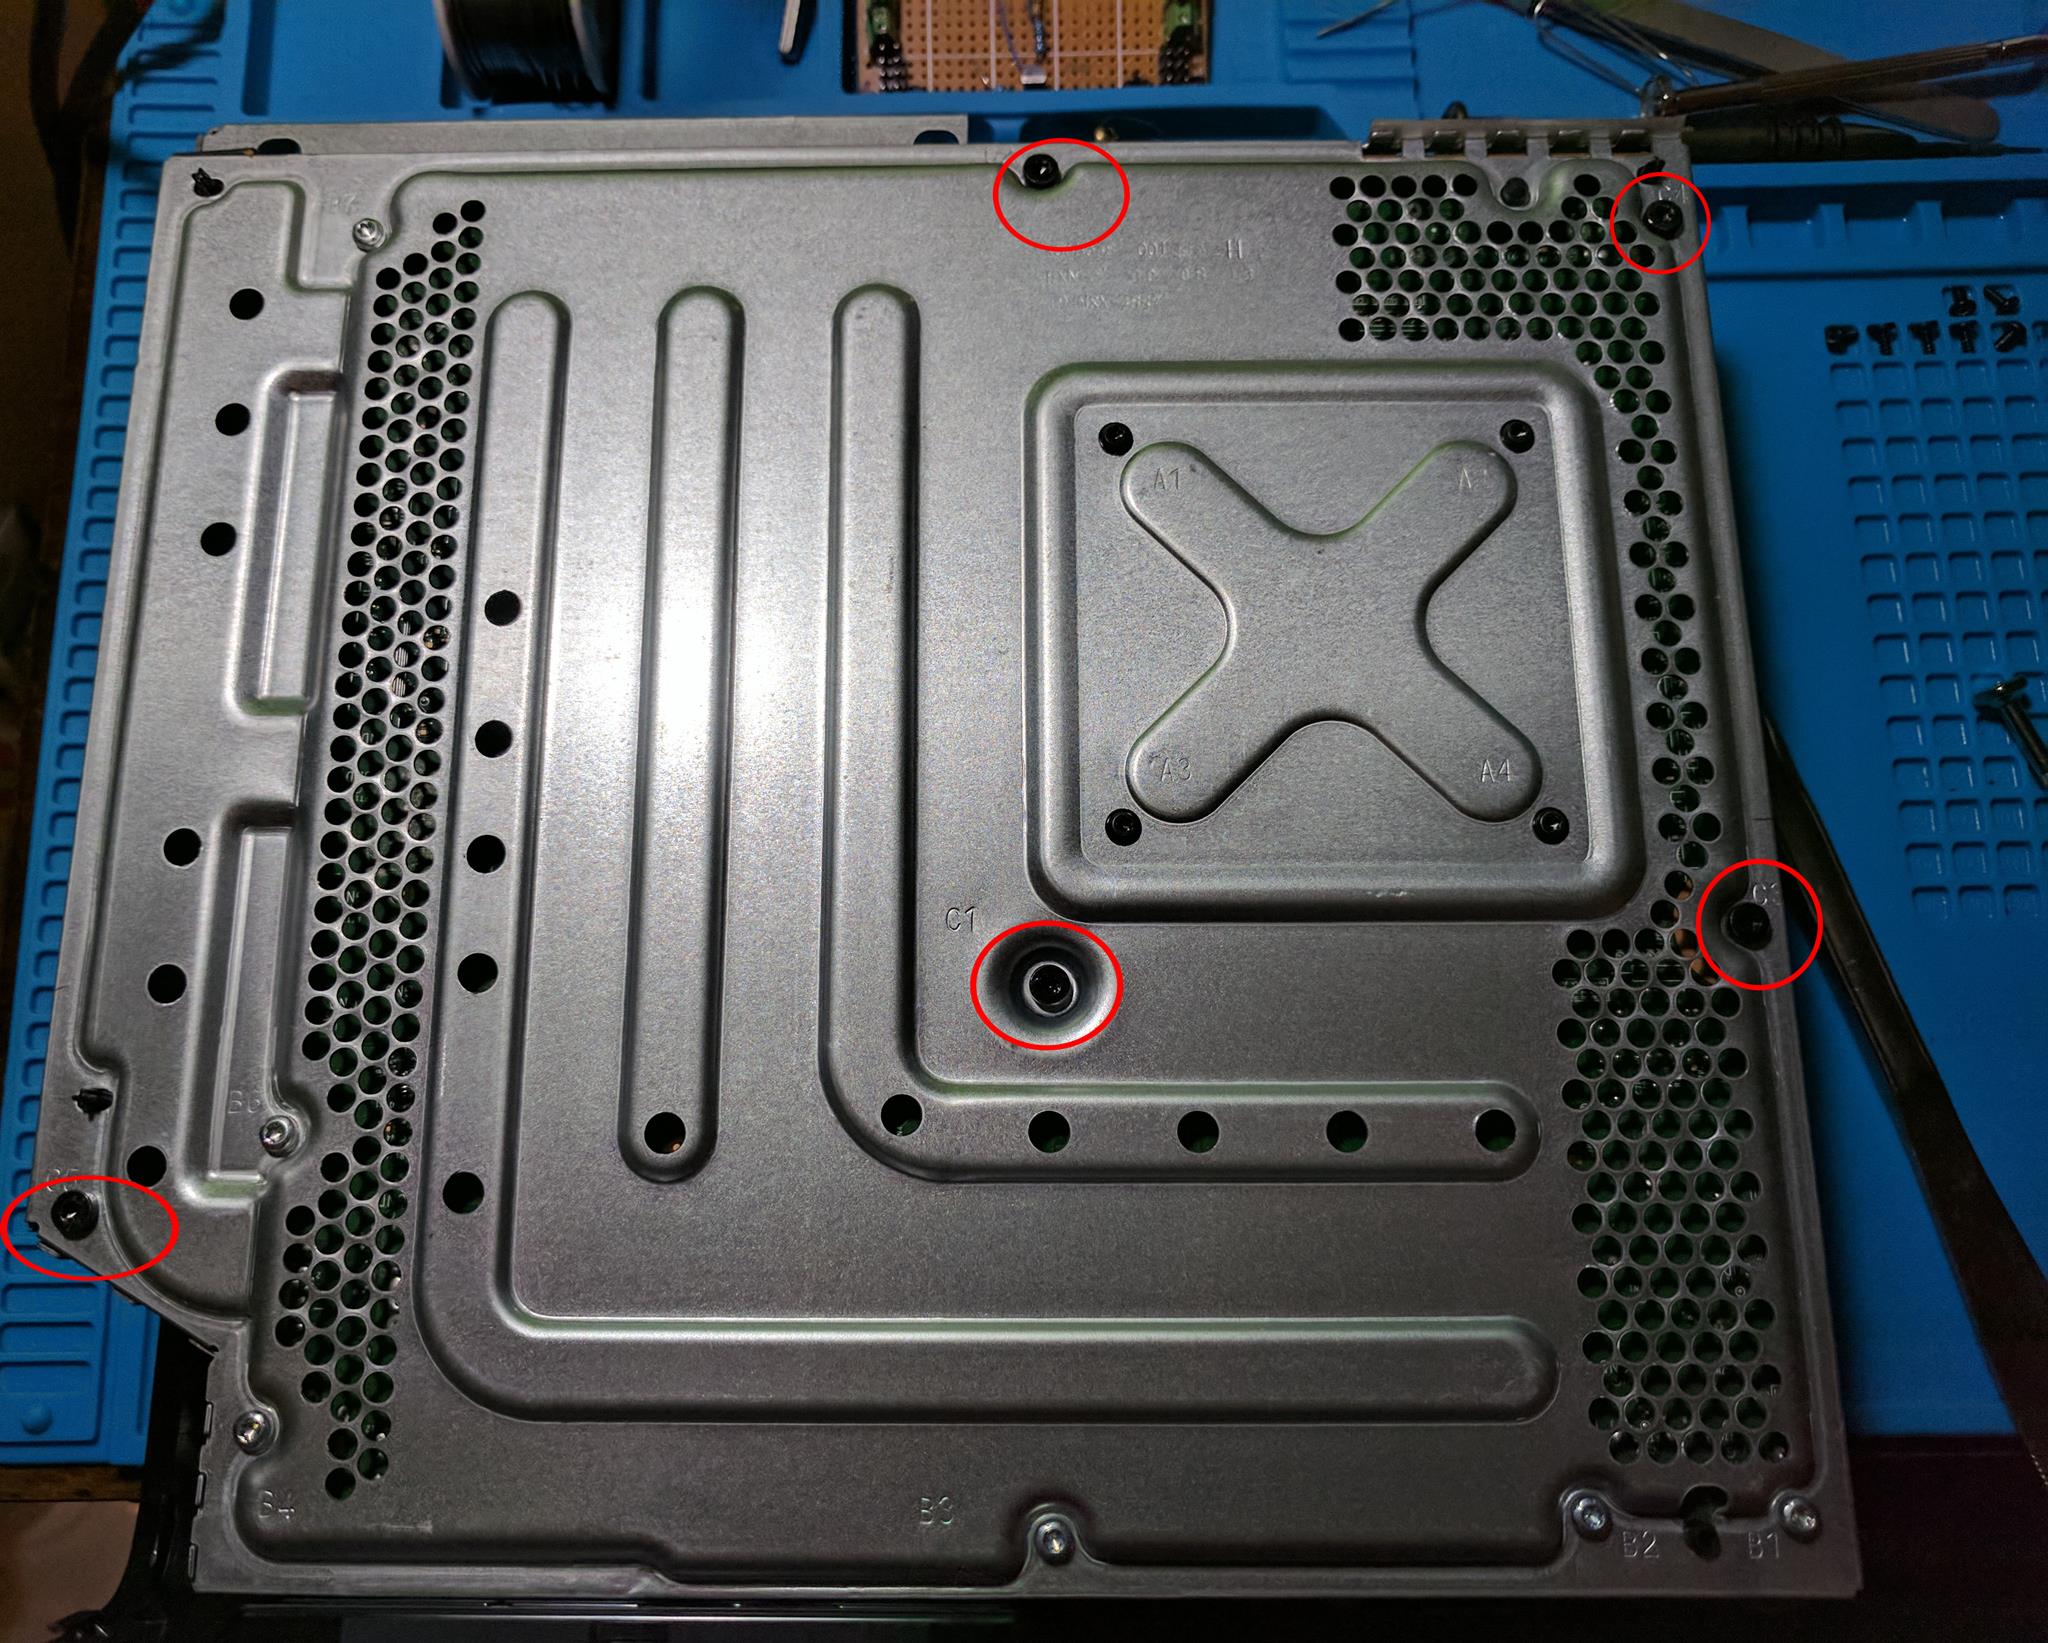
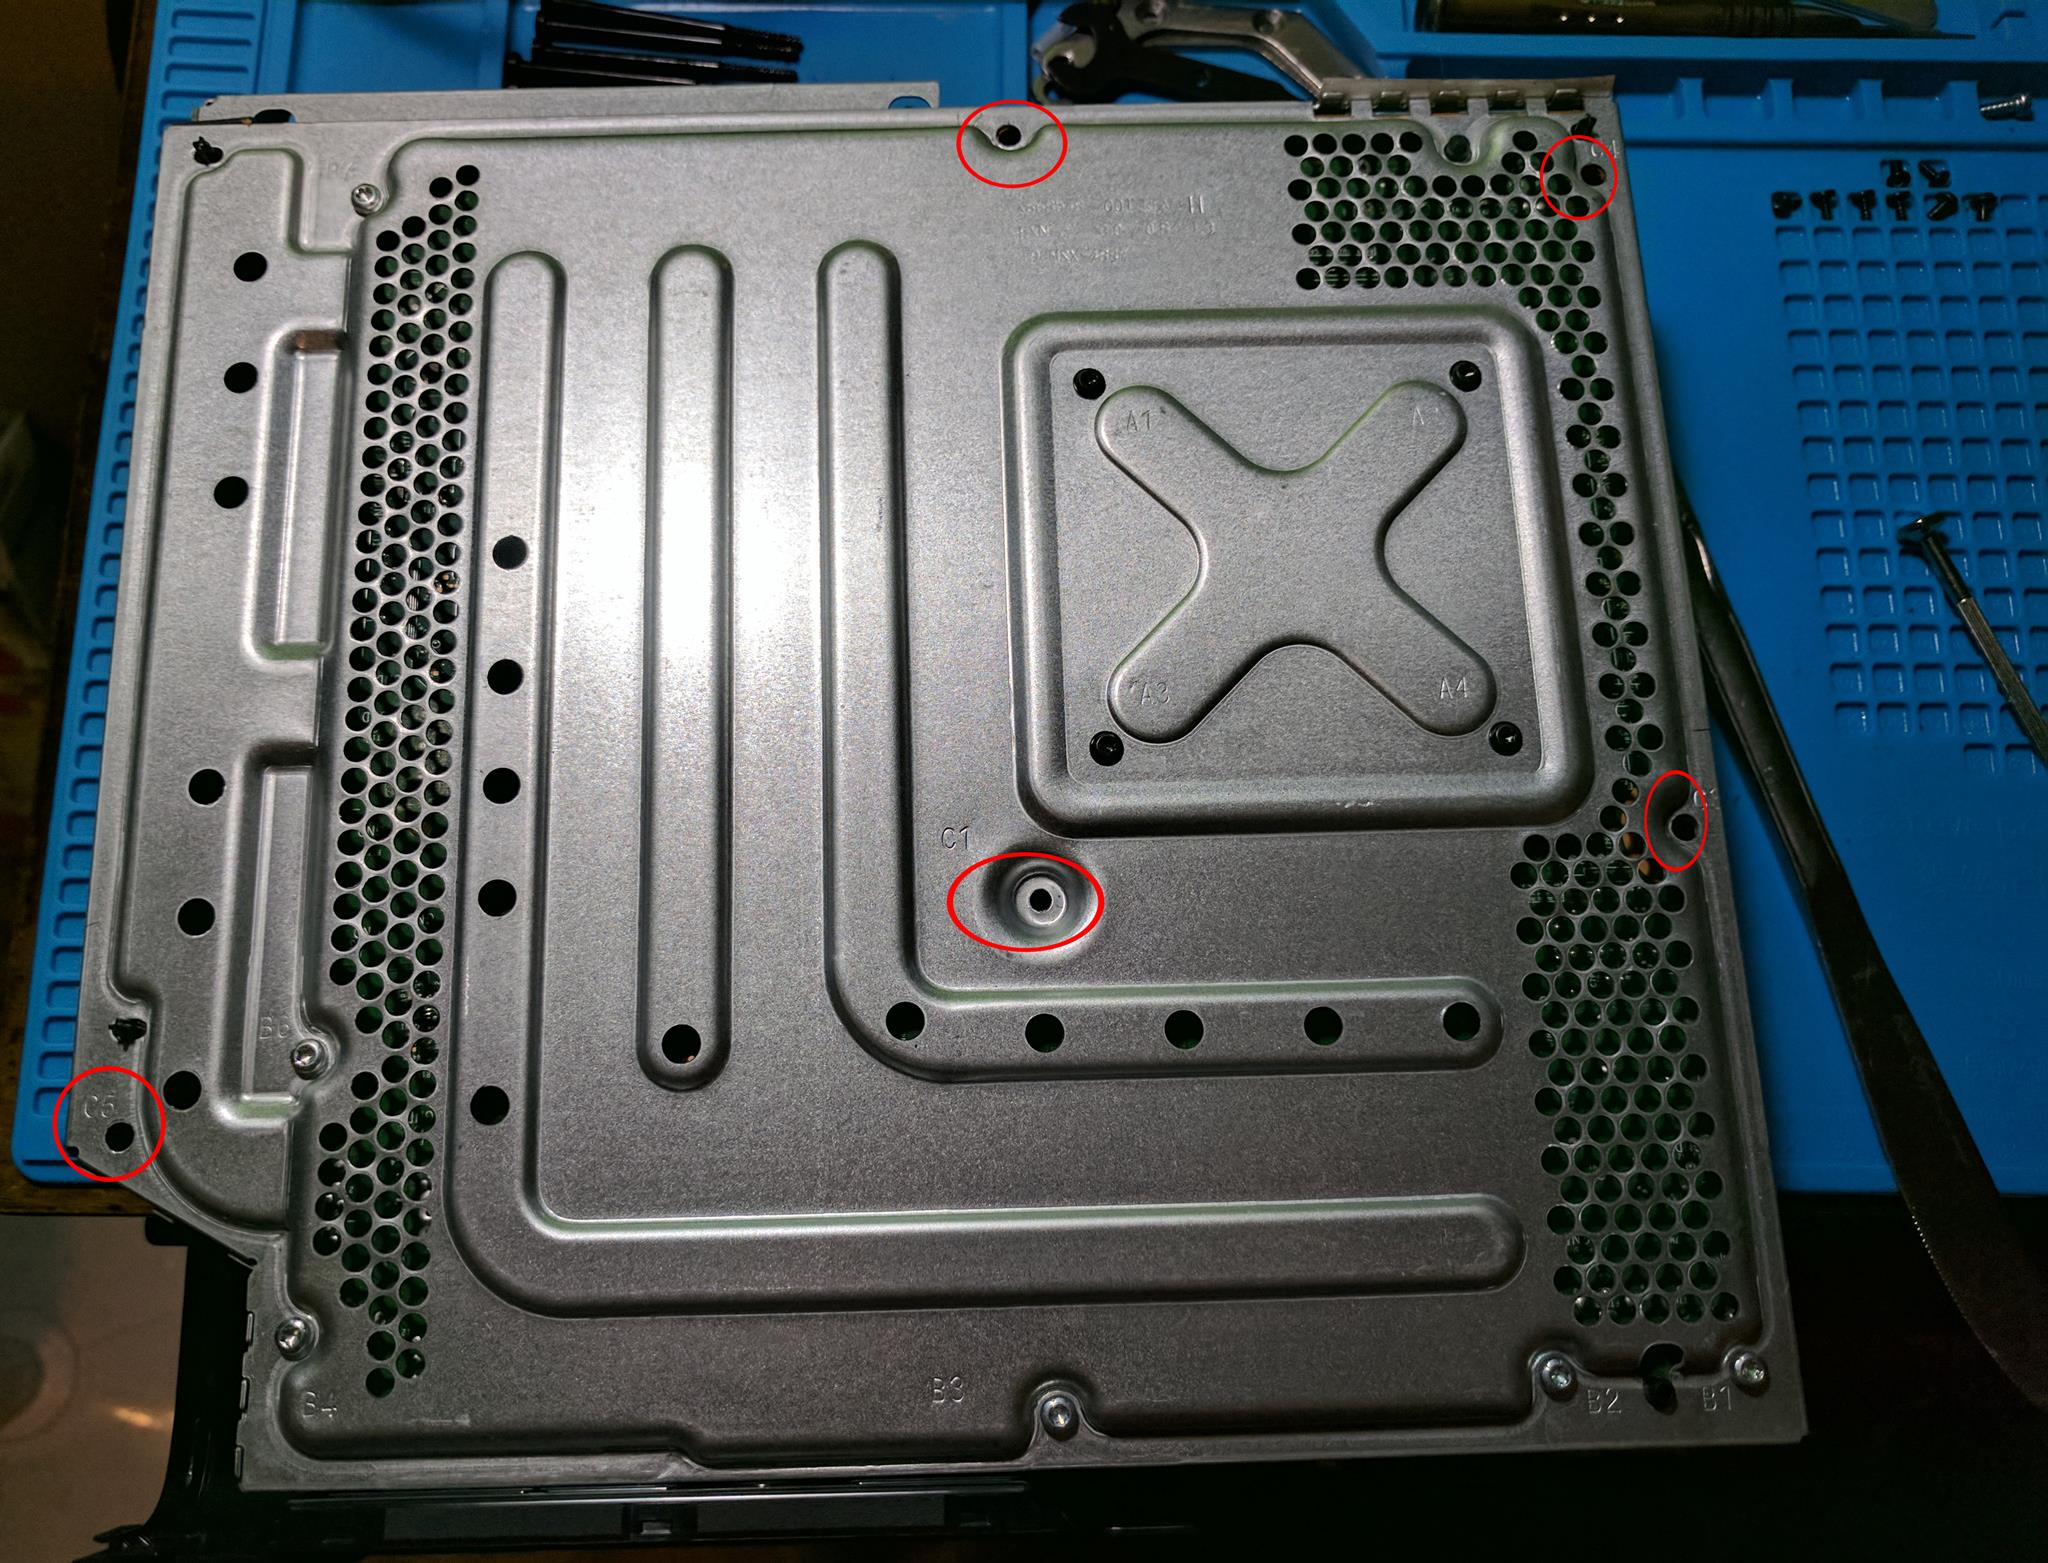
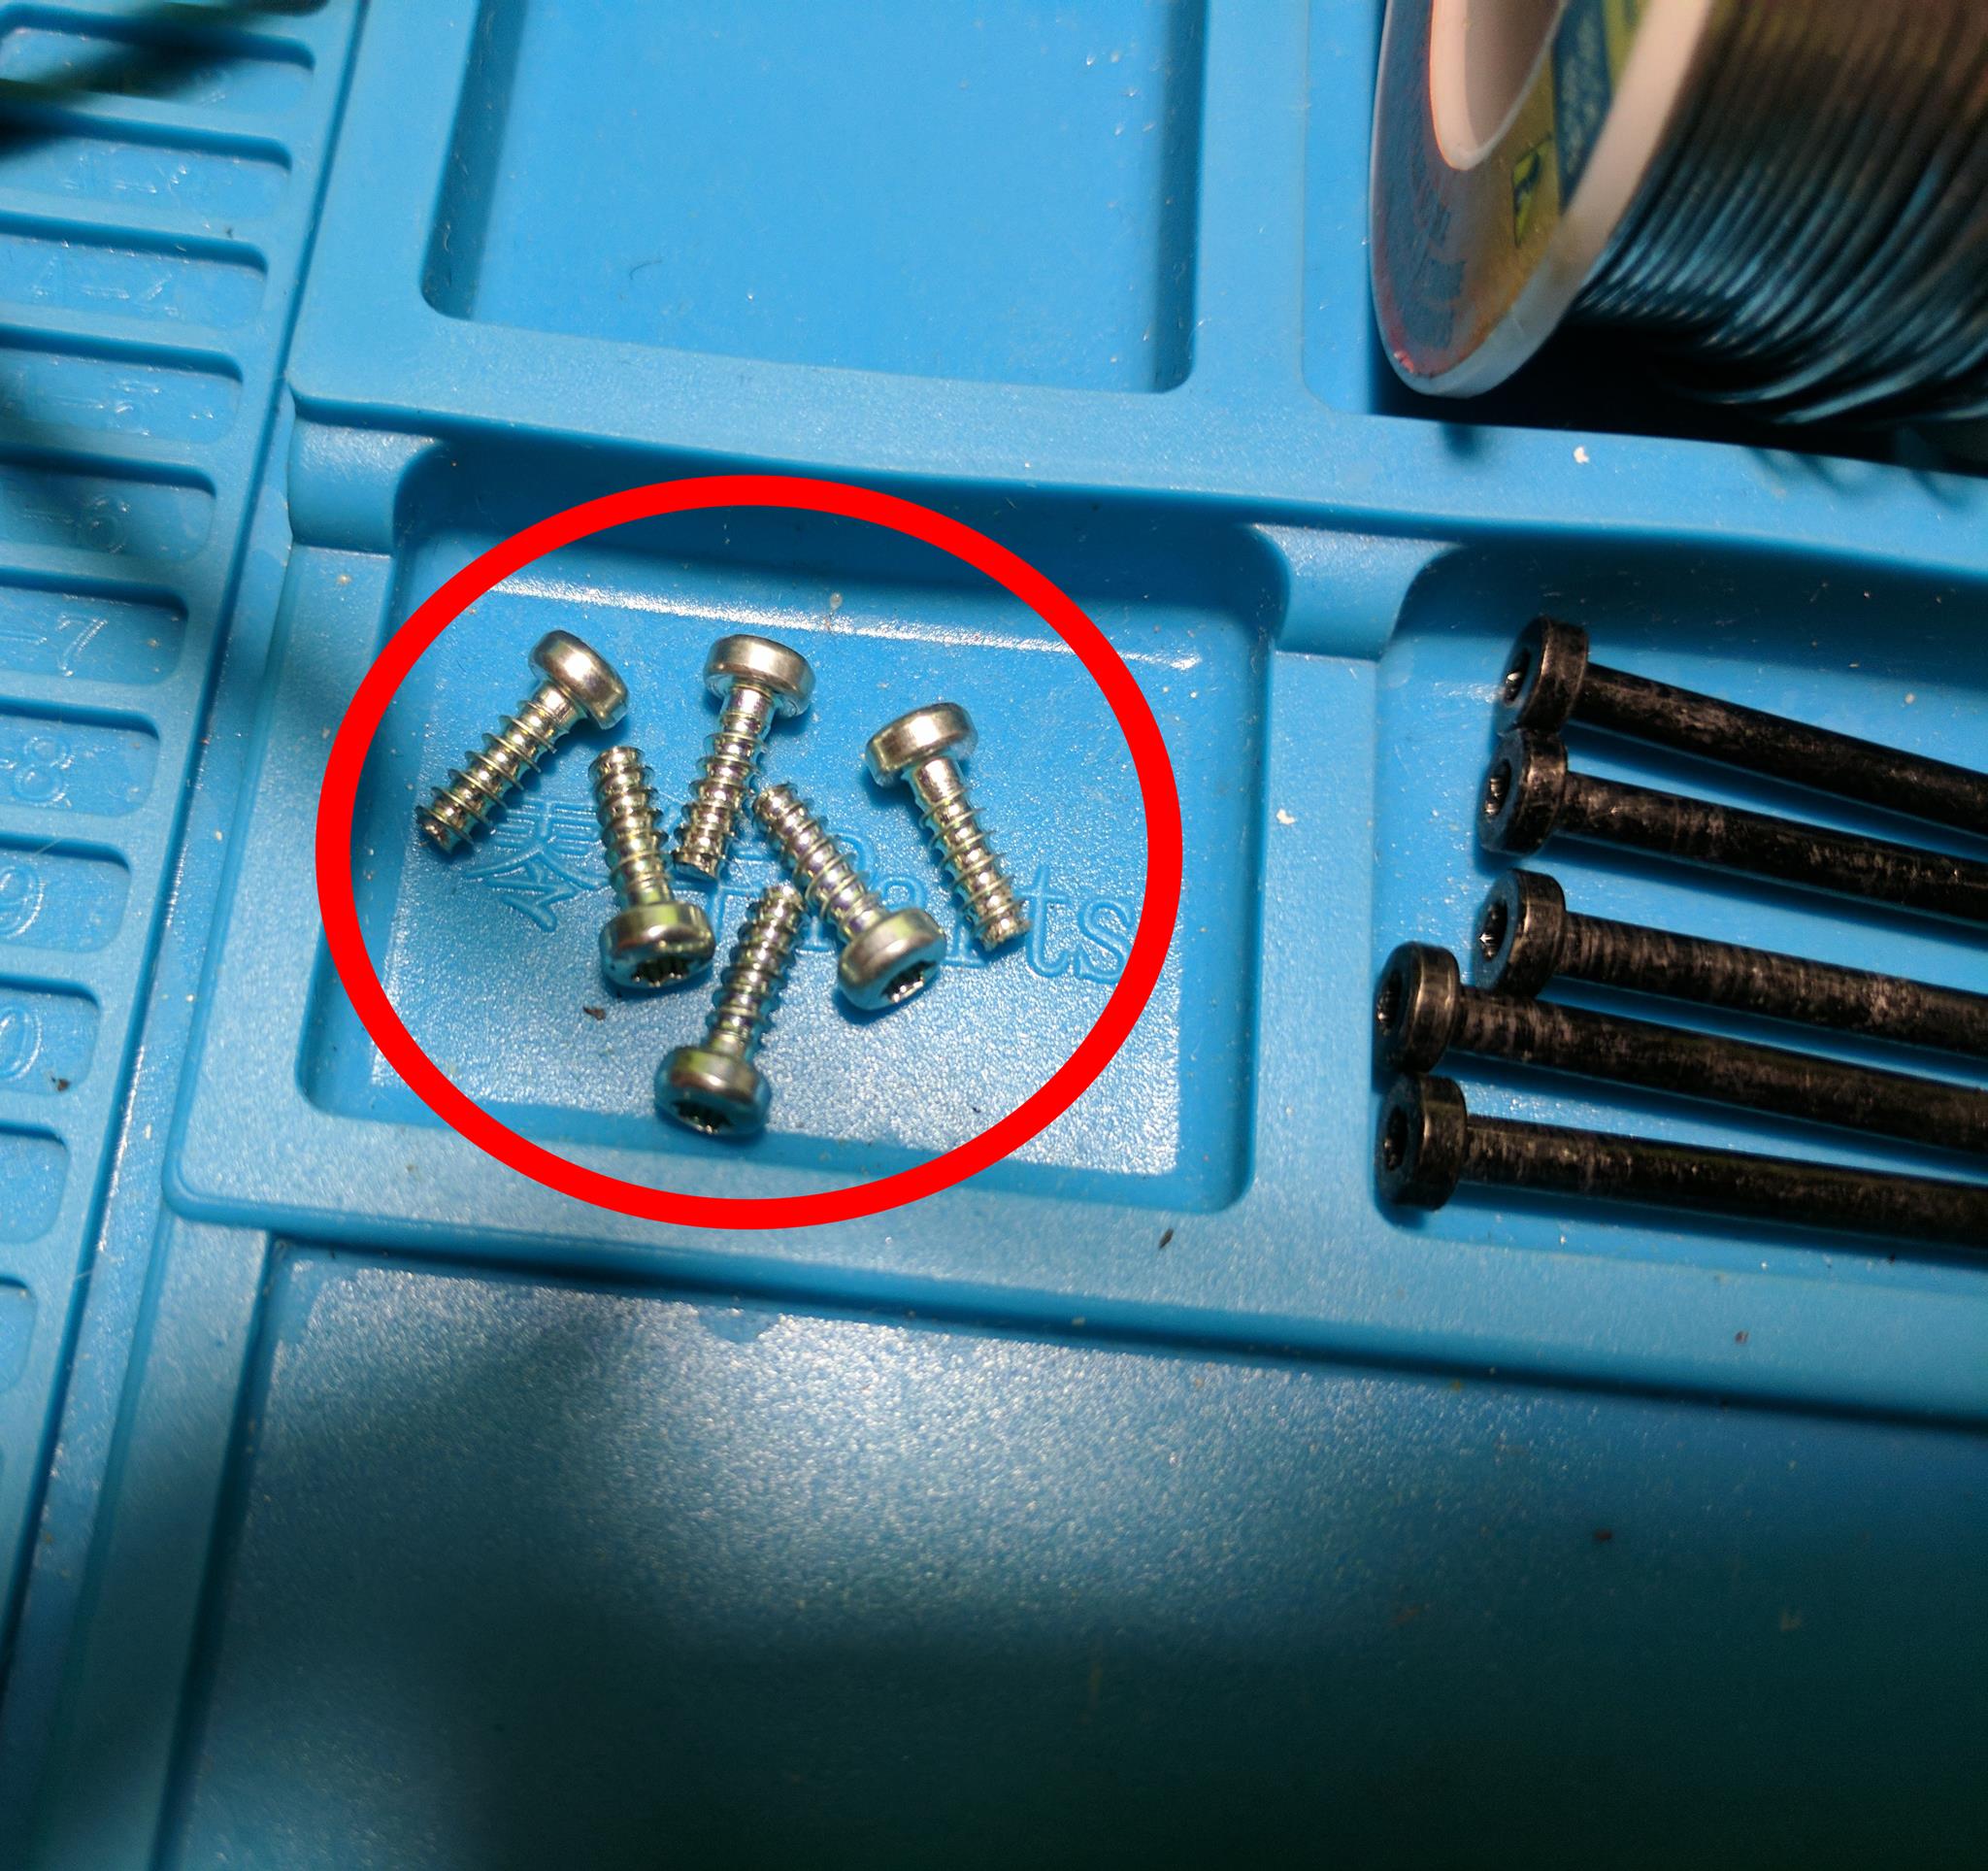
There are six shorter screws on the bottom of the metal housing that hold many of the components into place.
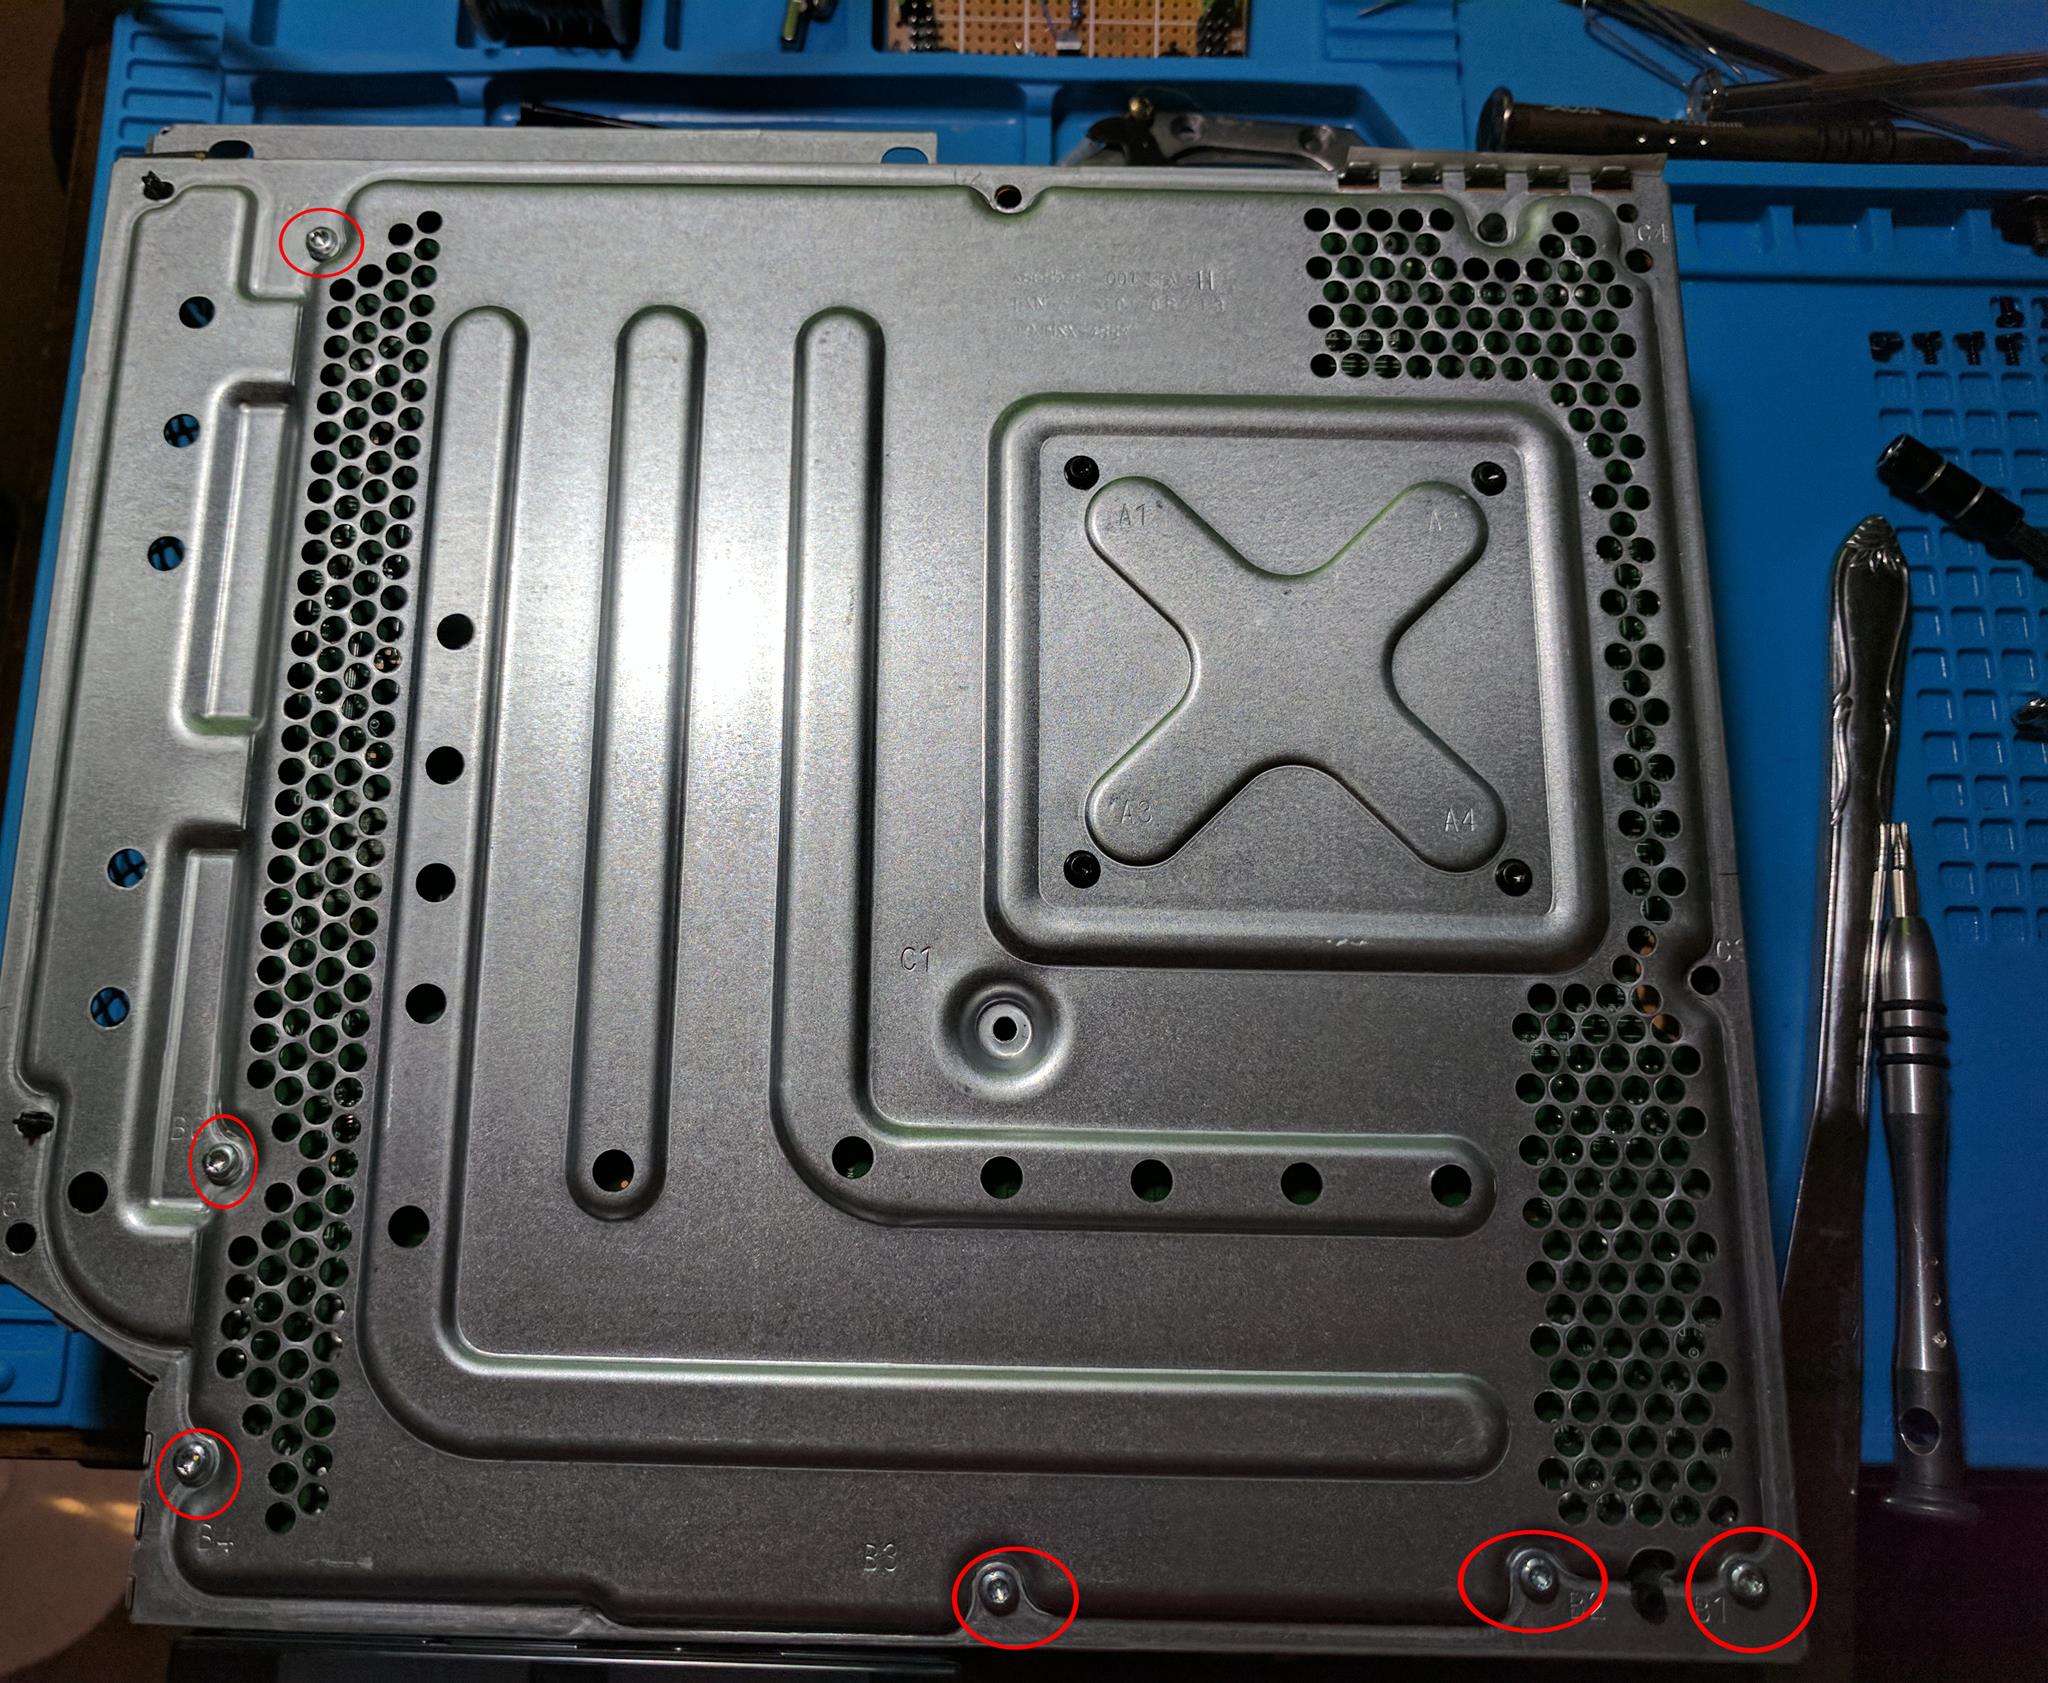
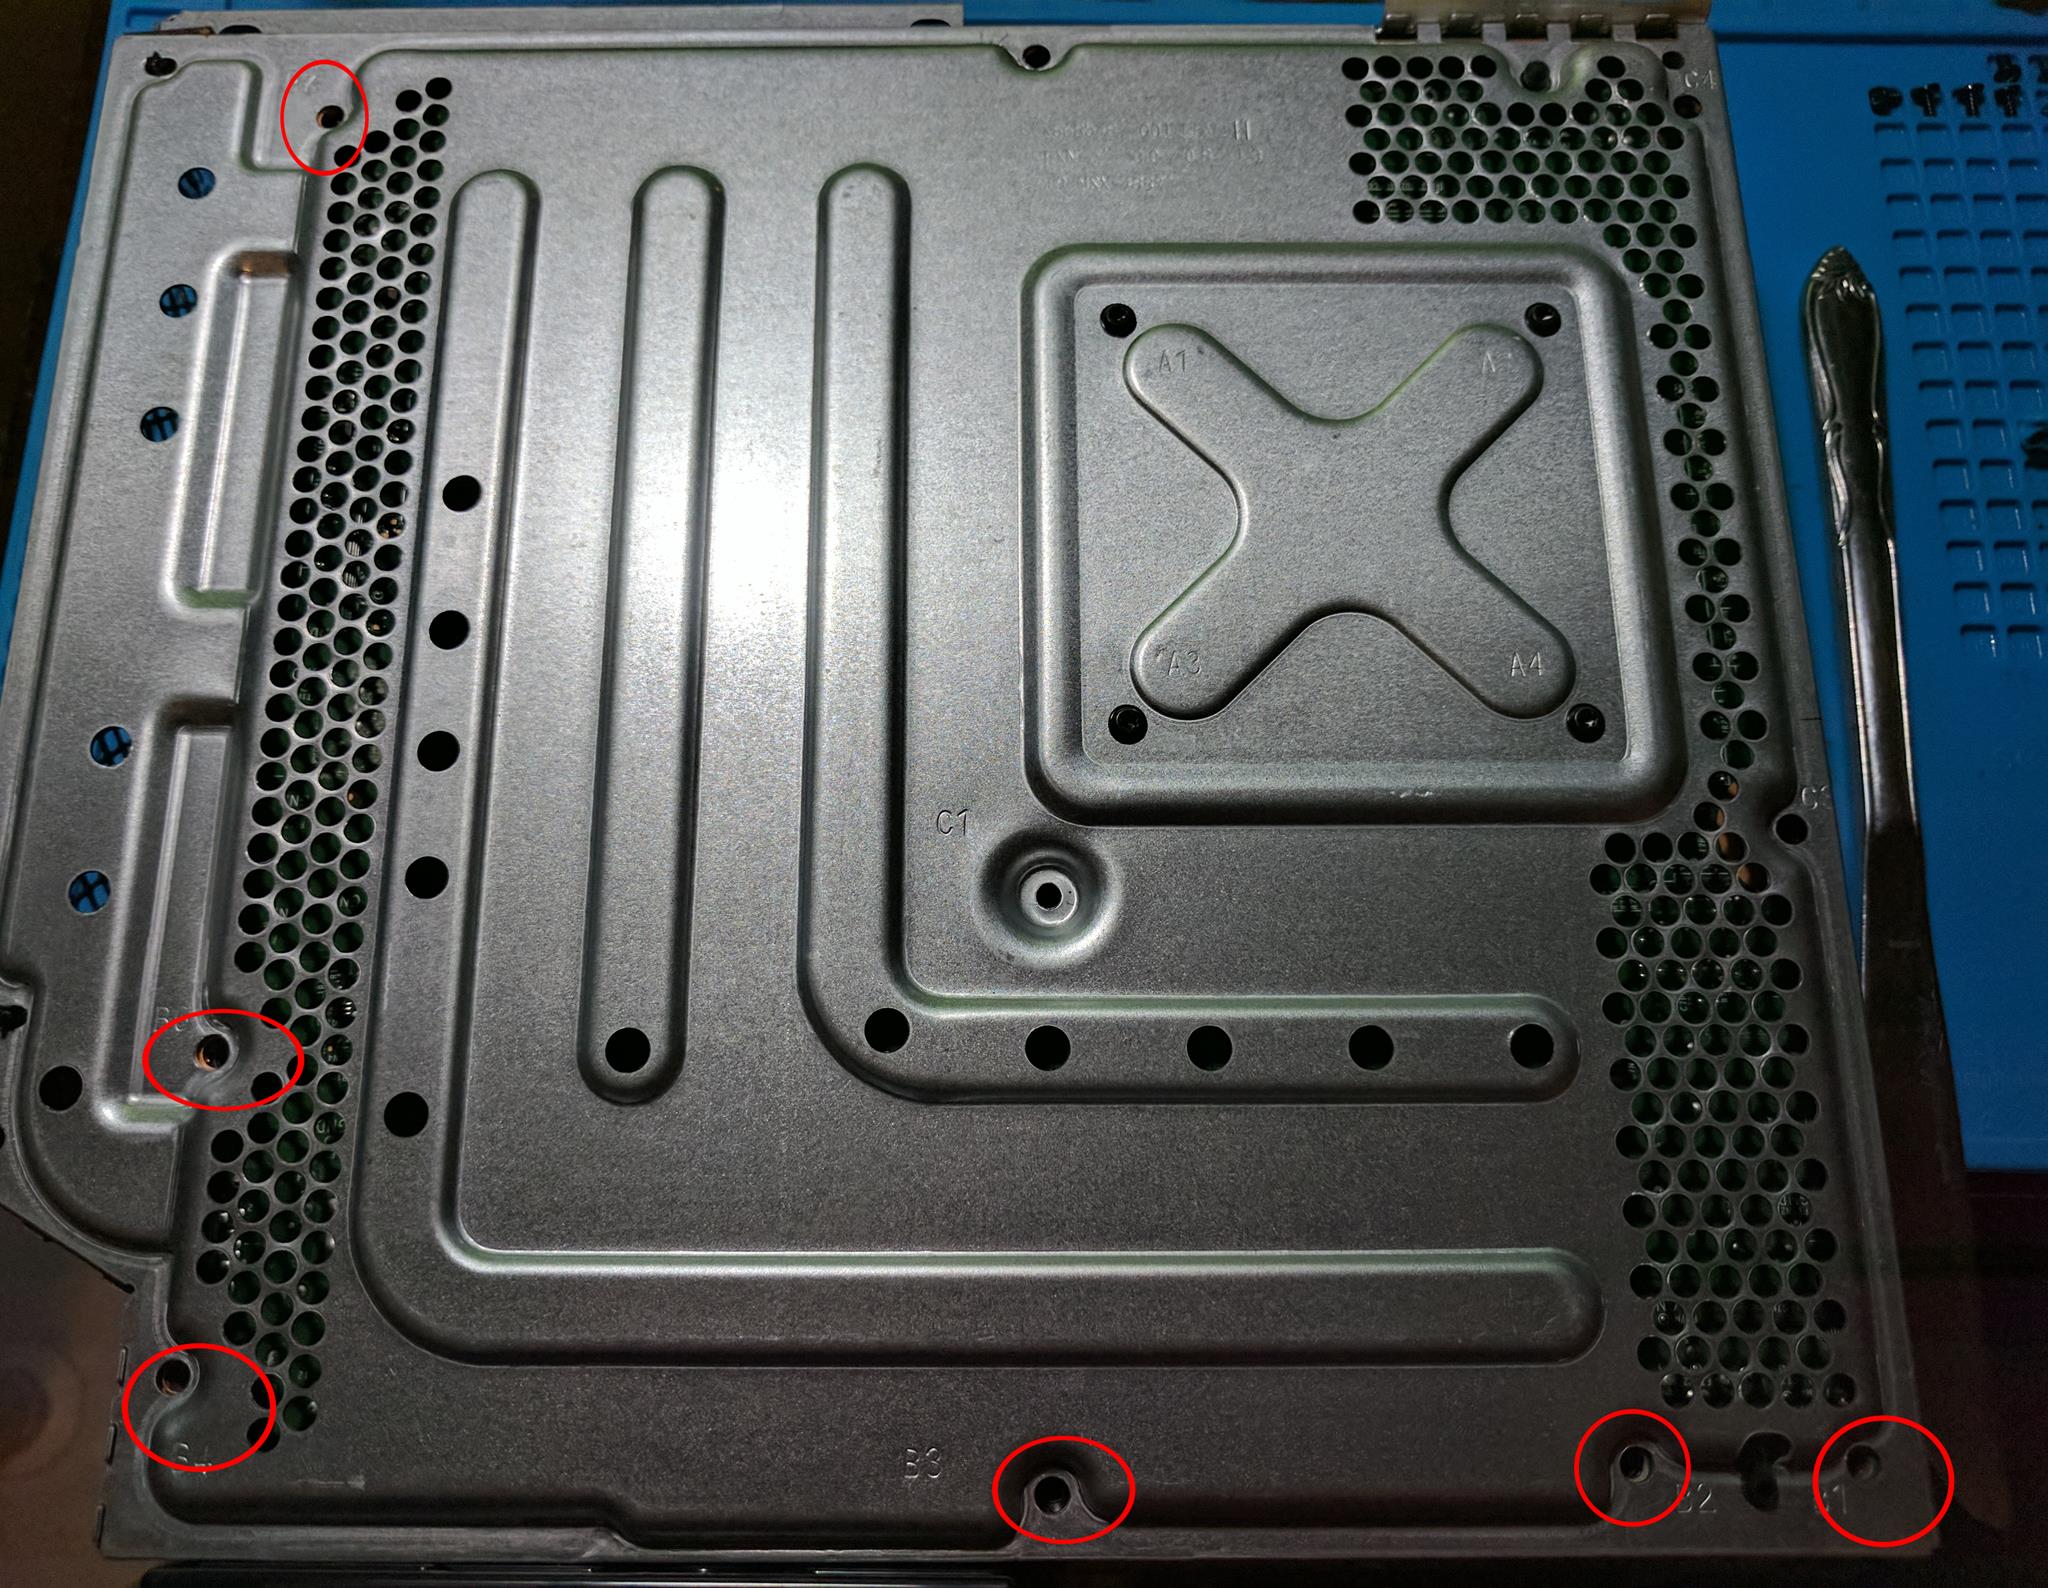
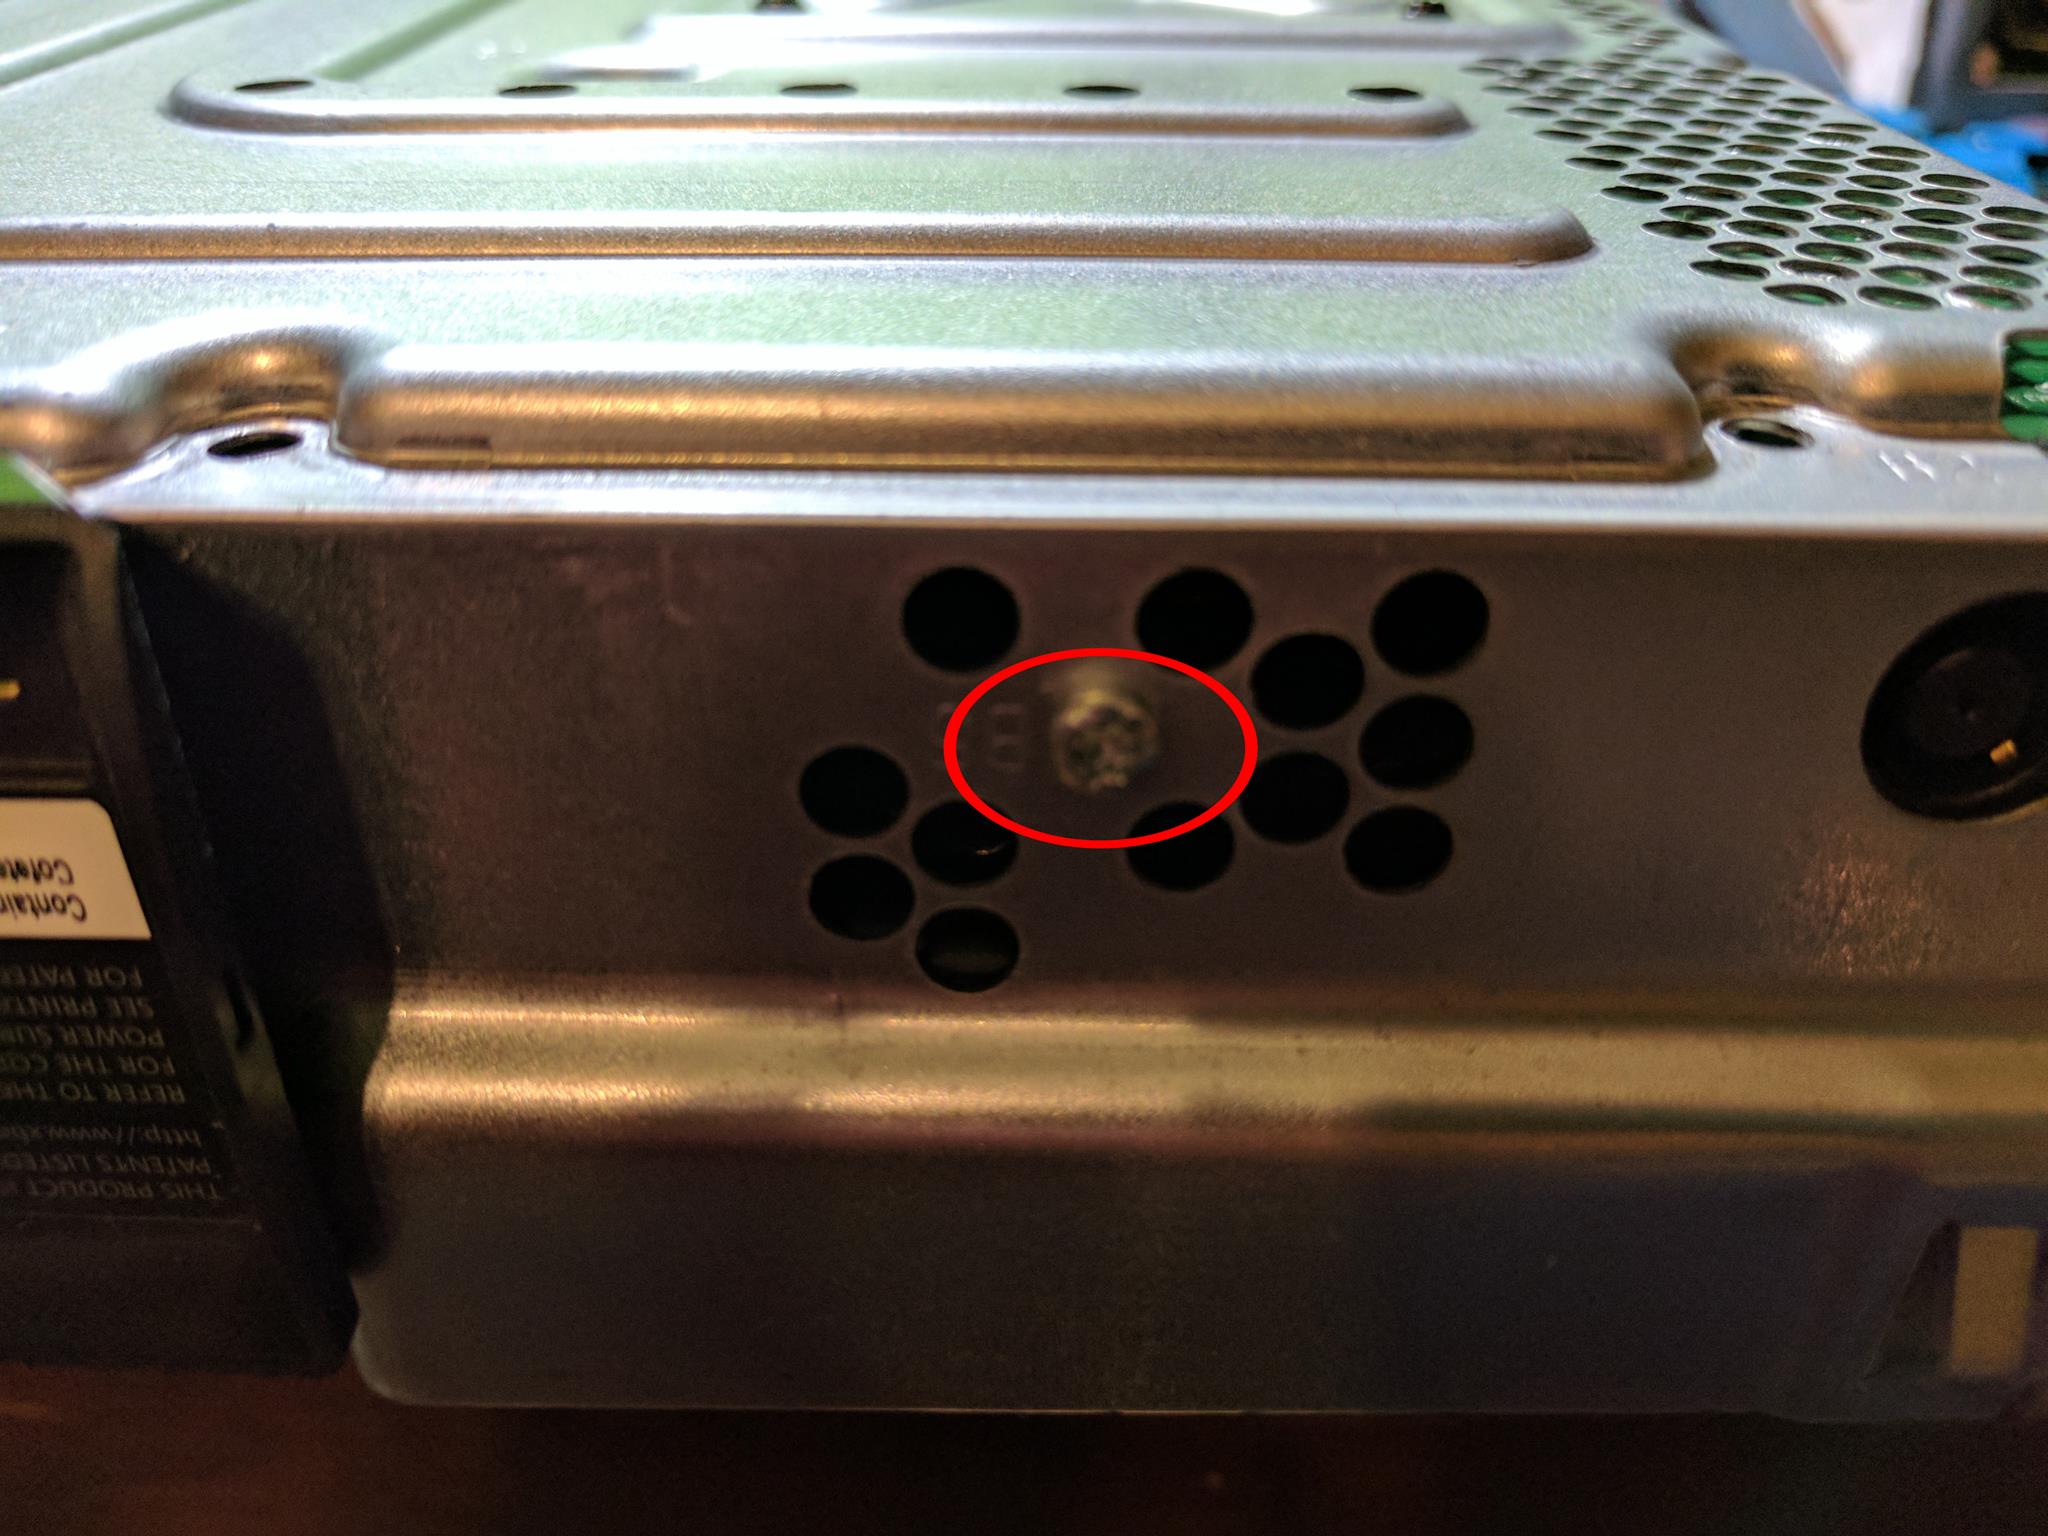
There is another screw on the side of the console that holds the drive tray into place.
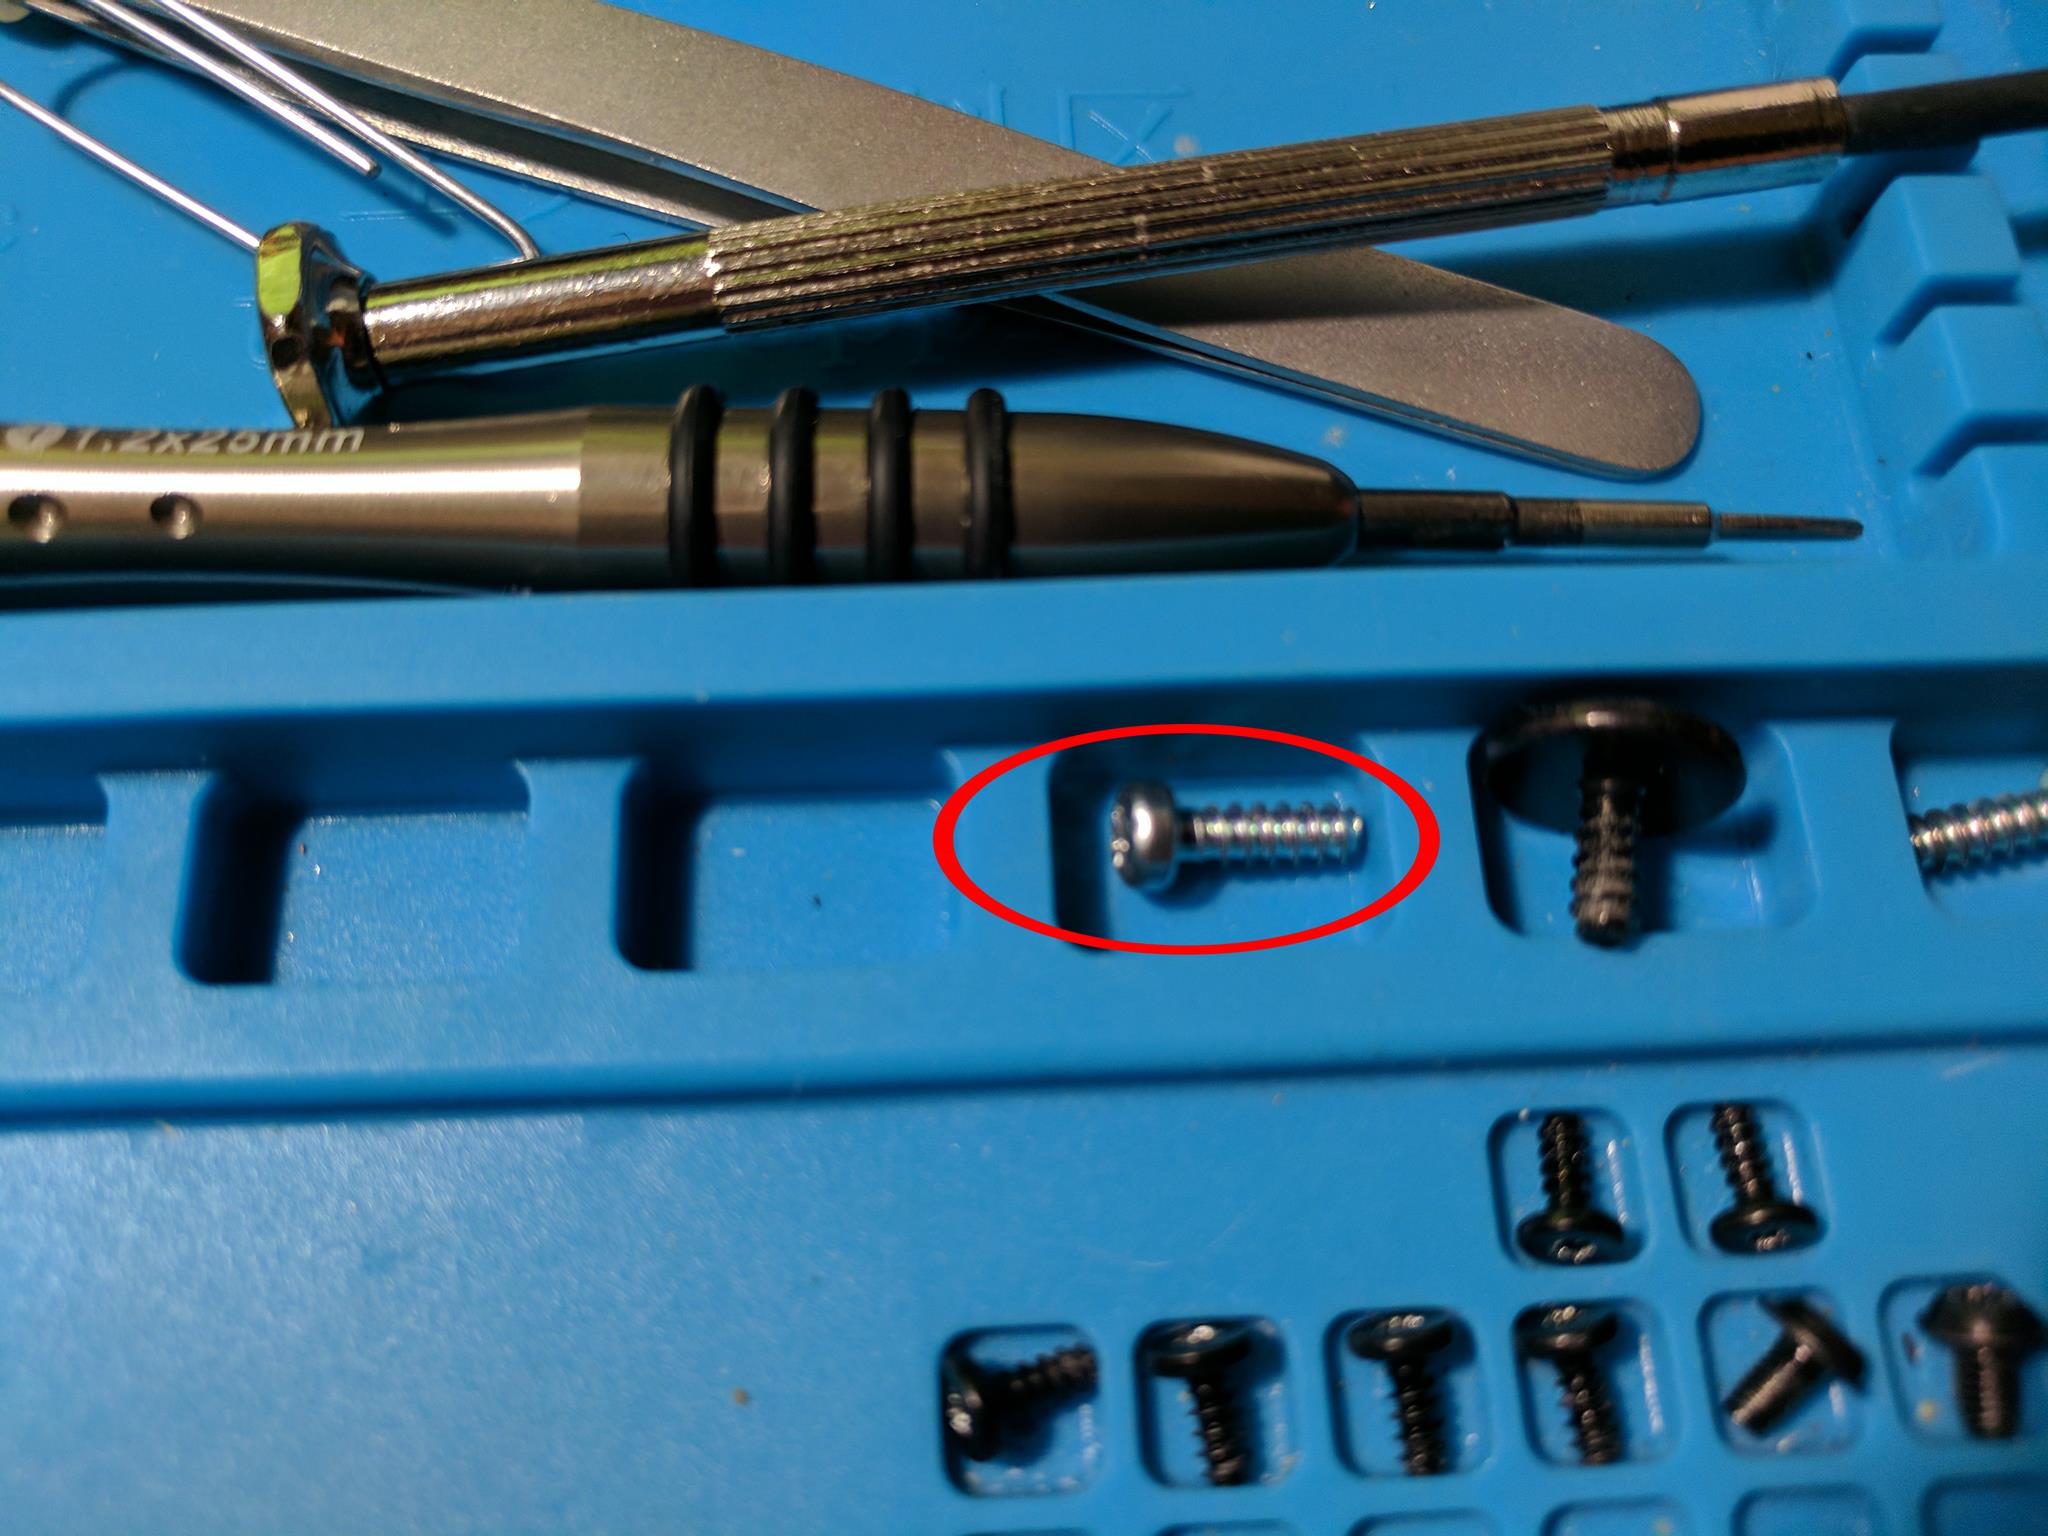
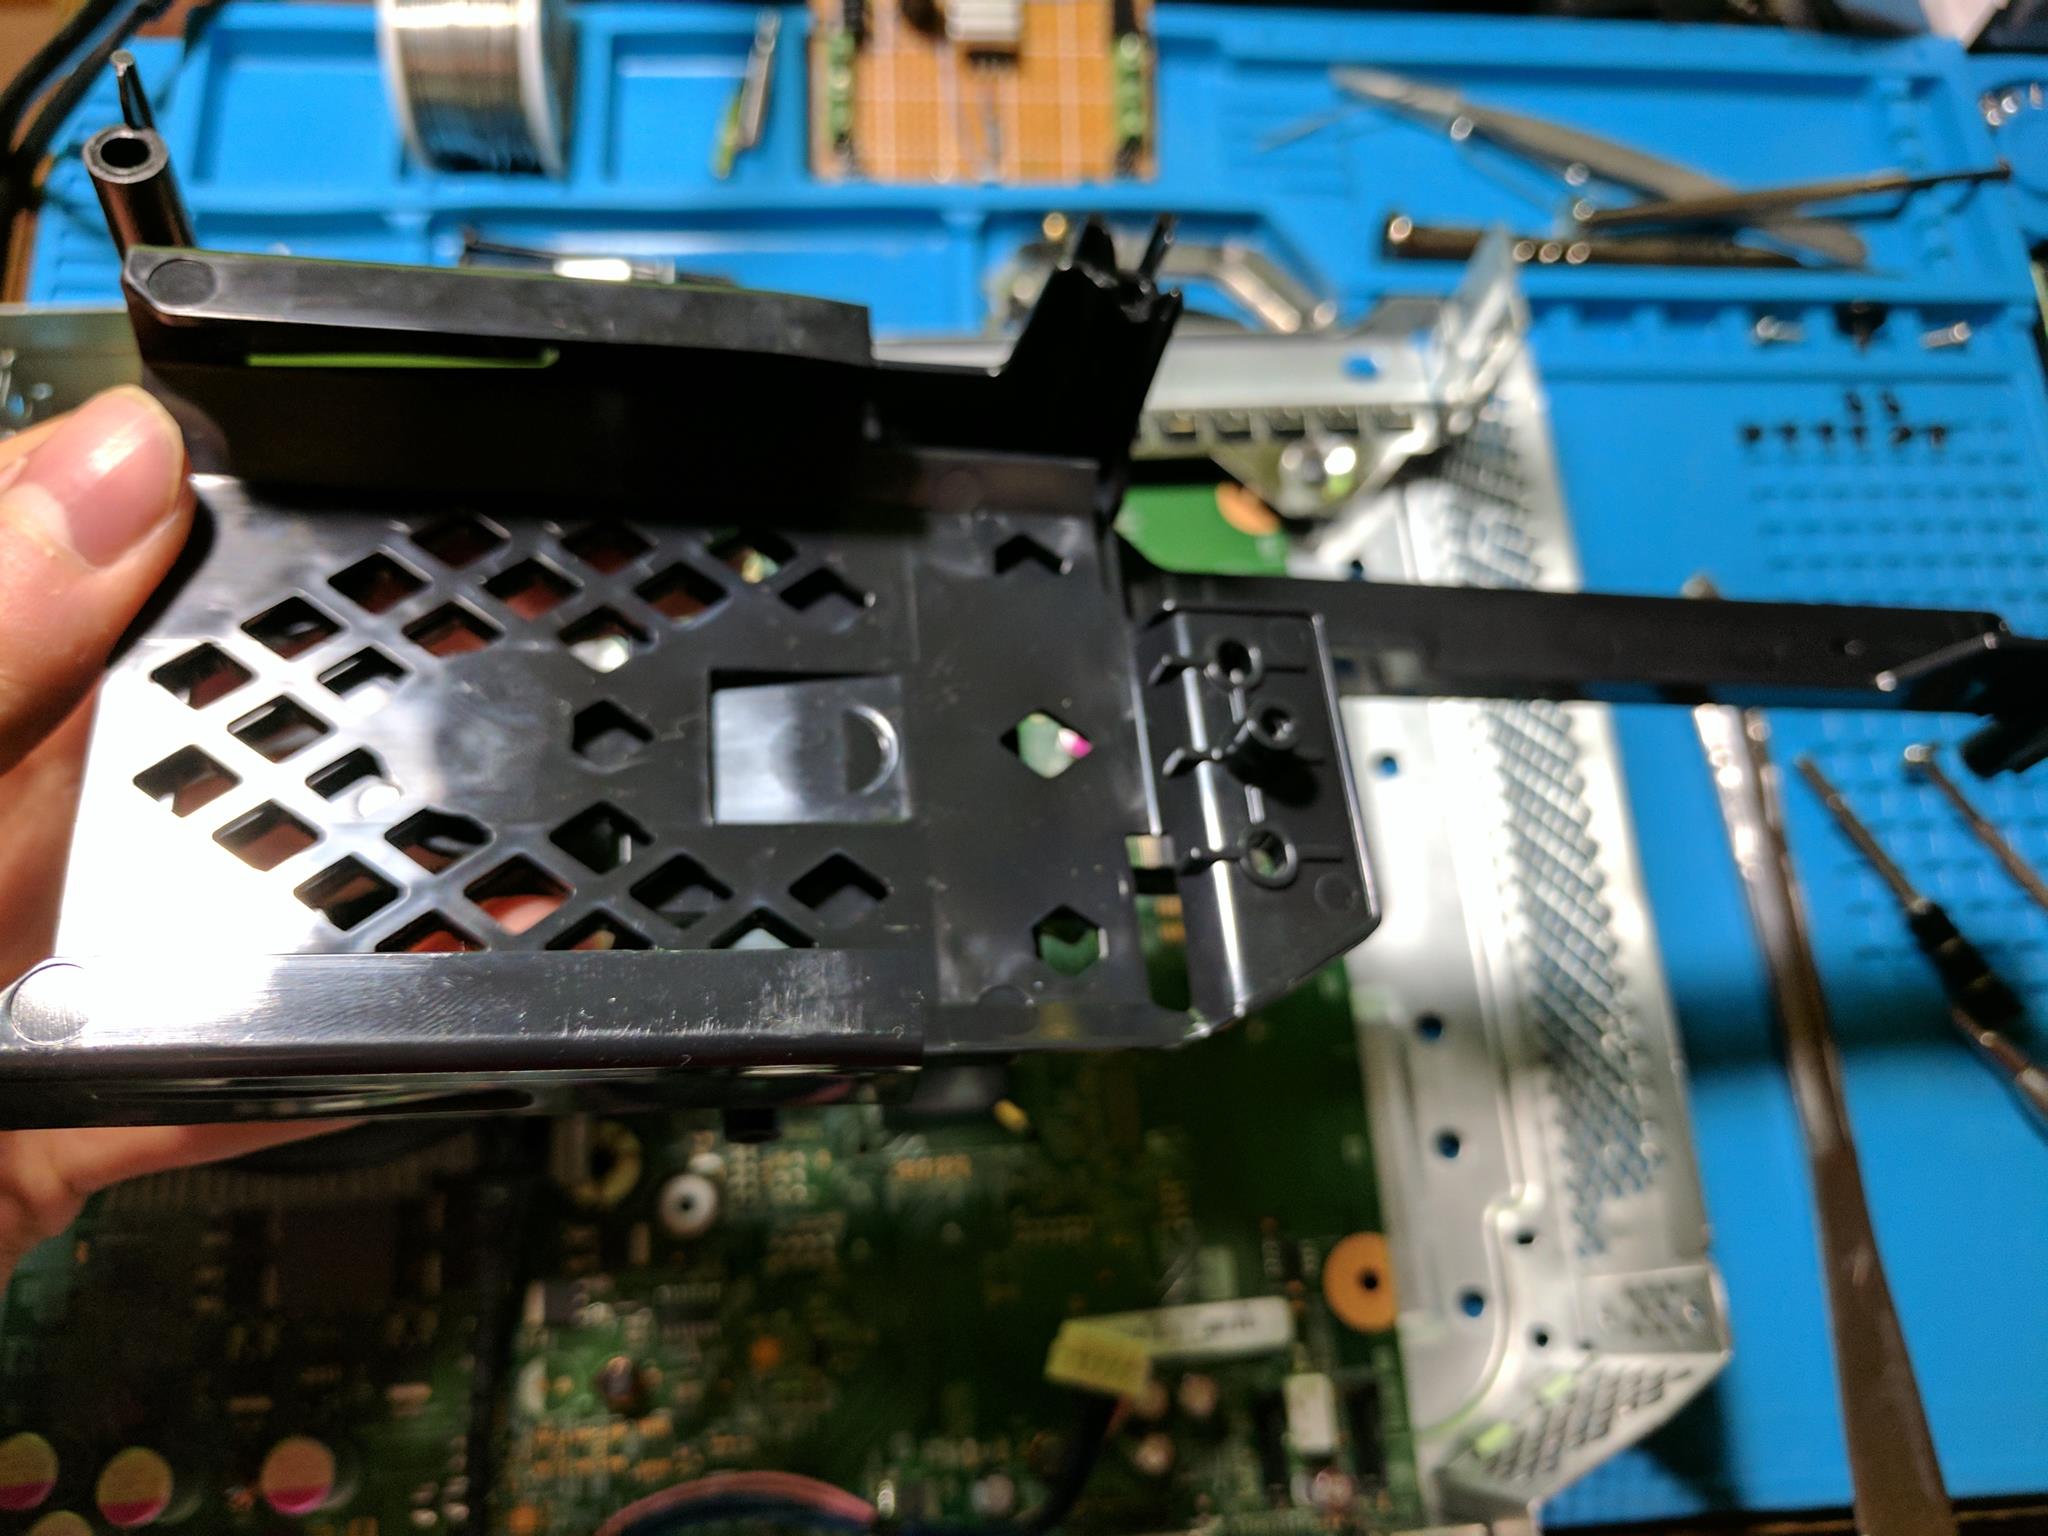
With those seven screws removed you should be able to lift the drive tray away from the motherboard.
Step 12 – Removing some other internal parts
There is a metal and plastic piece that the disc drive rests on that can be removed from the console.
The last four screws hold the heatsink to the metal housing.

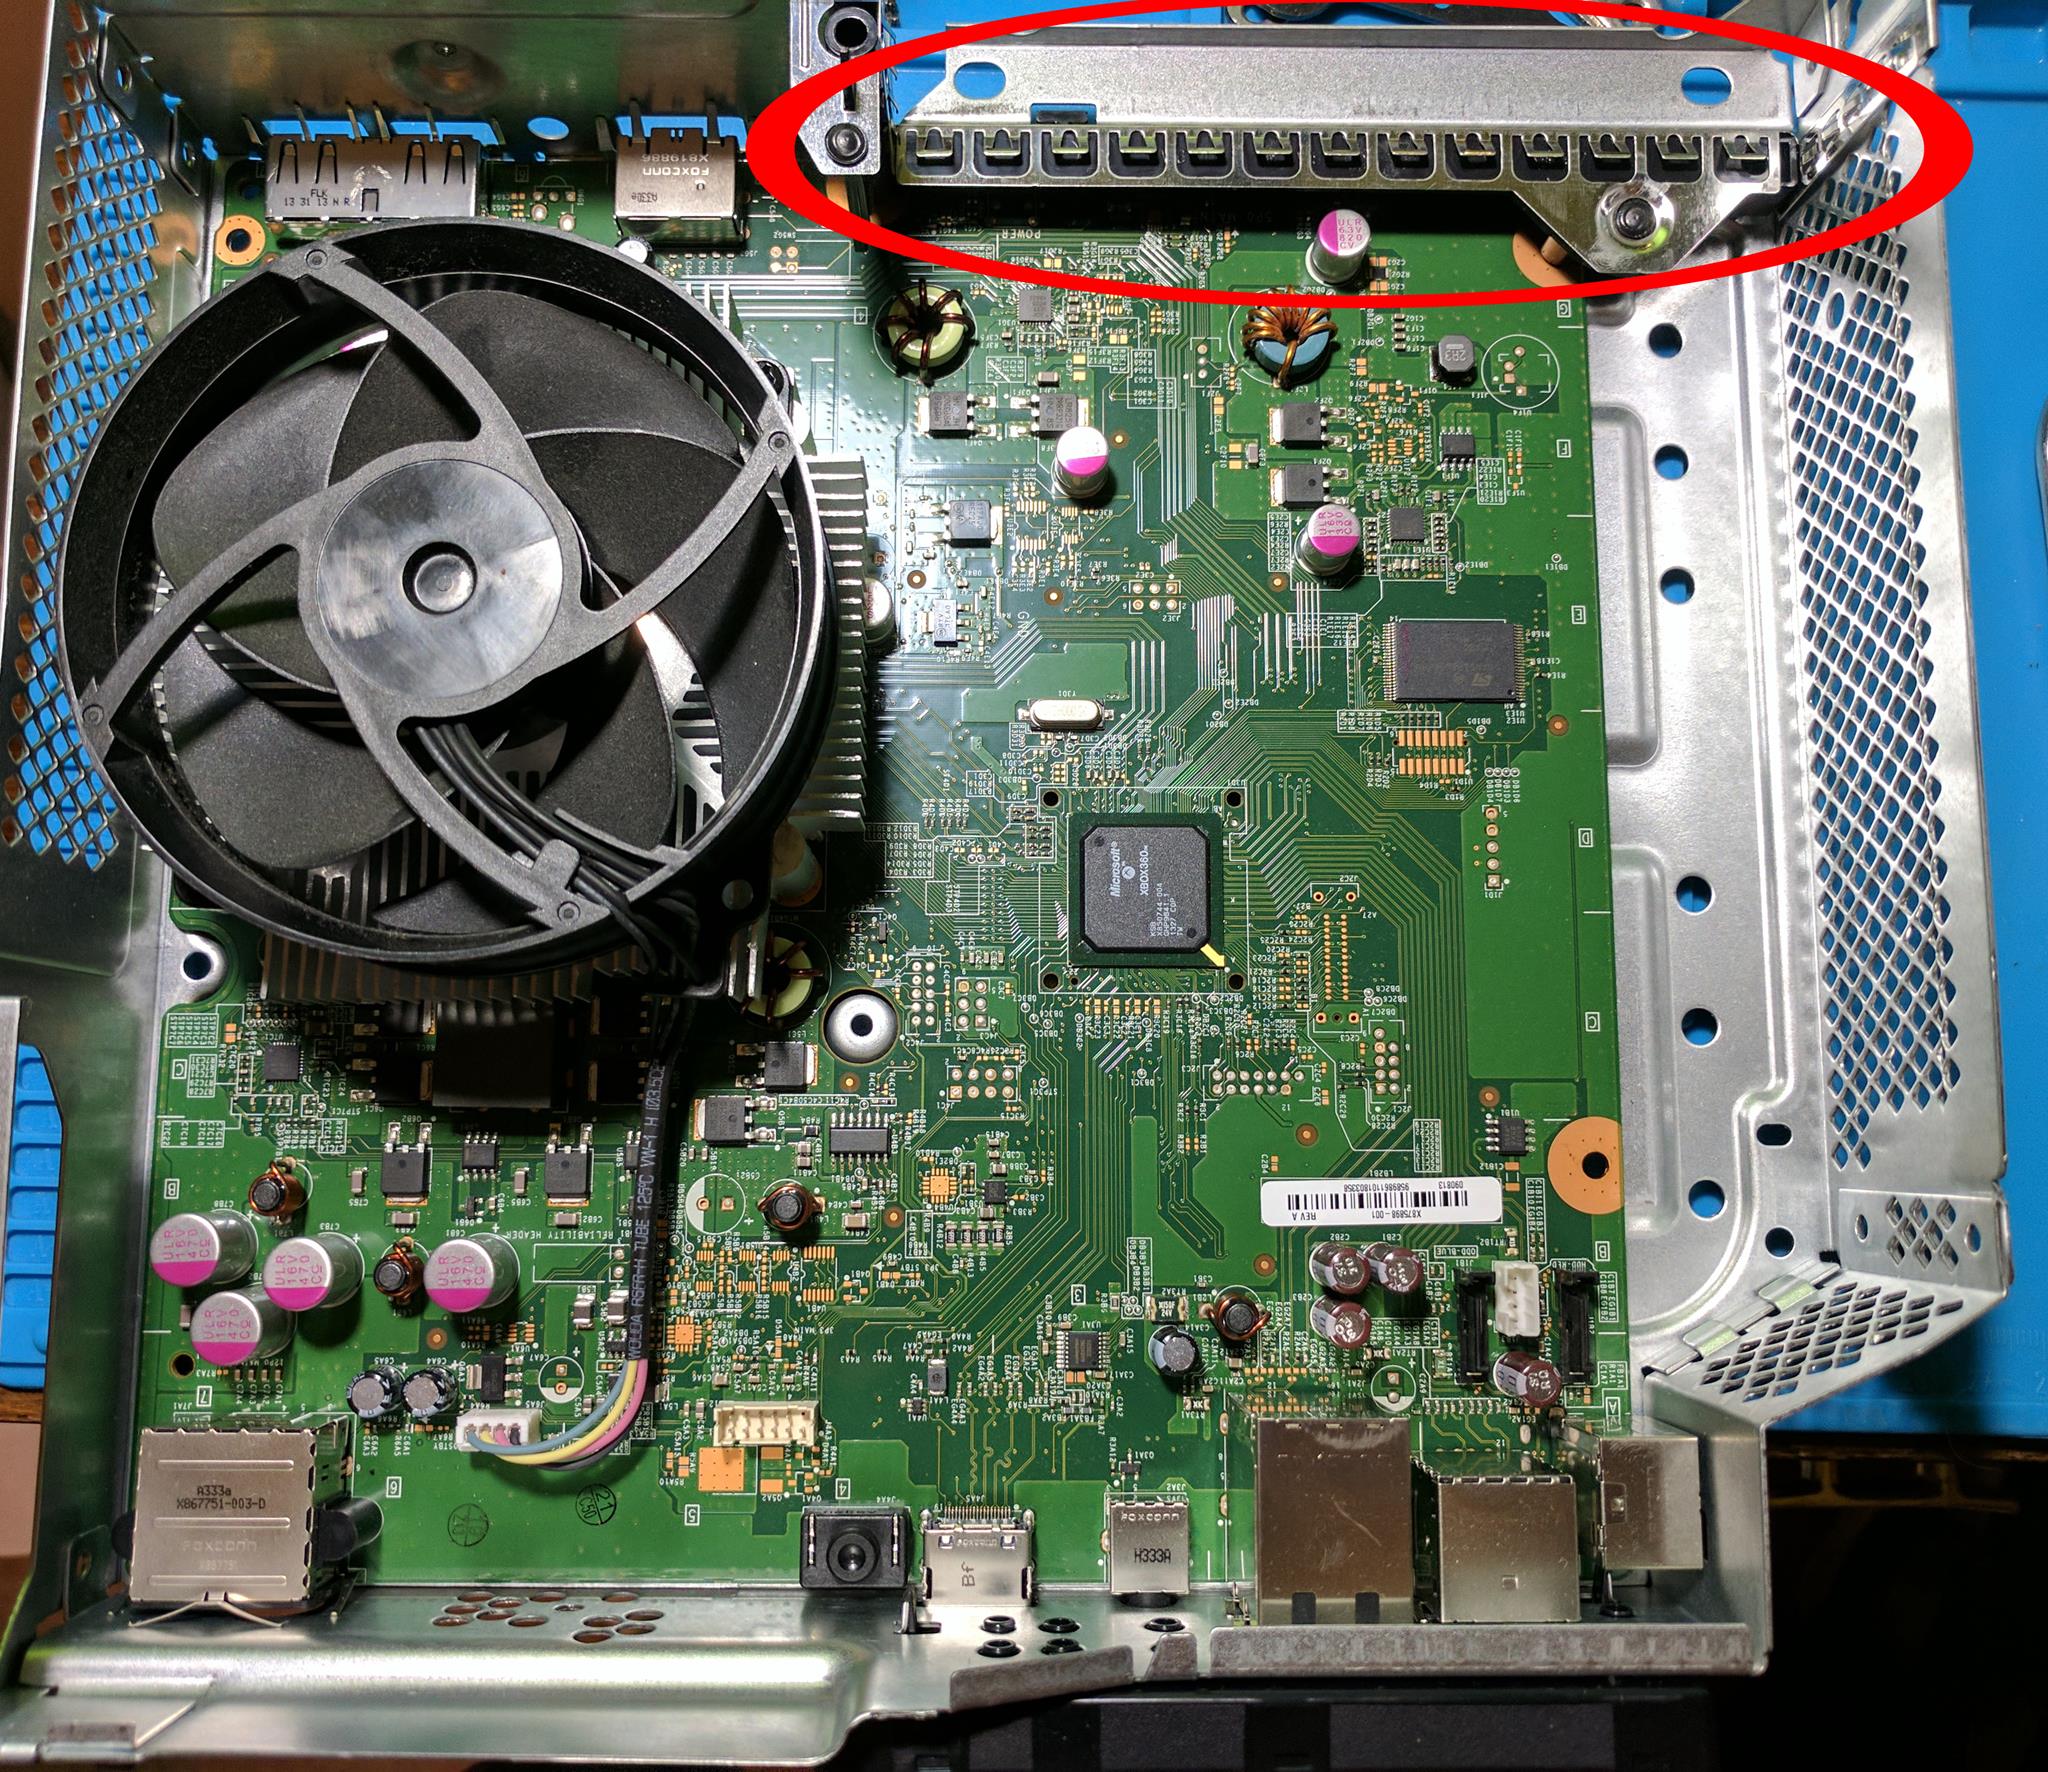
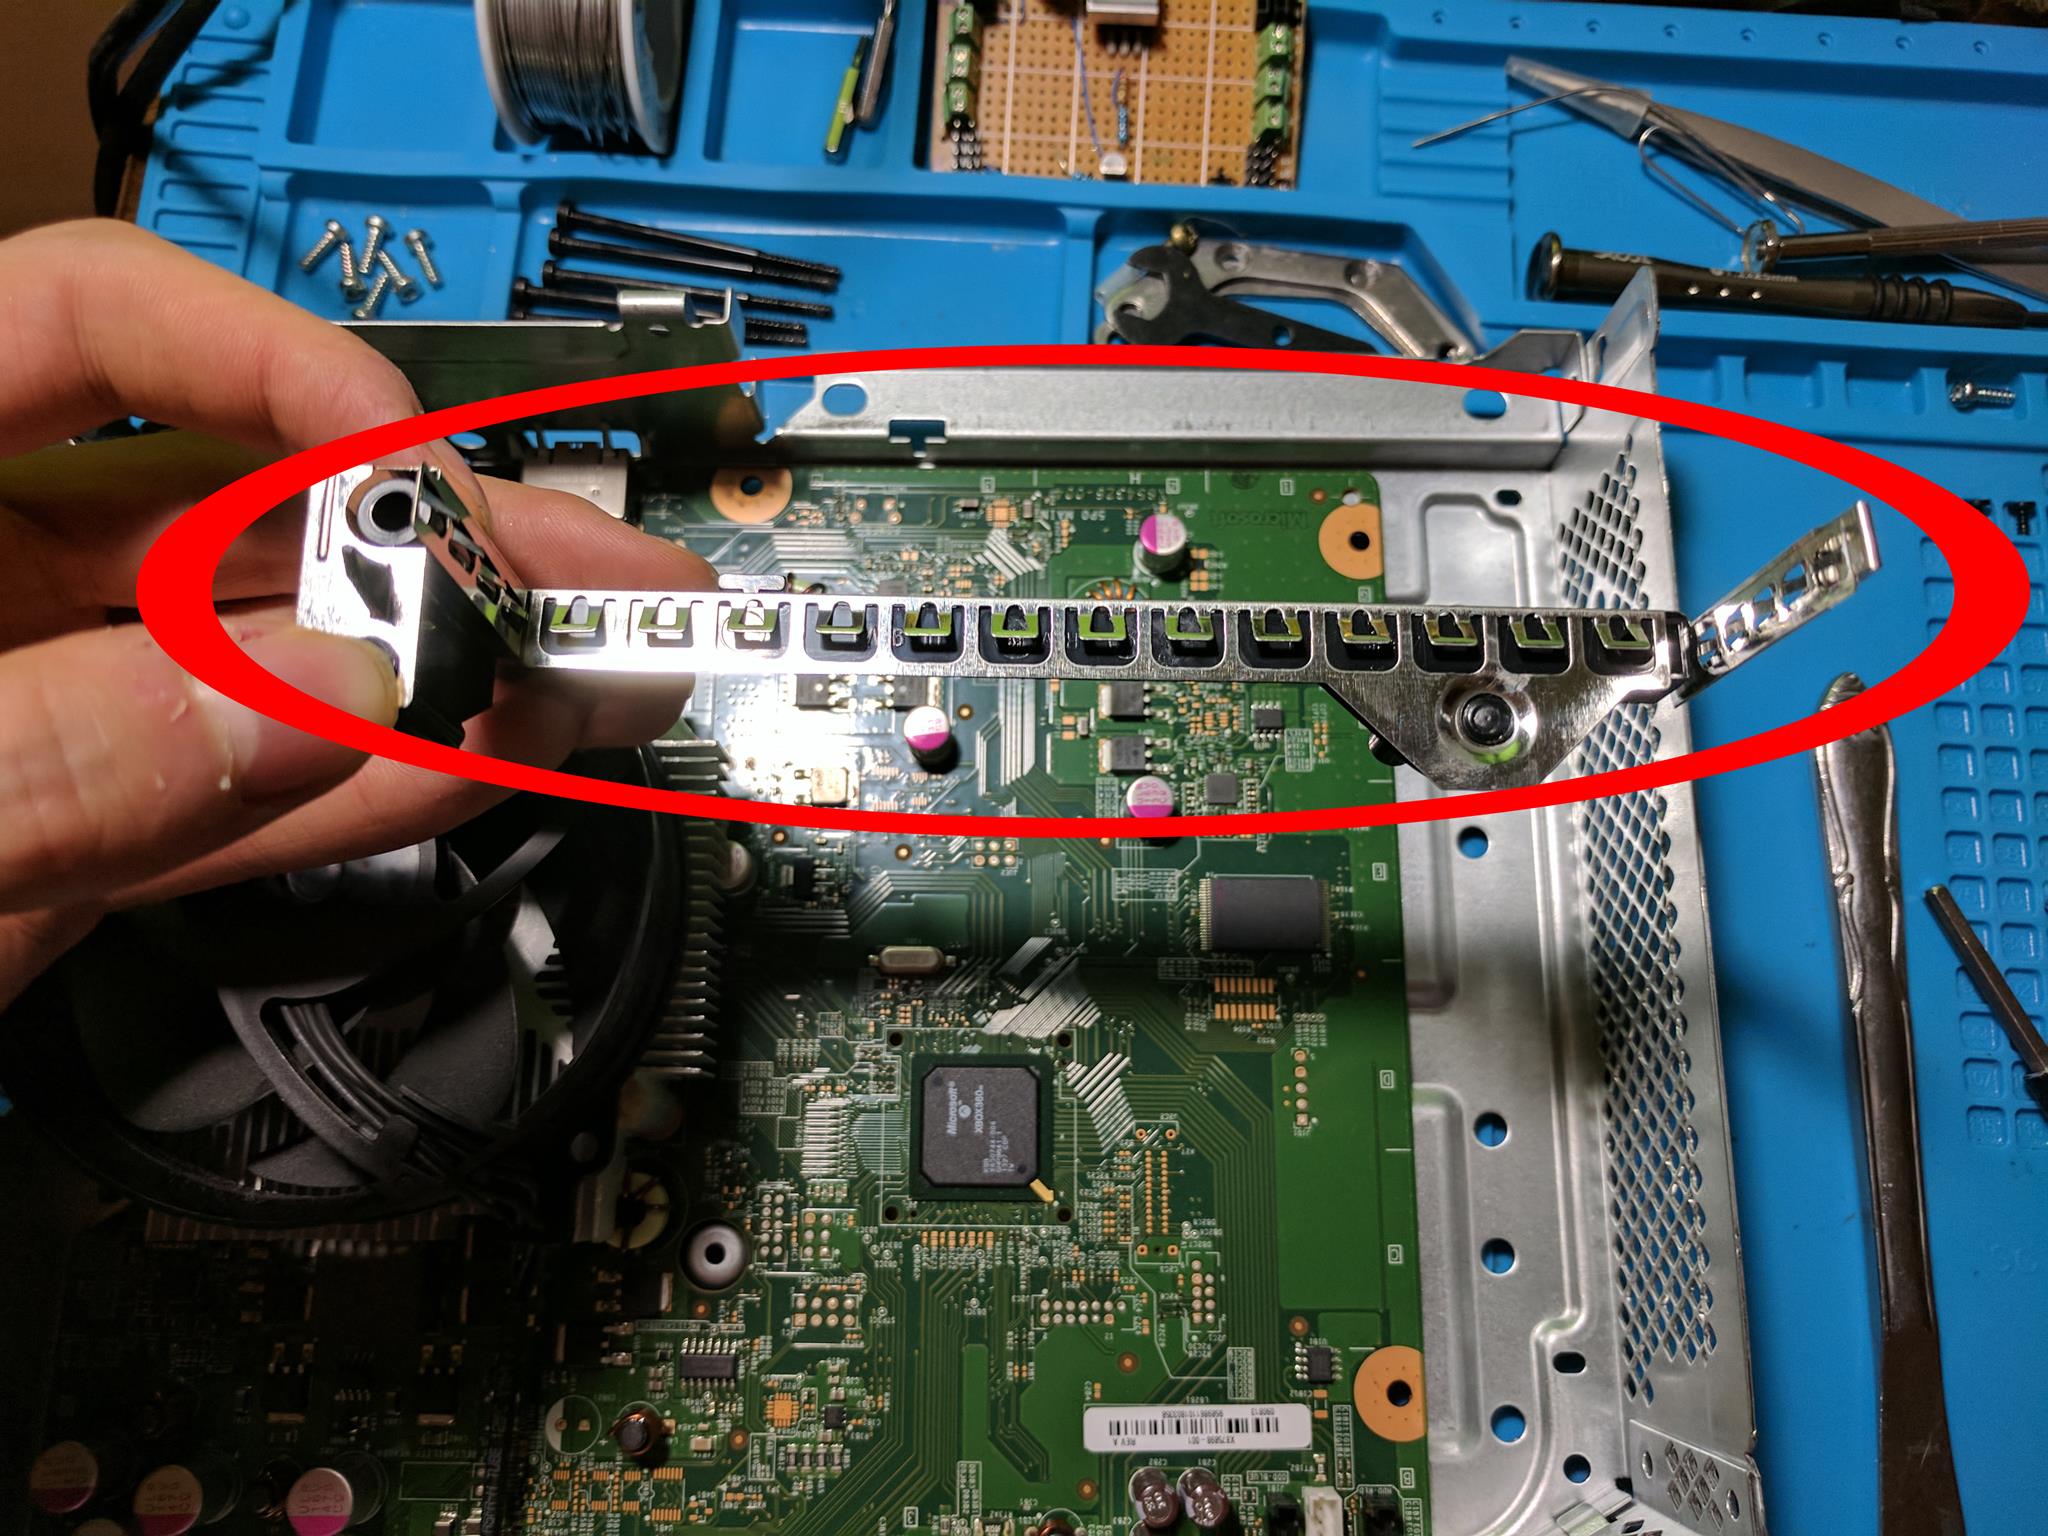
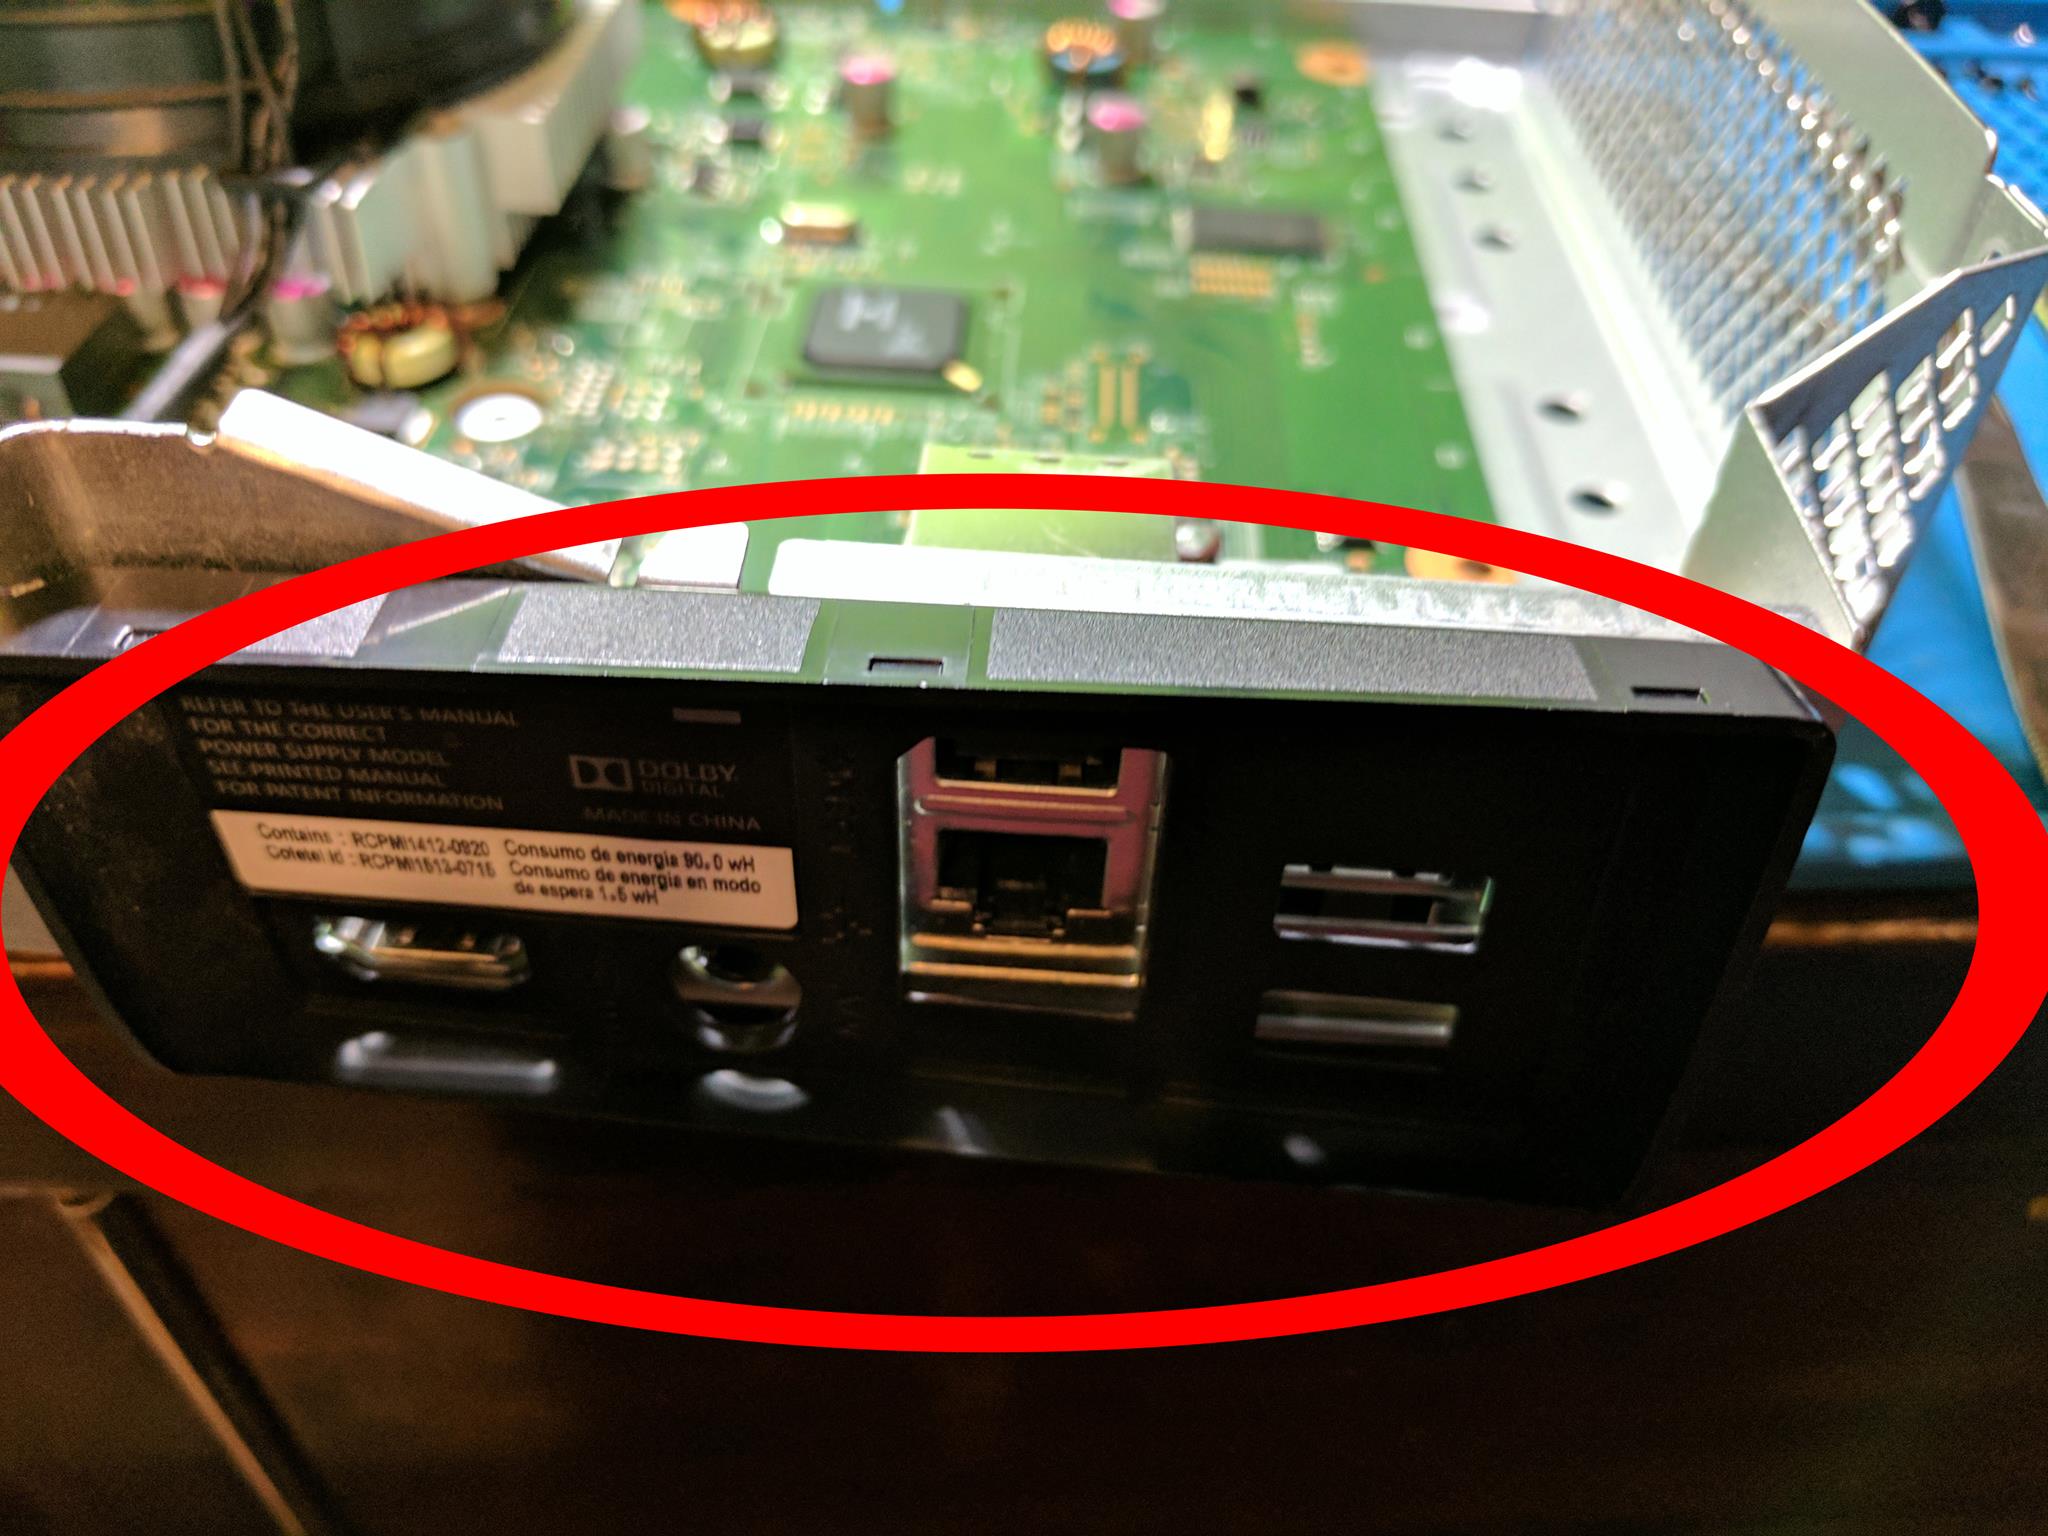
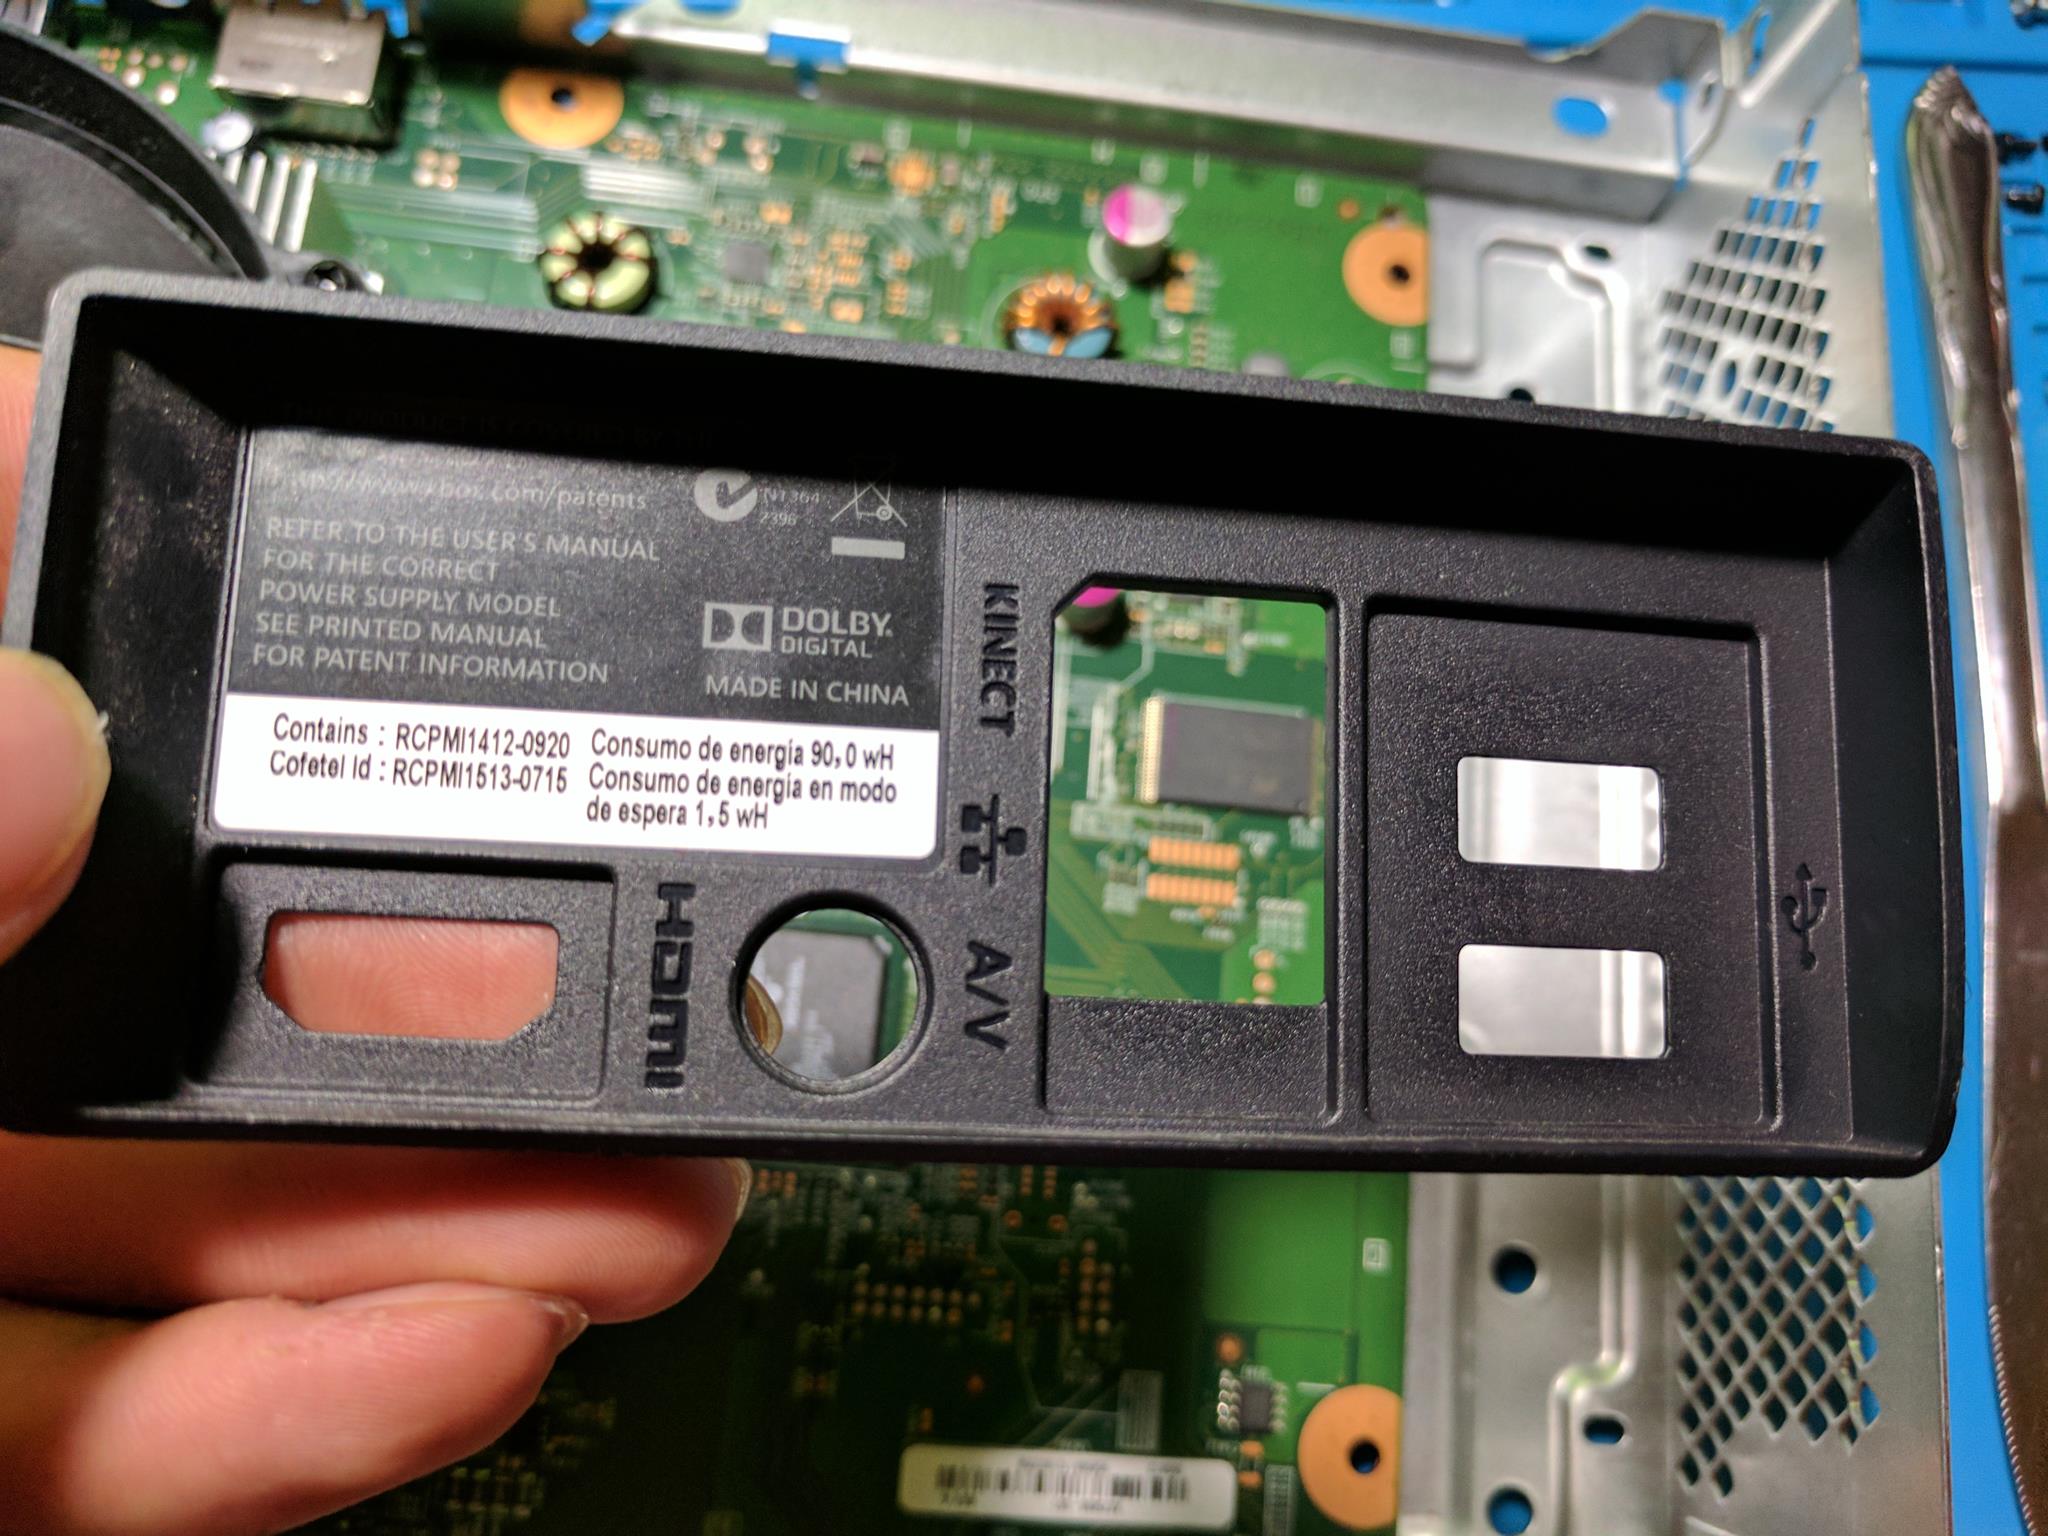
There is a plastic piece at the back of the console that covers the ports area. It can be removed by squeezing some of the plastic tabs on the inside of the console.
Step 13 – Motherboard removal
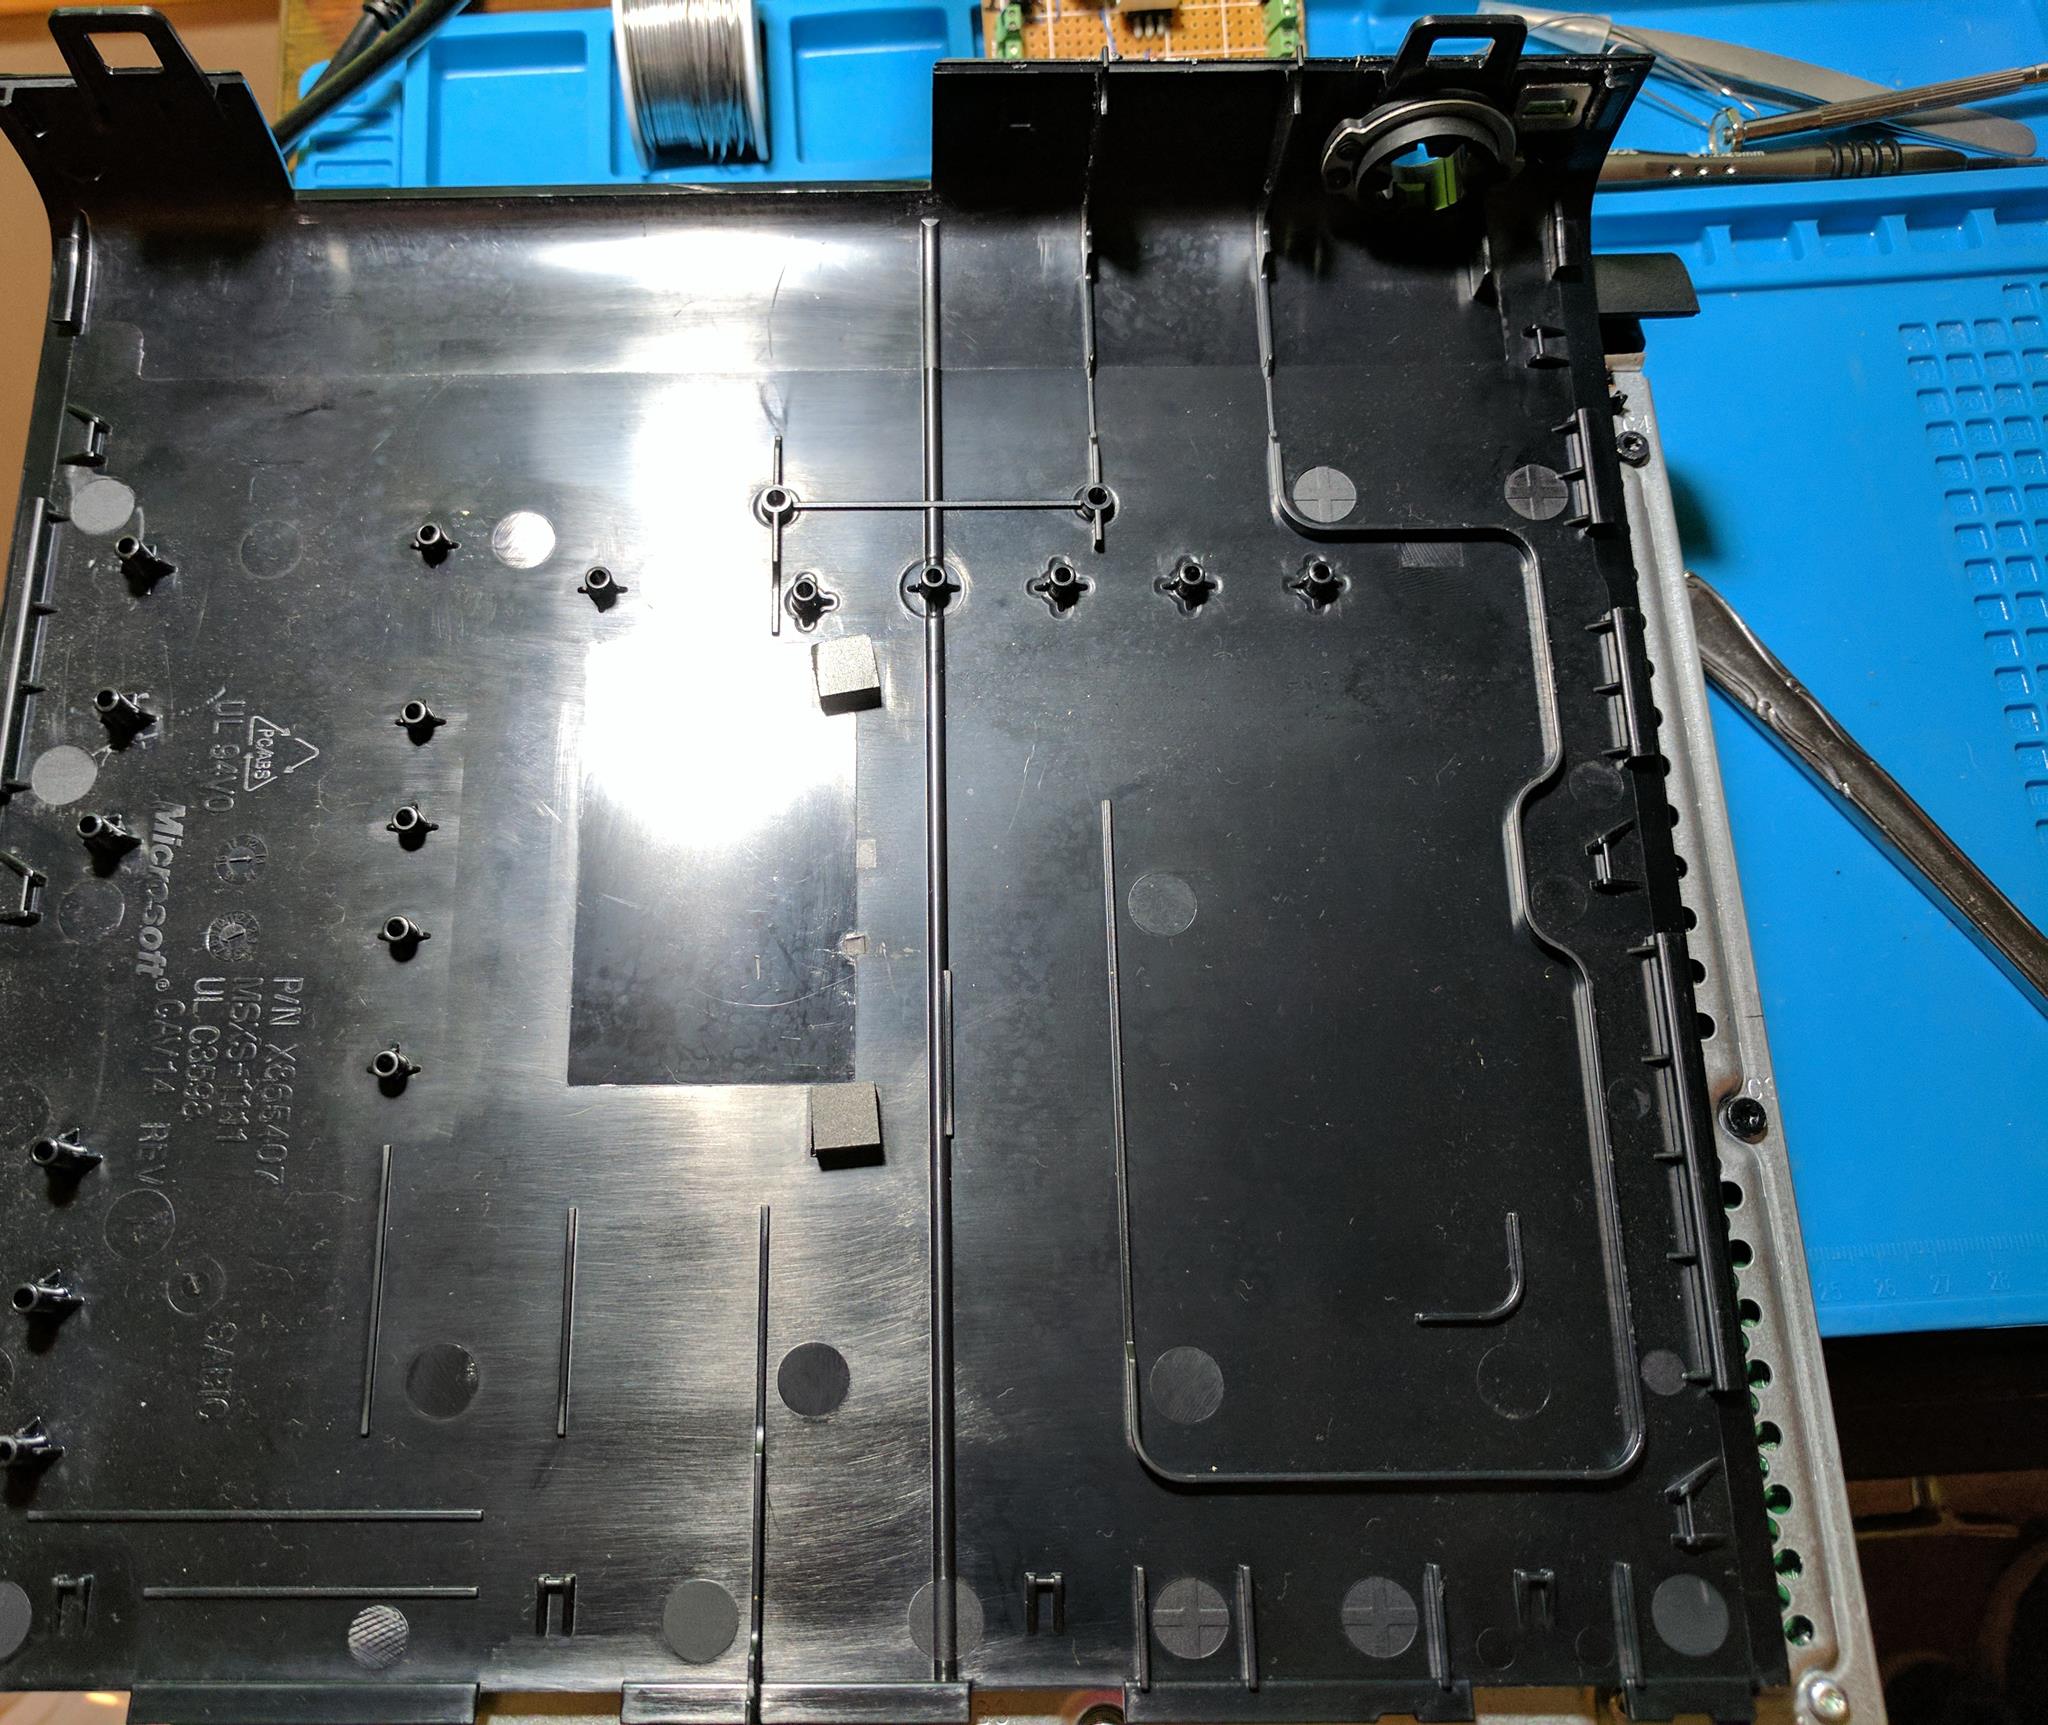
Once all of the components are removed, you can remove the motherboard. The board fits really snugly into place, so you may have to use some carefully applied force to remove the board. You have to remove it from the front to the back.
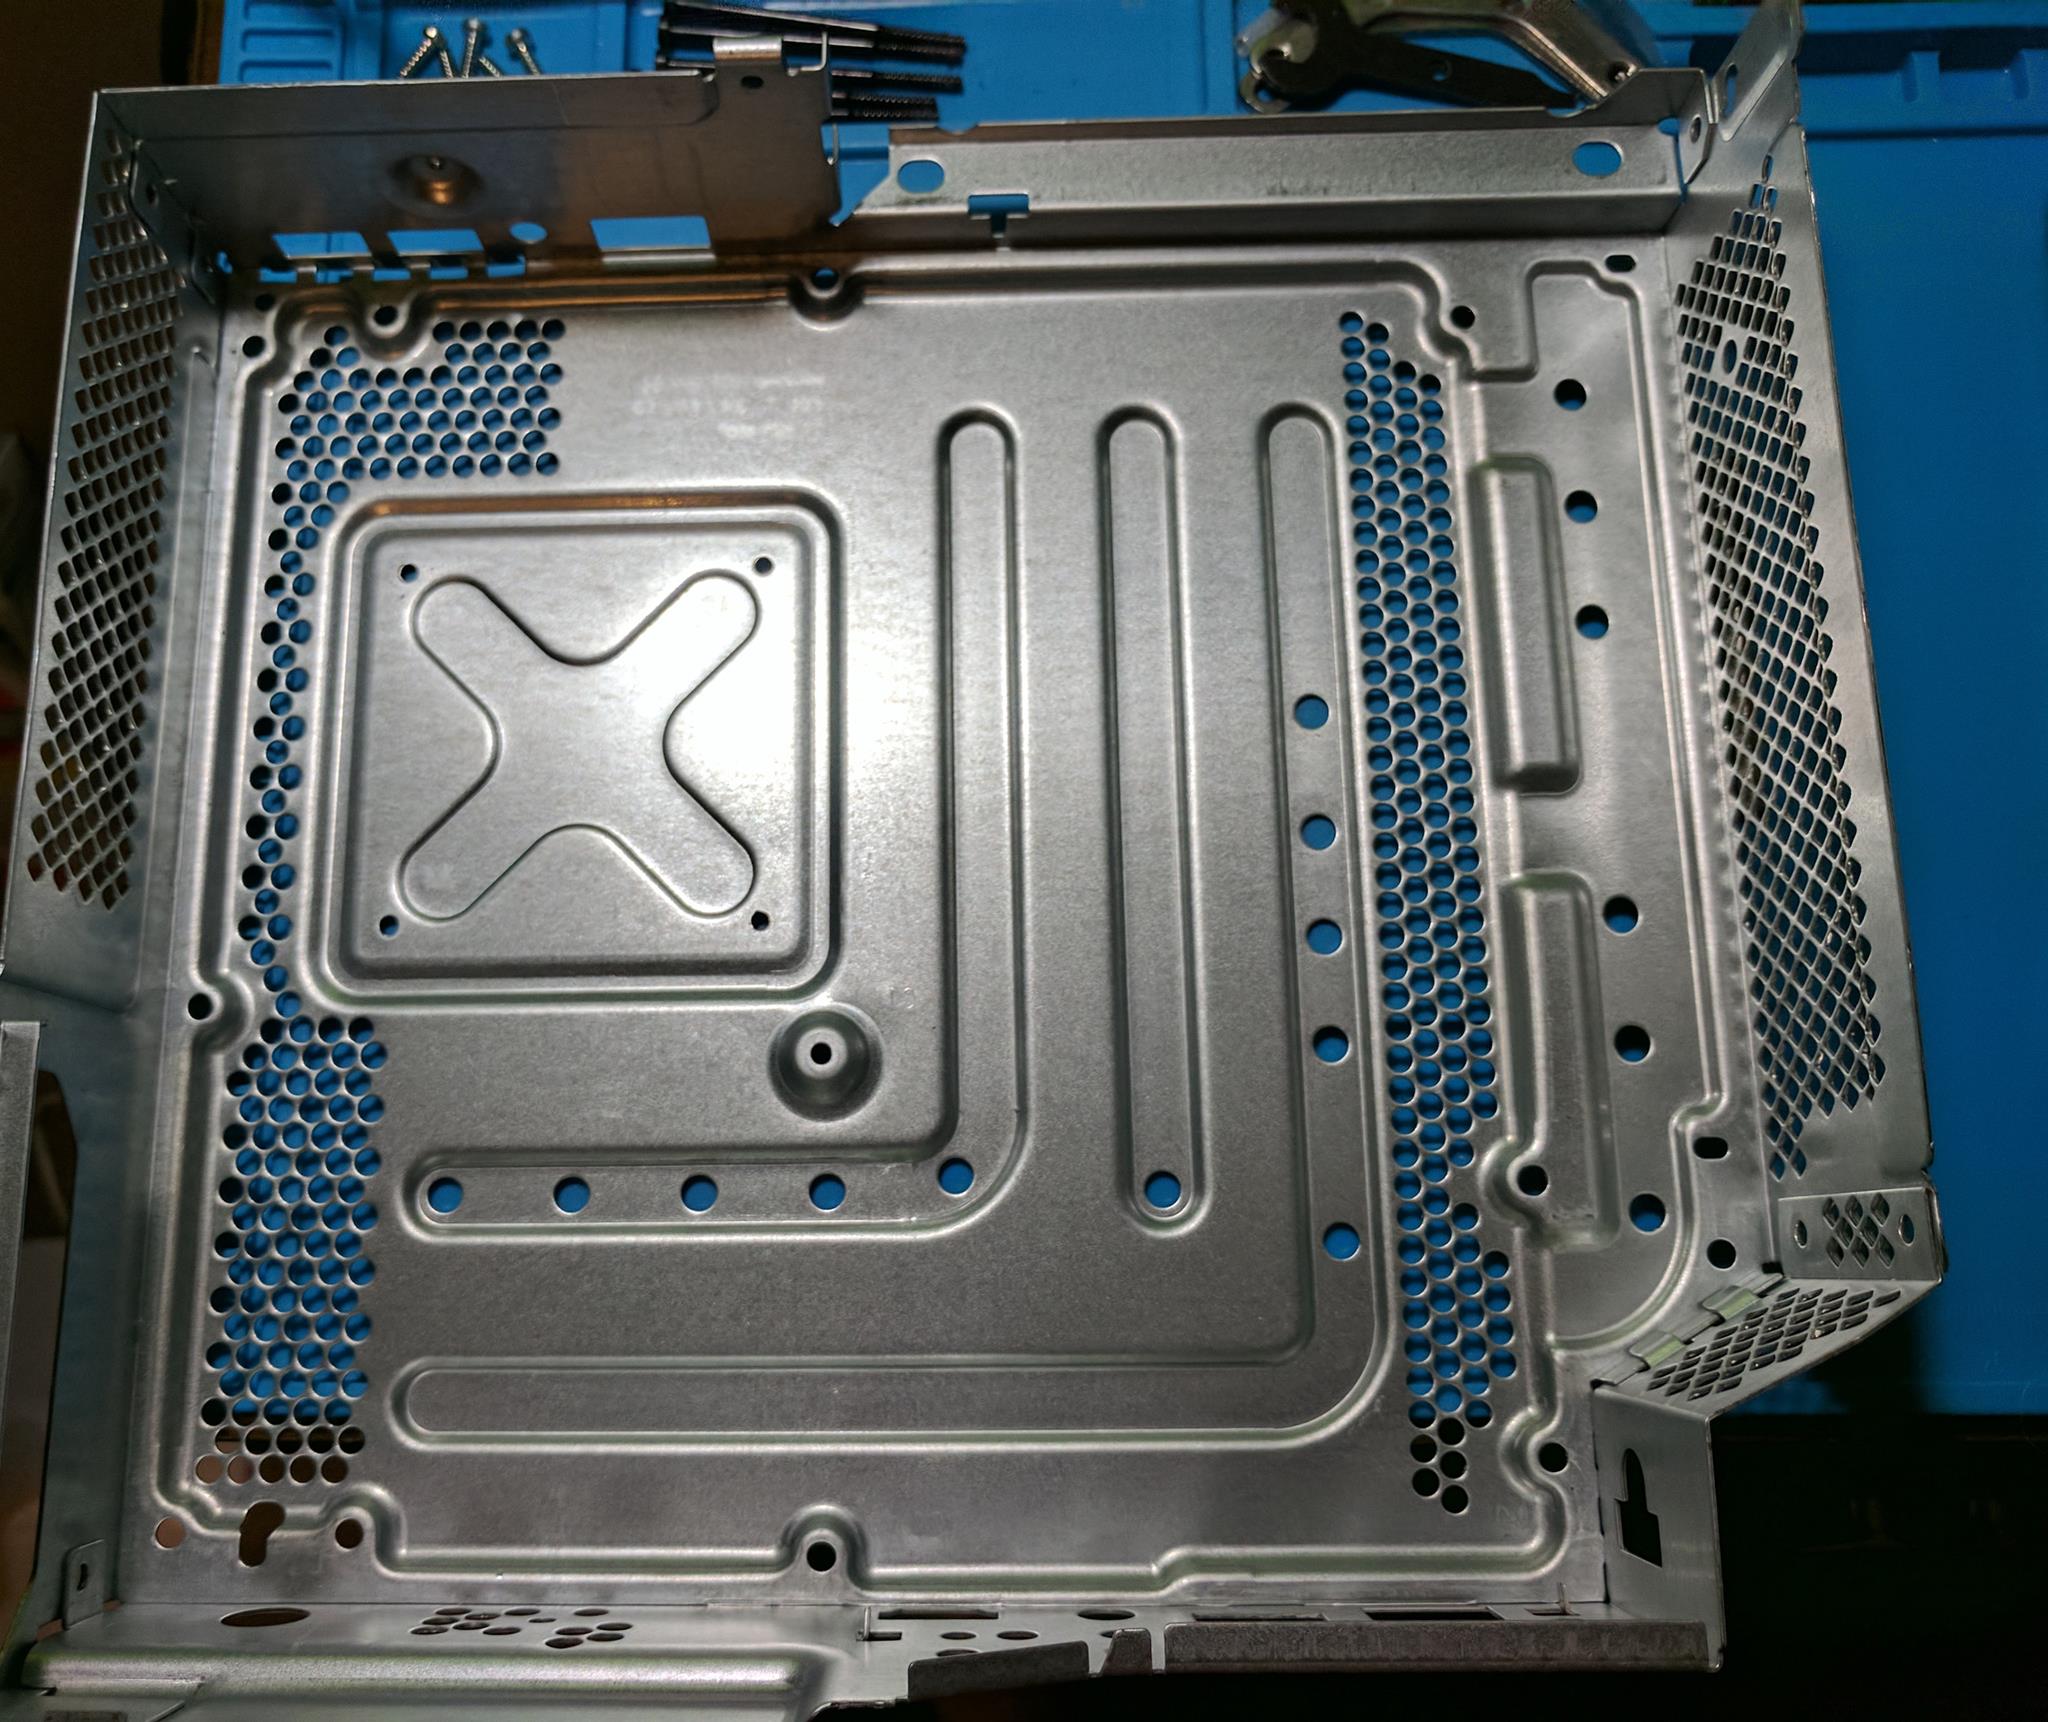
Above is an image of the metal housing without the board, and below is an image of the board once it has been removed.
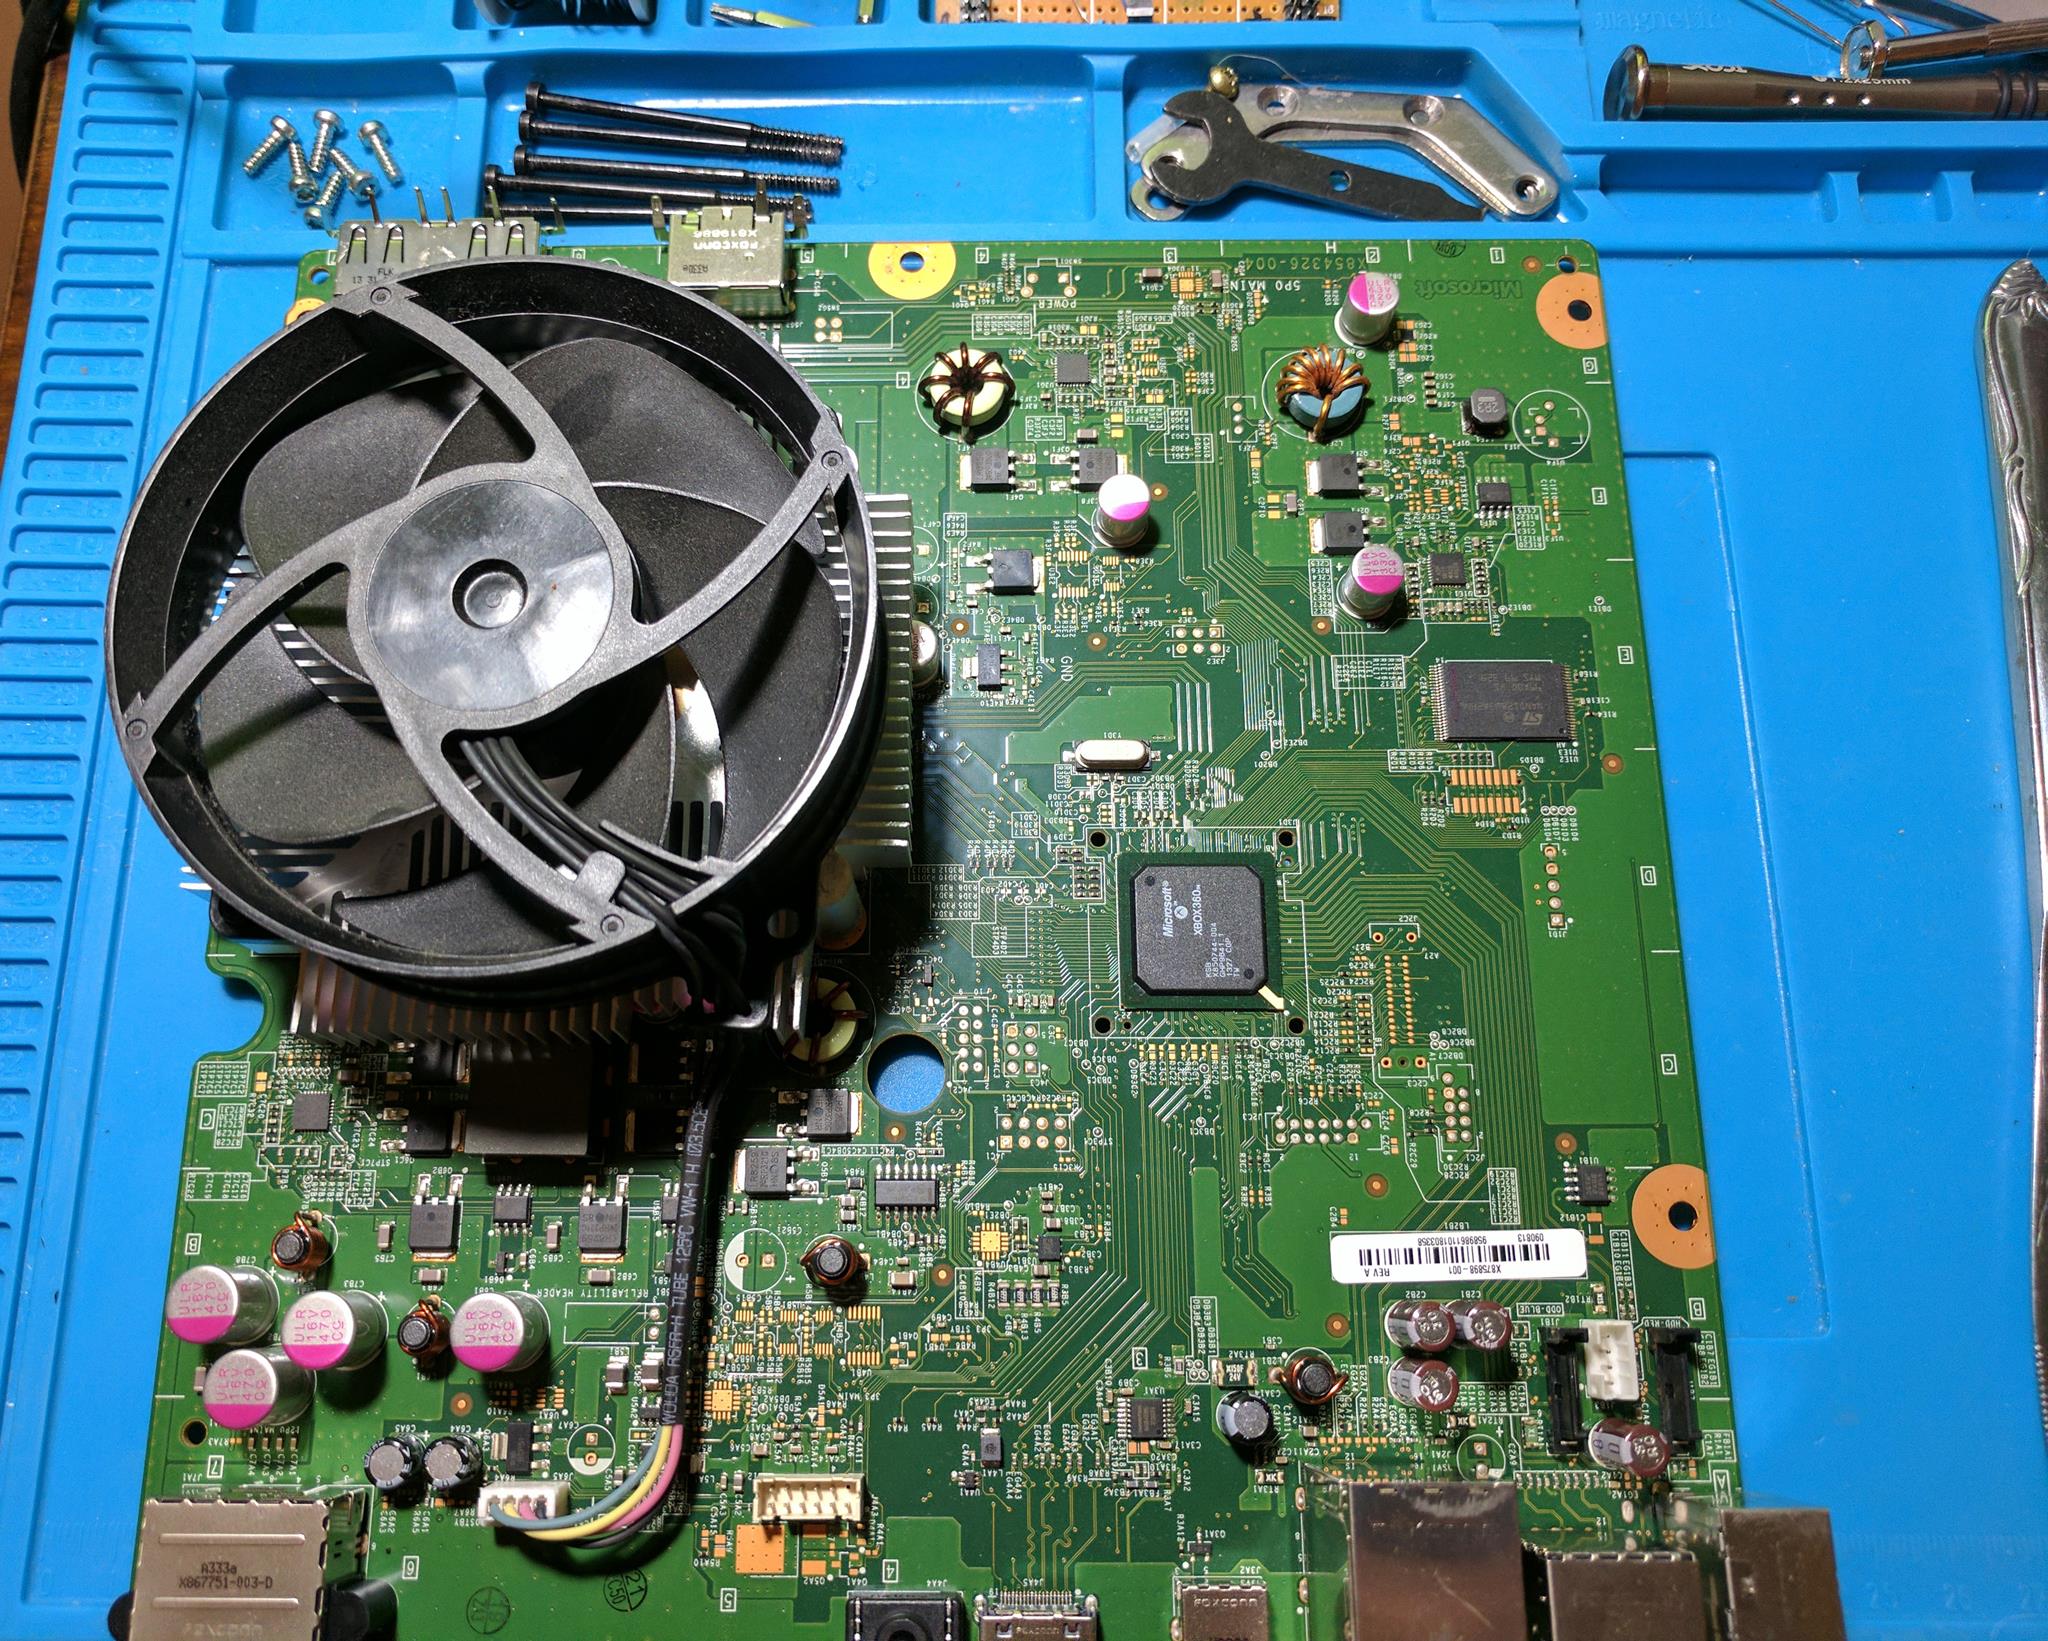
Step 14 – Heatsink removal
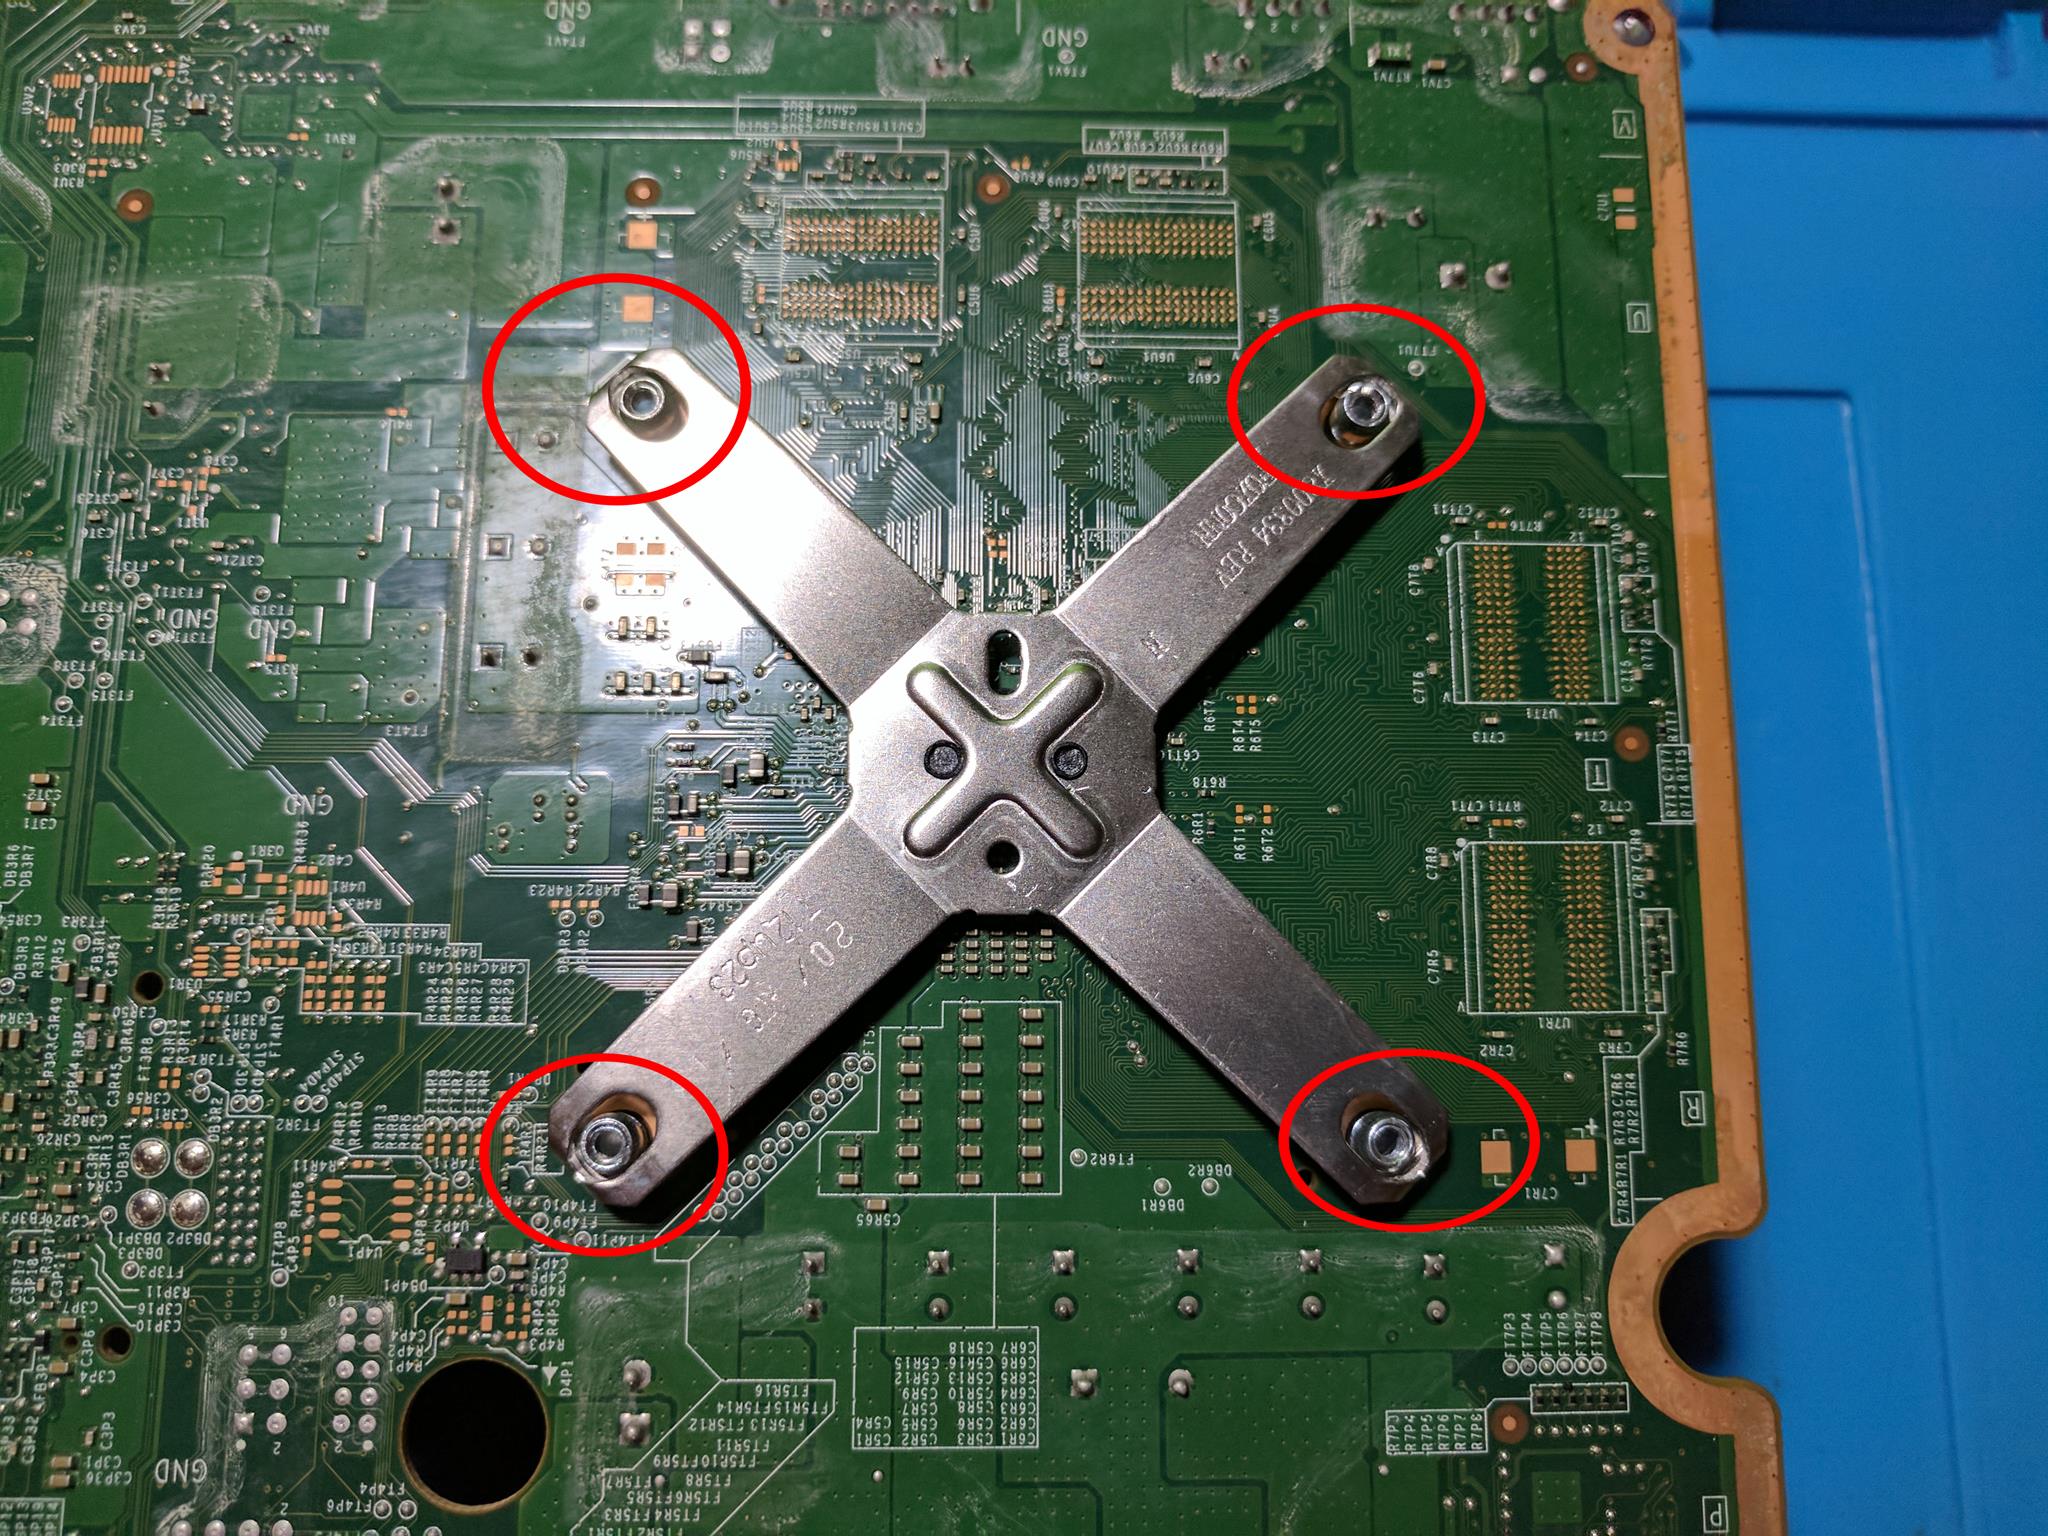
This step will probably be fairly difficult if you haven’t taken a heatsink off of an Xbox One or Xbox 360 before. If you have, then the X-Clamp should look very familiar. The image below shows that there are four pegs that have notches in them. The clamp slides over the pegs and catches on the notches.
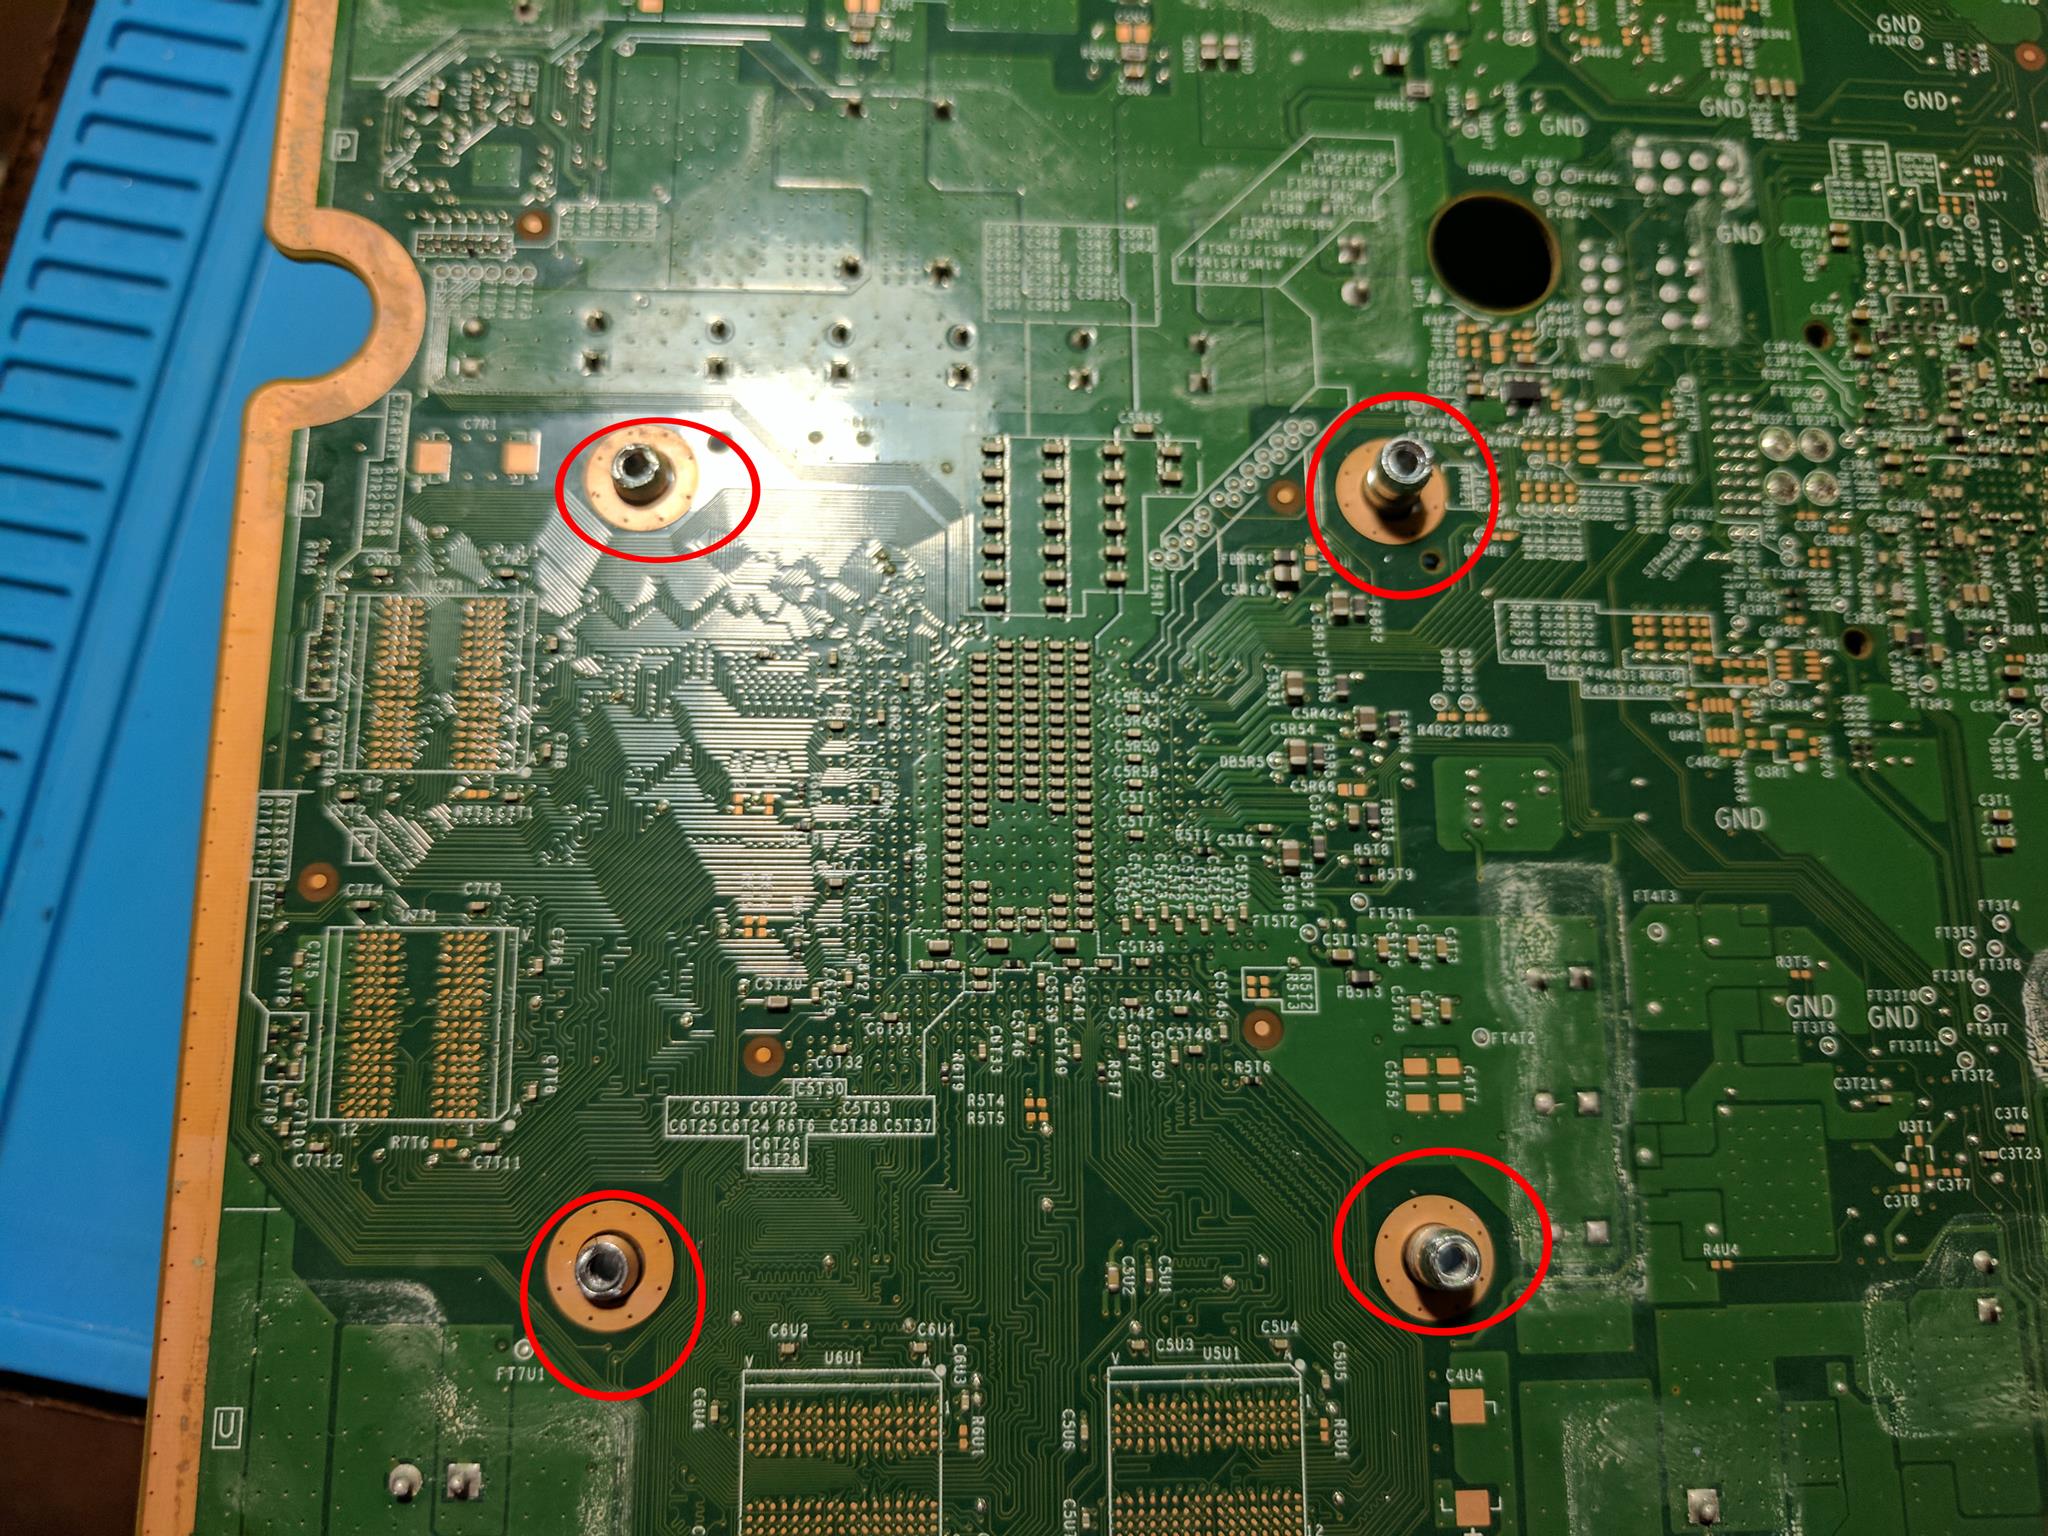
To remove the X-Clamp you need to carefully pry the edges of the clamp out of the notches. Generally it seems to be easiest to work on all four sides. You’ll eventually find that one side comes off fairly easily, and then once you have the second side off the clamp can be removed fairly easily.
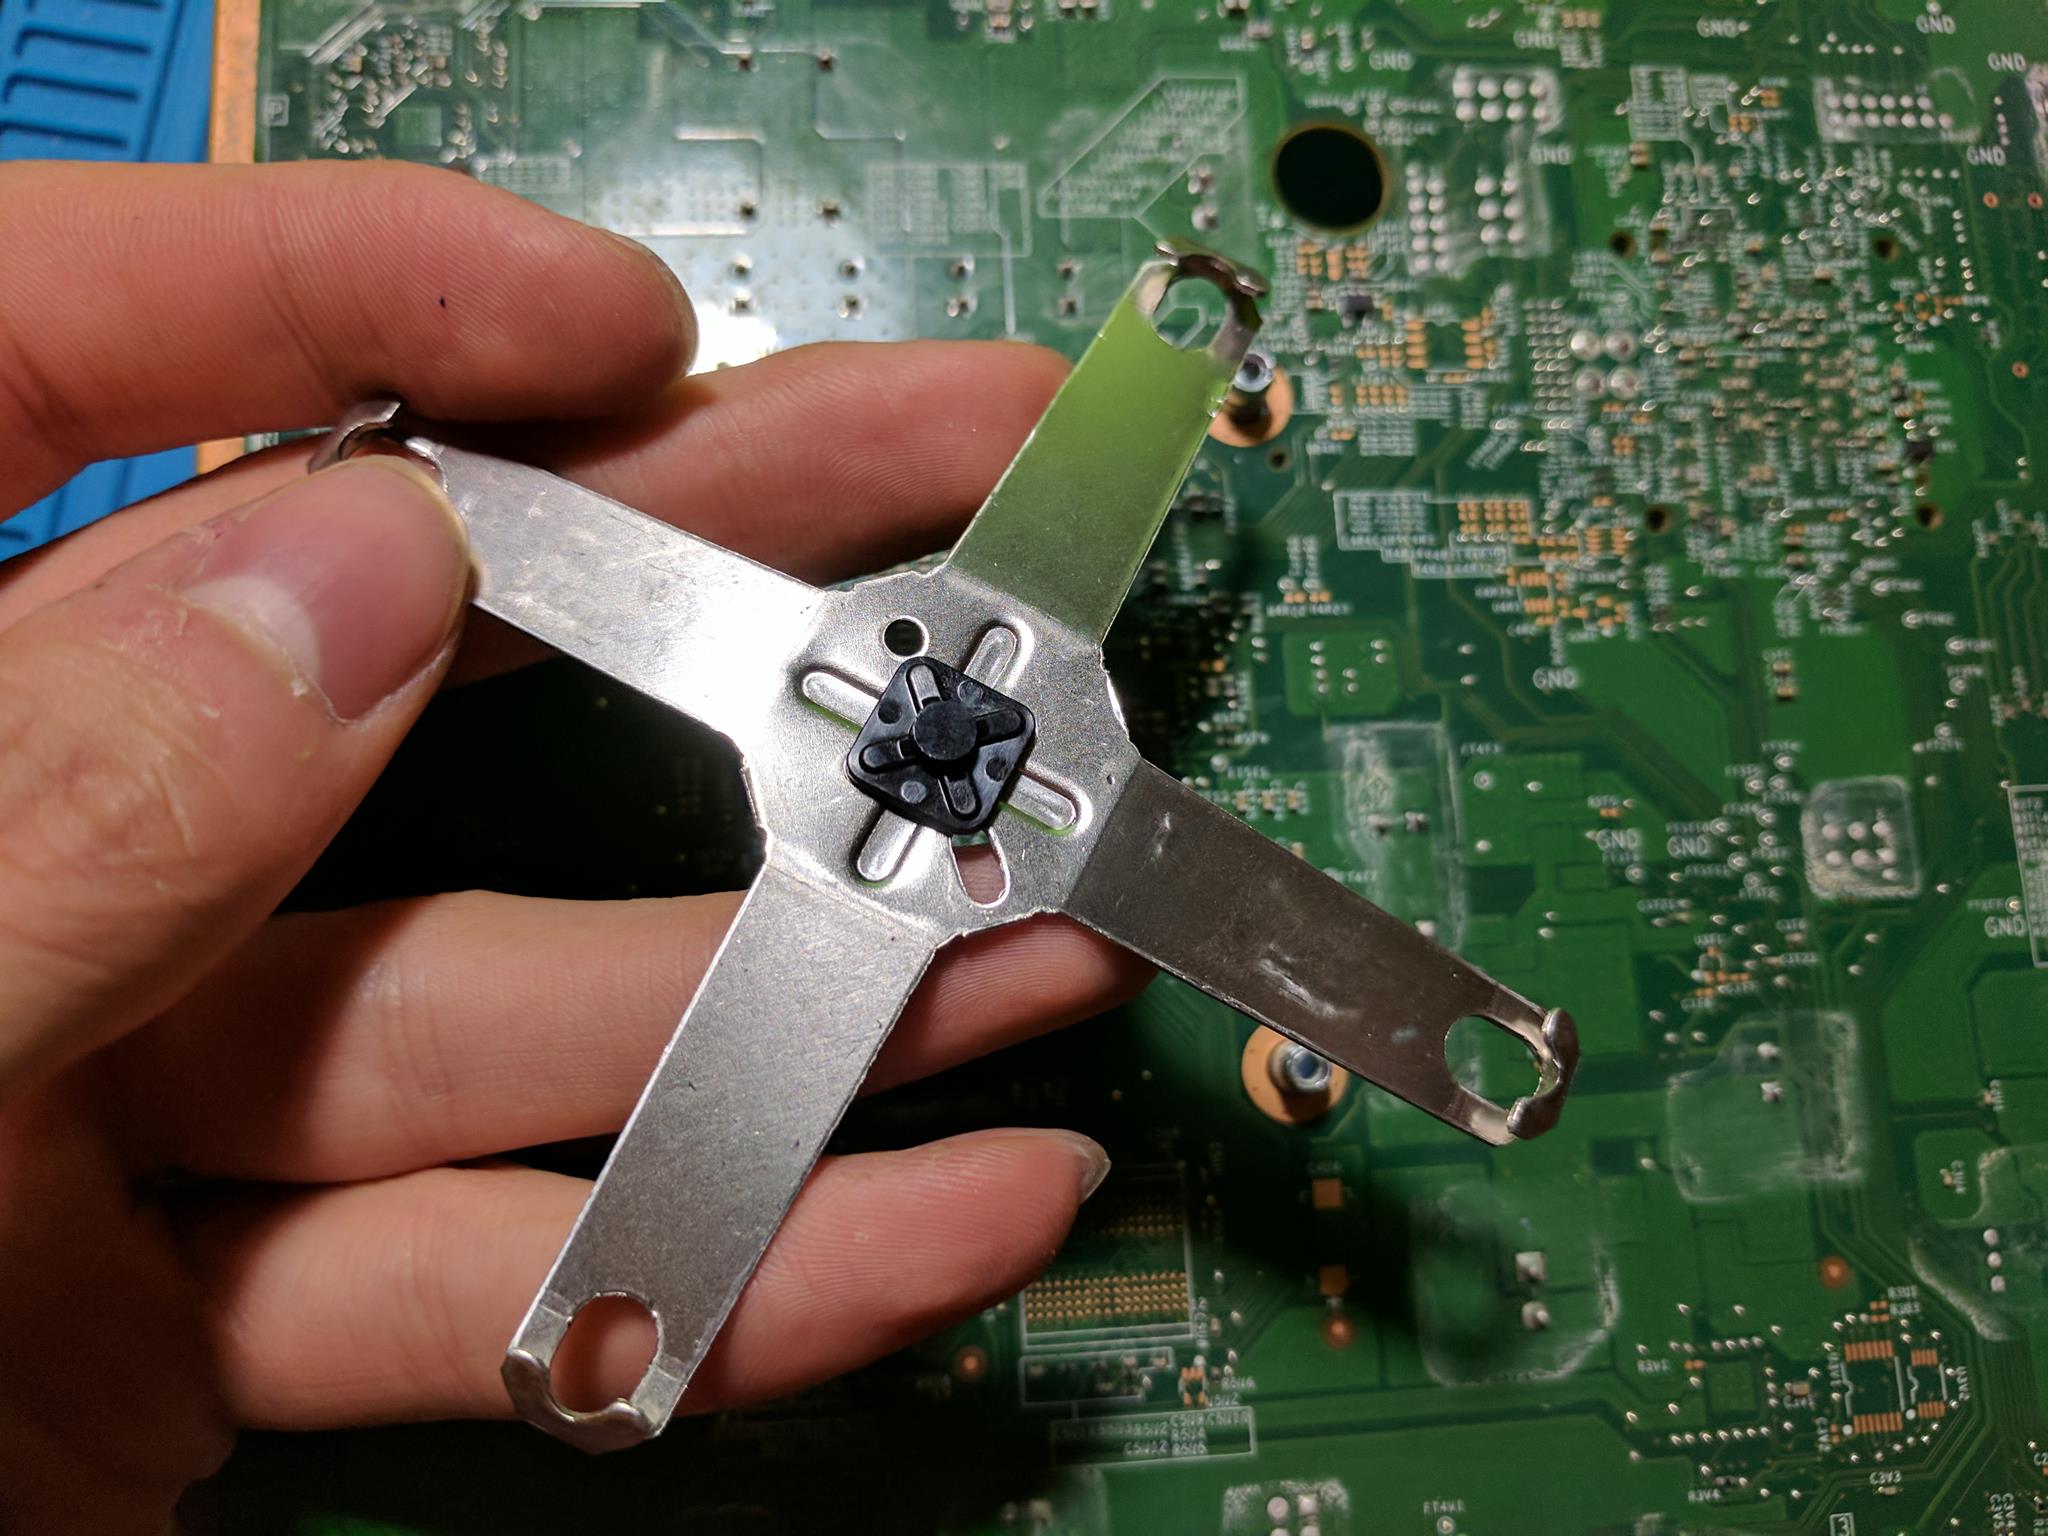
Above is an image of the clamp from the other side. Below is an image of the heatsink. It’s a pretty beefy heatsink with a nice solid copper piece in the middle.
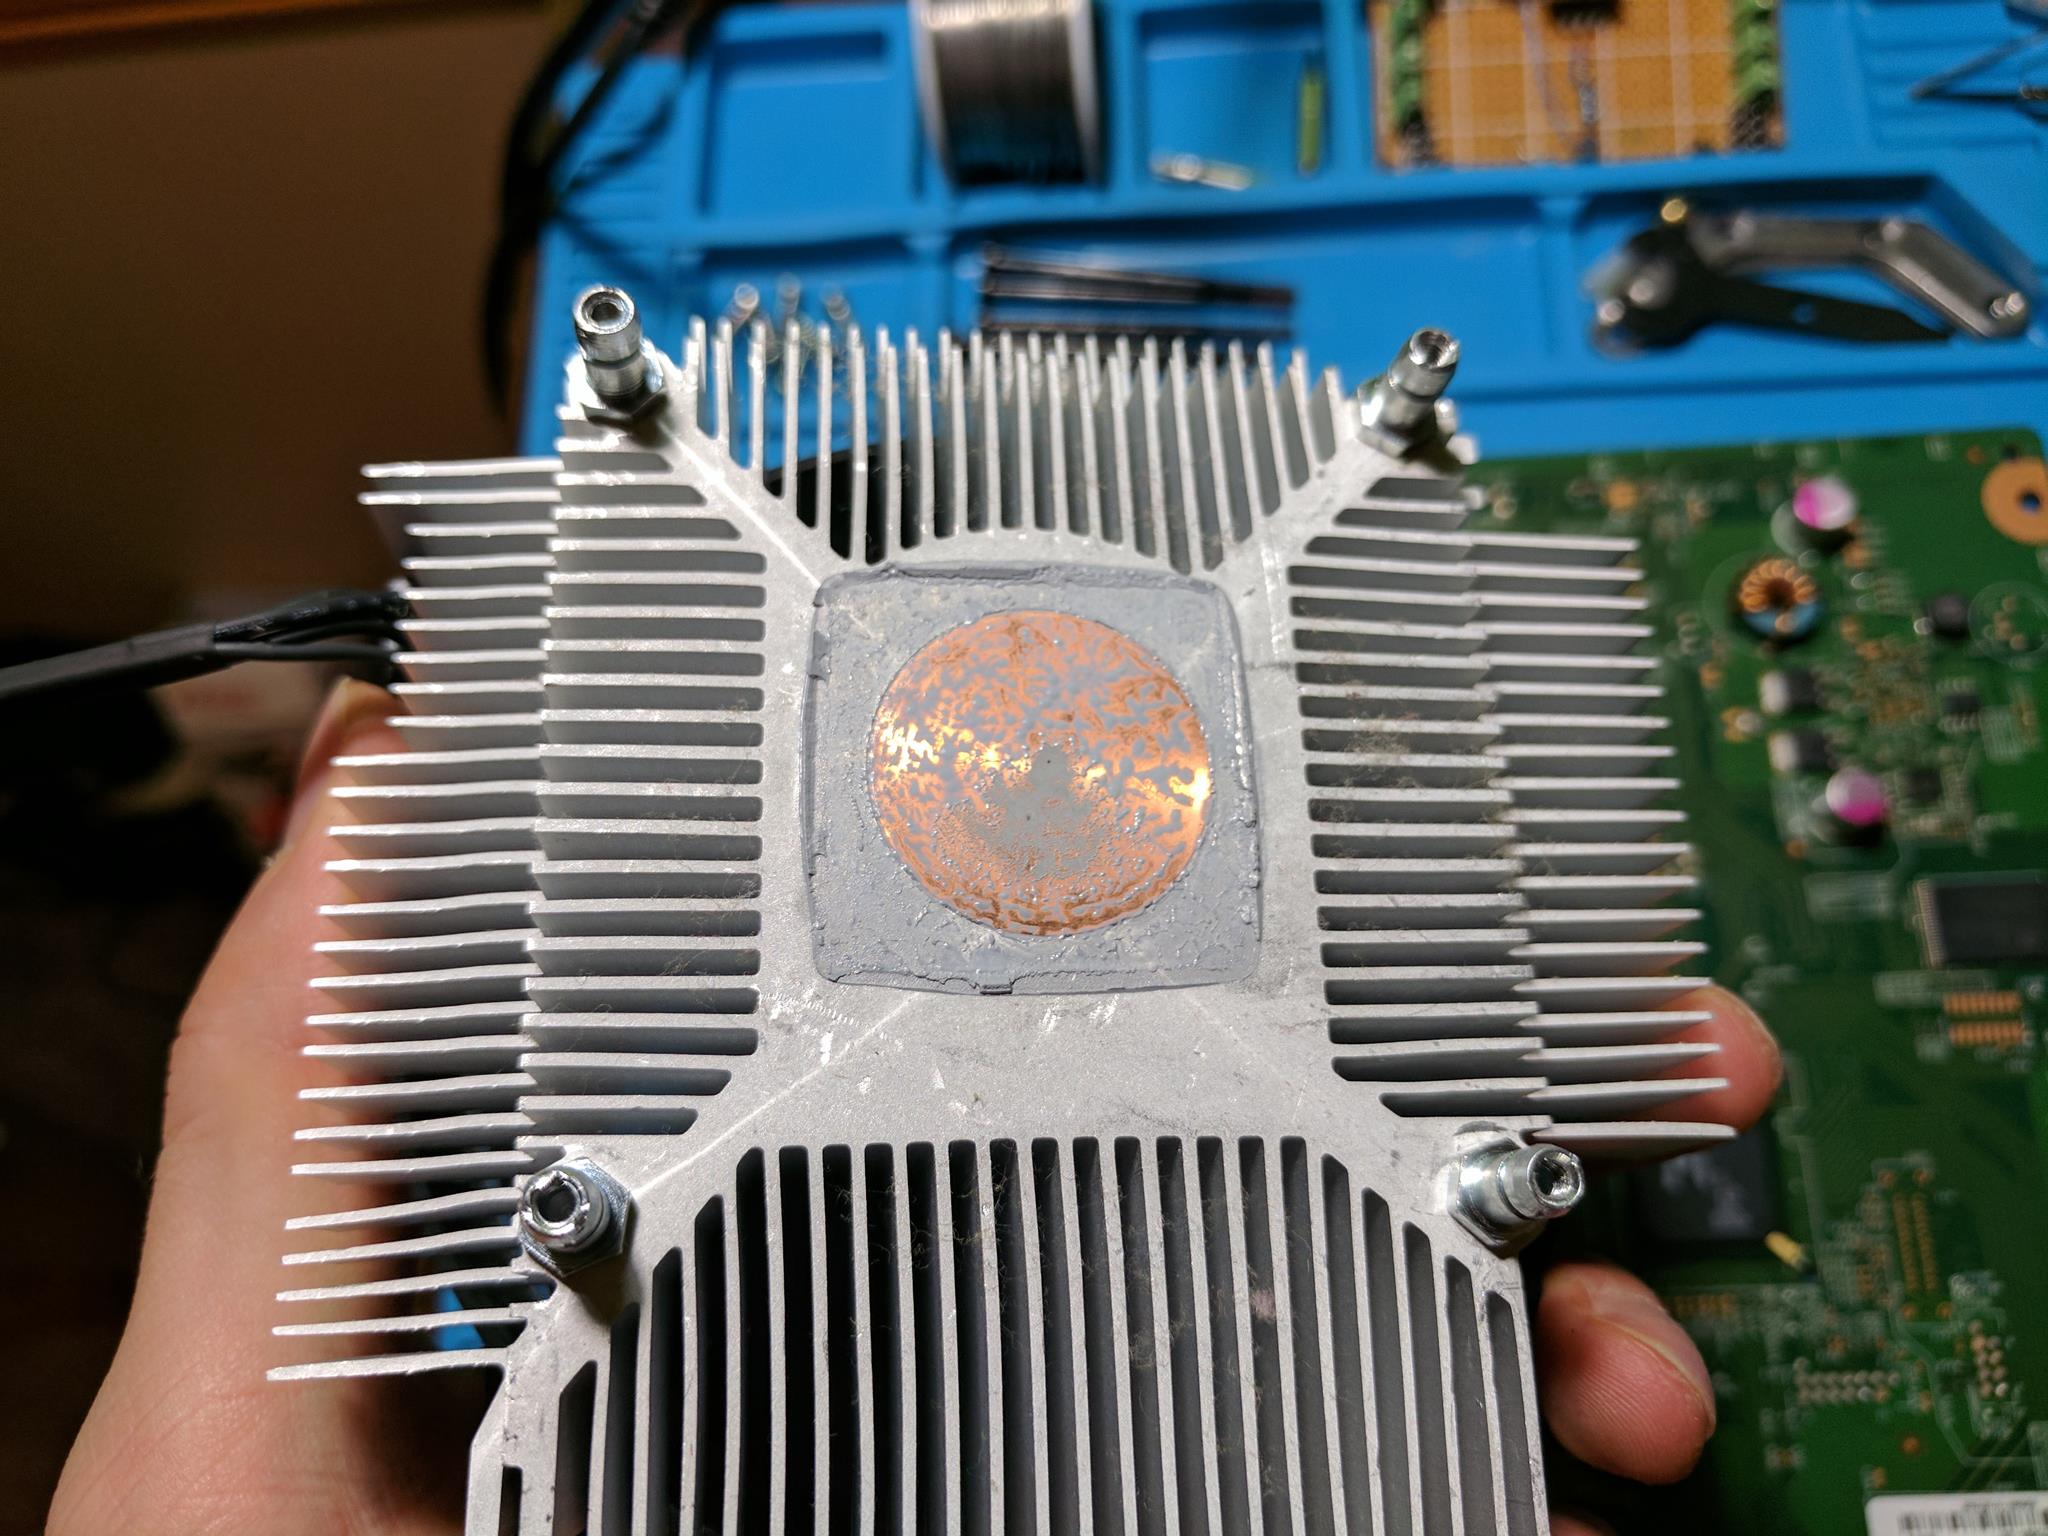
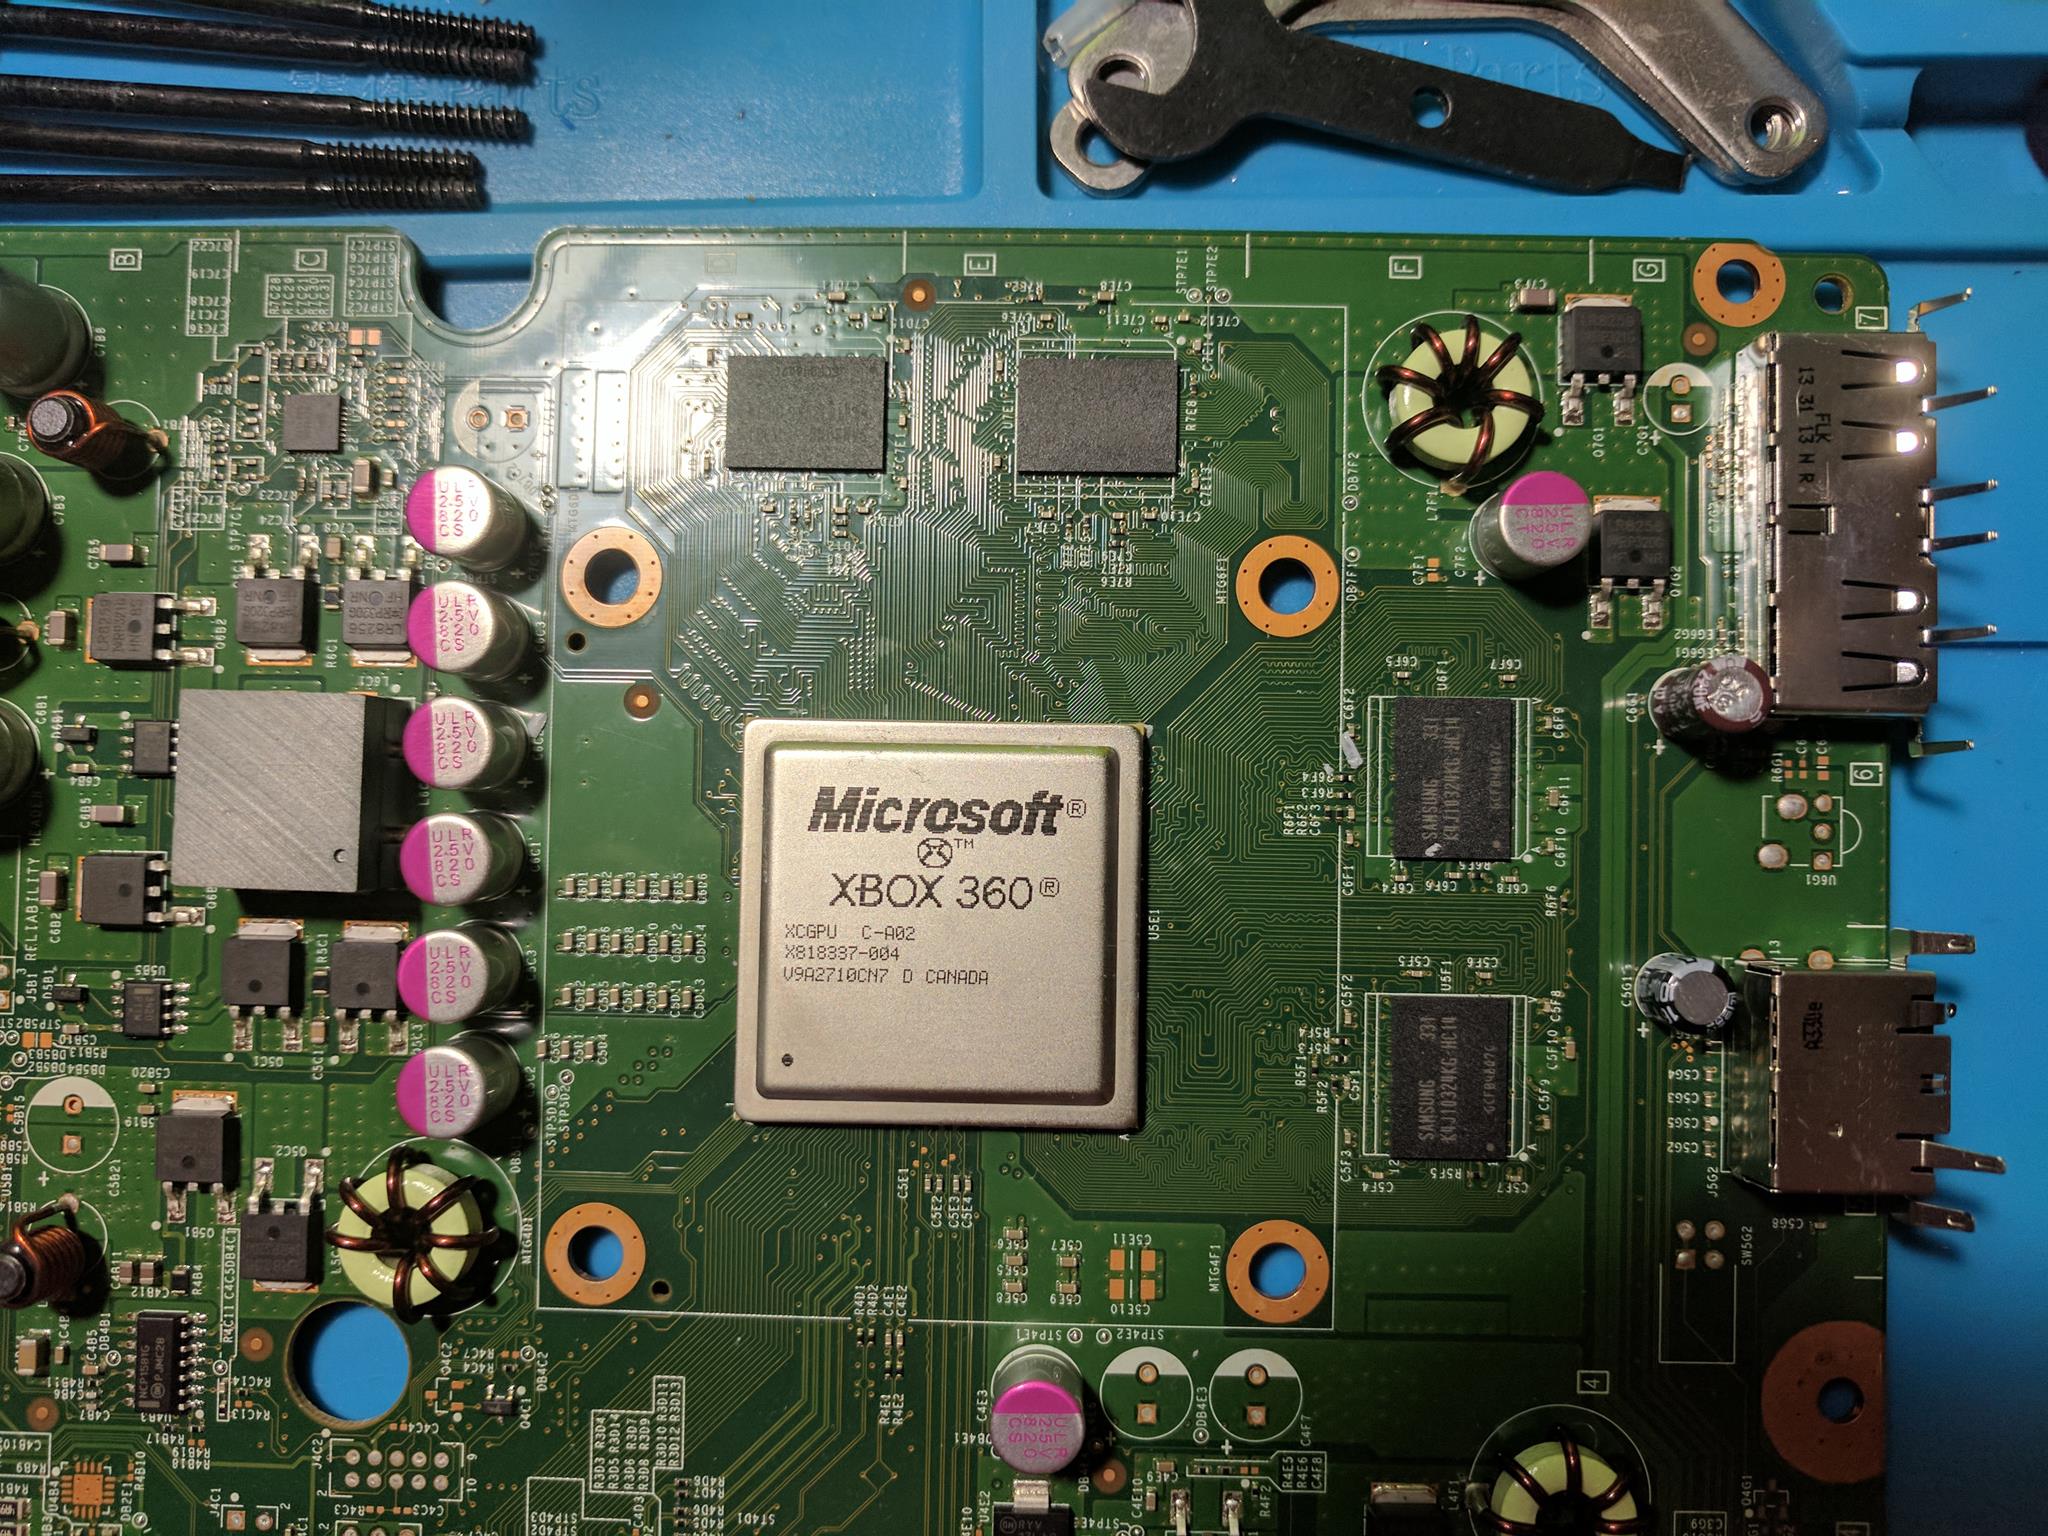
Below is an image of the processor once it has been cleaned off. The thermal paste was actually in pretty good condition in this console, but replacing it is always a good idea.
Conclusion
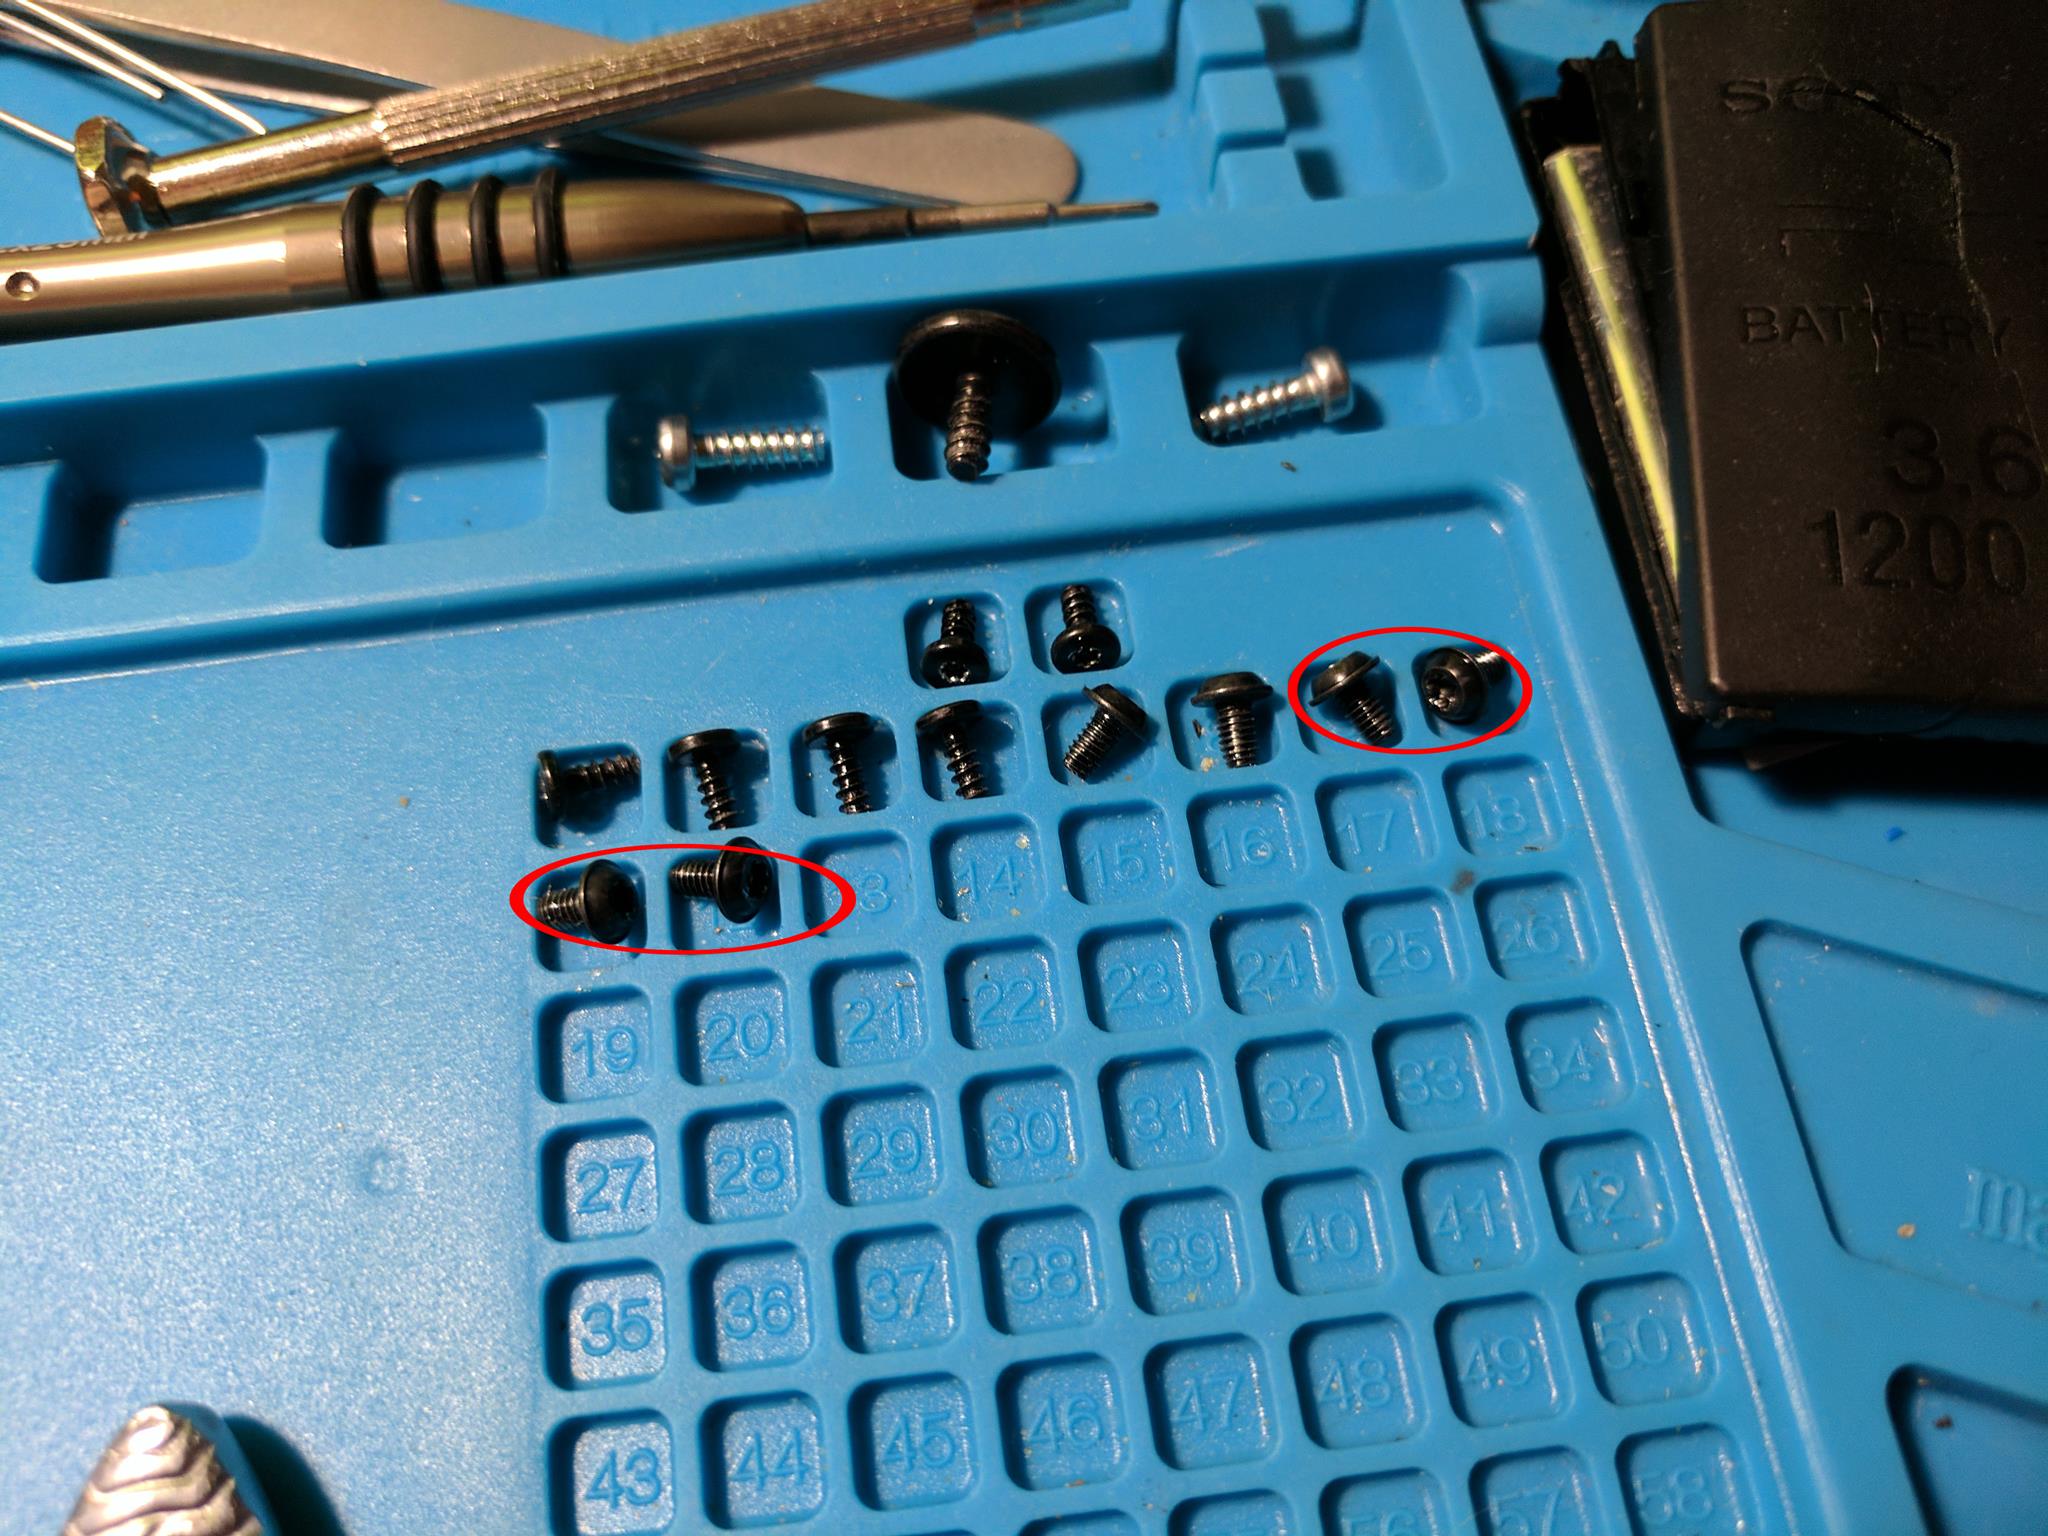
After following all of the steps above you should have a fully disassembled Xbox 360 E console. You should be able to follow the steps in reverse order to put your Xbox 350 E back together. I included pictures of the screws along the way to help you remember which screws belong where.